Give your friends €10 off their first order!
Refer a FRIEND








 The Friday Final CutFri 20 Nov 5am
 Community ShowcaseMon 23 Nov 5am
 Deal HuntersTue 24 Nov 8am
Prices change straight away. Every language is our own translation, not Google.
A project from our live show MY PODCAST - Catch my latest updates broadcast 22nd September 2025 · 22/09/2025 · watch it from 1:09:45
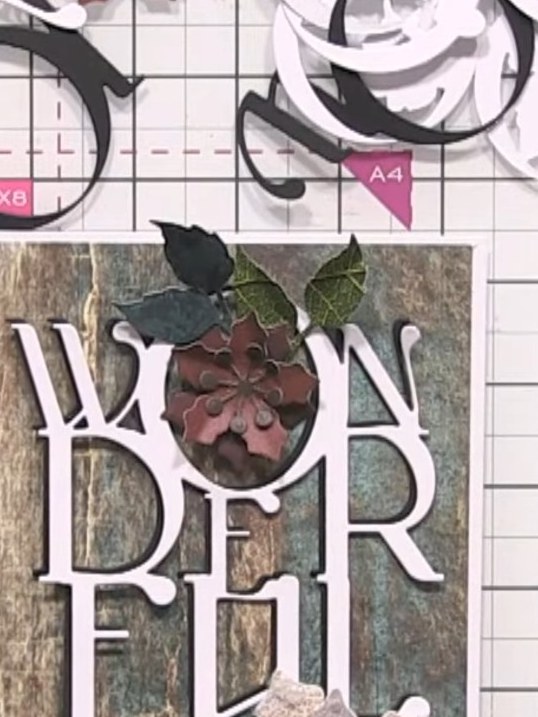
Create an elegant festive Christmas card featuring the word 'Joy' die-cut in white with a decorative poinsettia embellishment nestled in the centre of the 'O'. The design uses coordinating patterned papers in warm autumn tones with rustic wood-effect backgrounds, pine cones, and seasonal foliage, finished with additional die-cut sentiments and embellishments for a sophisticated seasonal greeting.
 Christmas Snow Drift Die - Joy - 060323CSEE IT
 Holly & Berry Paper Textures Pack - 7 X 7 - 031123FSEE IT
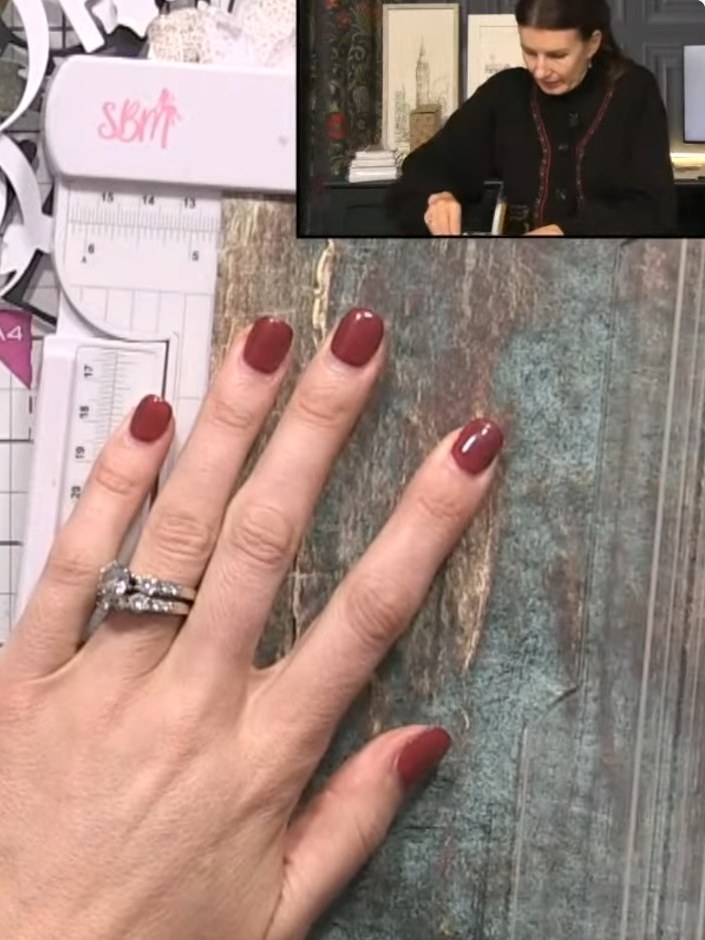
Cut a piece of patterned paper from the Tailored Threads paper pad in warm autumn tones to use as your card base.
▶ watch this step (1:10:00)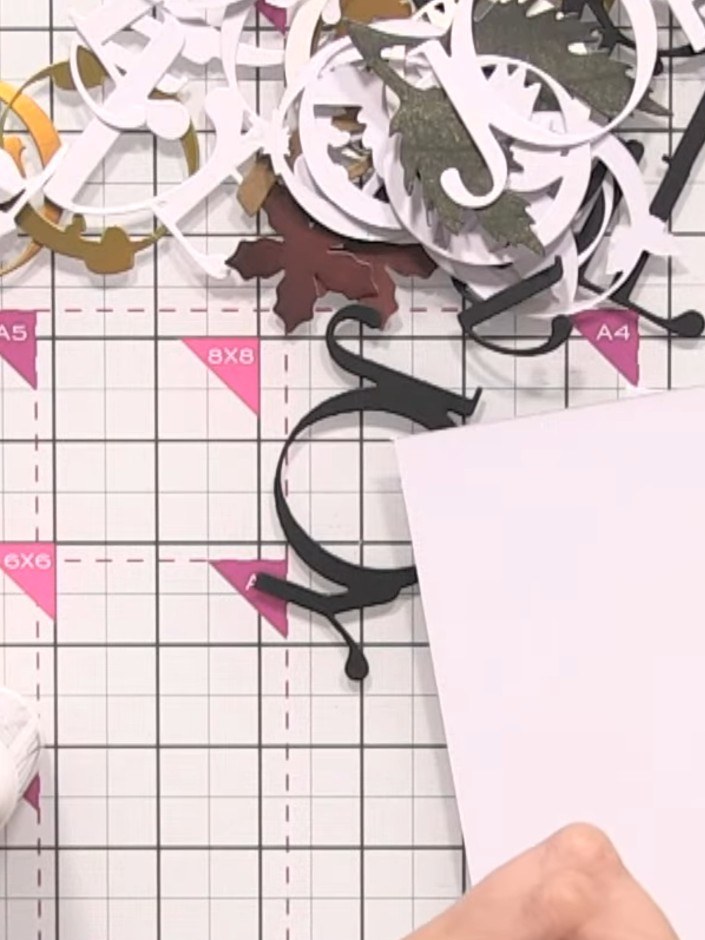
Cut the Joy word die from white cardstock.
▶ watch this step (1:10:15)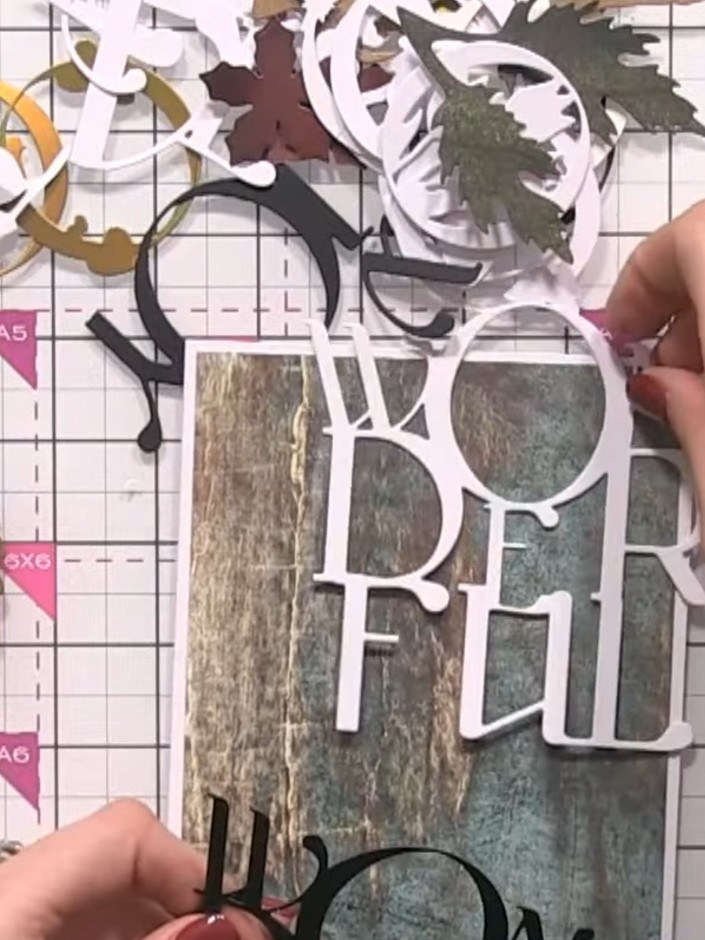
Cut out the 'WONDERFUL' sentiment from black cardstock and position it behind the white 'JOY' die-cut to create a drop shadow effect, adding dimension to the word.
▶ watch this step (1:12:15)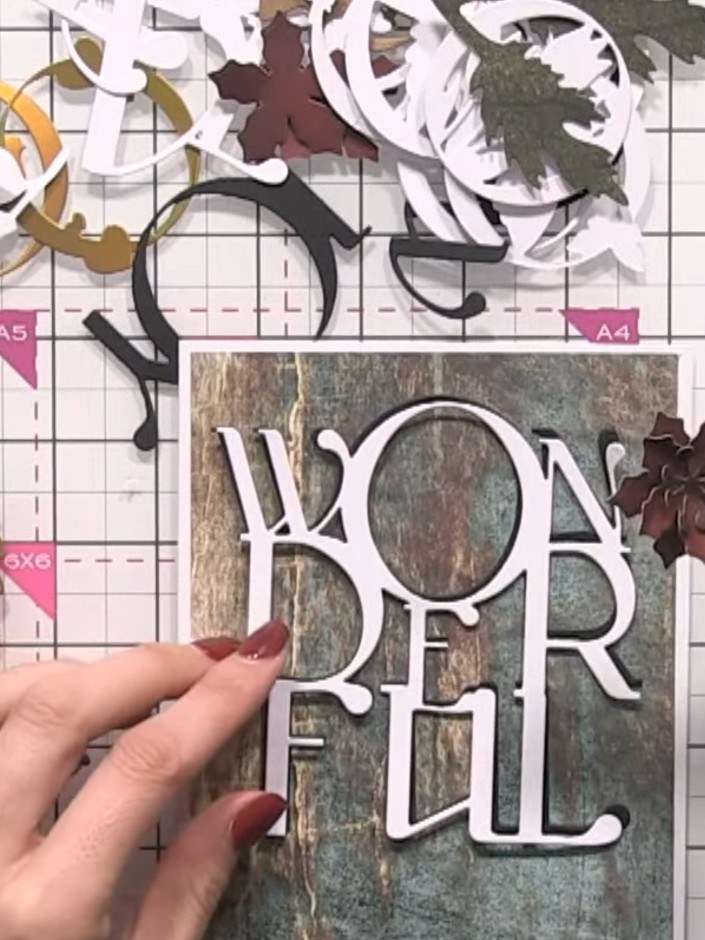
Adhere the white 'WONDERFULL' word die-cut to the upper portion of your patterned paper card base. Position it centrally on the textured background paper.
▶ watch this step (1:13:00)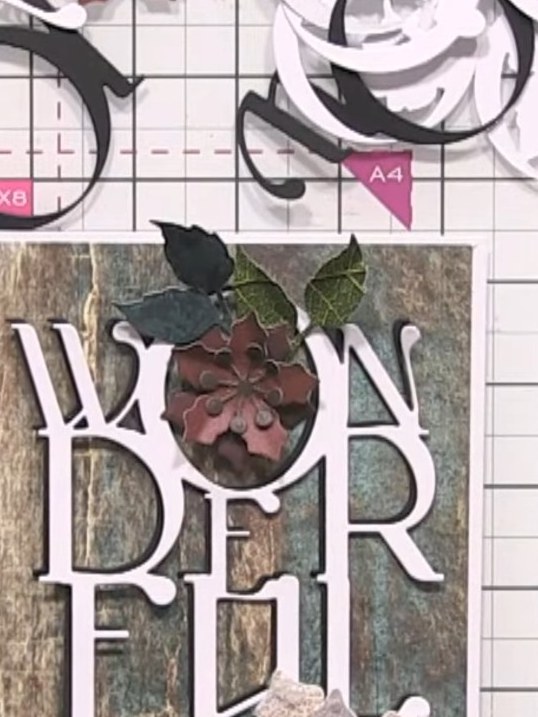
Cut a poinsettia flower from red cardstock using the largest size from the gradient of sizes available in your die set. Position the flower die-cut in the centre of the 'O' in the 'WONDER' sentiment.
▶ watch this step (1:14:30)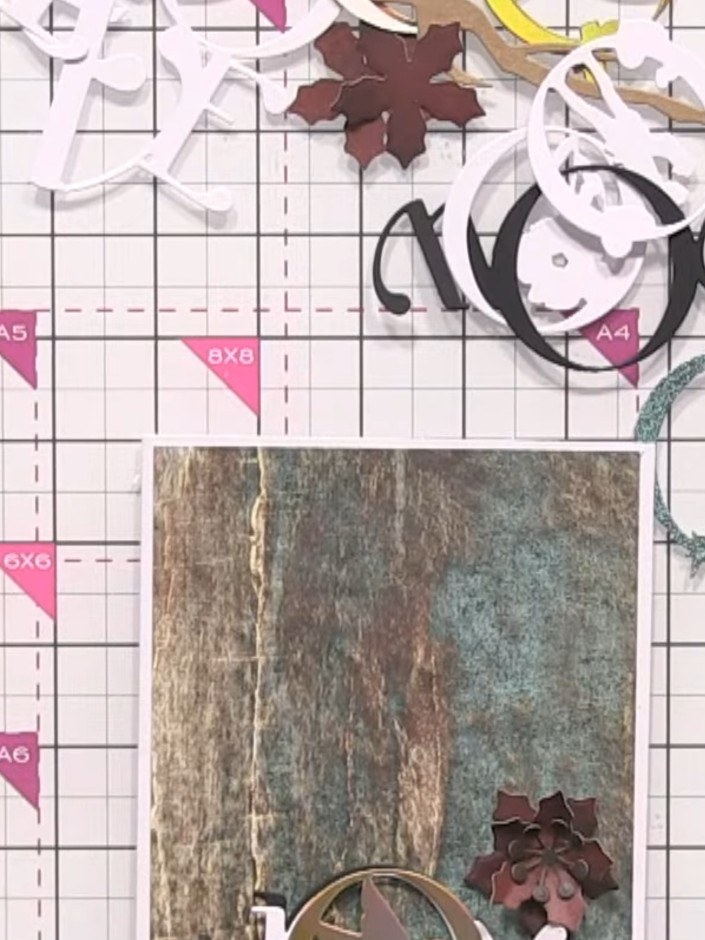
Position the poinsettia flower in the centre of the O in the Joy word die-cut. Place it so the flower sits neatly within the circular opening.
▶ watch this step (1:15:00)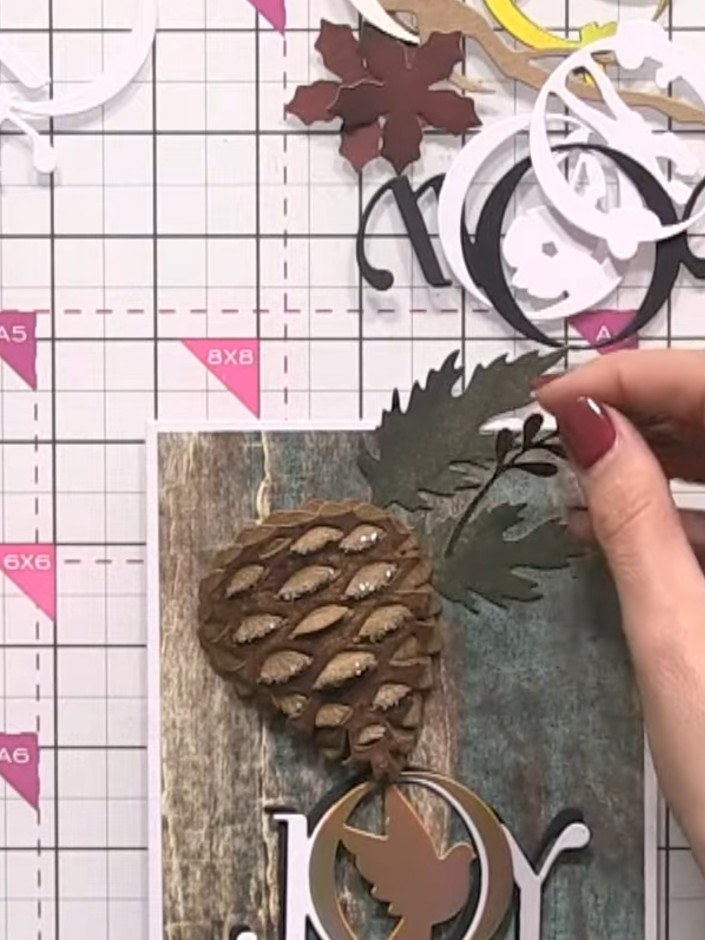
Add coordinating foliage pieces around the poinsettia to complete the festive cluster. Position the green leaf die-cuts to fill in gaps and create a balanced arrangement.
▶ watch this step (1:15:30)Written up from the show itself. See every guide from our shows · free how-to guides · watch live on My Telly