Give your friends €10 off their first order!
Refer a FRIEND








Prices change straight away. Every language is our own translation, not Google.
A project from our live show HOBBYMAKER TV - Broadcast 9th November 2026 · 09/11/2026 · watch it from 13:00
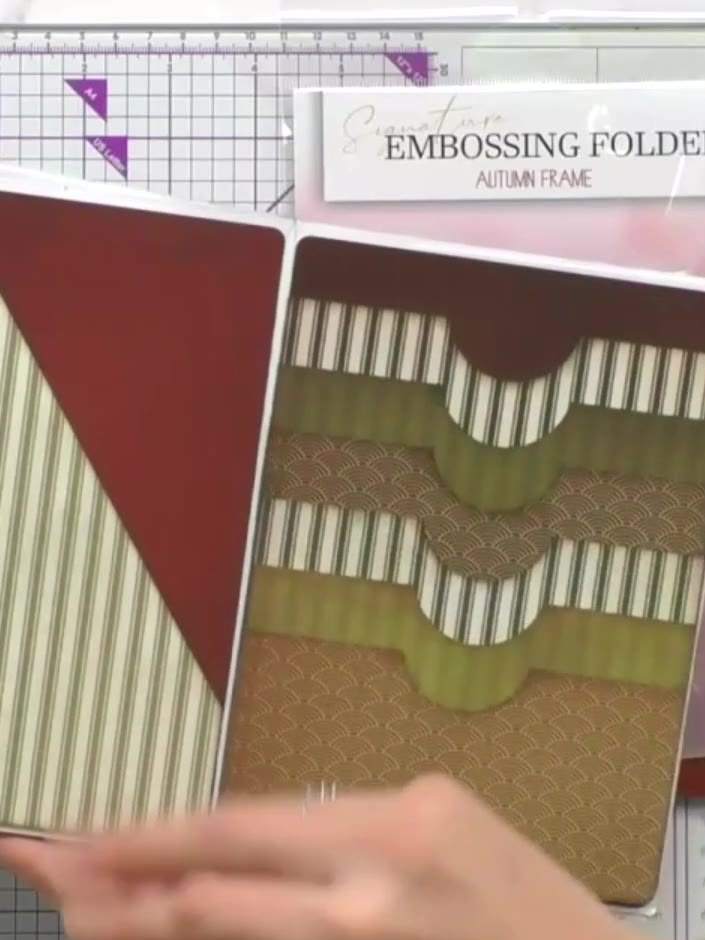
Create a sophisticated birthday card featuring the Stamps By Me Classic Paper Bundle with elegant olive green and striped papers. This project uses an embossing folder to add texture and dimension, combined with coordinating papers and embellishments to create a refined, layered design perfect for special occasions.
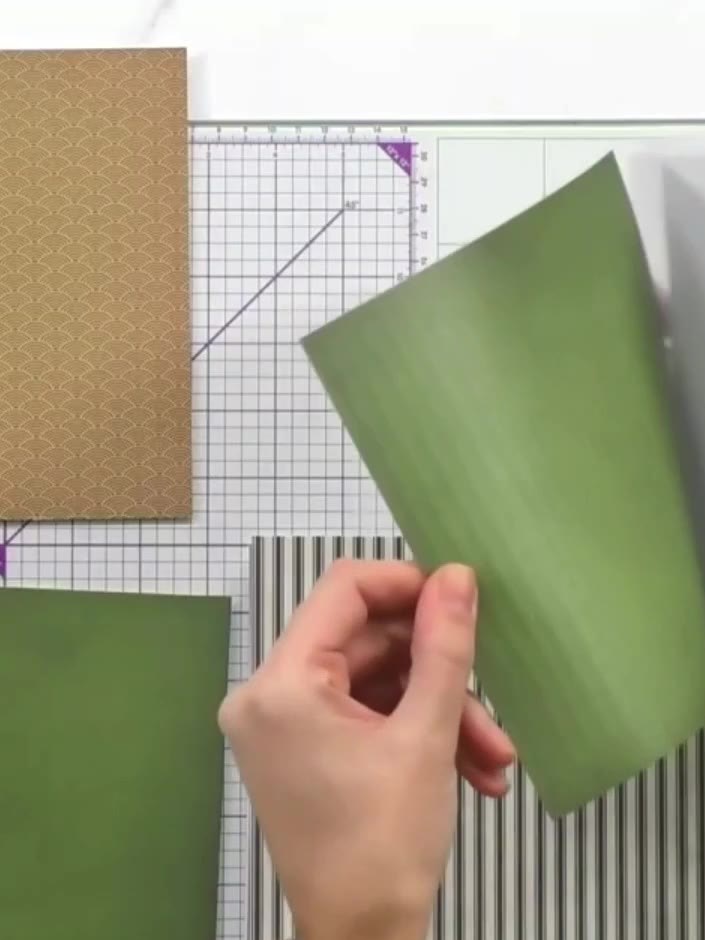
Die-cut the largest balloon shape from your chosen cardstock using your die-cutting machine. Select papers from the Heritage collection in coordinating colours such as brown, green, or striped patterns. Die-cut progressively smaller balloon shapes from the coordinating cardstock colours in the Heritage Paper Bundle. Use nested balloon dies to create multiple sizes, cutting from the brown, green, striped and solid papers. Layer the balloon die-cuts from largest to smallest, offsetting them slightly to create visual interest and dimension. Position each balloon so they overlap in a pleasing arrangement. Attach each balloon layer using foam pads to create dimension and height. Build up the layers, placing the smaller balloons on top of the larger ones to create a nested effect. Add the 'Happy Birthday' die-cut sentiment to the top of your card design. Position it centrally on the green patterned paper layer.
▶ watch this step (13:30)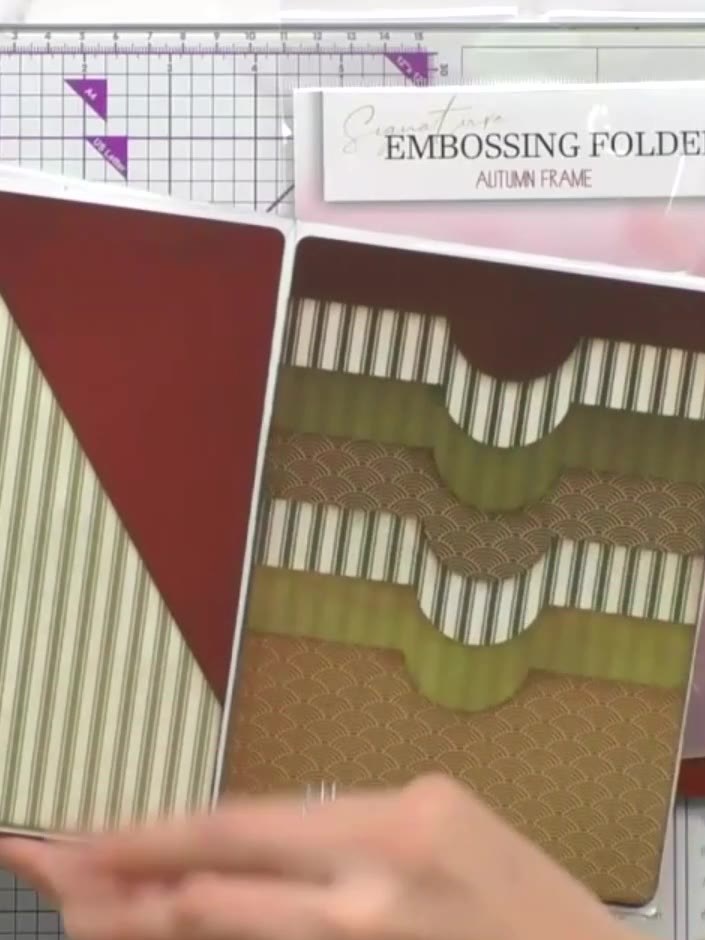
Add embellishments around the balloons using dies from the Heritage Paper Bundle. Cut bunting triangles in burgundy and striped paper, and cut party hat shapes in coordinating colours to create a festive scene.
▶ watch this step (17:00)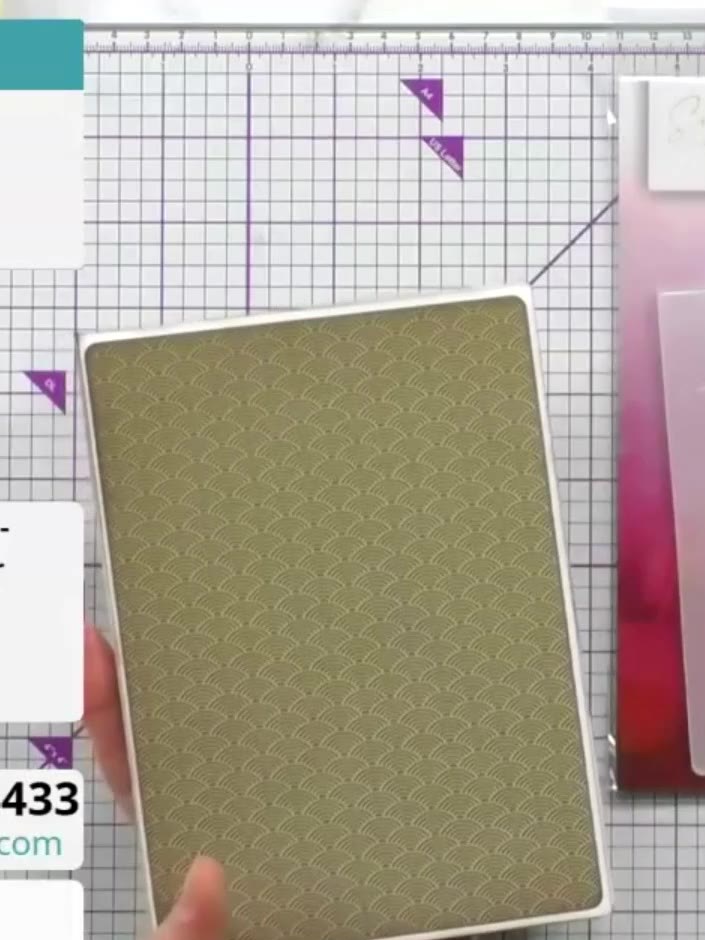
Mount the finished balloon design onto your card base to complete the card.
▶ watch this step (17:45)Written up from the show itself. See every guide from our shows · free how-to guides · watch live on My Telly