Give your friends €10 off their first order!
Refer a FRIEND








 The Friday Final CutFri 20 Nov 5am
 Community ShowcaseMon 23 Nov 5am
 Deal HuntersTue 24 Nov 8am
Prices change straight away. Every language is our own translation, not Google.
A project from our live show HSN INSPIRATION - Broadcast 17th November 2026 · 17/11/2026 · watch it from 3:17:45
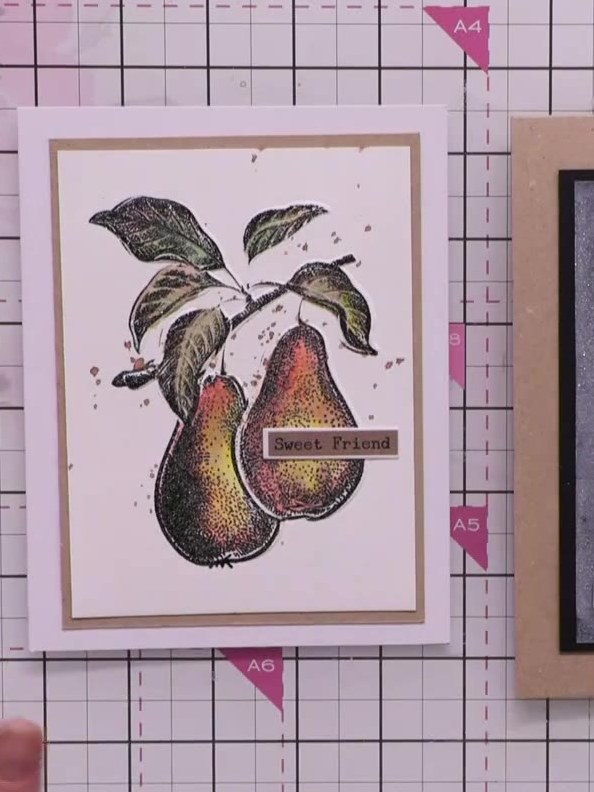
Create a beautiful watercoloured pear card featuring a heat-embossed sparkly outline. The design showcases dimensional pears with soft, realistic watercolour shading in warm yellows, oranges and greens, complemented by delicate leaves. The embossed outline adds elegant texture and shimmer to this charming fruit-themed greeting card.
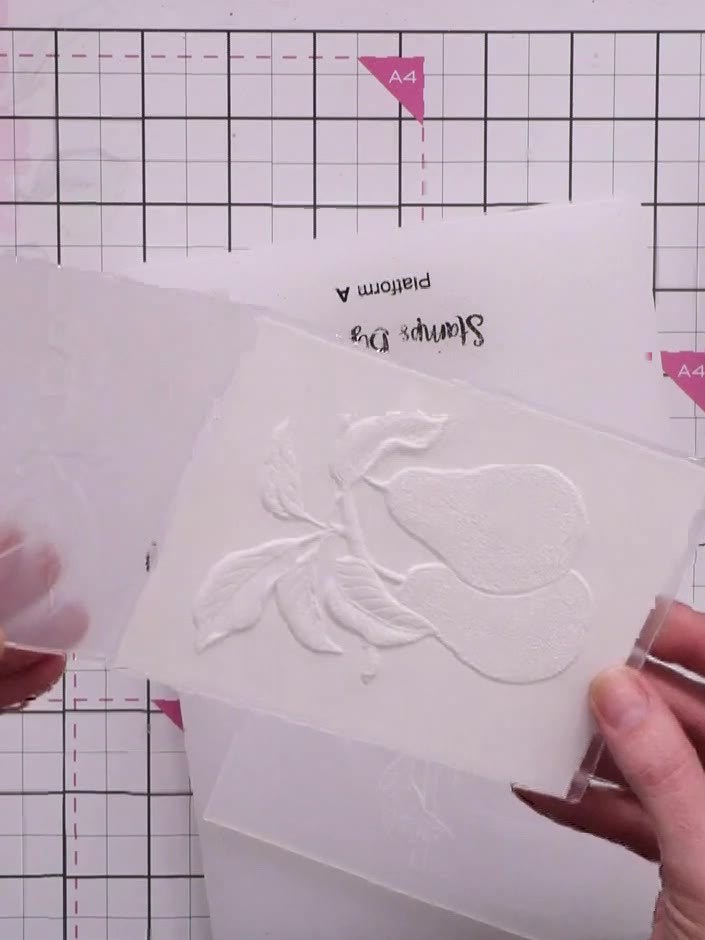
Run the pear embossing folder through your die-cutting machine with white cardstock inside to create the dimensional embossed design. Remove the cardstock from the folder to reveal the raised pear image.
▶ watch this step (3:20:15)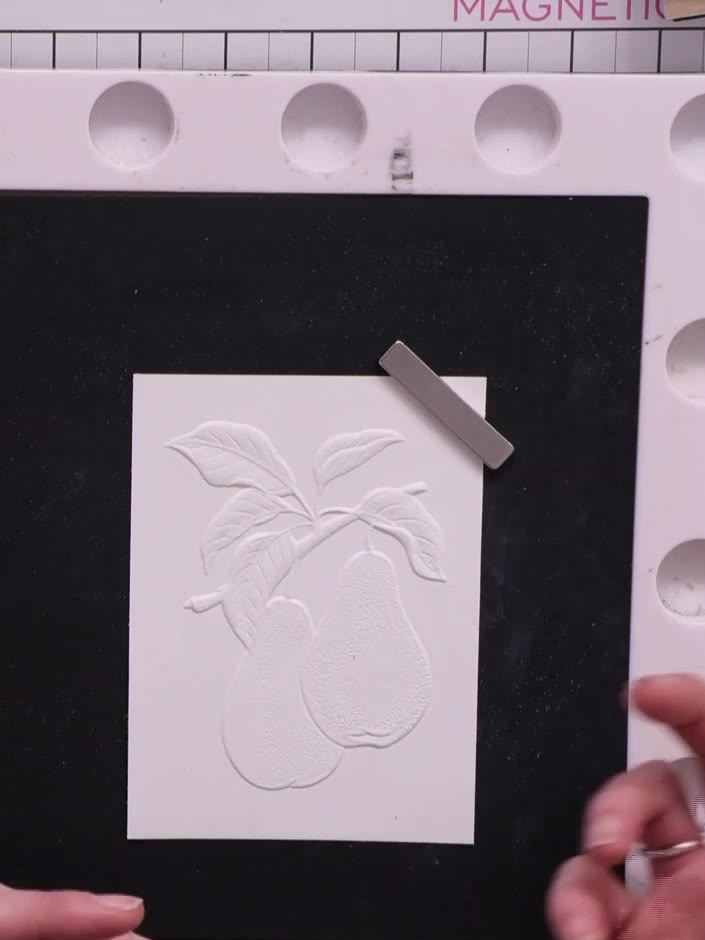
Stamp the pear image in black ink over the embossed design, aligning it as closely as possible with the raised outline. The dimensional layers mean perfect alignment isn't critical.
▶ watch this step (3:22:30)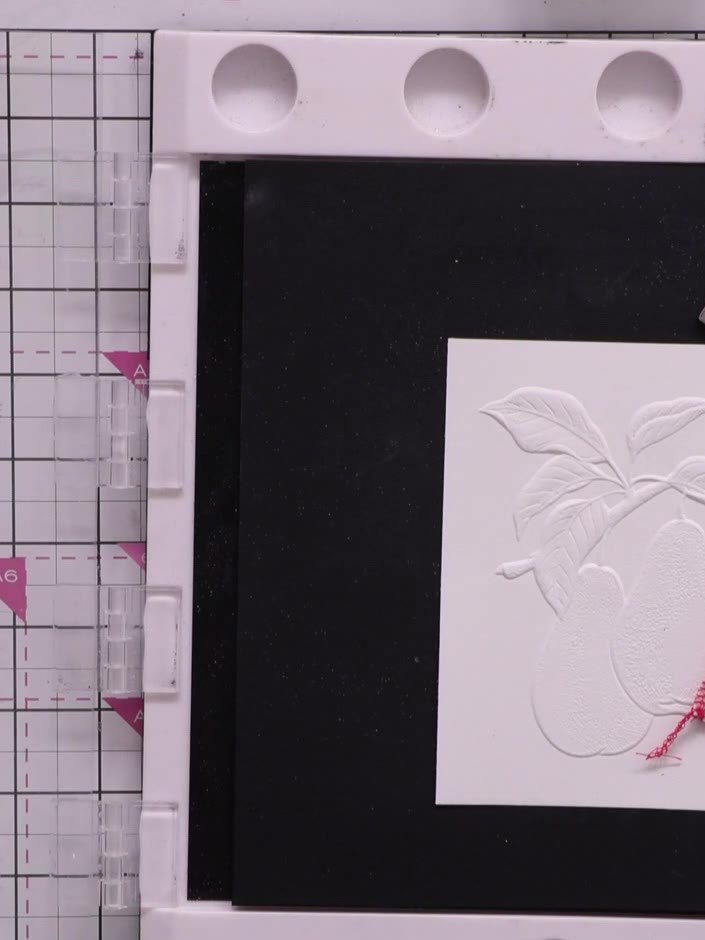
Brush an anti-static bag over the stamped image to prevent embossing powder from sticking where you don't want it. Use gentle, sweeping motions across the entire surface of the card.
▶ watch this step (3:23:00)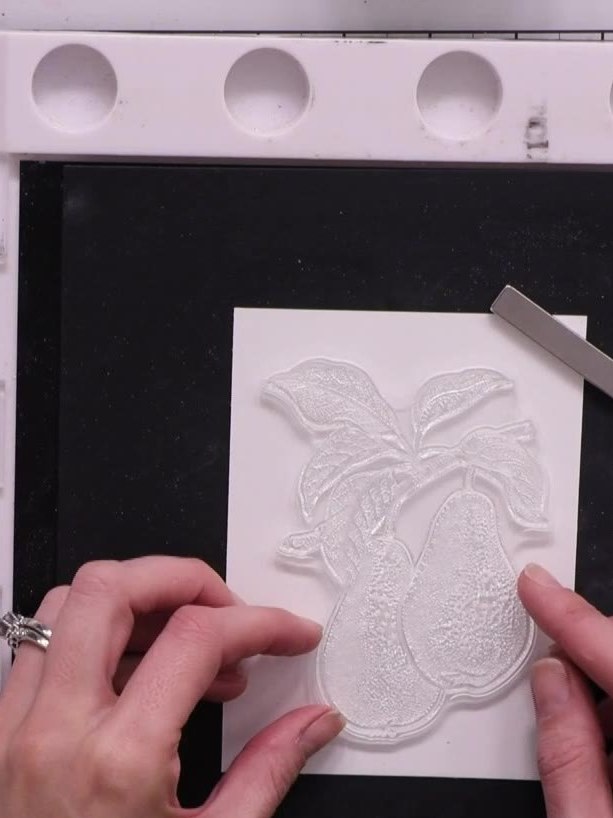
Apply clear sparkle embossing powder generously over the black stamped pear image, ensuring all the stamped areas are covered. Tap off any excess powder.
▶ watch this step (3:24:15)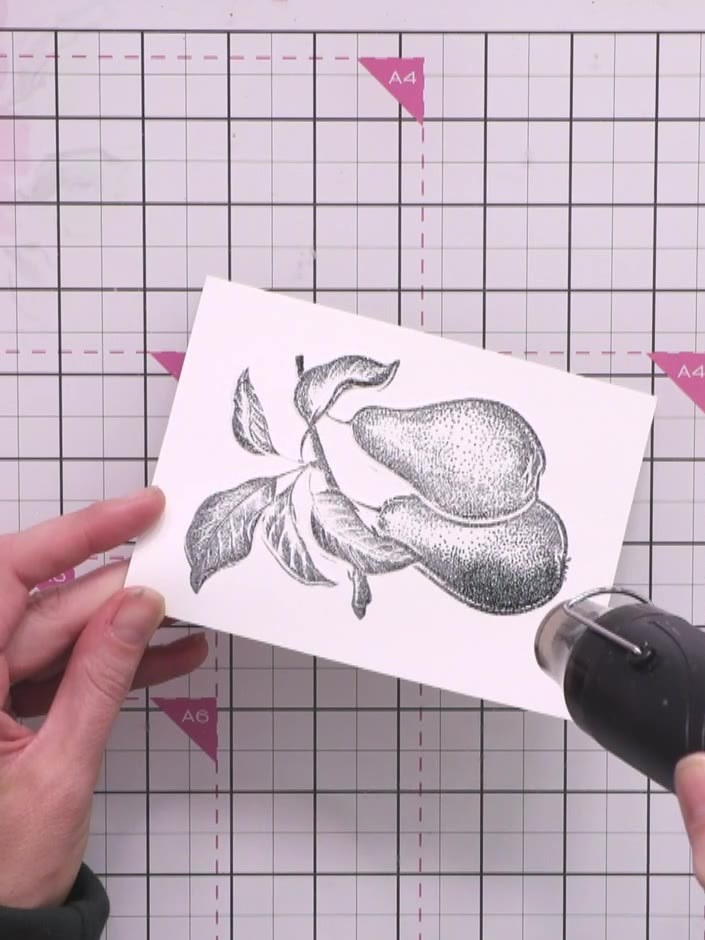
Heat set the embossing powder with a heat gun, moving it constantly over the stamped image until the powder turns clear and glossy with a raised sparkly finish.
▶ watch this step (3:26:15)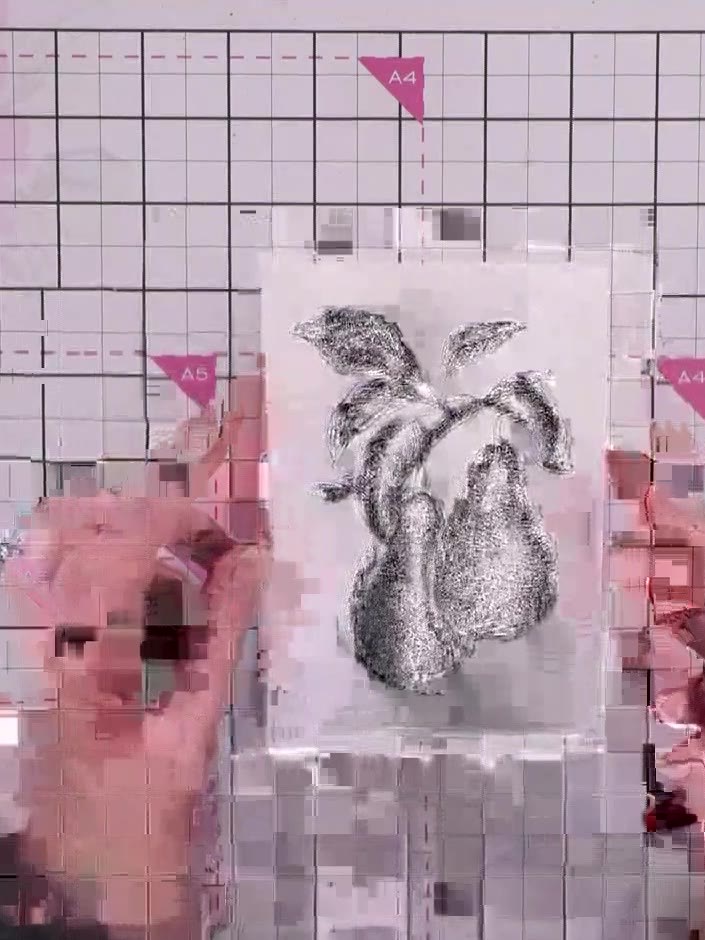
Using a clean brush, wet the embossed pear area with clean water. Apply the water evenly over the entire pear image, including the leaves and fruit.
▶ watch this step (3:27:45)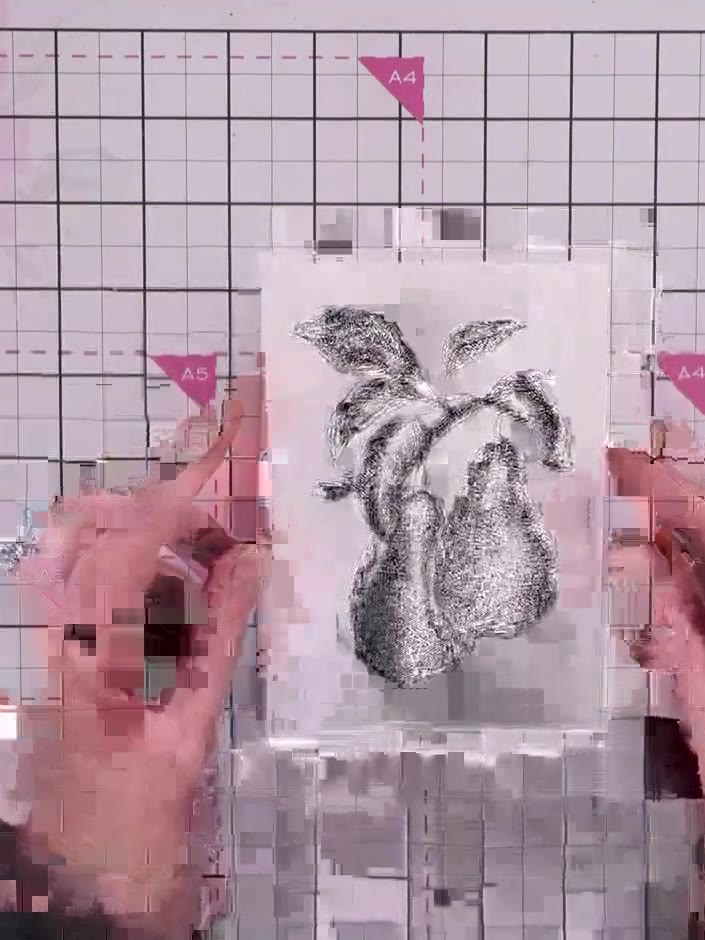
Drop watercolour or ink pad colour onto the wet areas of the pear image. Use orange, red, brown, green, and yellow colours, allowing them to flow naturally within the embossed lines.
▶ watch this step (3:28:00)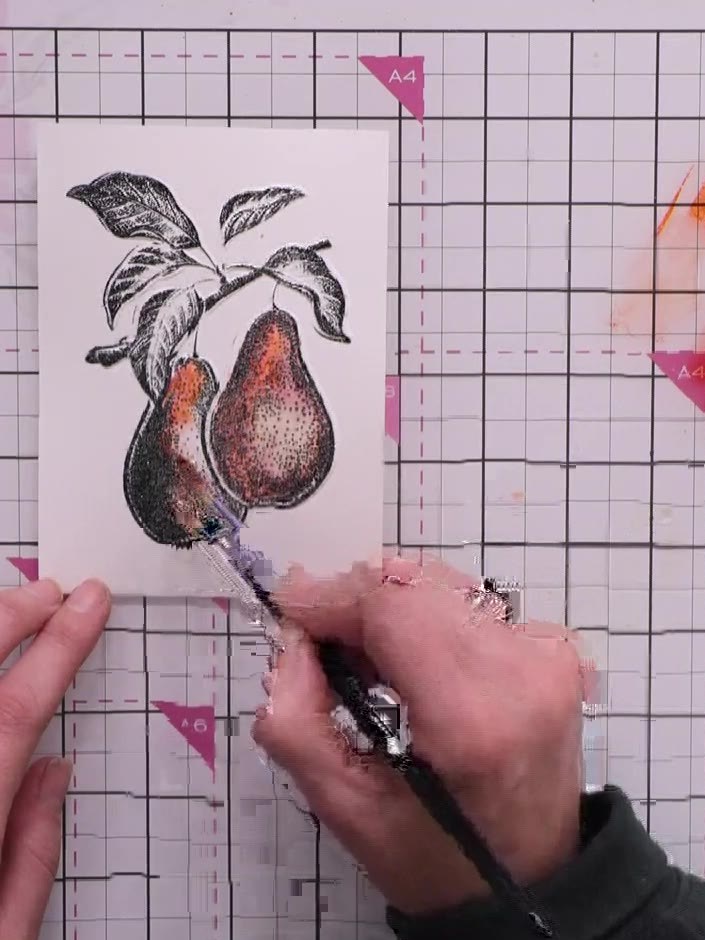
Add random splats of mixed watercolour around the pear design for an artistic effect. Use various colours including pinks, purples, greens, and yellows to create an abstract background. Allow the colours to blend naturally on the paper.
▶ watch this step (3:31:00)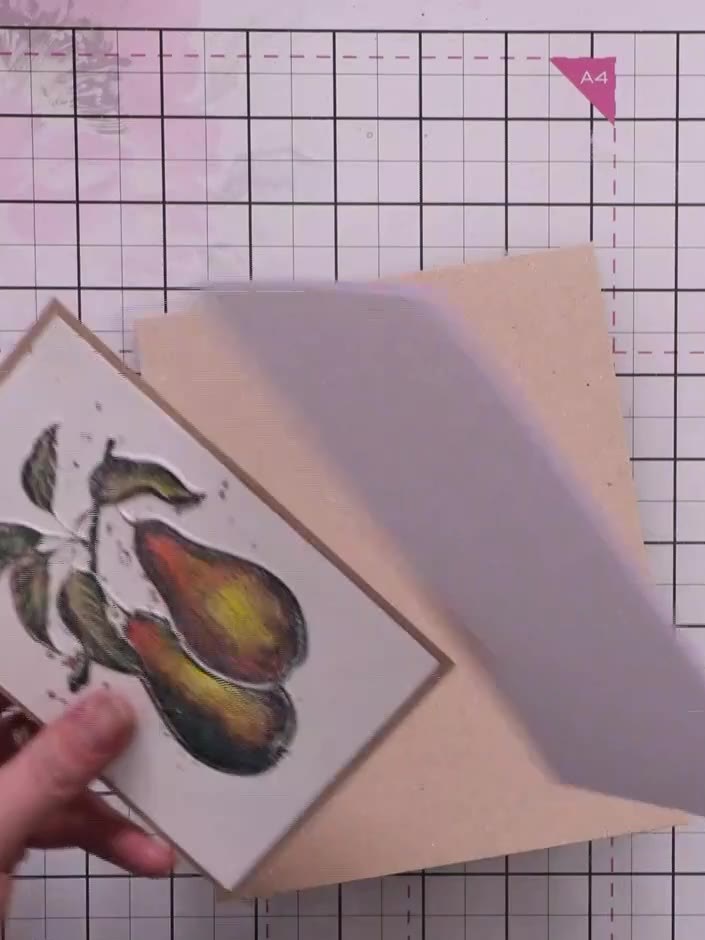
Mount the finished pear design onto a kraft card blank using adhesive. Position the stamped and coloured pear panel centrally on the card front and press down firmly to secure.
▶ watch this step (3:52:00)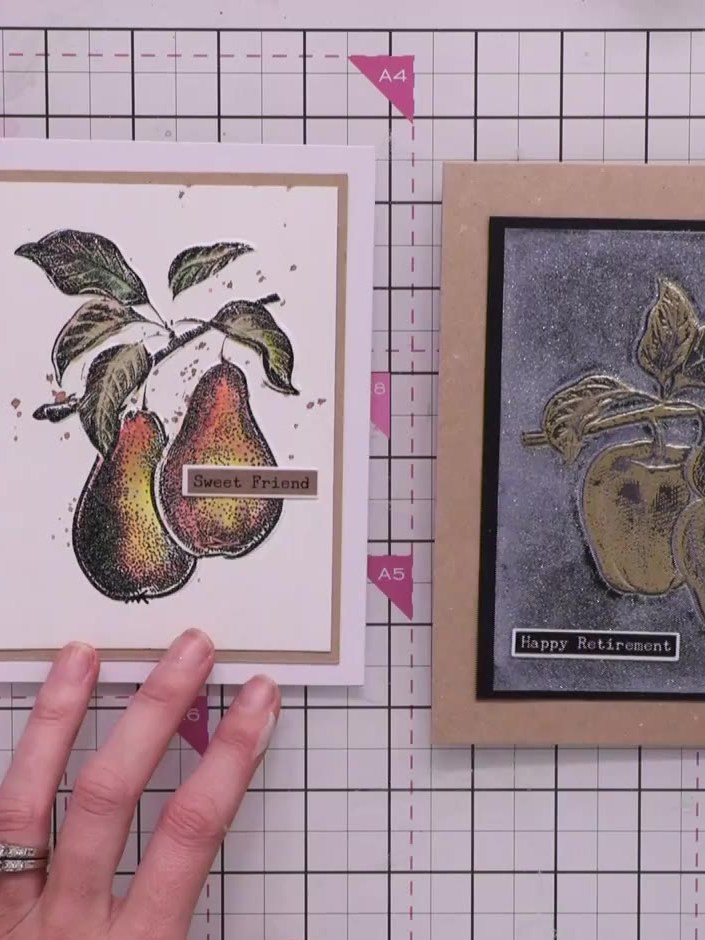
Add a sentiment to your card using a small label or washi tape. Position it on the pear image where desired, such as 'Sweet Friend' as shown on the finished card.
▶ watch this step (3:54:15)Written up from the show itself. See every guide from our shows · free how-to guides · watch live on My Telly