Give your friends €10 off their first order!
Refer a FRIEND








Prices change straight away. Every language is our own translation, not Google.
A project from our live show MY PODCAST - Catch my latest updates broadcast 4th August 2025 · 04/08/2025 · watch it from 27:45
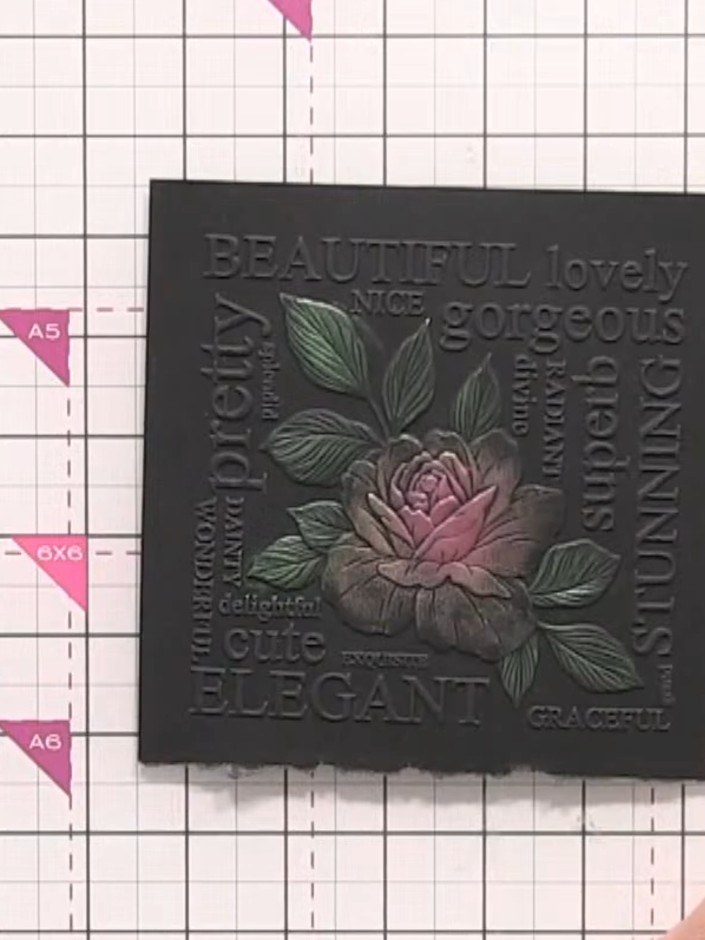
Create a striking card by embossing a rose design onto black card stock, then highlight the raised details with multiple colours of gilding wax. The layered metallic finishes in pink, green and pearl create an elegant, dimensional effect perfect for special occasions.
 Stamps By Me Stamp & Embossing Folder - Elegant Rose - 260225ASEE IT
 Antique Gold 20 ml Finger WaxSEE IT
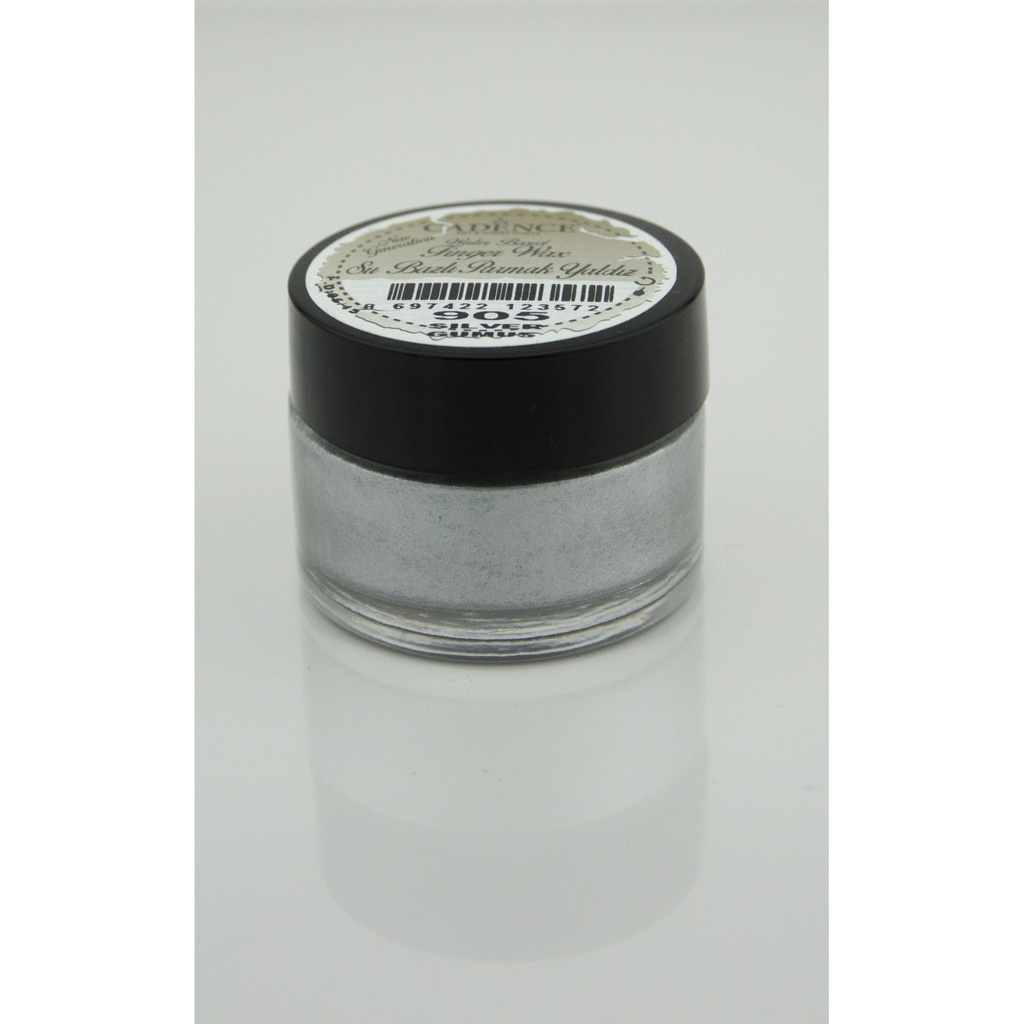 Cadence Finger Wax - SilverSEE IT
 Cadence Finger Wax - CopperSEE IT
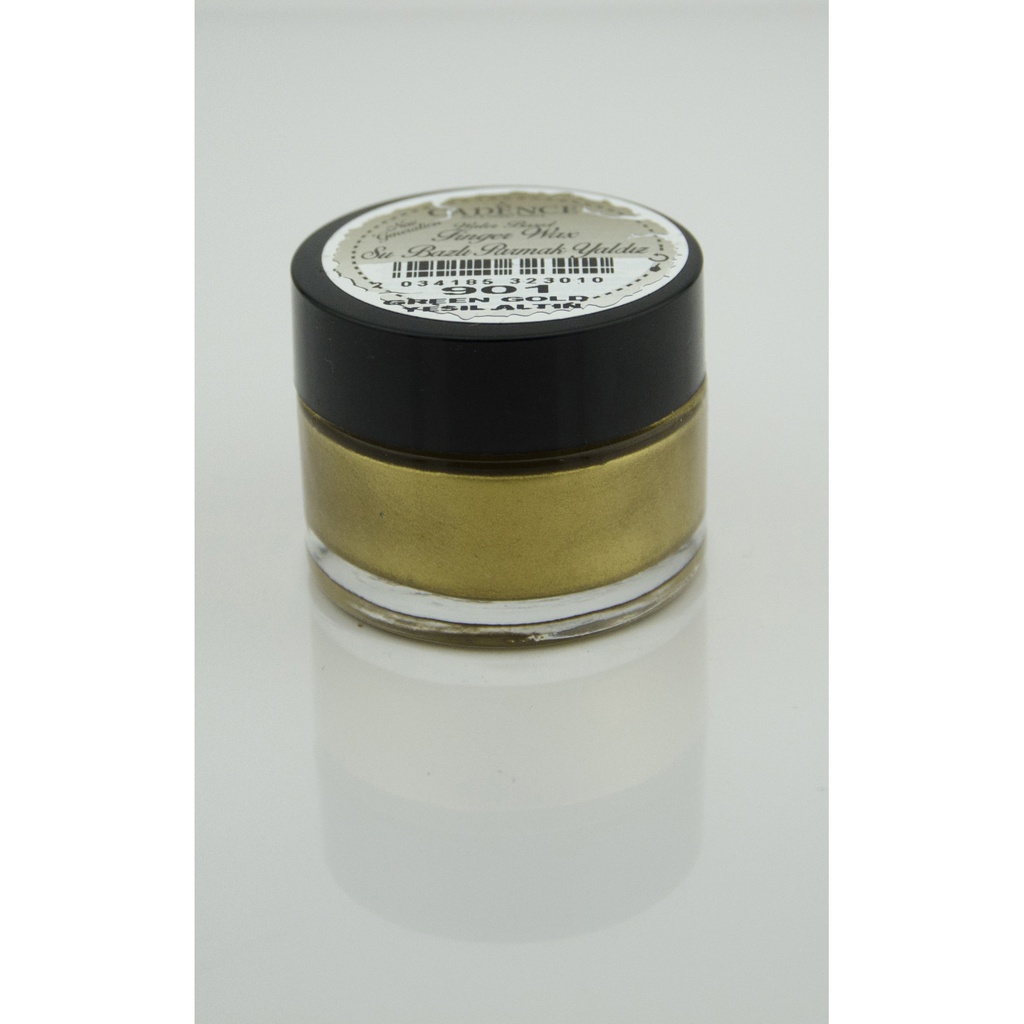 Cadence Finger Wax - Green GoldSEE IT
 Cadence Finger Wax - Green (20ml)SEE IT
 Cadence Finger Wax - Cobalt (20ml)SEE IT
 Cadence Finger Wax - Purple (20ml)SEE IT
 Cadence Finger Wax - Dark Pink (20ml)SEE IT
 Cadence Finger Wax - Silver (20ml)SEE IT
 Cadence Finger Wax - Rose Gold (20ml)SEE IT
 Cadence Dora Metallic Finger Wax - Dark Turquoise (20ml)SEE IT
 Cadence Finger Wax - Antique Pink (20ml)SEE IT
 Cadence Finger Wax - Pearl (20ml)SEE IT
 VersaFine CLAIR - ArcticSEE IT
 Rain Forest Versafine ClairSEE IT
 Fallen Leaves Versafine ClairSEE IT
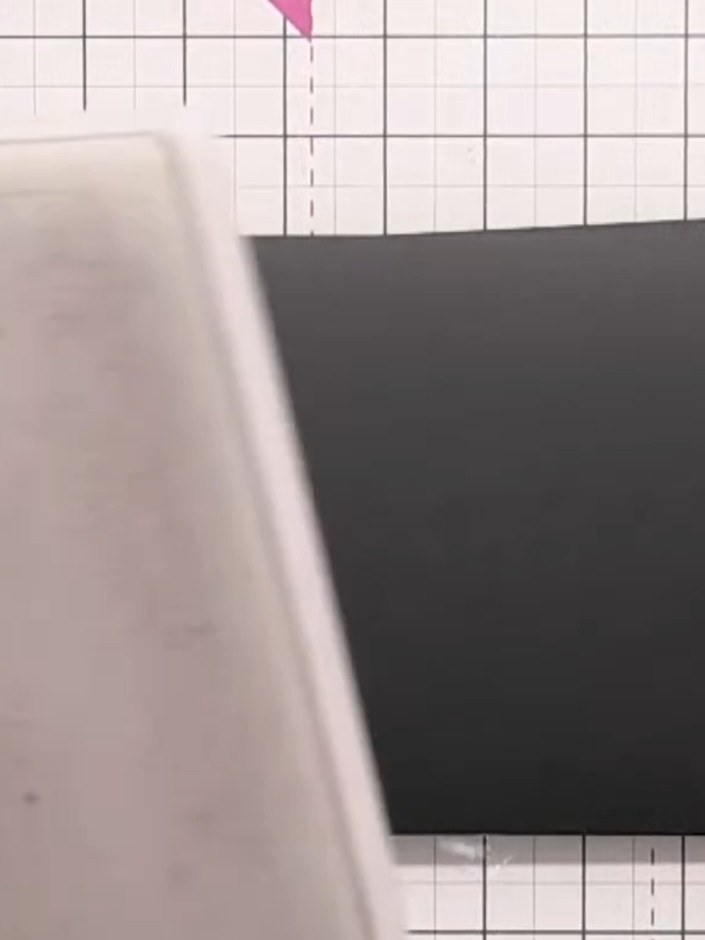
Place your black card stock into the embossing folder with the rose design. Feed the folder through your embossing machine to create the raised rose pattern on the card.
▶ watch this step (29:30)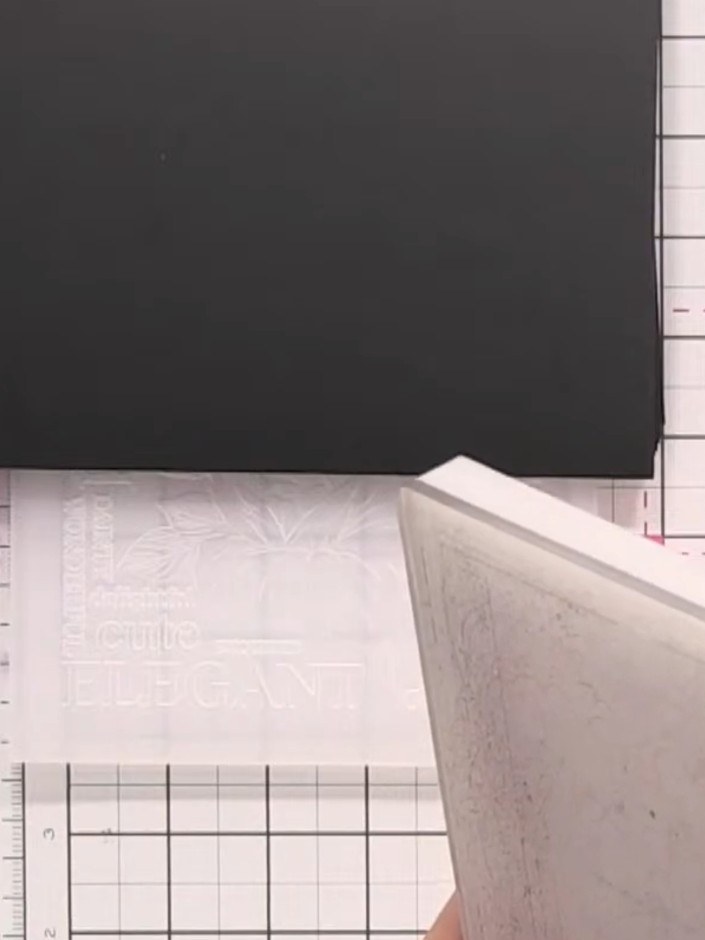
Place the embossed card panel into the die-cutting machine with the embossing folder. Run the card through the machine to create a raised embossed rose design.
▶ watch this step (29:45)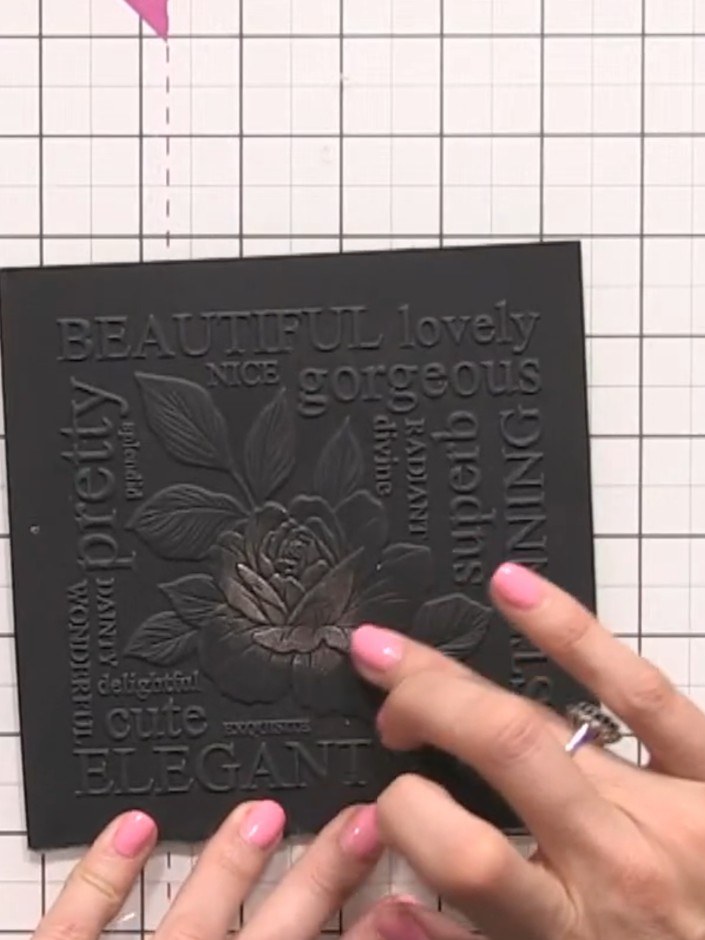
Open the pot of Cadence Finger Wax in Antique Pink and lightly dab your finger into the wax to pick up a small amount.
▶ watch this step (34:30)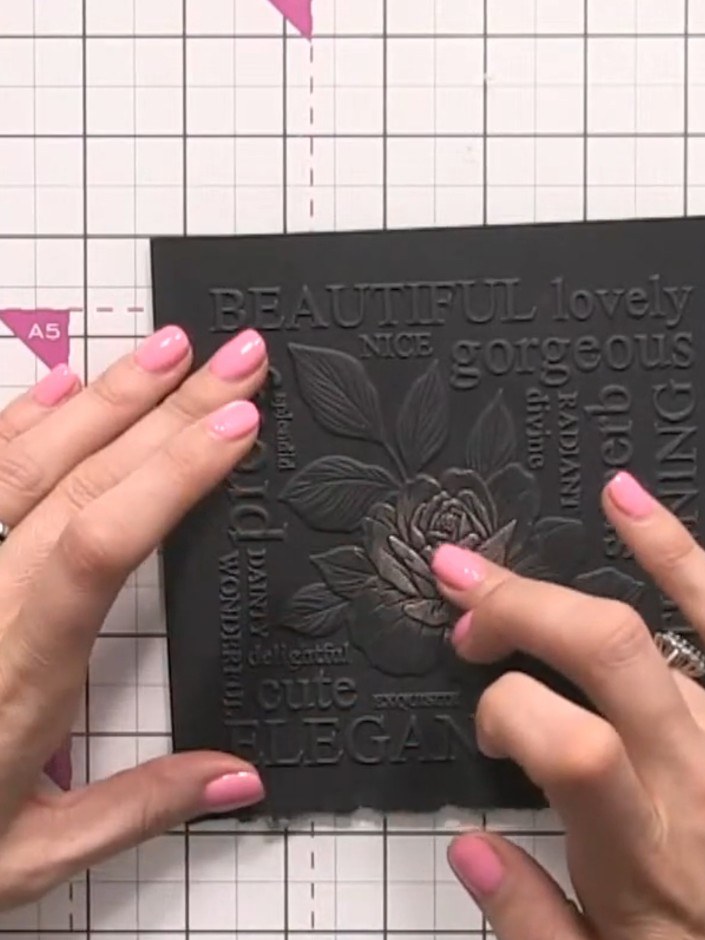
Using your ring finger, gently tap and swipe the copper gilding wax over the embossed rose petals on the black card. Work carefully to stay within the raised design, highlighting the floral details.
▶ watch this step (34:45)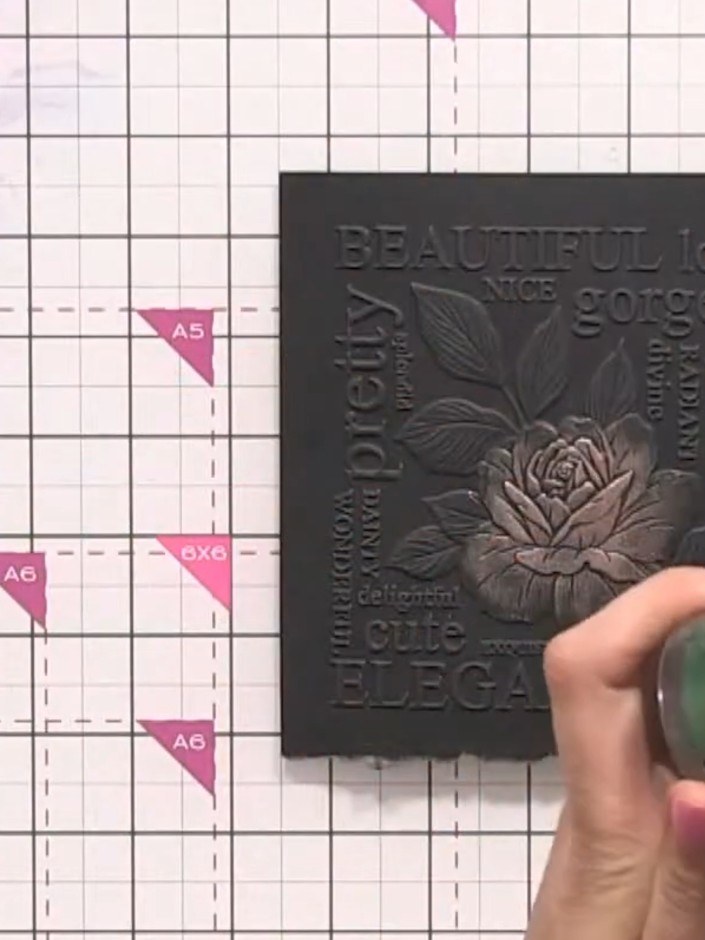
Select a green gilding wax and apply it to the embossed leaves on the design using your finger. Gently rub the wax onto the raised leaf areas to highlight them.
▶ watch this step (36:45)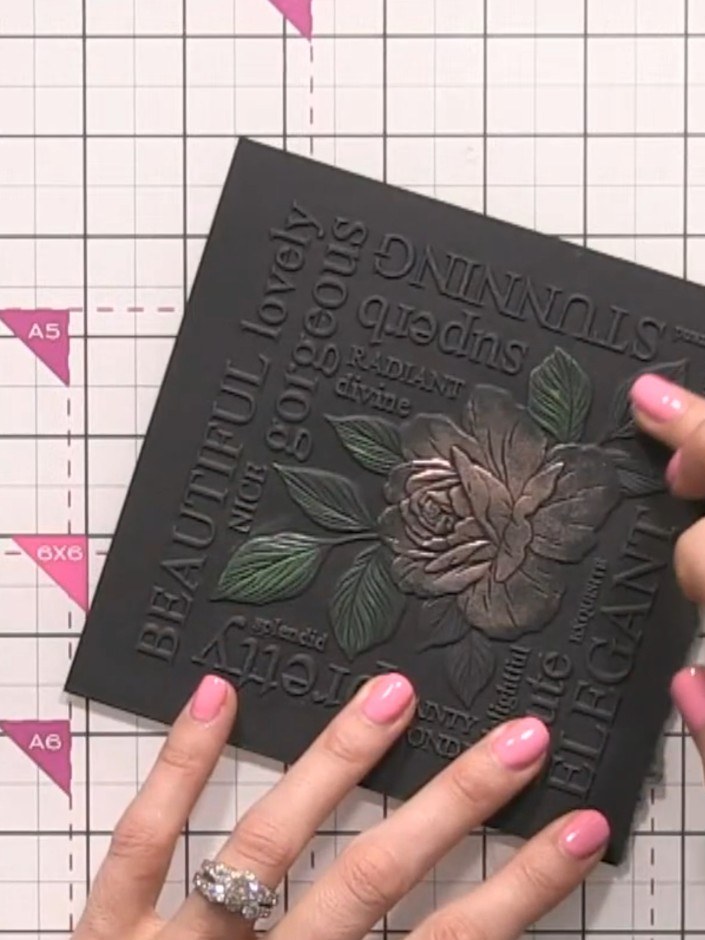
Blend the pink and green gilding waxes together where they meet on the embossed rose design to create a gradient effect. Use your finger to gently work the colours together for a smooth transition.
▶ watch this step (37:30)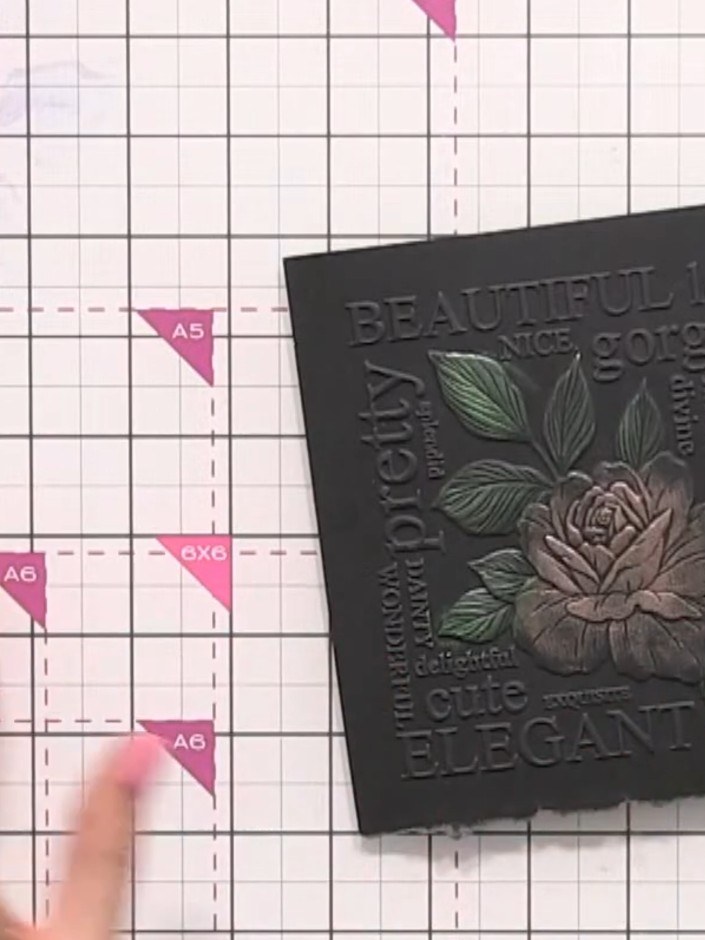
Apply pearl gilding wax to the embossed words using light finger taps. Gently dab the wax onto the raised text areas to highlight them with a subtle metallic sheen.
▶ watch this step (38:00)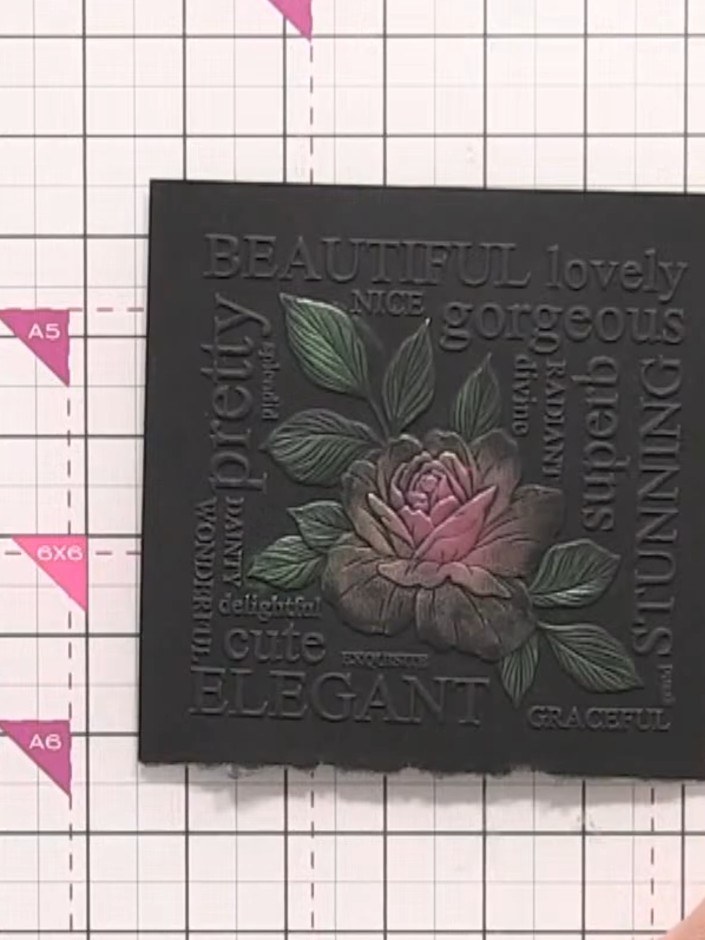
Step back and admire your finished embossed card with its beautiful multi-coloured metallic finish created by the various gilding wax colours applied to the raised design.
▶ watch this step (39:00)Written up from the show itself. See every guide from our shows · free how-to guides · watch live on My Telly


