Give your friends €10 off their first order!
Refer a FRIEND








Prices change straight away. Every language is our own translation, not Google.
A project from our live show ONE DAY SPECIAL - Join Toni for her brand new launch - Broadcast 1st August 2025 · 01/08/2025 · watch it from 46:00
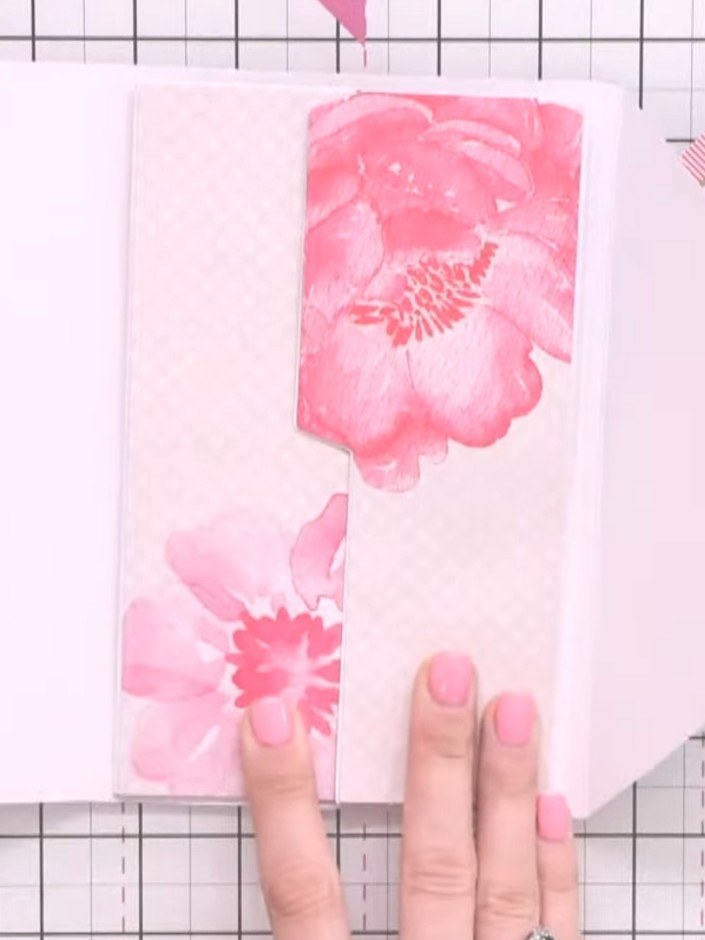
Create an interactive pocket page for your scrapbook album featuring beautiful pink floral papers with decorative swirls and roses. This project uses a clever stacking technique to layer multiple pockets at different heights, creating dimensional storage spaces for photos, journaling cards, and memorabilia. The finished piece combines patterned papers in coordinating pink tones with a practical multi-pocket design that adds both visual interest and functionality to your album.
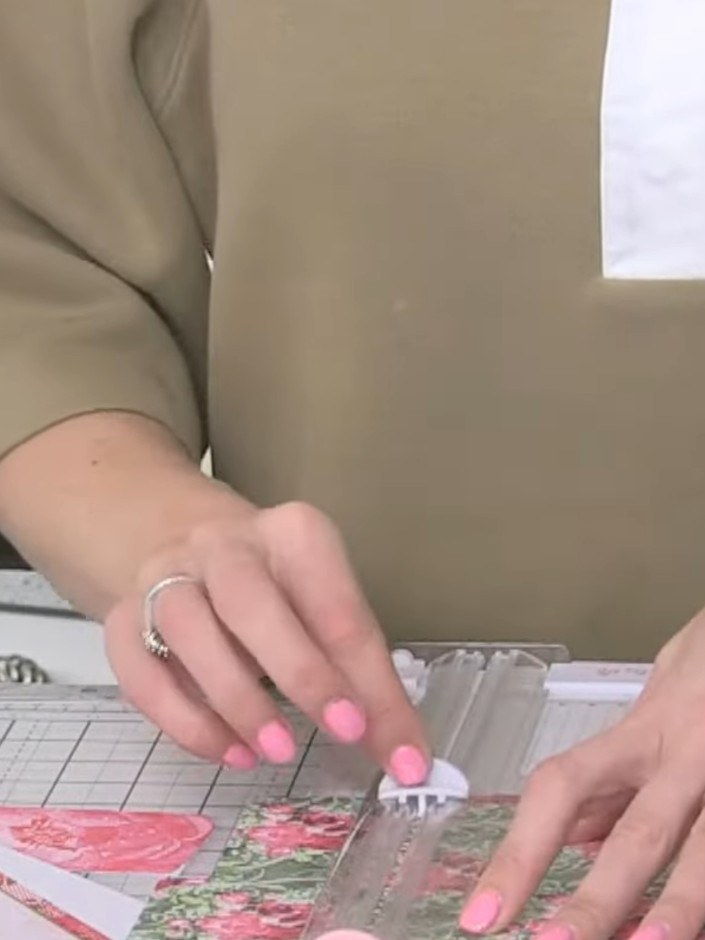
Adhere a matted layer piece onto the pink floral page as your base foundation using dry clear glue.
▶ watch this step (46:30)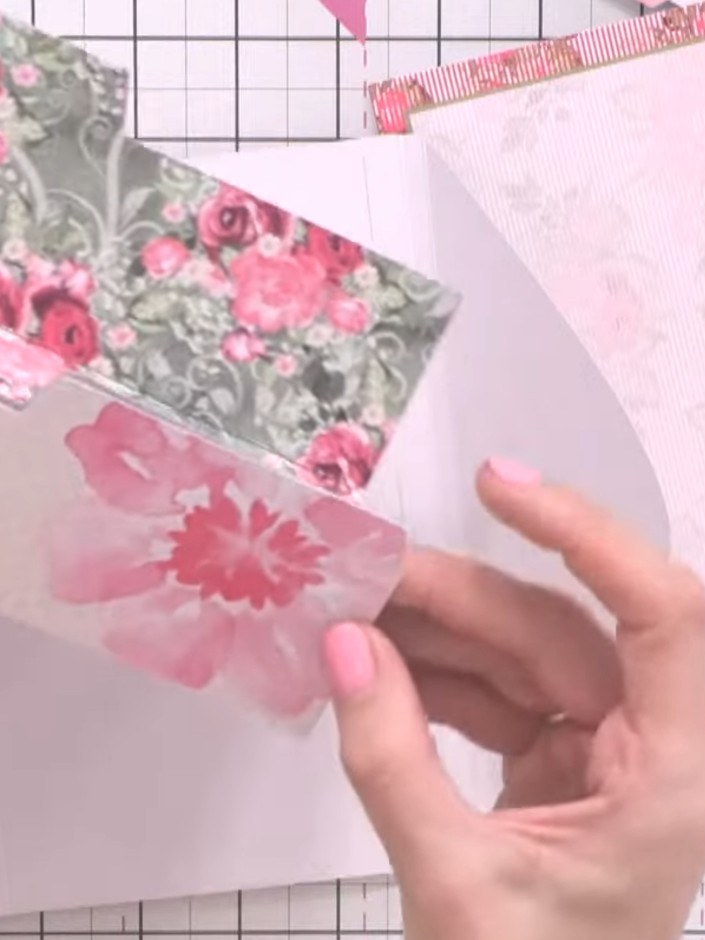
Position the first decorative pocket piece near the top of your page. Apply glue along the bottom edge only to secure it in place, leaving the top open to create a pocket.
▶ watch this step (48:00)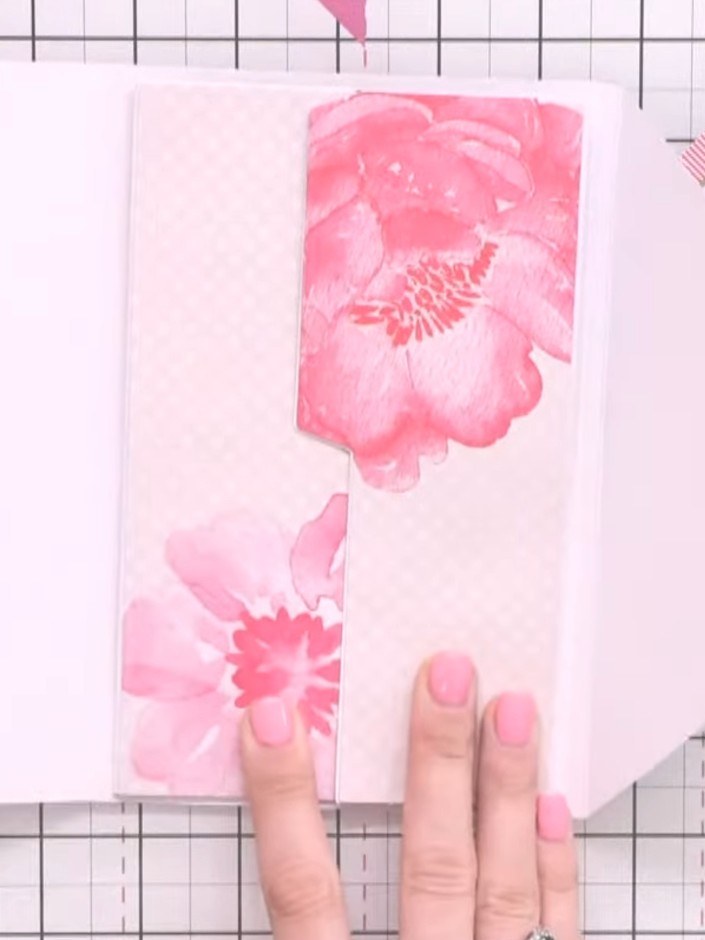
Position the second decorative paper pocket piece in the centre of the page, slightly overlapping the first pocket. Apply dry clear glue to secure it in place.
▶ watch this step (50:00)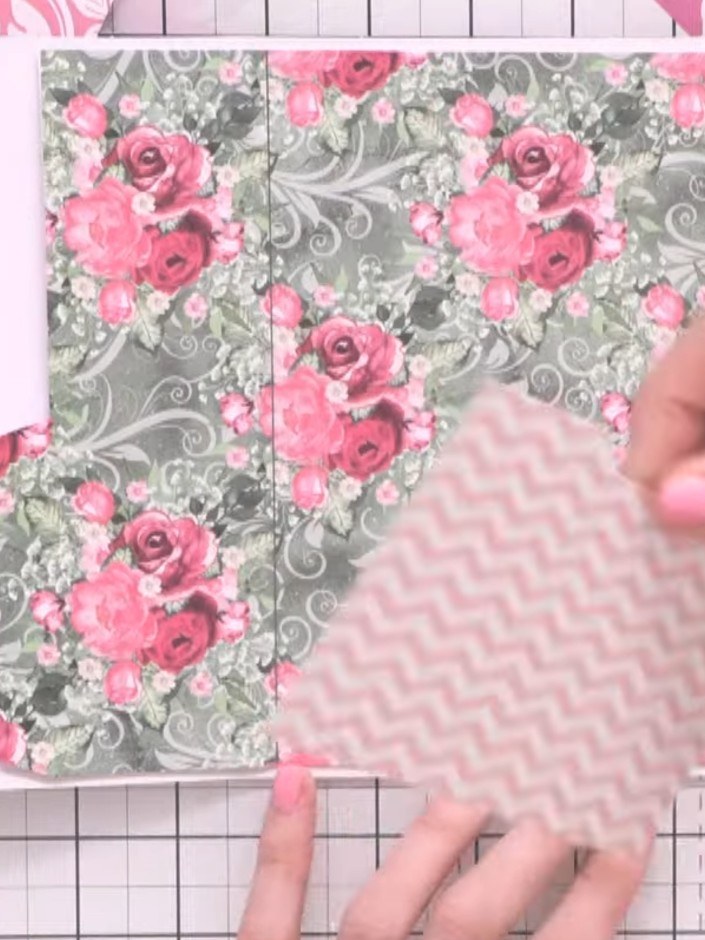
Attach the third decorative pocket piece to the bottom of the page using glue, creating a cascading stacked effect with the pink chevron pattern showing. Decorate each pocket front with embellishments. Add decorative rivets to the corners or edges of your pockets. You can also use circle punches to create punched details on the pocket flaps.
▶ watch this step (52:00)Written up from the show itself. See every guide from our shows · free how-to guides · watch live on My Telly