Give your friends €10 off their first order!
Refer a FRIEND








Prices change straight away. Every language is our own translation, not Google.
A project from our live show ONE DAY SPECIAL - Join Toni for her brand new launch - Broadcast 18th July 2025 · 18/07/2025 · watch it from 29:15
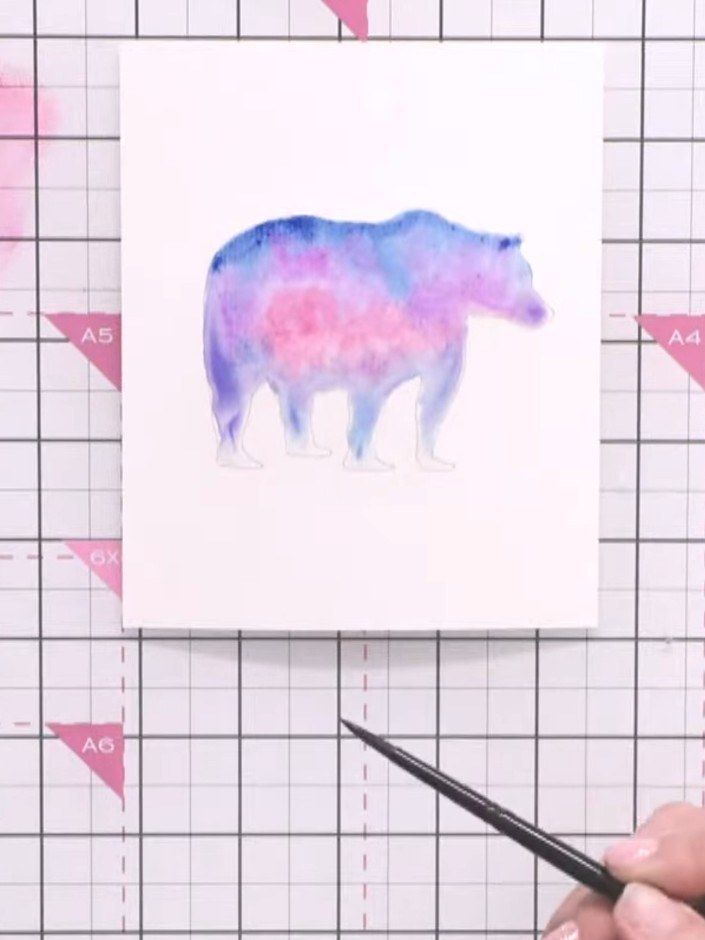
Create a magical Aurora Borealis bear card featuring a stunning watercolour-filled silhouette in blues, purples and pinks. Using stencils and stamps from the Woodland Wildlife collection, you'll build up layers of colour to mimic the Northern Lights, then add stamped tree and wildlife details inside the bear shape for a captivating night-sky scene. This project combines watercolour blending techniques with precision stamping to achieve a beautiful, ethereal effect.
 Carta - Traditional Watercolour Paper - A5 - WCPA501SEE IT
 Stamps By Me - Premium Dye Ink Pad - Limeade - 121022ASEE IT
 Stamps By Me - Premium Dye Ink Pad - Ocean - 121022BSEE IT
 Stamps By Me - Premium Dye Ink Pad - Tiffany - 121022CSEE IT
 Stamps By Me - Premium Dye Ink Pad - Heather - 121022ESEE IT
 Stamps By Me - Premium Dye Ink Pad - Fandango - 121022FSEE IT
 Stamps By Me - Premium Dye Ink Pad - Indigo - 040522BSEE IT
 Stamps By Me - Premium Hybrid Ink - Midnight - 121022NSEE IT
 Stamps By Me - Woodland Wildlife - Stamp and Stencil Set - 020124ASEE IT
 943382 TV - 100268 - HTCN - Stamps By Me Standard Paintbrush Set - 061121ASEE IT
 943381 TV - 100269 - HTCN - Stamps By Me Fine Tip Paintbrush Set - 061121BSEE IT
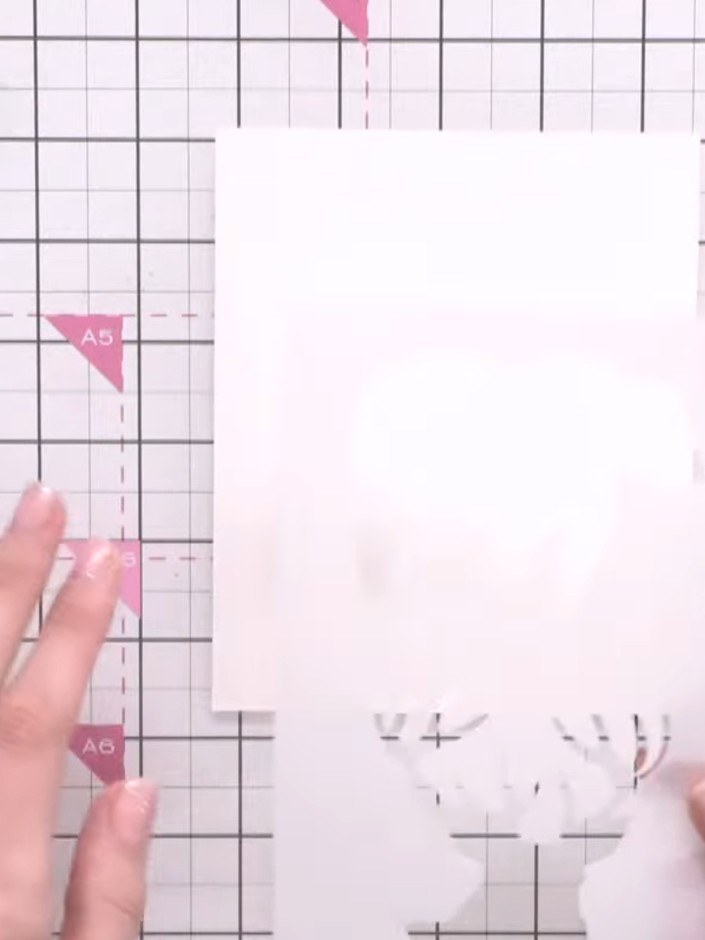
Place the bear stencil from the Woodland Wildlife set onto your A5 watercolour card. Position it where you want the bear to appear on your card.
▶ watch this step (29:30)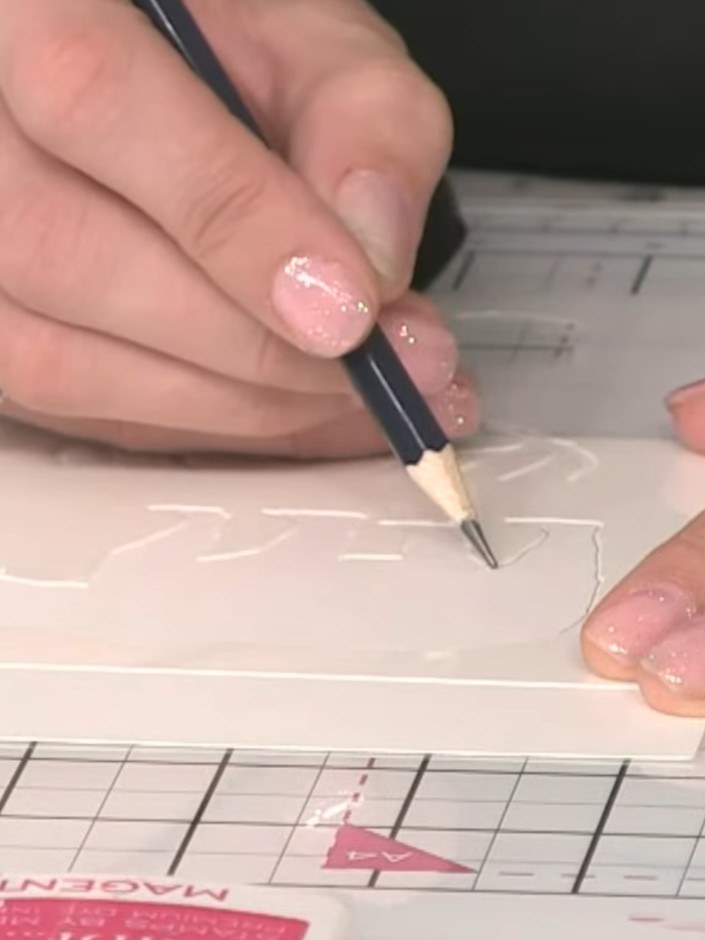
Use a pencil to trace around the inside of the bear stencil to create an outline on your watercolour paper. Hold the stencil steady with your other hand whilst tracing.
▶ watch this step (30:00)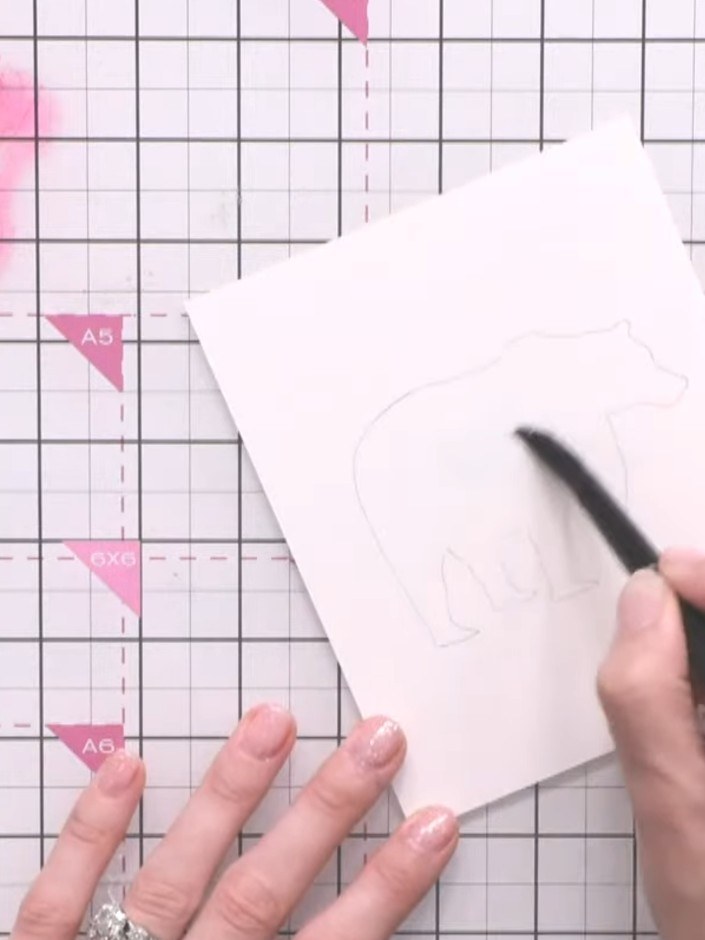
Using a brush, paint clean water inside the bear outline on the watercolour paper, keeping the water within the pencil lines.
▶ watch this step (30:15)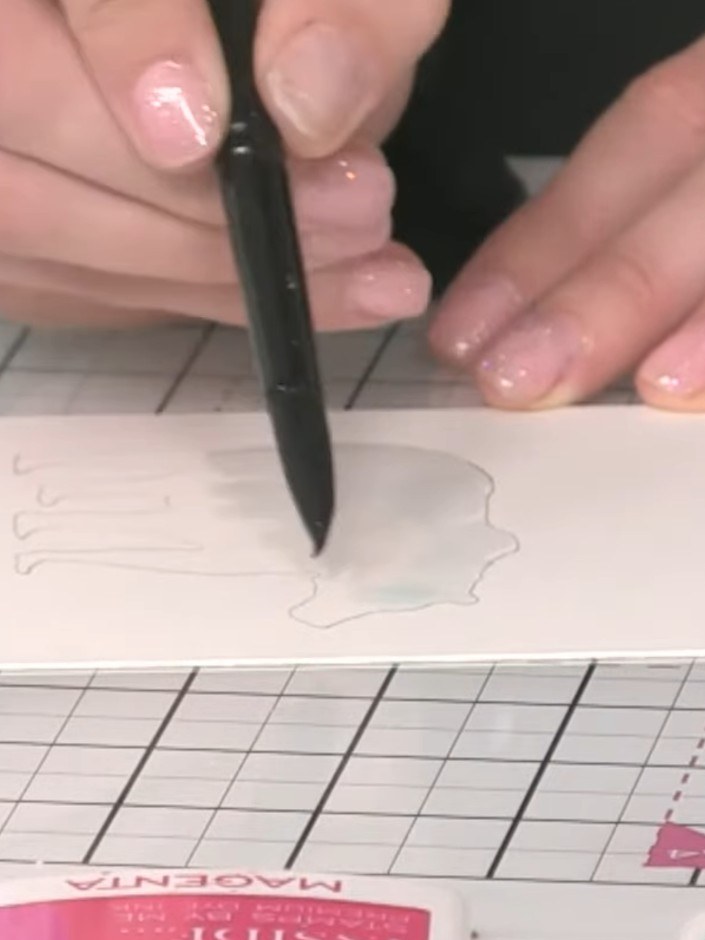
Drop teal ink into the wet area and allow it to spread naturally within the water. The ink will blend and create soft colour transitions as it moves through the dampened paper.
▶ watch this step (31:00)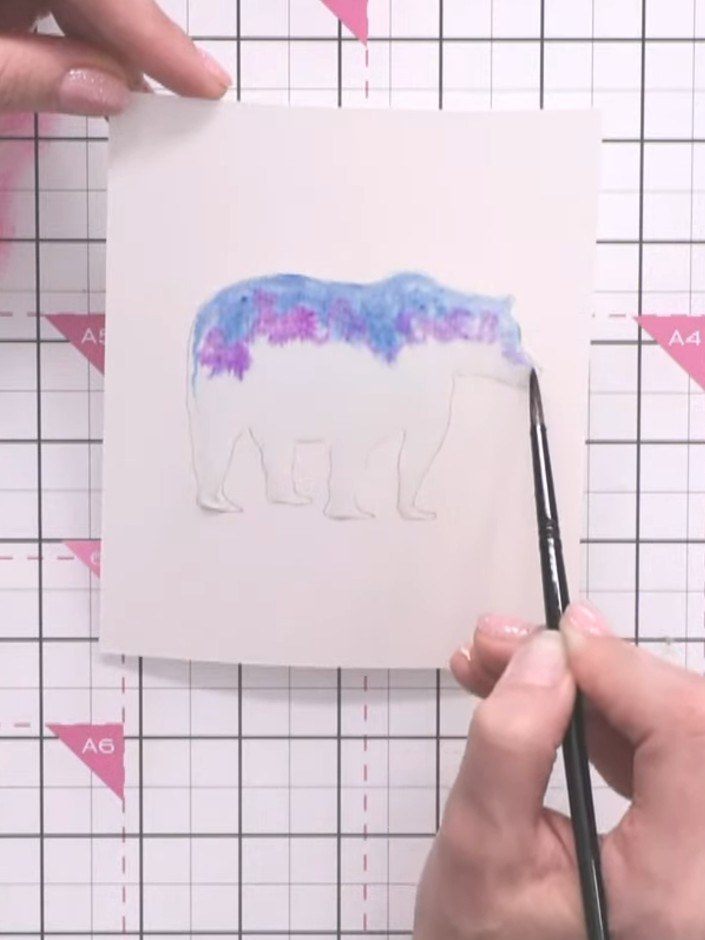
Using a paintbrush, add pink and purple dye inks to different areas of the wet bear silhouette. Allow the colours to blend and merge organically on the damp watercolour paper.
▶ watch this step (31:30)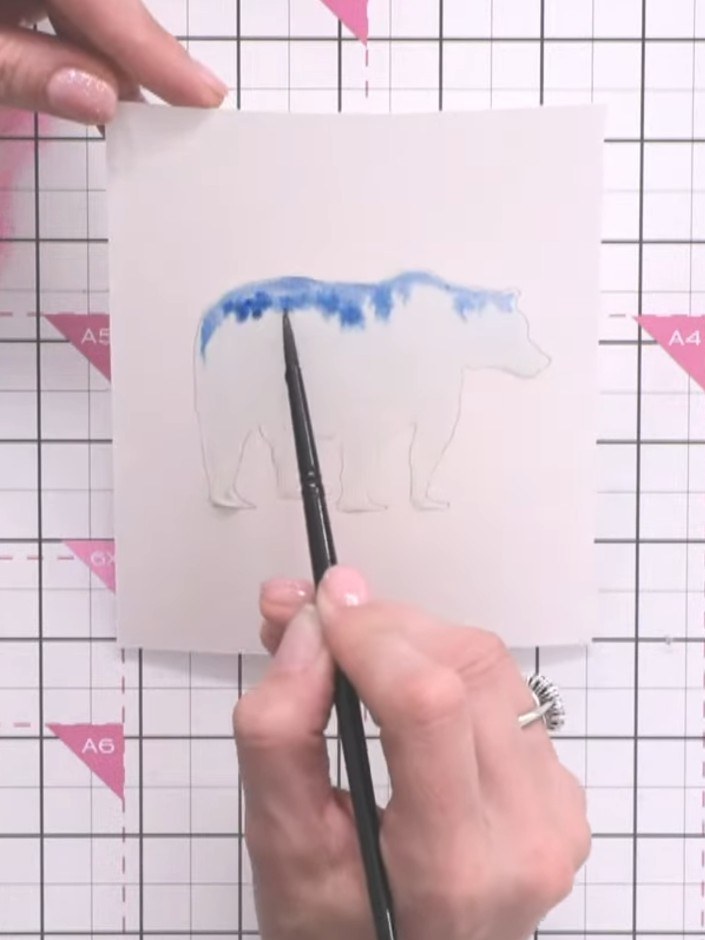
Use a dry brush to lift excess water and puddles from the blue watercolour area. Dab the brush bristles on tissue to dry them, then gently touch the wet areas to absorb the excess moisture.
▶ watch this step (32:30)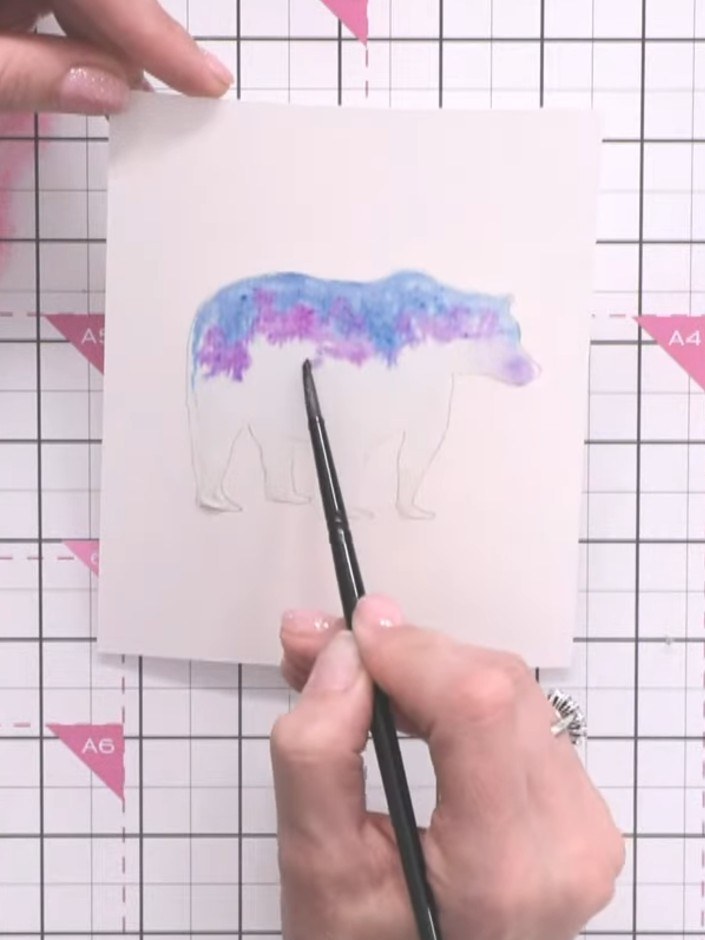
Using a fine tip paintbrush, add darker blue ink (Indigo or Ocean) to the bear's feet and along the edges of the watercoloured areas to intensify the Aurora Borealis effect and add depth.
▶ watch this step (33:00)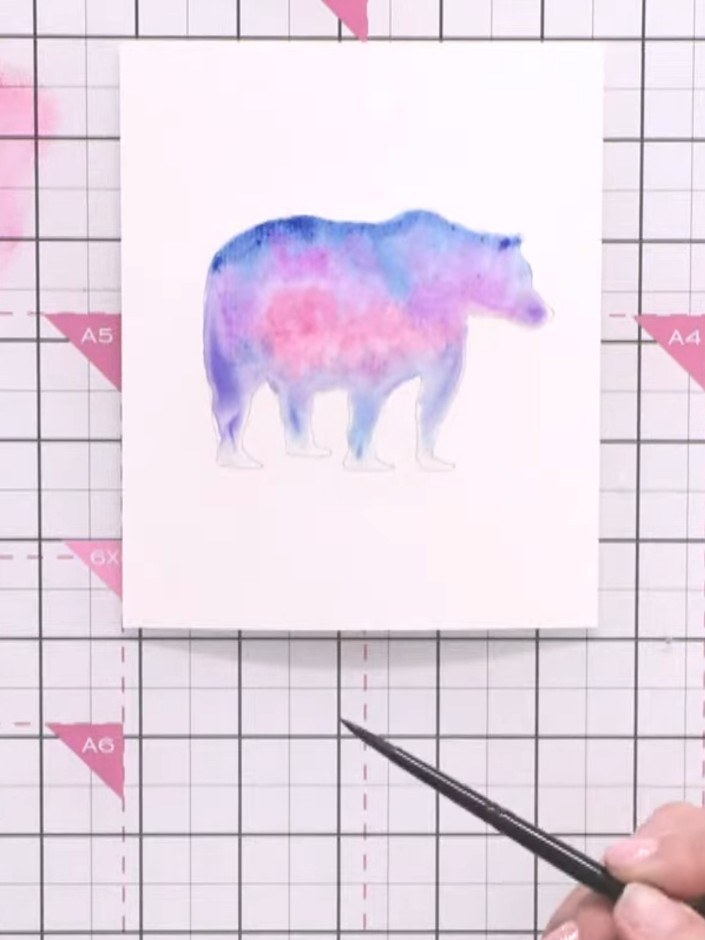
Set the bear aside to dry completely before proceeding to the next step.
▶ watch this step (34:45)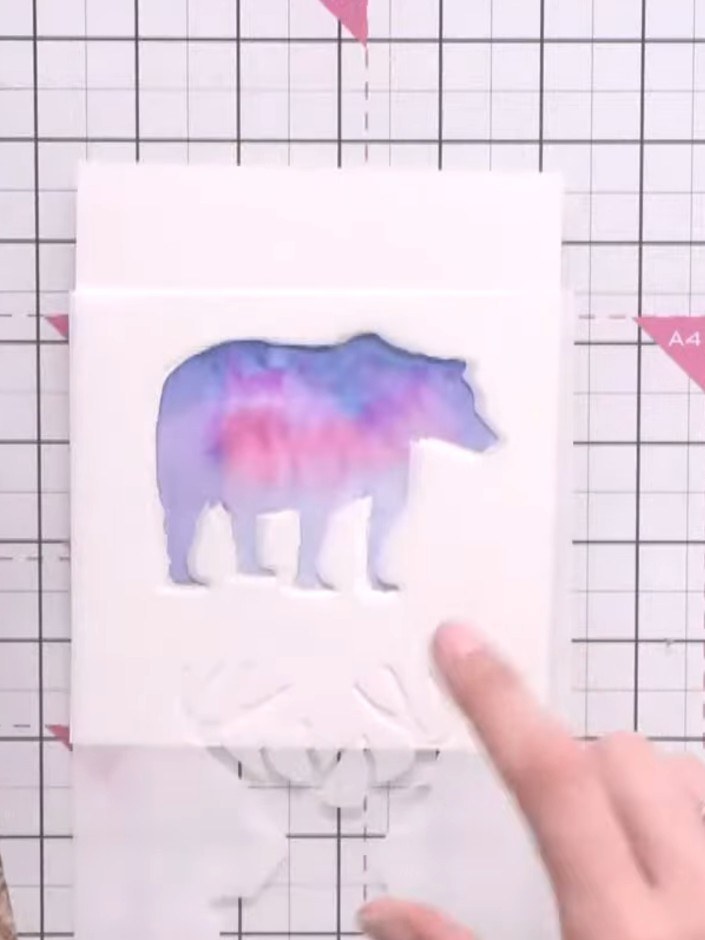
Using the Woodland Wildlife stamp set and black ink, stamp tree images onto the lower portion of the bear silhouette to create a woodland scene within the legs. Allow the stamped images to dry completely.
▶ watch this step (1:02:00)Written up from the show itself. See every guide from our shows · free how-to guides · watch live on My Telly


