Give your friends €10 off their first order!
Refer a FRIEND








Prices change straight away. Every language is our own translation, not Google.
A project from our live show THE THURSDAY DROP - Latest Products from Toni - Broadcast 20th August 2026 · 20/08/2026 · watch it from 28:30
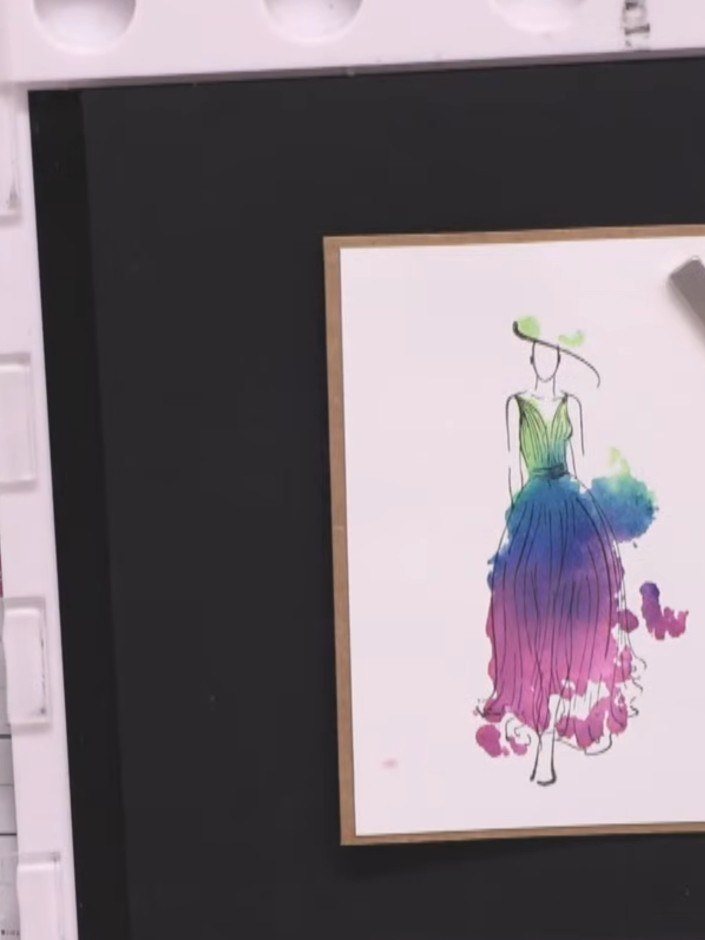
Create an elegant card featuring a lady in a flowing dress with vibrant watercolour effects. The dress transitions from green through blue to pink and purple, creating a stunning rainbow gradient effect. This project uses lamination stamps with a watercolour spray technique, where the solid stamp is inked and sprayed with water before adding fine detail lines.
 A5 Stamp - Lamination - Keep Shining - 240424DSEE IT
 A5 Stamp - Lamination - One of a Kind - 240424ESEE IT
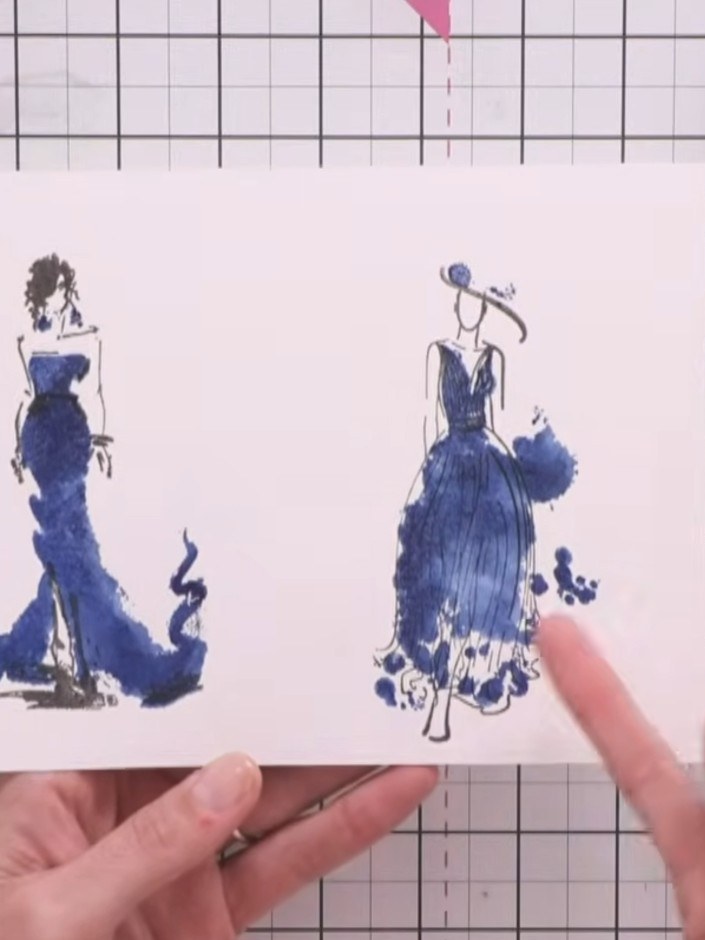
Ink up the solid portion of the lamination stamp using your chosen colours. Create a gradient effect by blending from one colour to another across the stamp, working from green through teal and purple to pink.
▶ watch this step (29:00)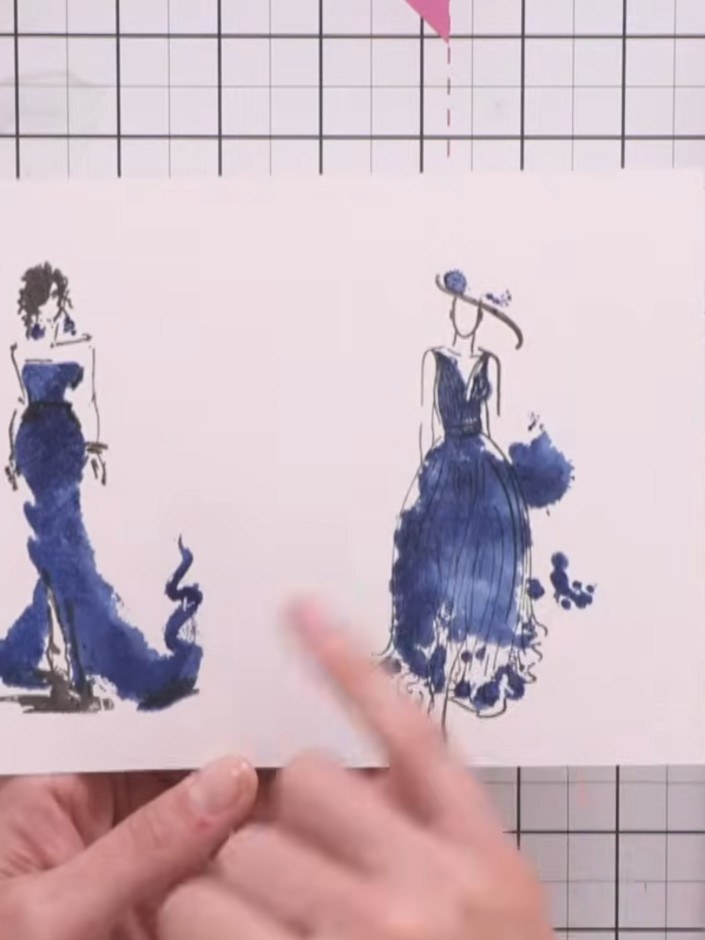
Stamp the inked solid portion of your chosen dress stamp onto your white card base using blue ink. Allow the stamped image to dry completely before proceeding.
▶ watch this step (29:15)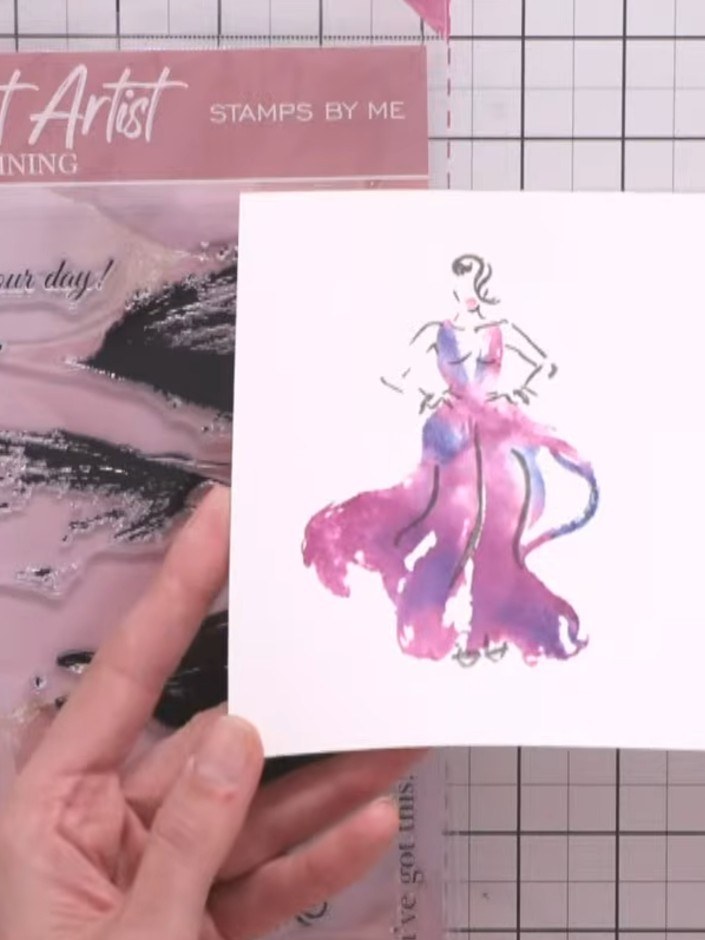
Lightly spray the stamped images with water to create a watercolour effect and blend the colours together.
▶ watch this step (29:30)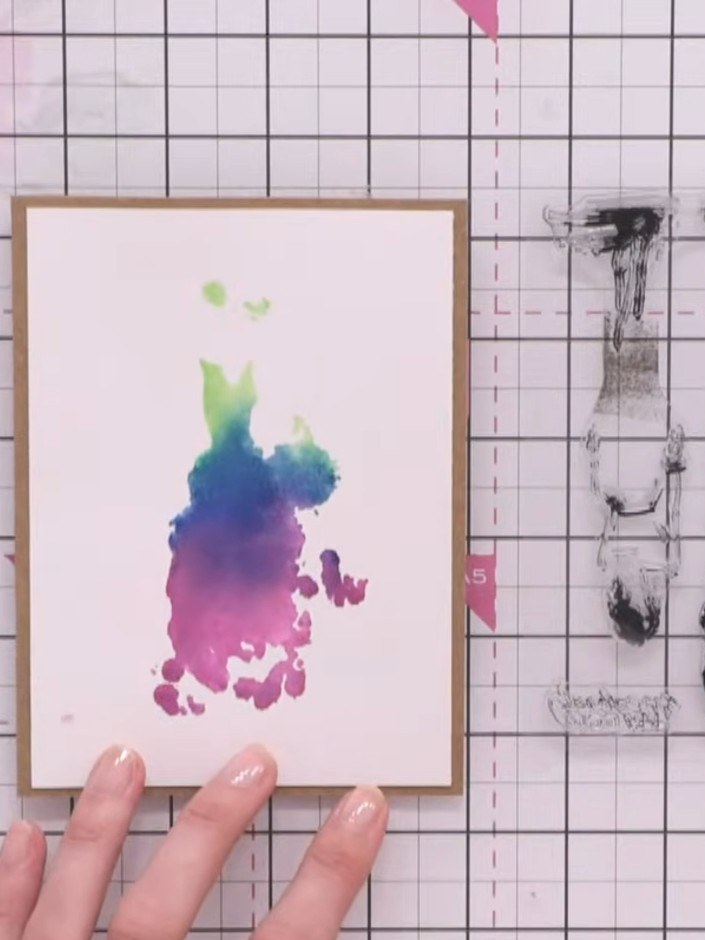
Align the detail stamp layer over the dried watercolour base. Use the positioning guide on the back of the stamp packet to ensure correct placement of the design elements.
▶ watch this step (30:00)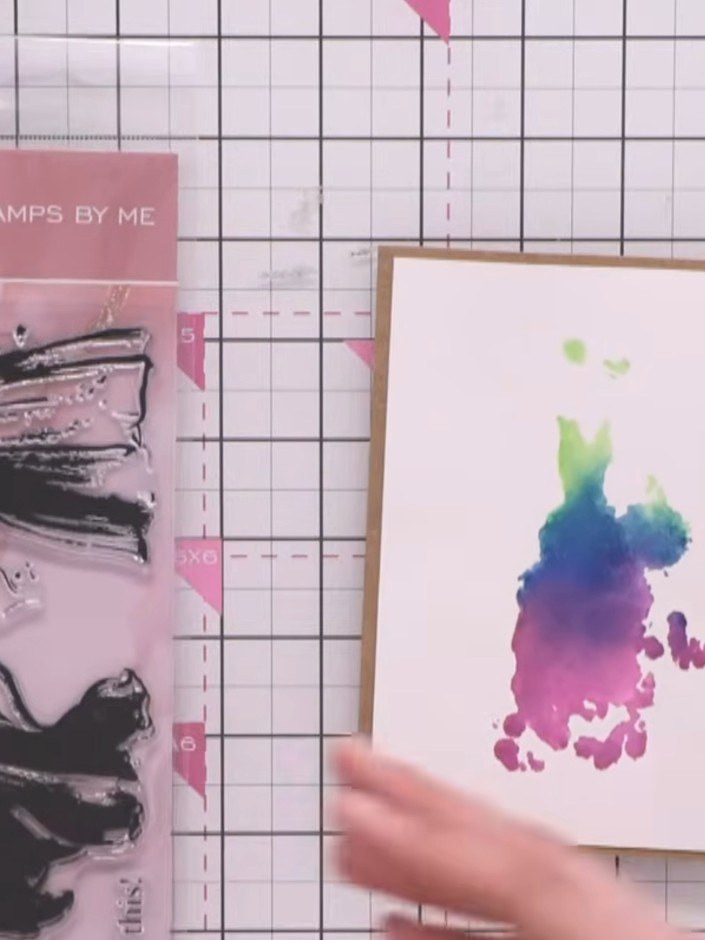
Select the detail stamp from the Keep Shining set showing the dress outline. Stamp this image in black ink over the watercoloured background to add the fine lines of the dress, hat and accessories.
▶ watch this step (30:15)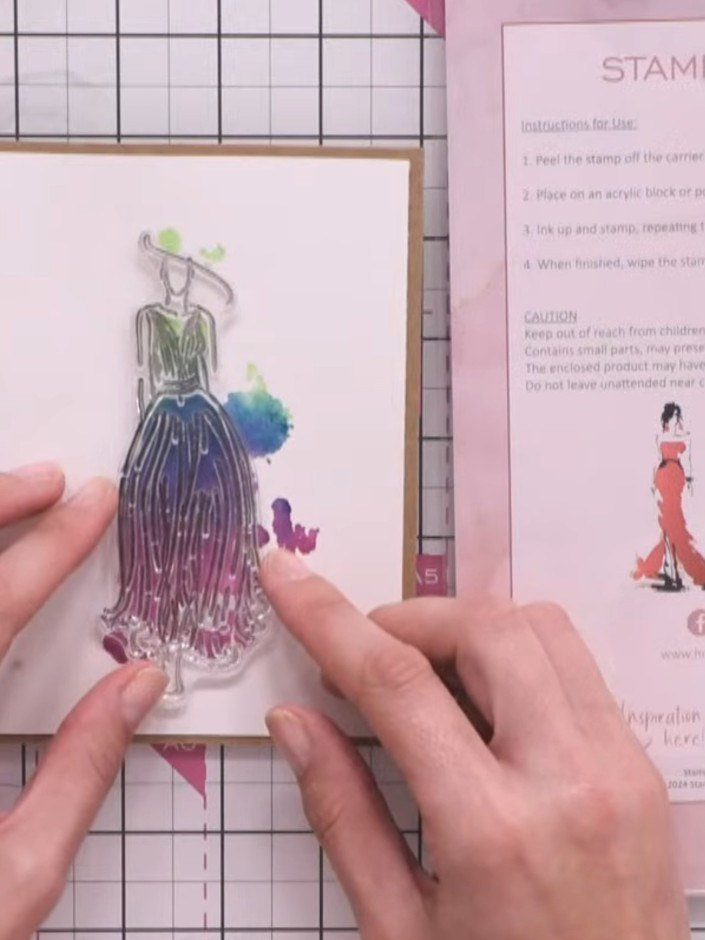
Complete your card by adding a sentiment stamp if desired, or leave the watercolour dress artwork as the focal point. The finished card showcases the beautiful laminated figure with its colourful watercolour details.
▶ watch this step (31:00)Written up from the show itself. See every guide from our shows · free how-to guides · watch live on My Telly


