Give your friends €10 off their first order!
Refer a FRIEND








Prices change straight away. Every language is our own translation, not Google.
A project from our live show IDEAL WORLD - Join Toni for the latest Stamps By Me product launch - Broadcast Wed 2nd April 12 p.m. - 2 p.m. · 02/04/2025 · watch it from 23:00
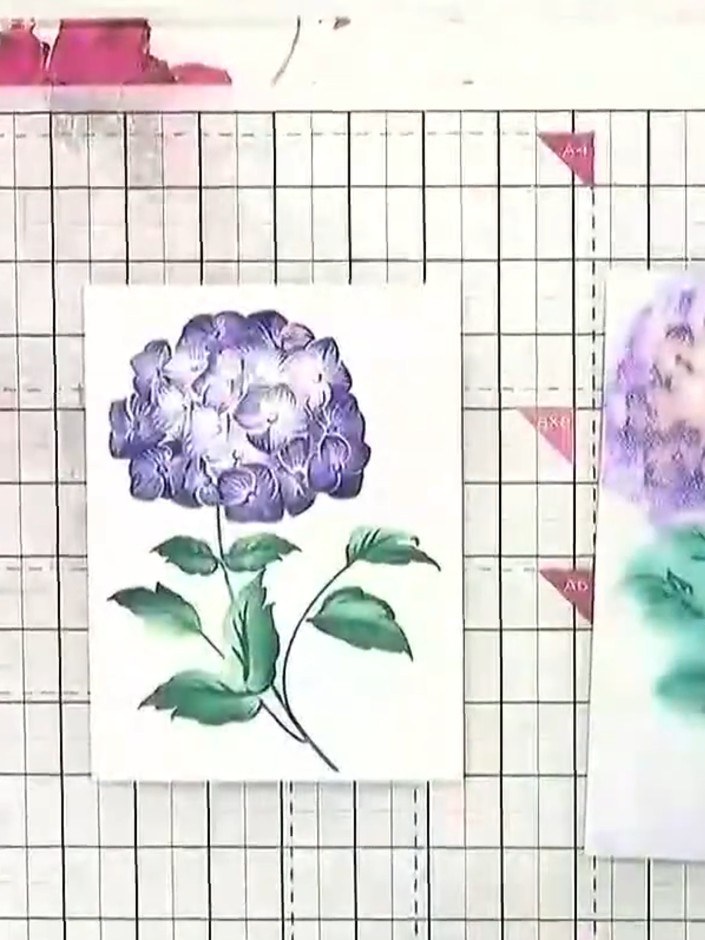
Create a stunning hydrangea card featuring layered stencil work with sparkling glitter paste highlights. This elegant floral design combines soft watercolour-style blooms in coral-pink and purple tones with green foliage, finished with iridescent shimmer accents. The technique uses multiple stencil layers to build depth and dimension, culminating in a luxurious glitter paste detail that adds a touch of glamour to your handmade card.
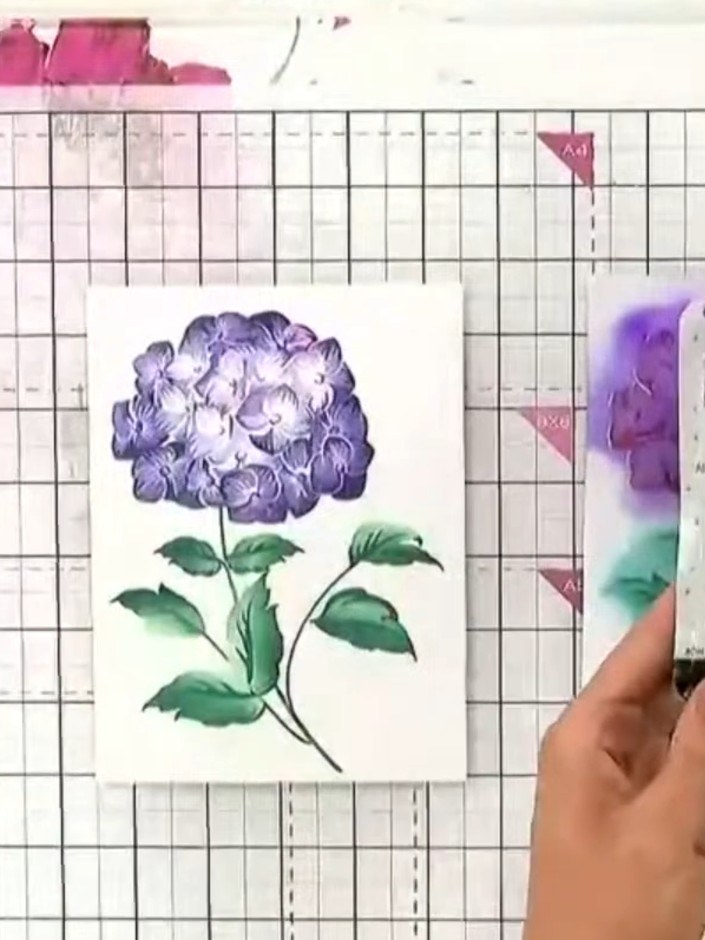
Complete stencils one through four using your chosen ink colours as described in the previous project. Build up the hydrangea flower and leaves with the layered stencils.
▶ watch this step (23:15)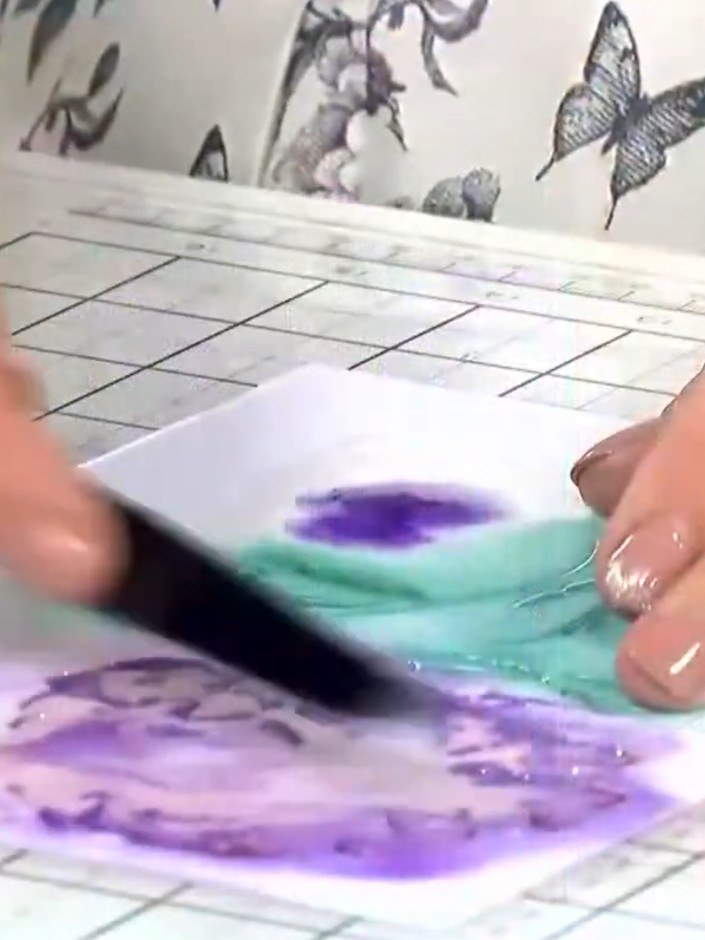
Squeeze a small amount of iridescent glitter paste onto a palette or spare surface.
▶ watch this step (23:45)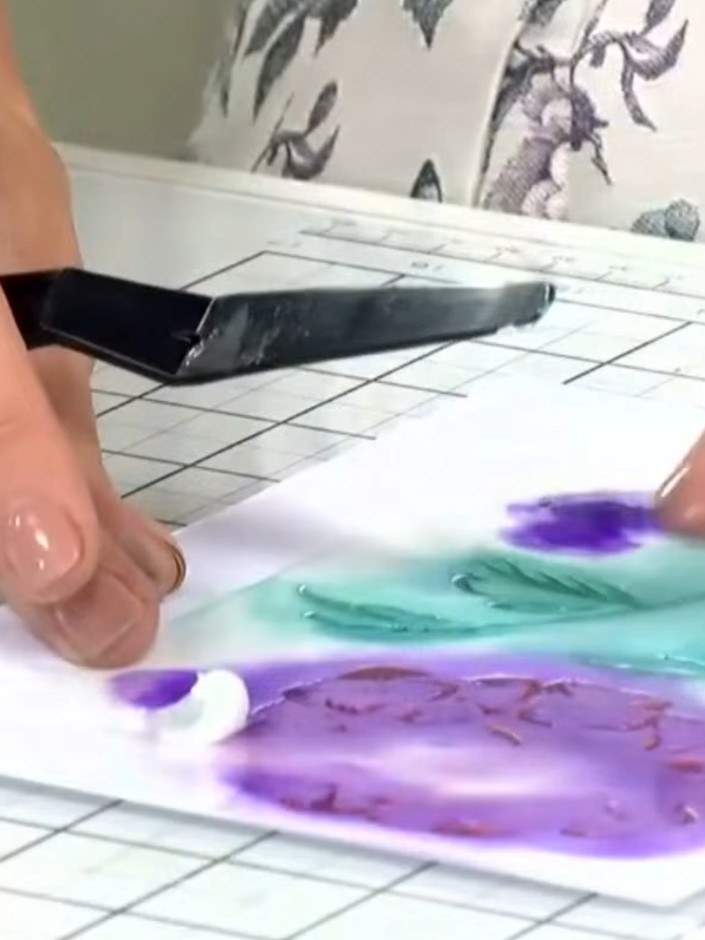
Hold stencil number five in place on your card and push the glitter paste through using a spatula, working it across the stencil design to fill the pattern.
▶ watch this step (24:00)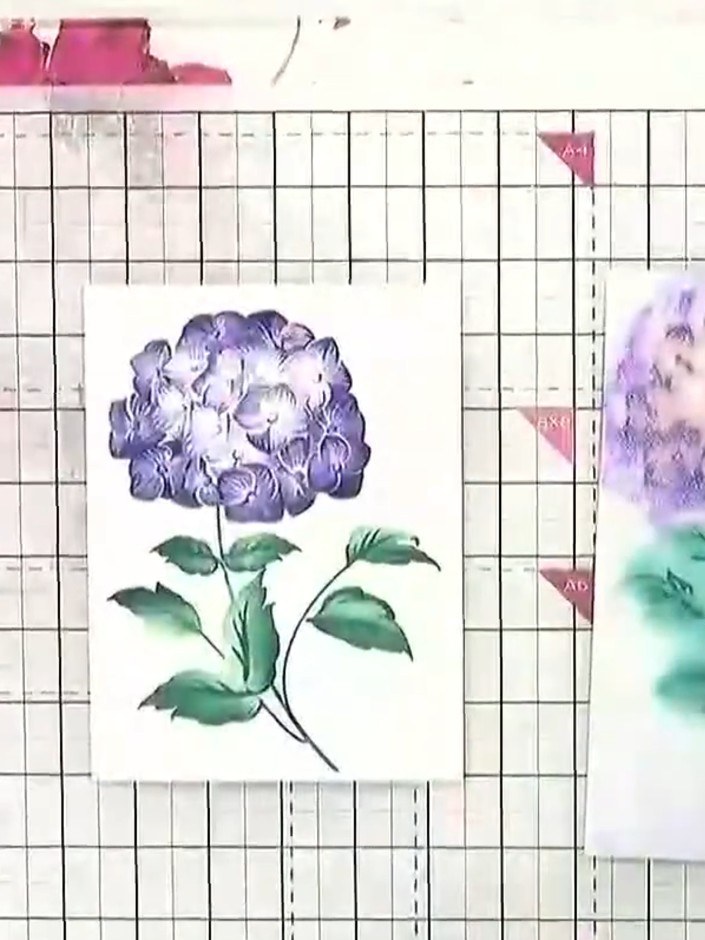
Allow the glitter paste to dry for five to six minutes before carefully removing the stencil to prevent smudging. Lift the stencil away gently to reveal the purple hydrangea design with glitter highlights.
▶ watch this step (24:15)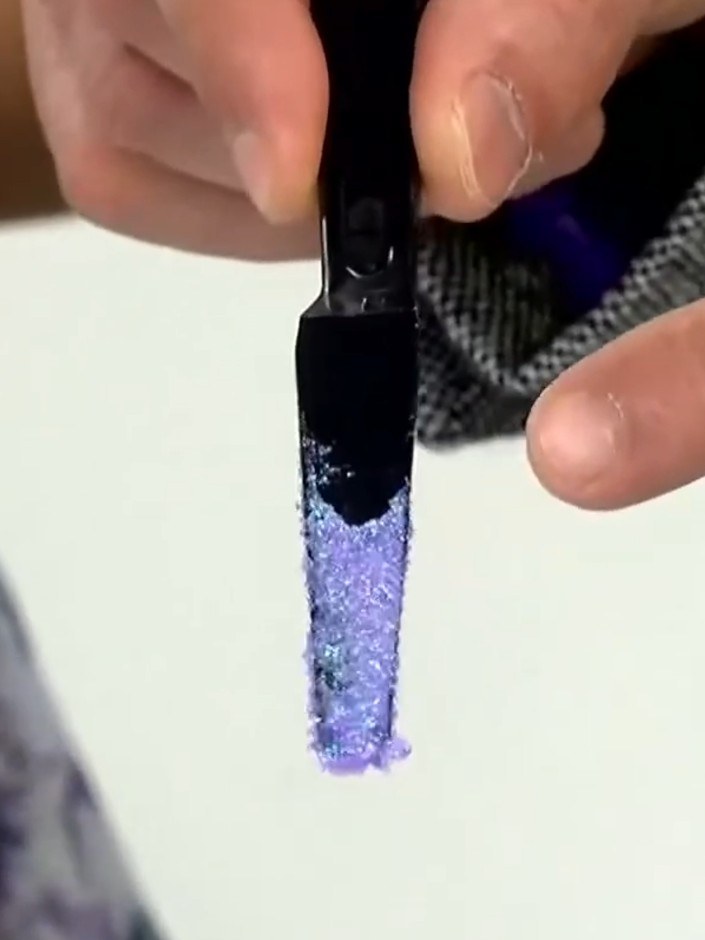
Rinse the stencil under running water to remove all glitter paste residue. Clean thoroughly to ensure the stencil can be reused.
▶ watch this step (24:30)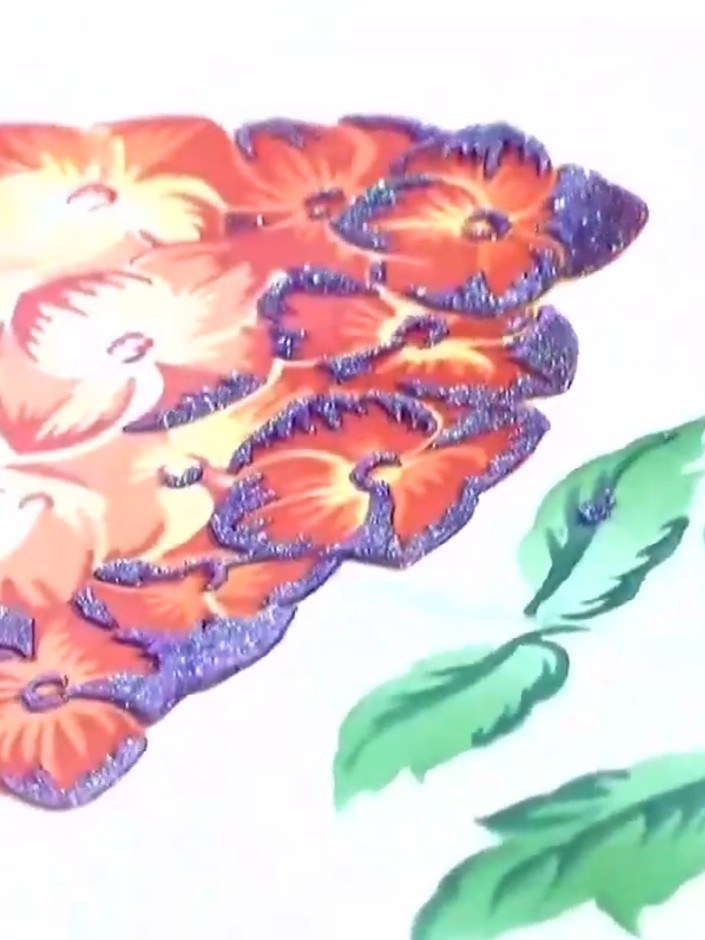
Carefully peel away the stencil to reveal the coral and purple glittered flower design. Complete the card by die-cutting additional elements and assembling the layers as shown in the previous project.
▶ watch this step (24:45)Written up from the show itself. See every guide from our shows · free how-to guides · watch live on My Telly



