Give your friends €10 off their first order!
Refer a FRIEND








Prices change straight away. Every language is our own translation, not Google.
A project from our live show IDEAL WORLD - Join Toni for the latest Stamps By Me product launch - Broadcast Wed 2nd April 12 p.m. - 2 p.m. · 02/04/2025 · watch it from 1:01:45
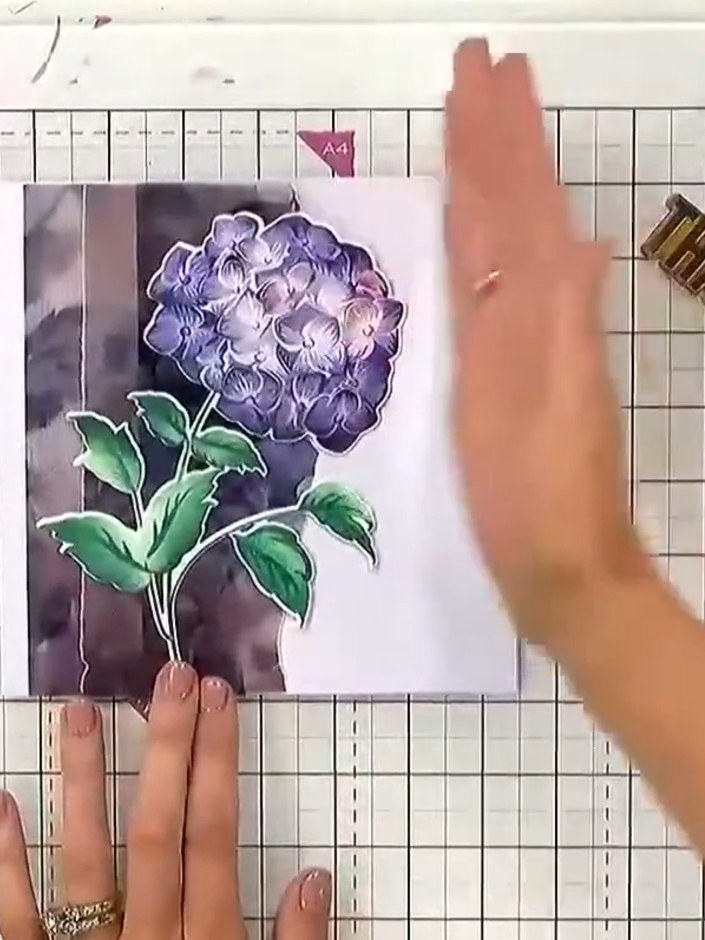
Create an elegant card using torn vellum panels layered over a dark floral design featuring purple hydrangeas and green foliage. The transparency of the vellum creates a beautiful halo effect around the gold embossed 'THANKS' sentiment. This sophisticated technique combines tearing, layering and embossing to produce a card with wonderful depth and visual interest.
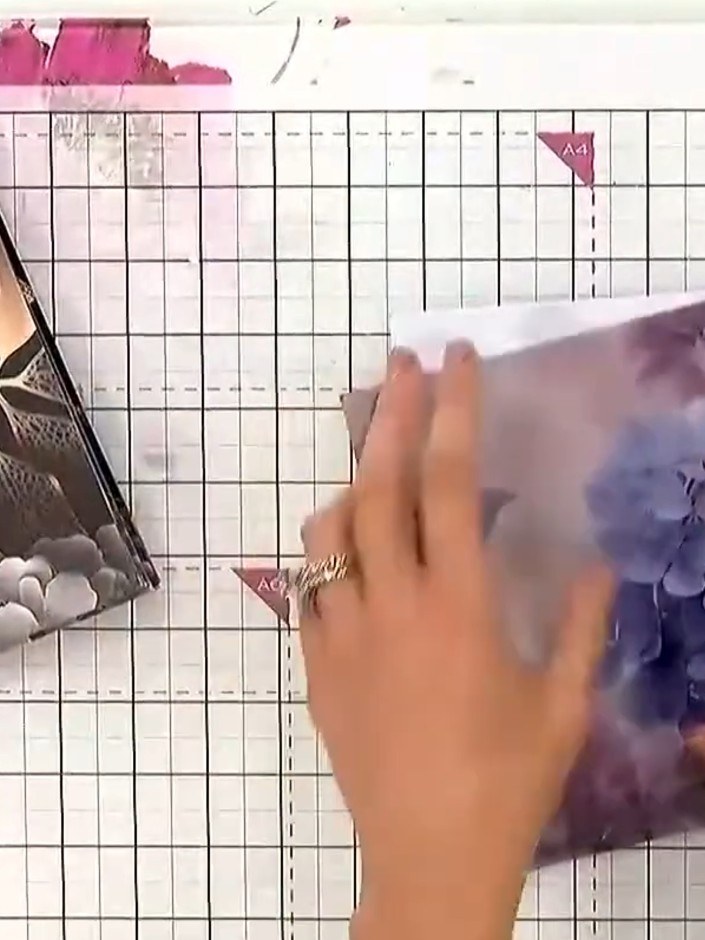
Take a piece of vellum from your pack and tear it into strips or panels of varying widths. Create different sized pieces to layer on your card.
▶ watch this step (1:02:00)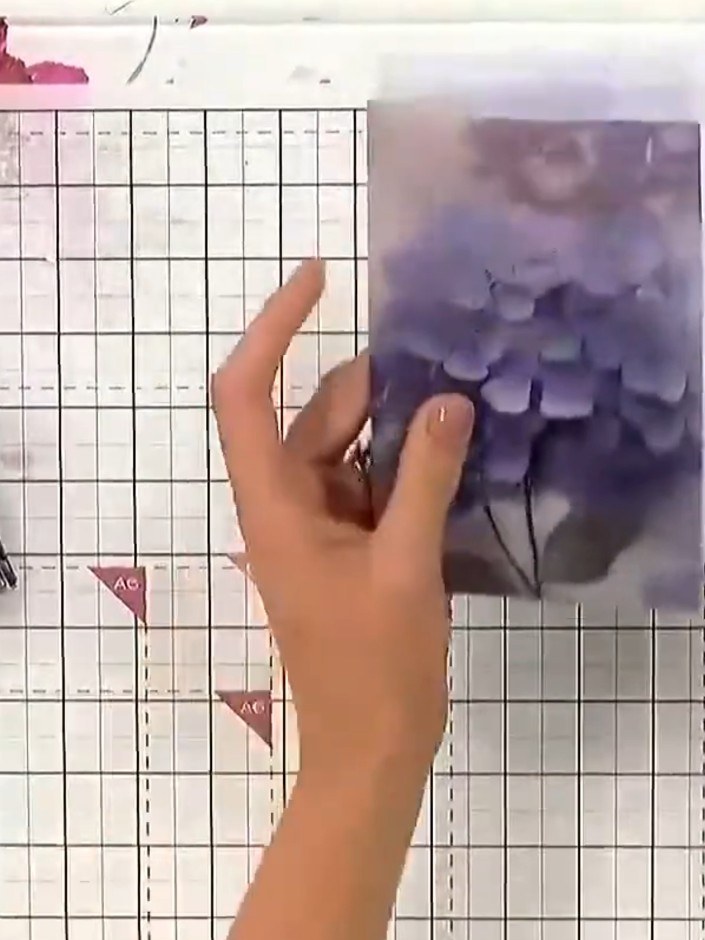
Attach the torn vellum panels down the side of your card base using a tape pen, which shows through less than other adhesives on vellum.
▶ watch this step (1:02:30)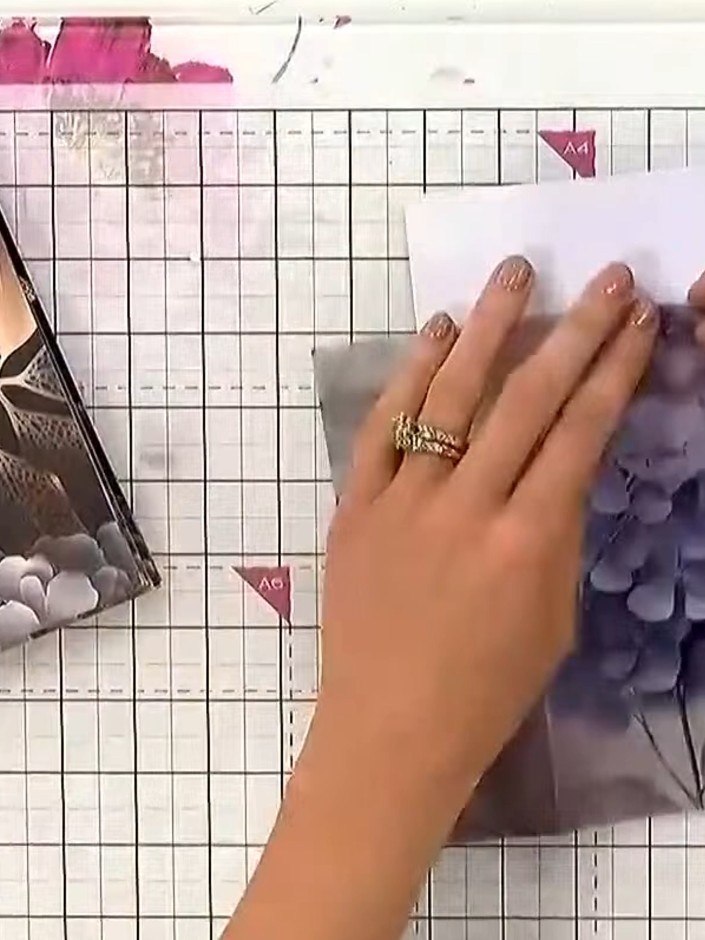
Layer additional torn vellum pieces on top of the first layer, positioning them to create visual interest and depth. Smooth the vellum gently with your hand to ensure it sits flat on the card.
▶ watch this step (1:03:00)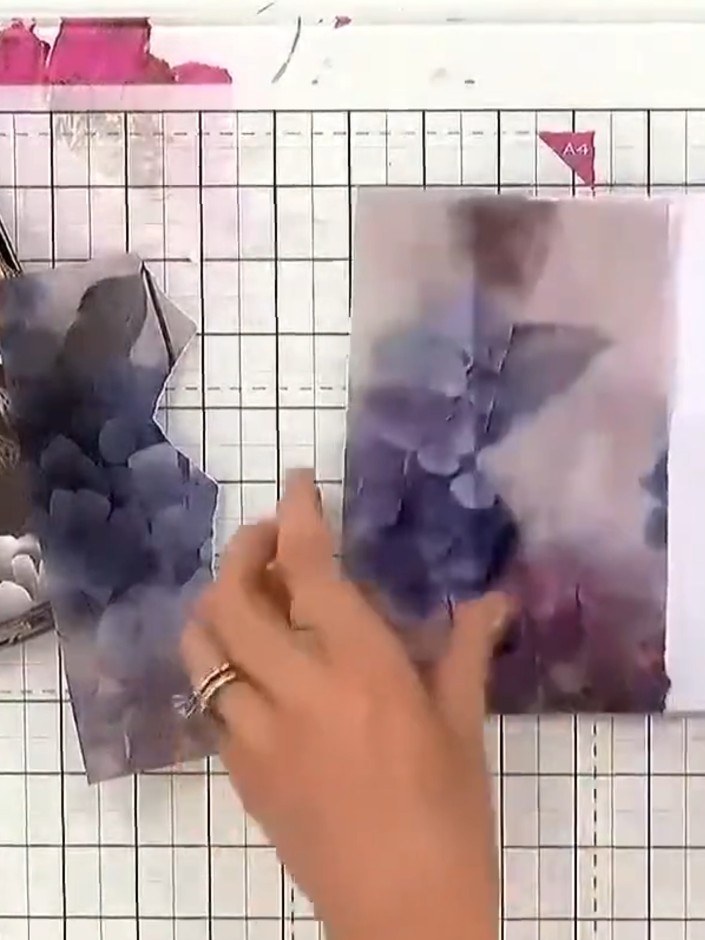
Arrange the vellum panels on your work surface, overlapping them slightly. Notice how the purple and grey colours become more intense where the vellum layers overlap, creating depth and dimension.
▶ watch this step (1:03:30)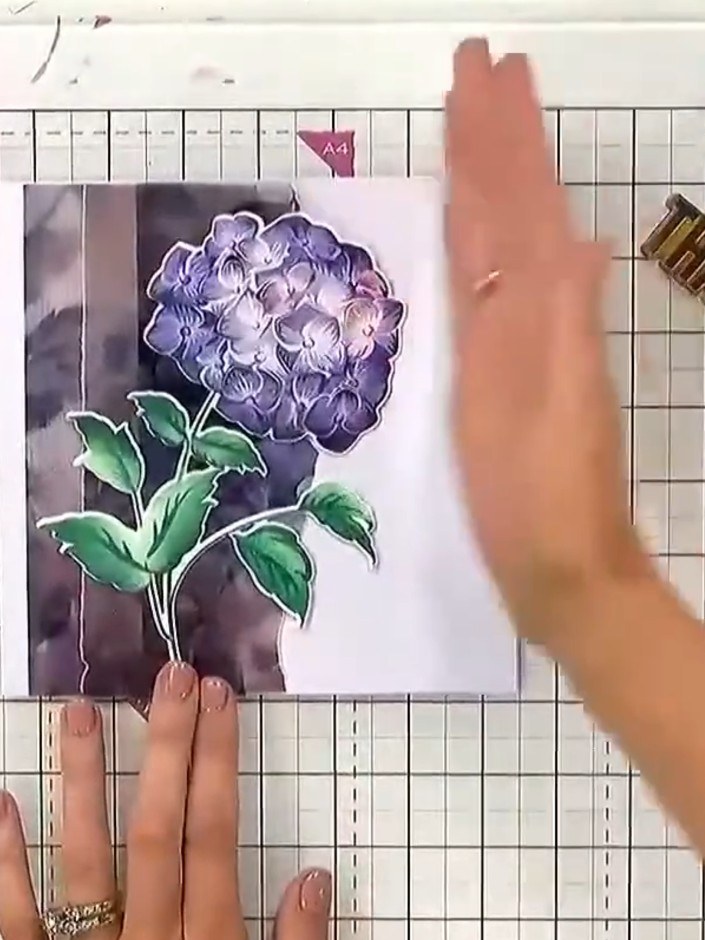
Add a die-cut hydrangea element or sentiment to complete your card design. Position it on top of the layered vellum panels to create a focal point.
▶ watch this step (1:04:00)Written up from the show itself. See every guide from our shows · free how-to guides · watch live on My Telly



