Give your friends €10 off their first order!
Refer a FRIEND








Prices change straight away. Every language is our own translation, not Google.
A project from our live show THE THURSDAY DROP - Latest Products from Toni - Broadcast 20th August 2026 · 20/08/2026 · watch it from 50:30
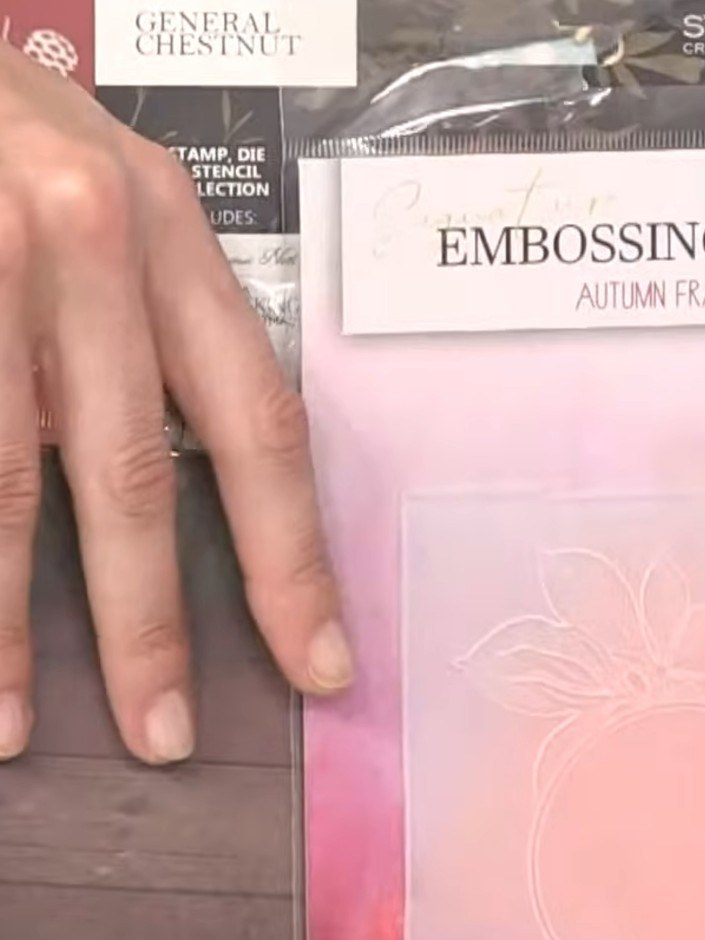
Create a sophisticated Christmas card featuring the General Chestnut nutcracker design with an elegant stamped background technique. This festive card uses grey stamping to create a subtle background, then layers dimensional nutcracker pieces on top with coordinating embellishments in rich blues, golds and greens. The finished piece combines traditional Christmas imagery with a refined, layered approach perfect for the holiday season.
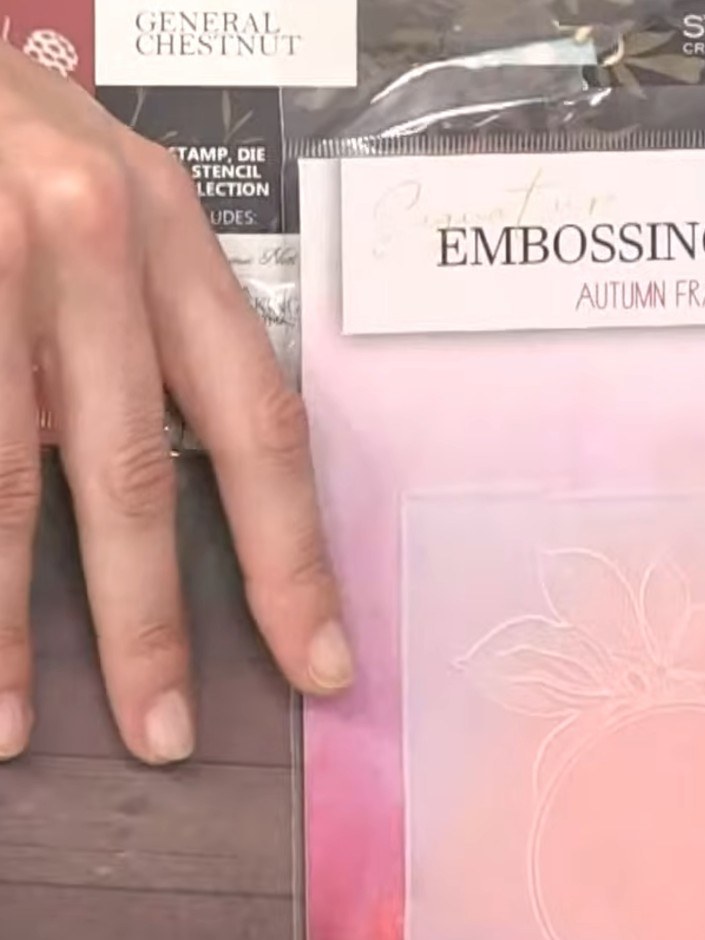
Stamp the General Chestnut design onto your card base using grey ink to create a subtle background pattern. Position the layering stencil from the General Chestnut set onto a separate piece of white cardstock. Apply colour through the stencil openings to create background areas for your design. Die cut the stencilled and stamped pieces using the coordinating die from the General Chestnut set. The embossed Autumn Frame design should be visible on the pink card.
▶ watch this step (50:45)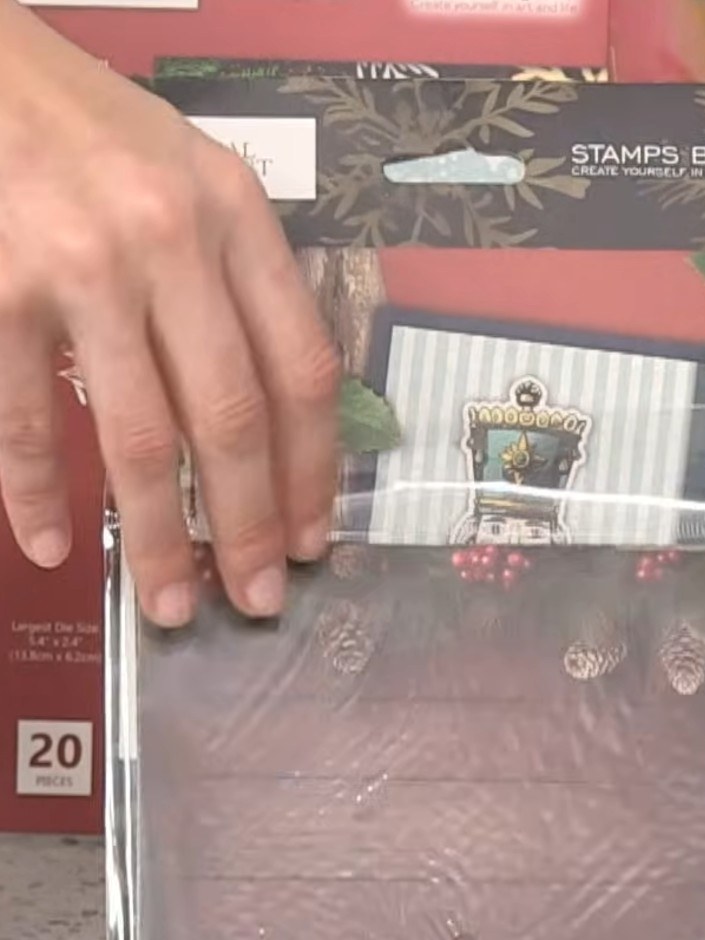
Layer the die-cut pieces onto your card base using foam pads for dimension. Position the elements to create depth and visual interest on your card. Select a sentiment stamp from the set and position it on your card. The 'Dream Big Darling' sentiment works well with the vintage fashion theme.
▶ watch this step (51:30)Written up from the show itself. See every guide from our shows · free how-to guides · watch live on My Telly



