Give your friends €10 off their first order!
Refer a FRIEND








Prices change straight away. Every language is our own translation, not Google.
A project from our live show MIGHTY MONDAY - Join Toni for her detailed papercrafting sessions - Broadcast 24th Feb 2025 · 24/02/2025 · watch it from 6:30
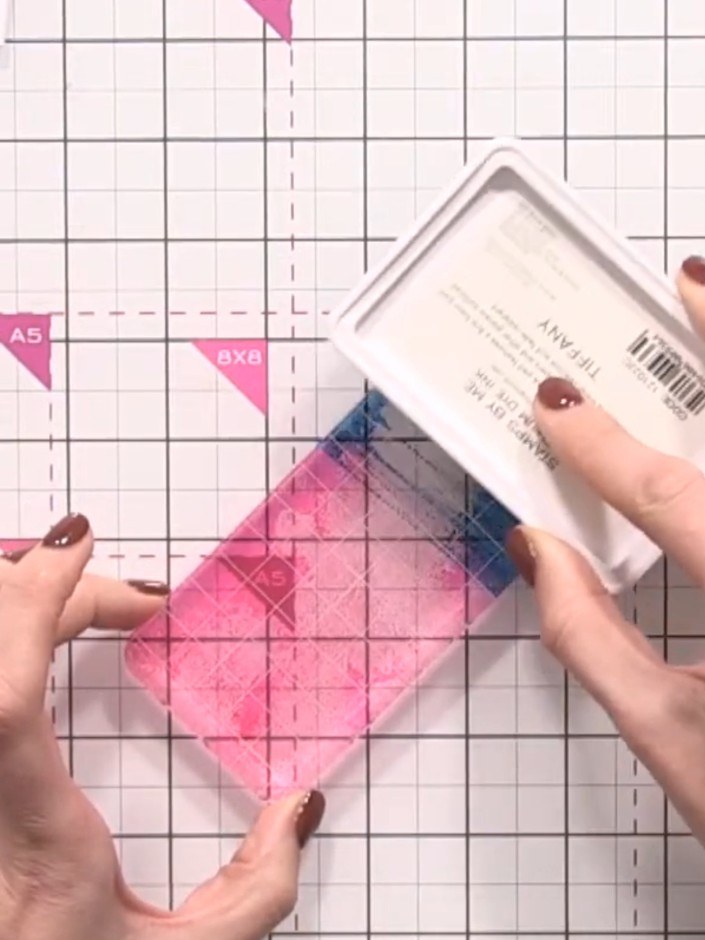
Create a stunning greeting card featuring a soft watercolour-style background in vibrant blue, purple and pink tones. Using an acrylic block as your blending tool, you'll achieve a beautiful gradient effect with natural colour transitions. The technique involves layering ink colours with water spray to create an artistic, contemporary background perfect for any occasion.
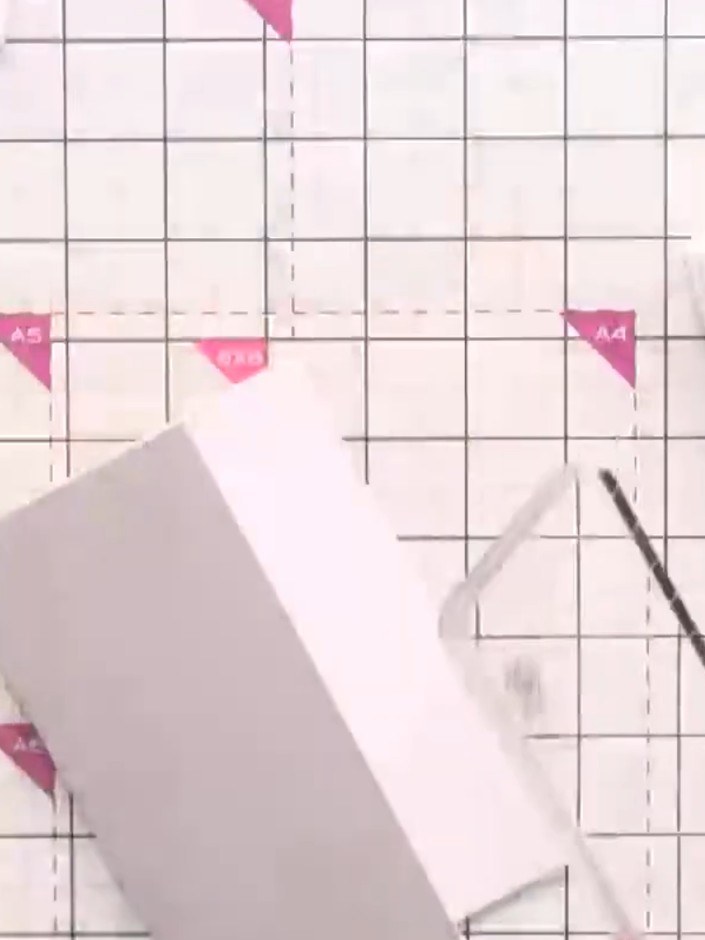
Select an acrylic block and two ink pad colours. The demonstration uses magenta pink and teal blue ink pads from the Pretty Colour Inside range.
▶ watch this step (6:45)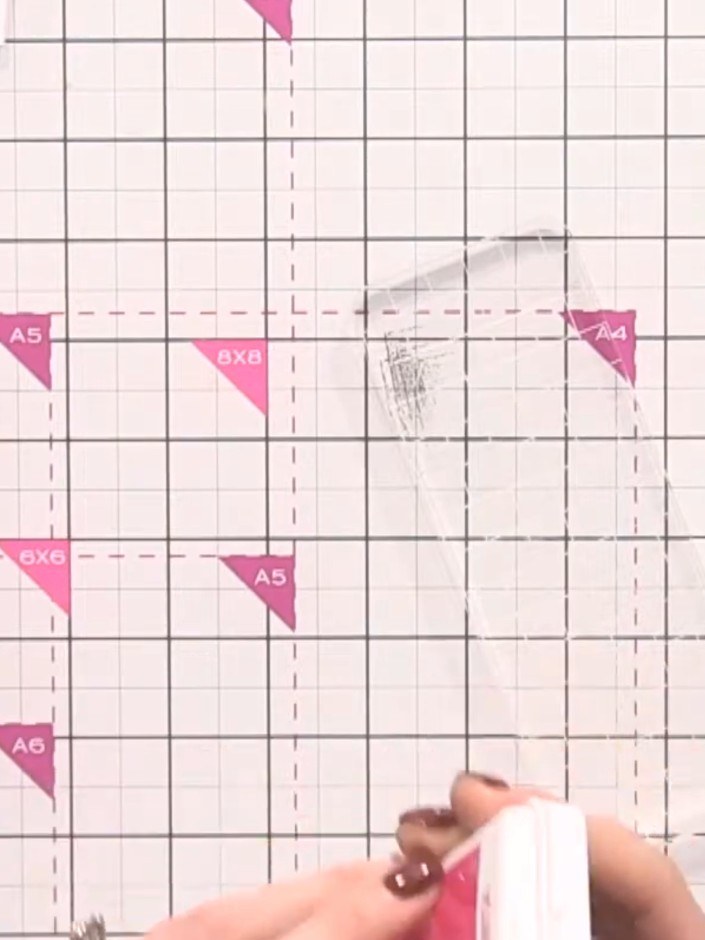
Ink up the top half of the acrylic block with pink ink, applying it evenly across the surface.
▶ watch this step (7:00)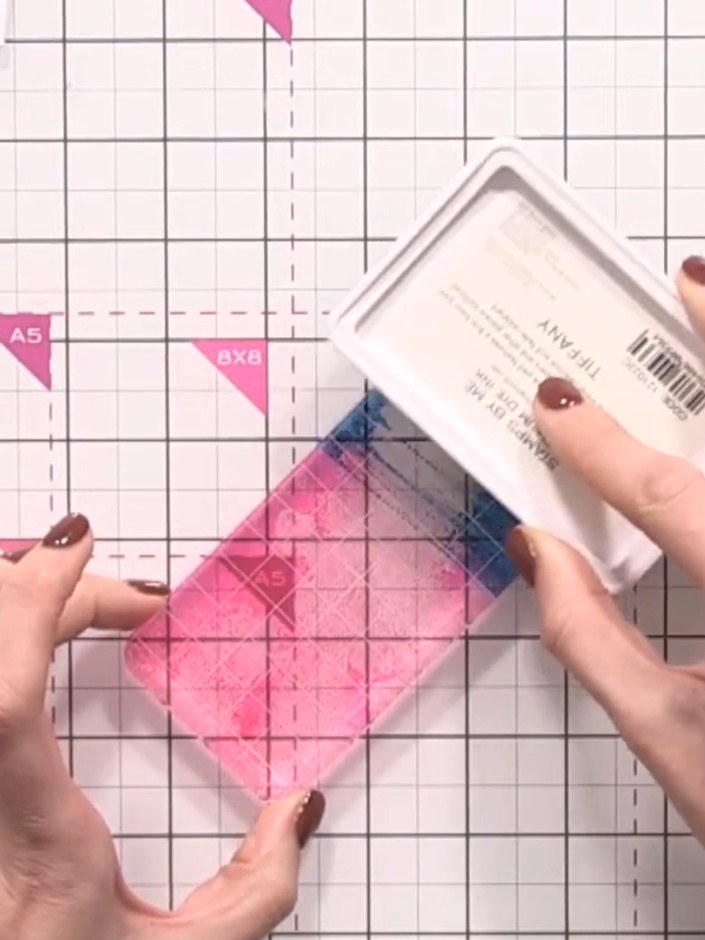
Ink up the bottom half of the acrylic block with the second colour (teal). Position it overlapping the pink section to create a blended effect.
▶ watch this step (8:15)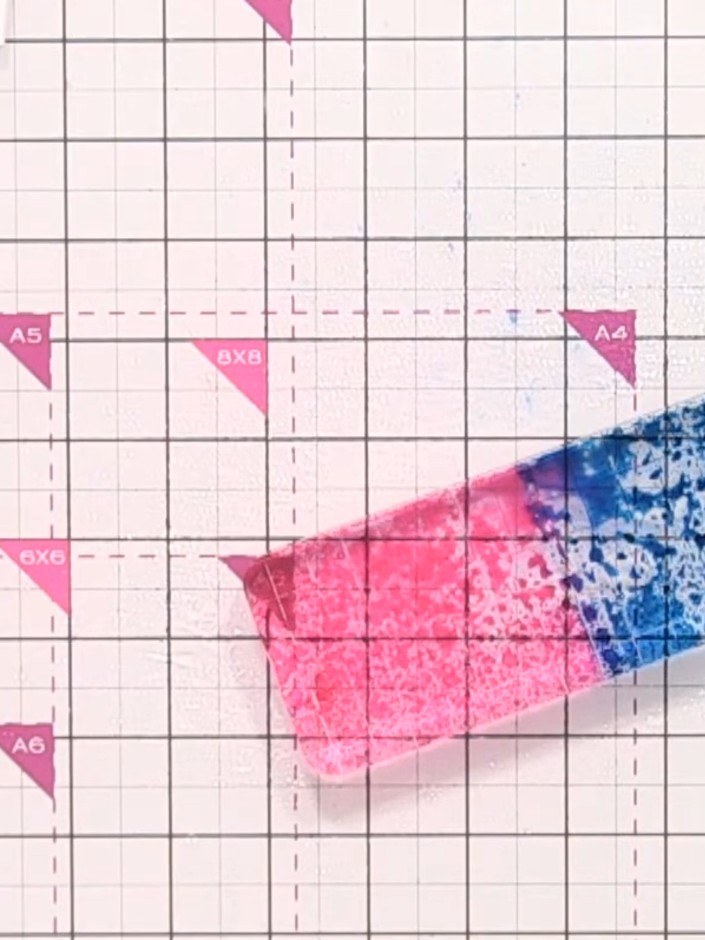
Spray the inked acrylic block with water from a spray bottle to activate the pink and blue inks and create a blended effect.
▶ watch this step (8:30)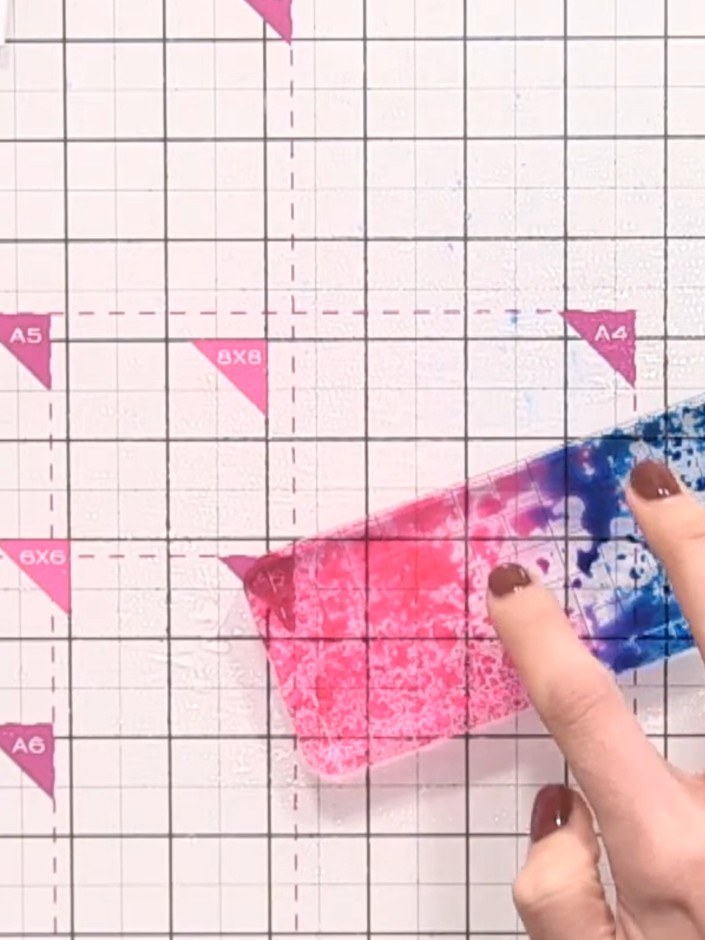
Tap the middle section where the pink and blue colours meet to blend them together and create a purple tone.
▶ watch this step (8:45)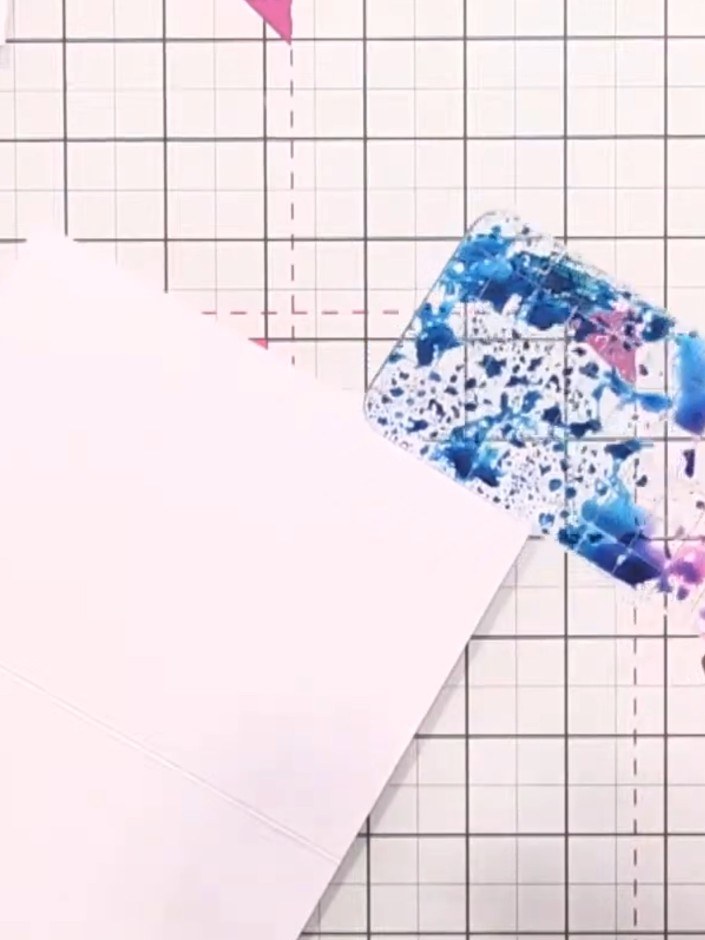
Press the inked acrylic block firmly onto your card blank, centring it as much as possible. The blue and pink inked pattern will transfer onto the white card.
▶ watch this step (9:00)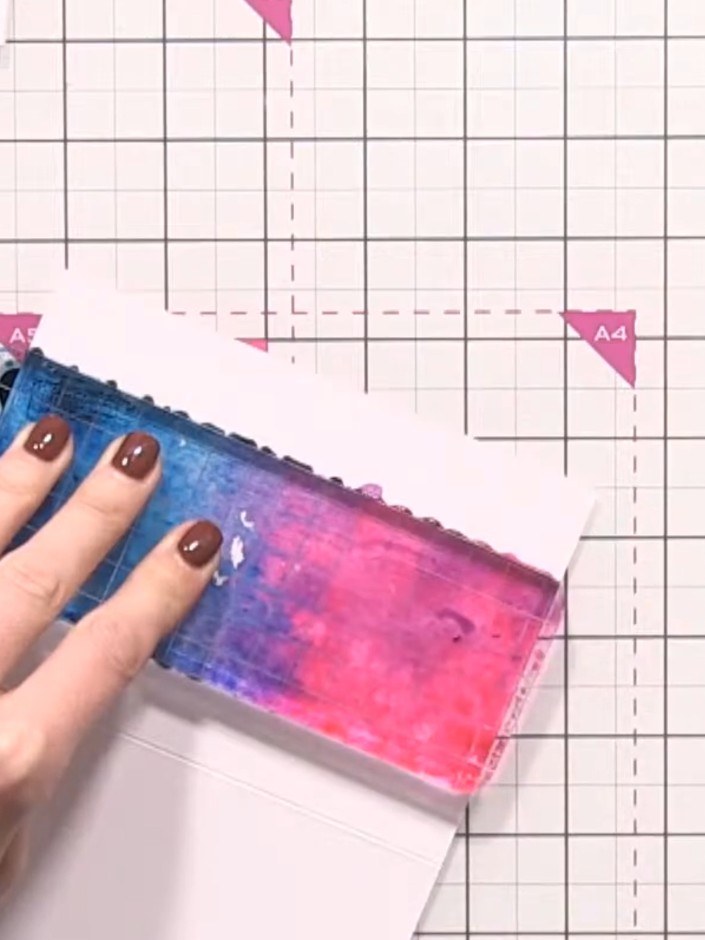
Allow the ink to transfer fully onto the card, then carefully lift the acrylic block away to reveal the blue and pink gradient background.
▶ watch this step (9:15)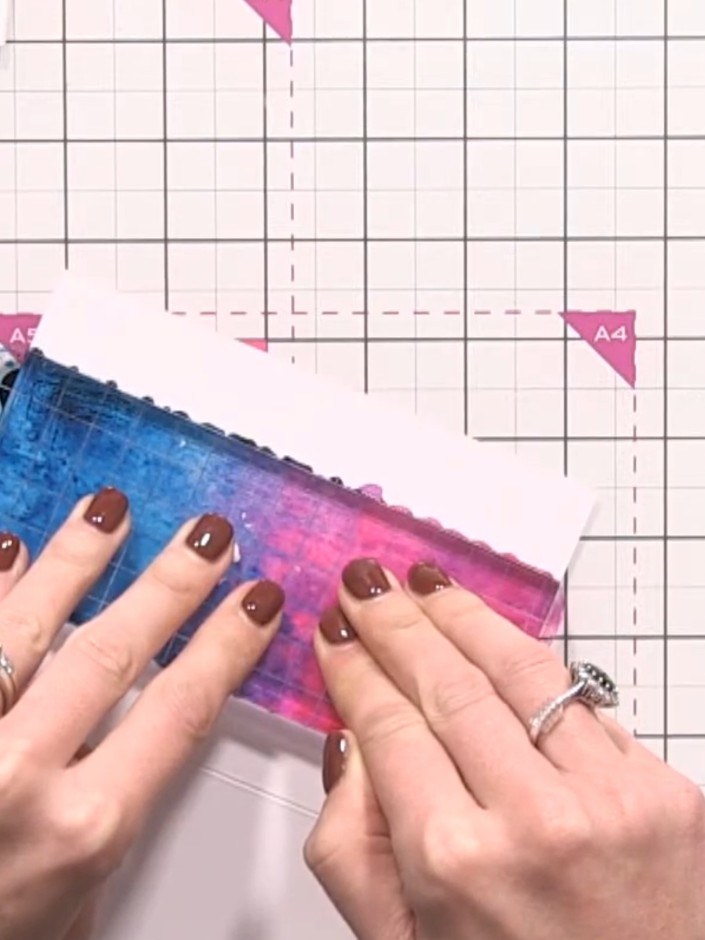
Set the card aside to dry completely before handling further. The ombre effect from blue through purple to pink should be visible across the textured background.
▶ watch this step (9:30)Written up from the show itself. See every guide from our shows · free how-to guides · watch live on My Telly


