Give your friends €10 off their first order!
Refer a FRIEND








Prices change straight away. Every language is our own translation, not Google.
A project from our live show MIGHTY MONDAY - Join Toni for her detailed papercrafting sessions - Broadcast 24th Feb 2025 · 24/02/2025 · watch it from 12:45
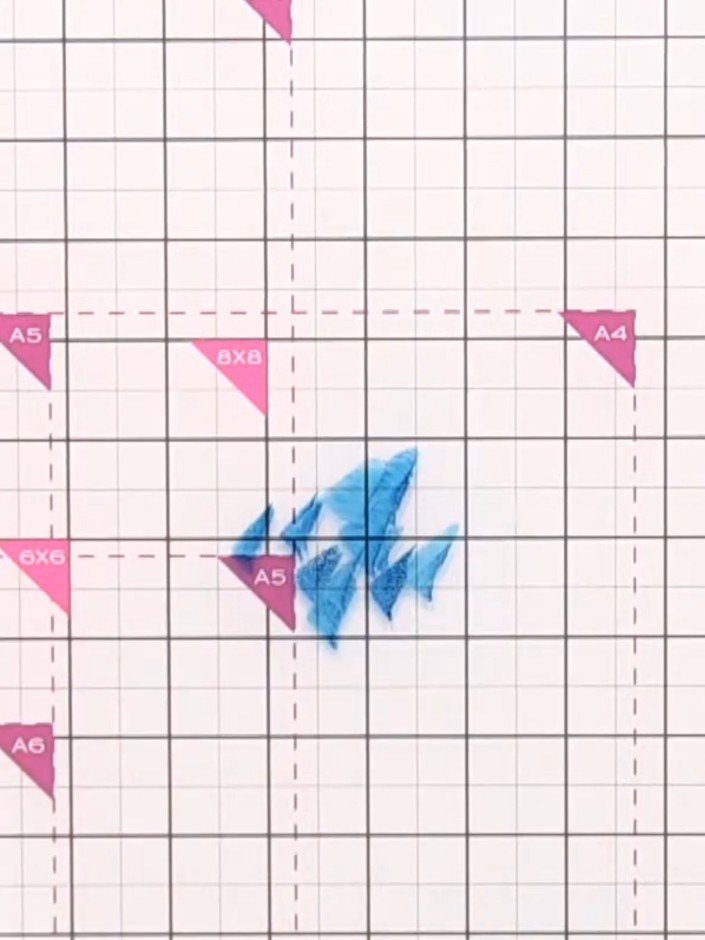
Create a stunning background card with dreamy, organic patterns using a simple cellophane bag ink transfer technique. Layer vibrant ink sprays in blues and pinks to build up depth and achieve a beautiful night-sky effect with soft, watercolour-like blending. This unique method produces one-of-a-kind backgrounds perfect for card making and mixed media projects.
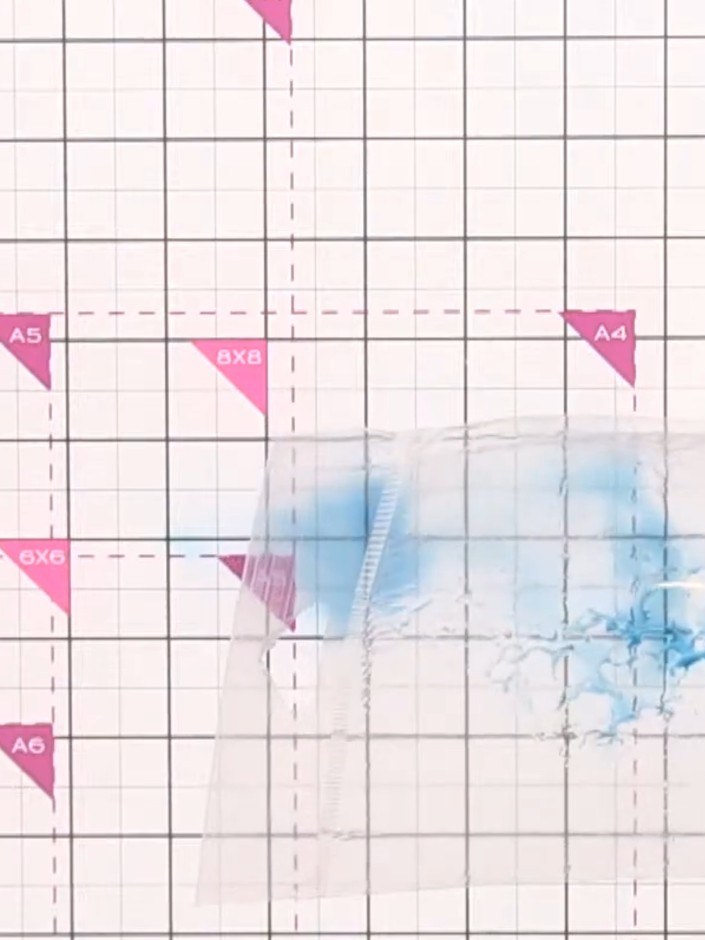
Prepare a clean cellophane bag or plastic carrier sheet. This will be used to create the ink transfer background effect on your card.
▶ watch this step (12:45)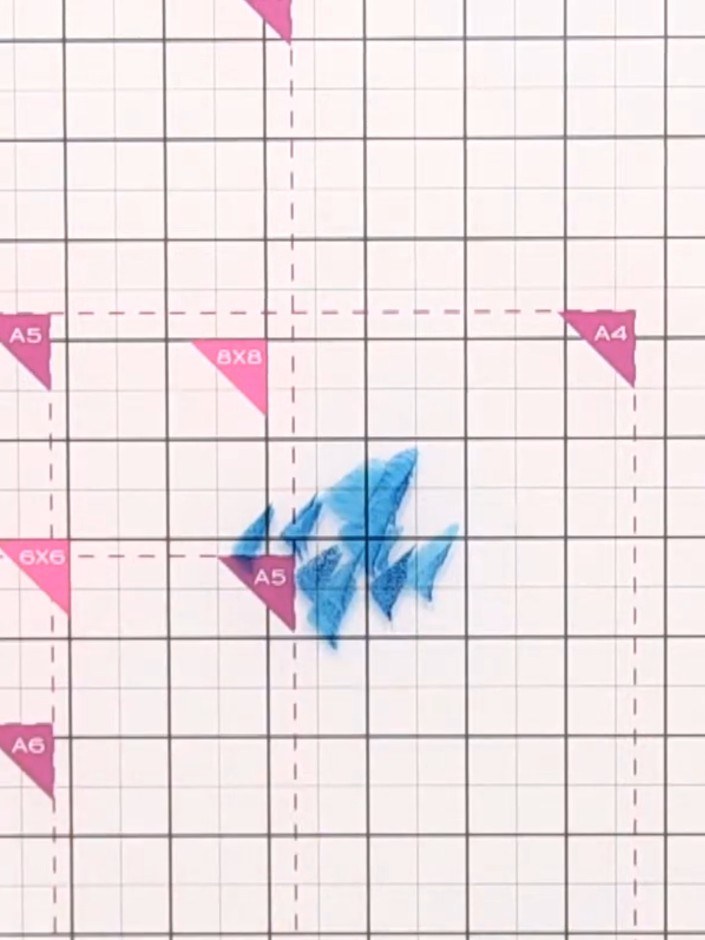
Ink a craft mat or non-stick surface with your first colour of ink. Use teal ink to create a background area for transferring.
▶ watch this step (13:00)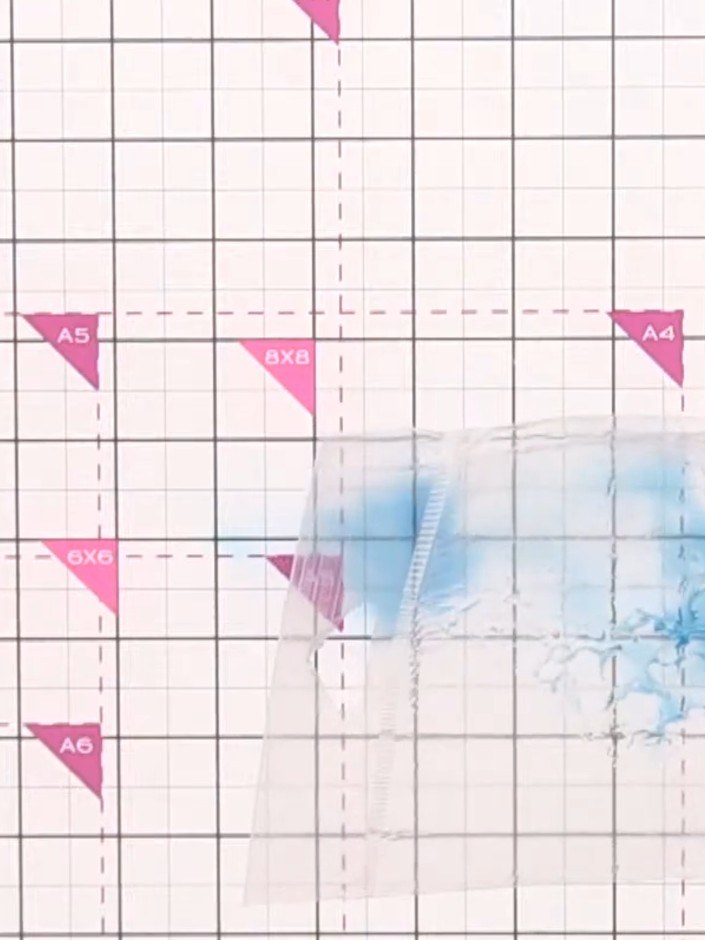
Spray the inked craft mat with water to activate the blue ink colour. The water will help spread and blend the ink across the surface.
▶ watch this step (14:00)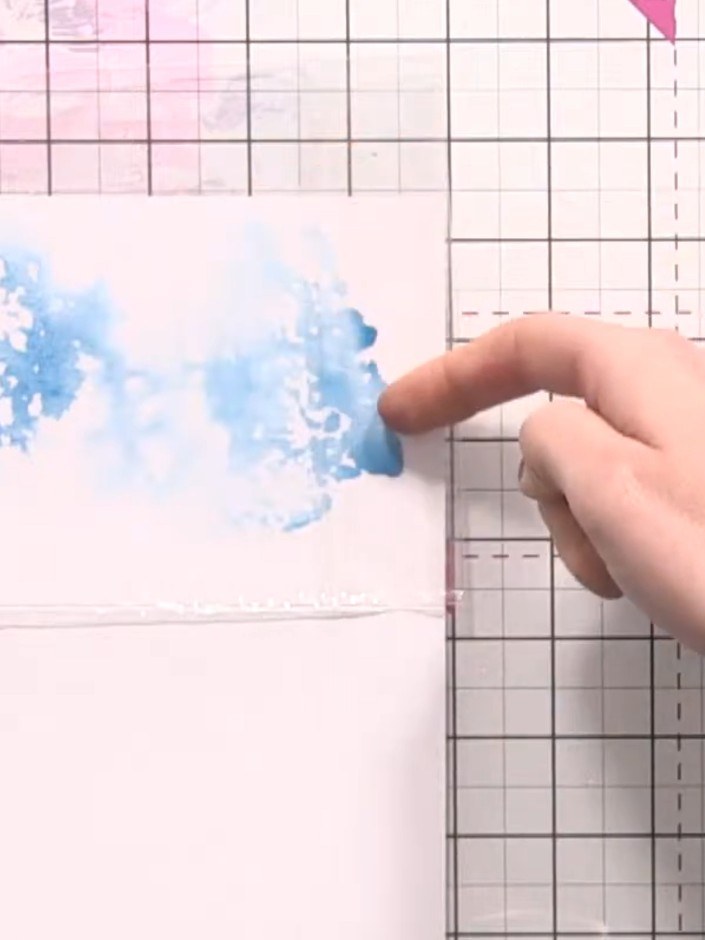
Press the cellophane bag onto the inked craft mat to pick up the blue ink. Gently lift the bag to reveal the transferred ink pattern on the cellophane.
▶ watch this step (14:15)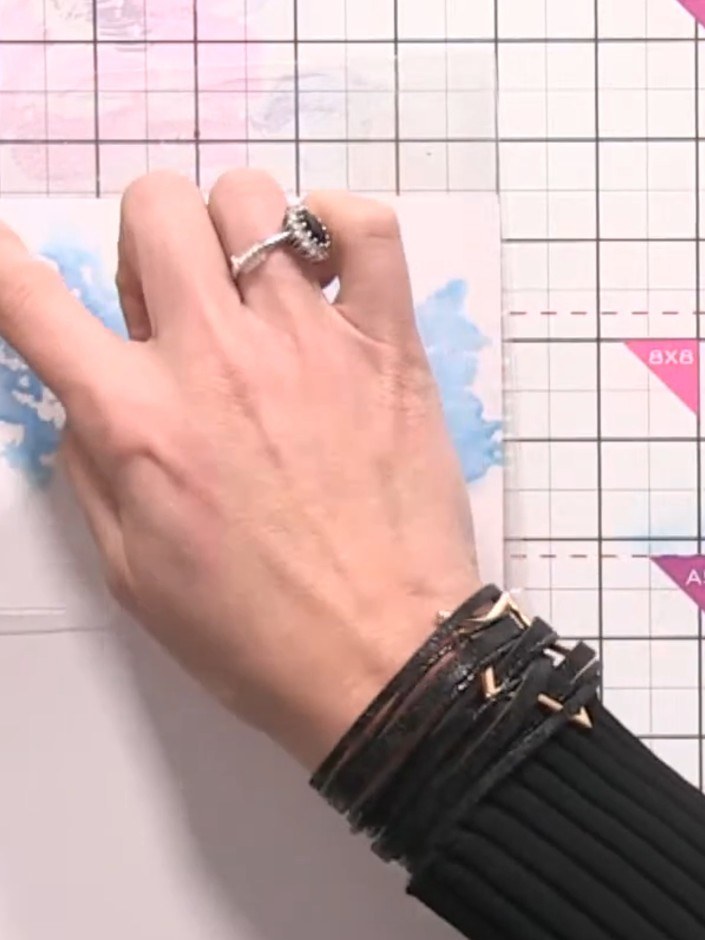
Transfer the inked cellophane bag onto your white card blank by pressing and tapping it down firmly to create a beautiful watercolour-effect background.
▶ watch this step (14:30)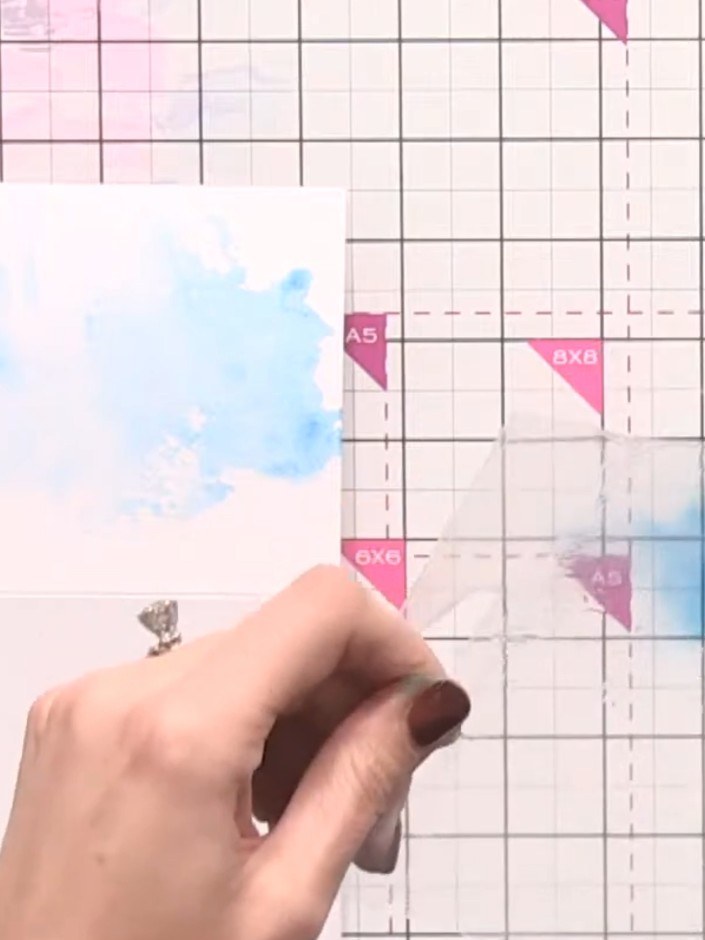
Allow the first layer of blue ink to dry slightly. Using the heat tool or allowing to air dry, repeat the cellophane bag technique with pink ink in a different area of the card panel.
▶ watch this step (15:00)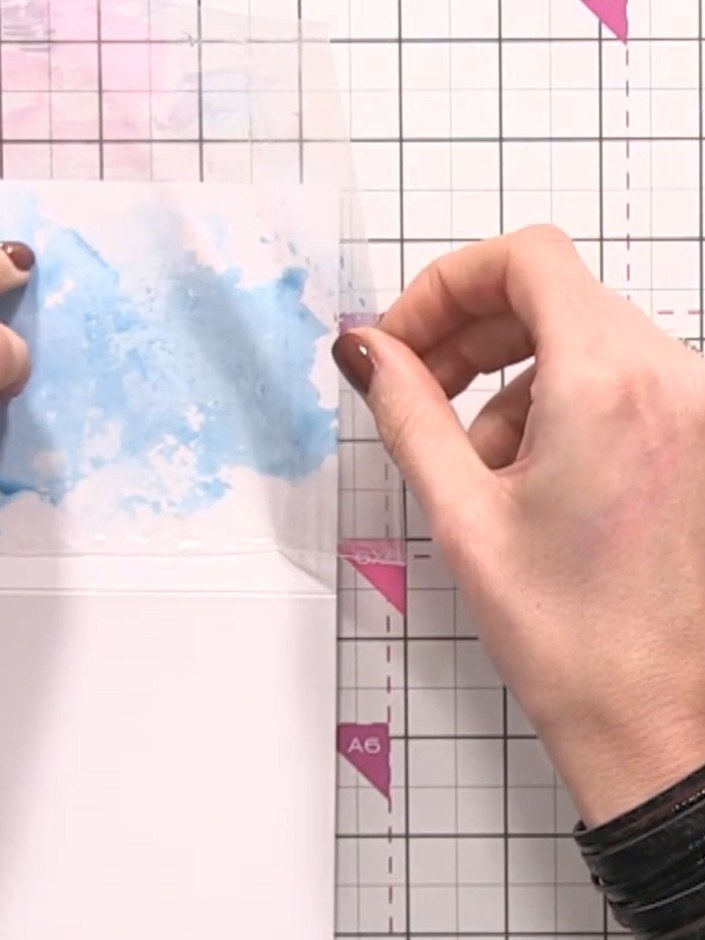
Add yellow ink to the cellophane bag using the same technique. Press the inked cellophane onto the card to transfer the colour, creating additional depth and variation to your background.
▶ watch this step (15:30)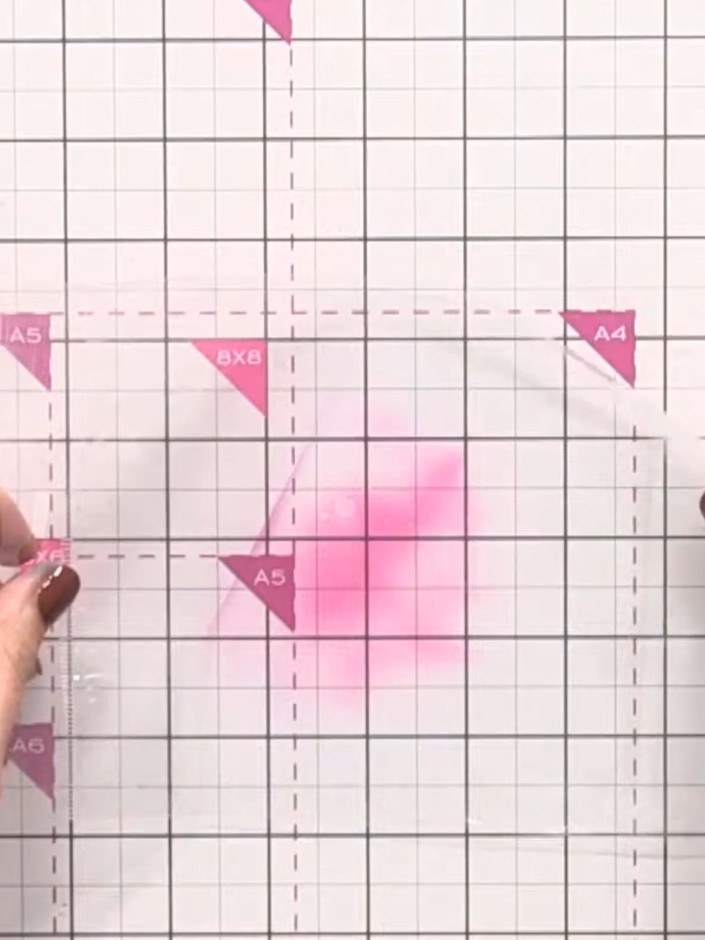
Allow the ink transfer to dry completely before adding any further embellishments to your card.
▶ watch this step (16:00)Written up from the show itself. See every guide from our shows · free how-to guides · watch live on My Telly


