Give your friends €10 off their first order!
Refer a FRIEND








Prices change straight away. Every language is our own translation, not Google.
A project from our live show MIGHTY MONDAY - Join Toni for her detailed papercrafting sessions - Broadcast 17th Feb 2025 · 17/02/2025 · watch it from 8:45
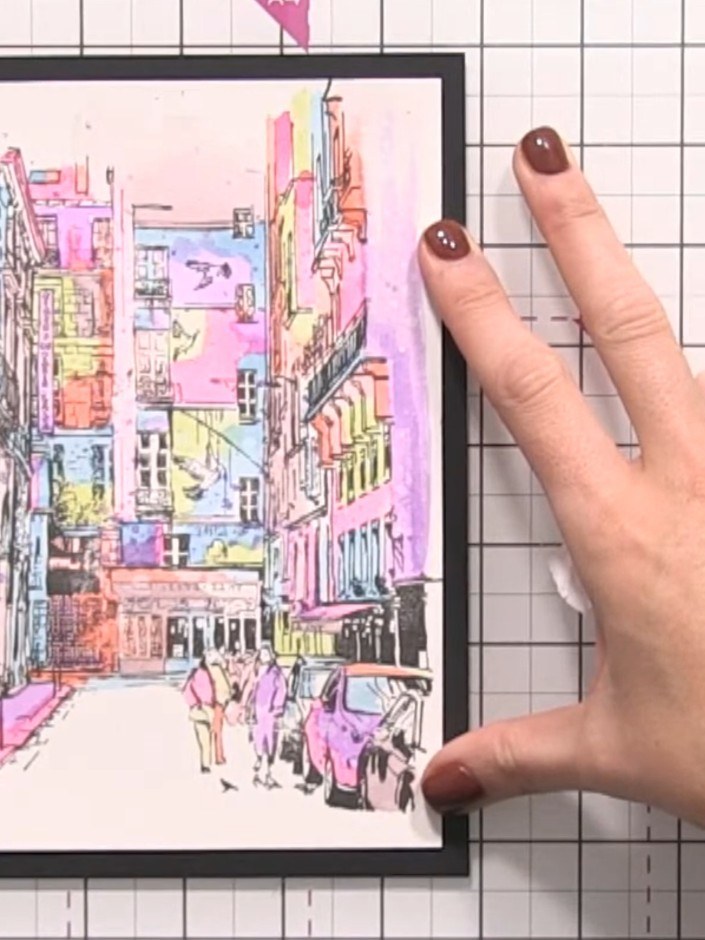
Create a striking stamped card featuring a detailed cityscape scene coloured with a bold block painting technique. Using vibrant pinks, purples, yellows and oranges, you'll paint distinct areas of colour rather than traditional blending to achieve an artistic, poster-like effect. The black stamped outlines combined with blocks of watercolour create a modern, eye-catching design with dramatic white highlights.
 Imala - A5 Stamp - Escape the Ordinary - 250424ESEE IT
 Imala - A5 Stamp - Just Passing By - 230124ASEE IT
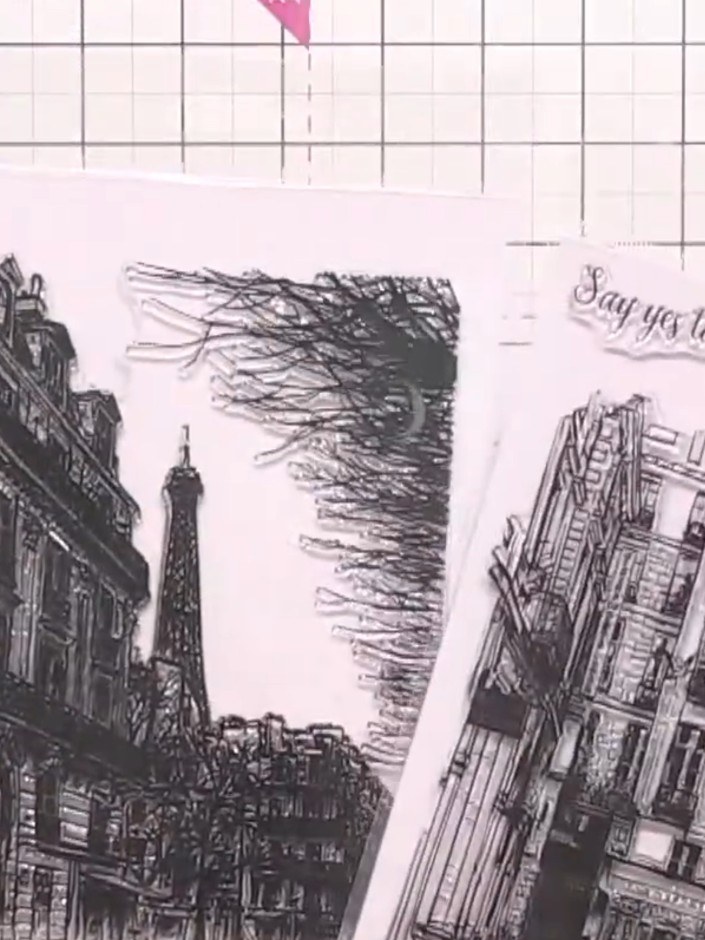
Gather your materials: watercolour card, black ink pad, multiple coloured ink pads (such as the Escape the Ordinary and Just Passing By stamp sets), a brush, water, and tissue.
▶ watch this step (8:45)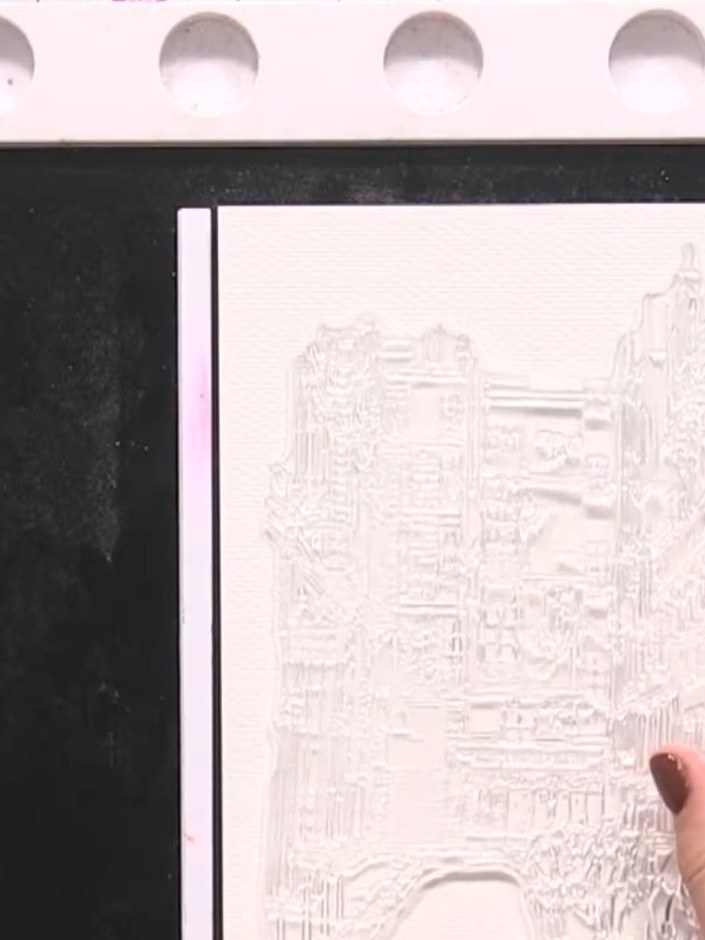
Stamp your chosen large-scale stamp design onto the textured side of the watercolour card using a black waterproof ink pad. Press firmly to ensure crisp, detailed impressions.
▶ watch this step (18:00)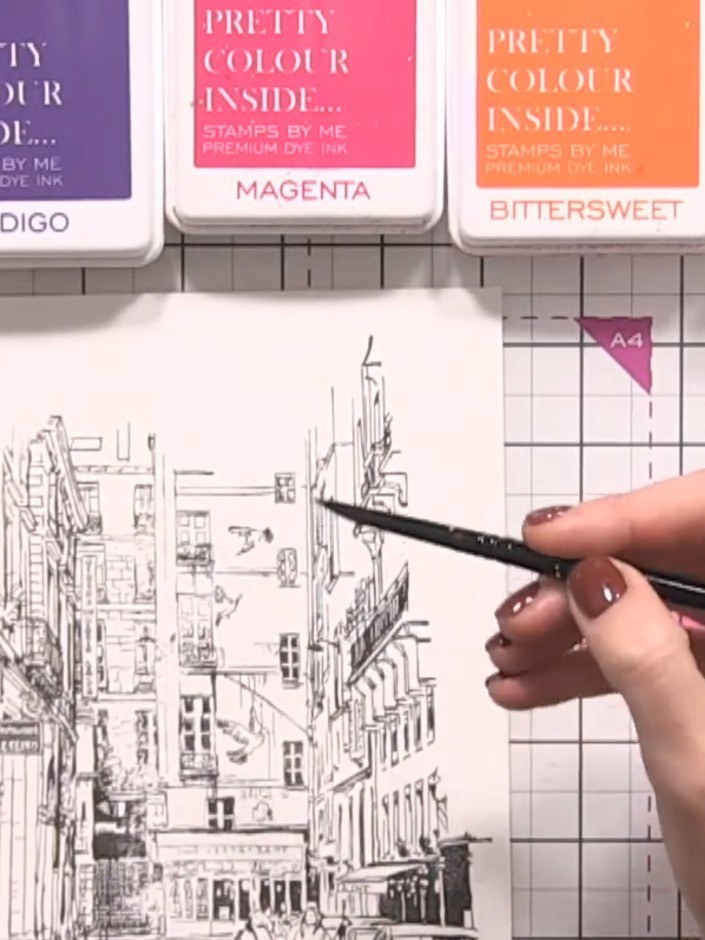
Select your first colour ink pad and brush water onto it to activate the colour. Paint blocks of colour into different areas of the stamped design, filling only parts of each section rather than the whole area.
▶ watch this step (24:00)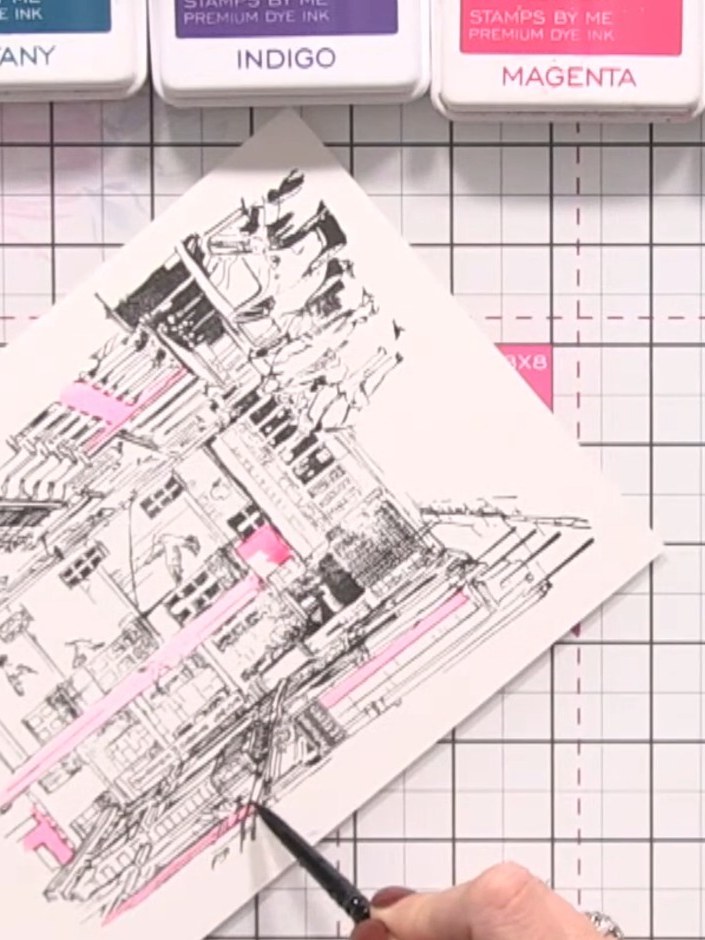
Switch to a second colour, such as pink or magenta, and paint more blocks in different areas of the stamped image. Add colour to parts of buildings, clothing, or paths, keeping the brush strokes directional and artistic.
▶ watch this step (25:30)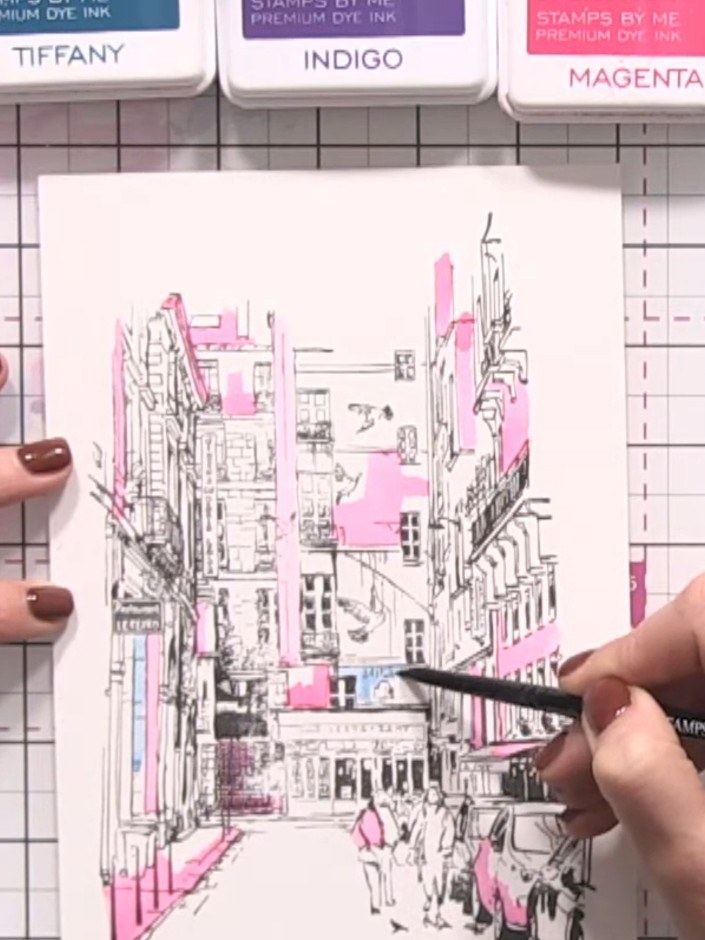
Continue adding blocks of colour using different ink pads, changing colours frequently. Paint only portions of each section rather than filling it completely, creating a varied, artistic effect across the cityscape.
▶ watch this step (27:45)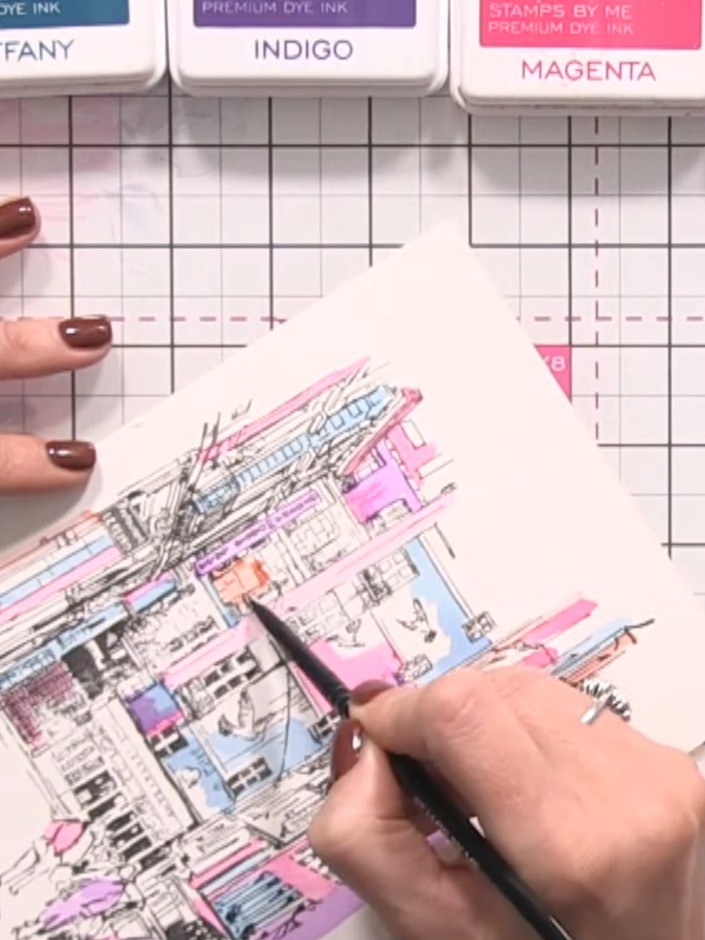
Continue adding colour blocks to the stamped image, placing distinct areas of pink, blue and other colours. Keep the colours separate rather than blending them together to create an artistic block-painted effect.
▶ watch this step (32:00)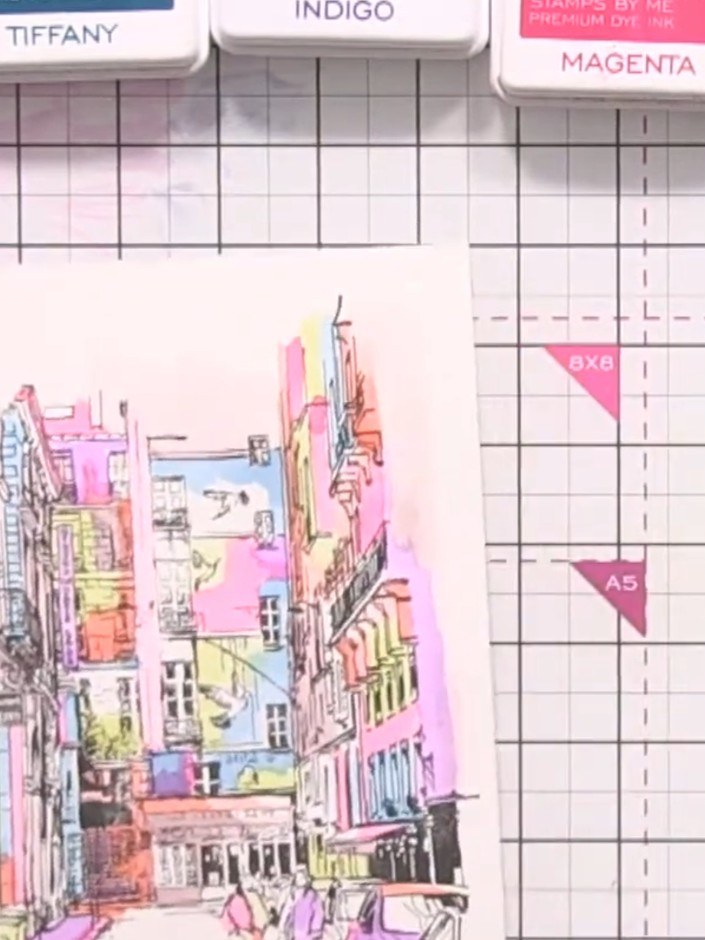
Add random colour splashes and speckles by flicking water and colour onto the stamped design for extra texture and visual interest.
▶ watch this step (39:00)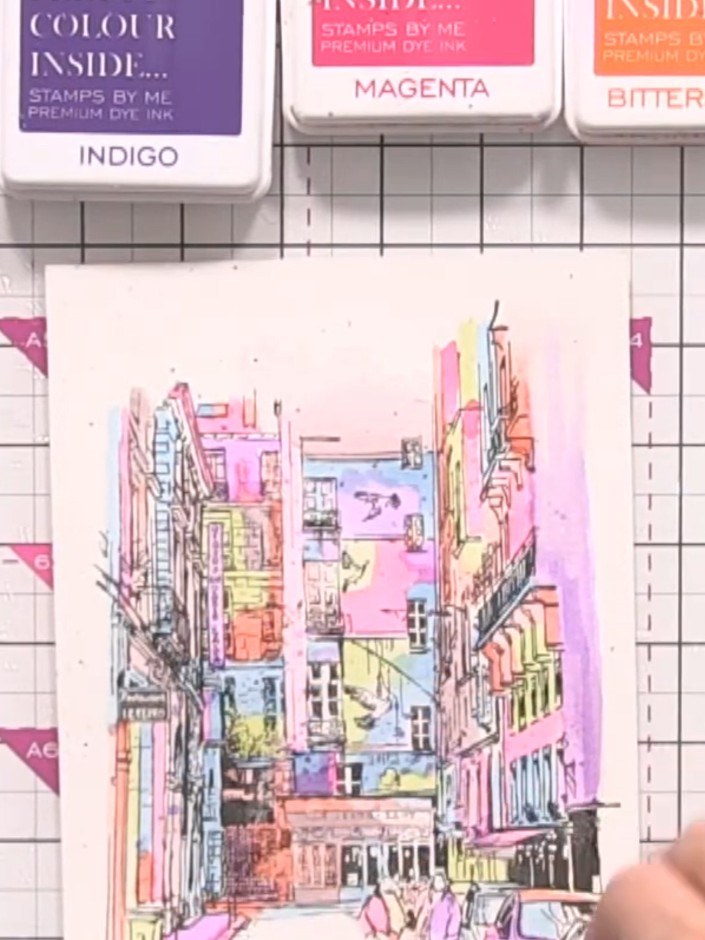
Sprinkle water across the painted cityscape design and allow it to sit briefly. Gently mop up the excess water with tissue to create white highlights and soften some of the coloured edges.
▶ watch this step (43:15)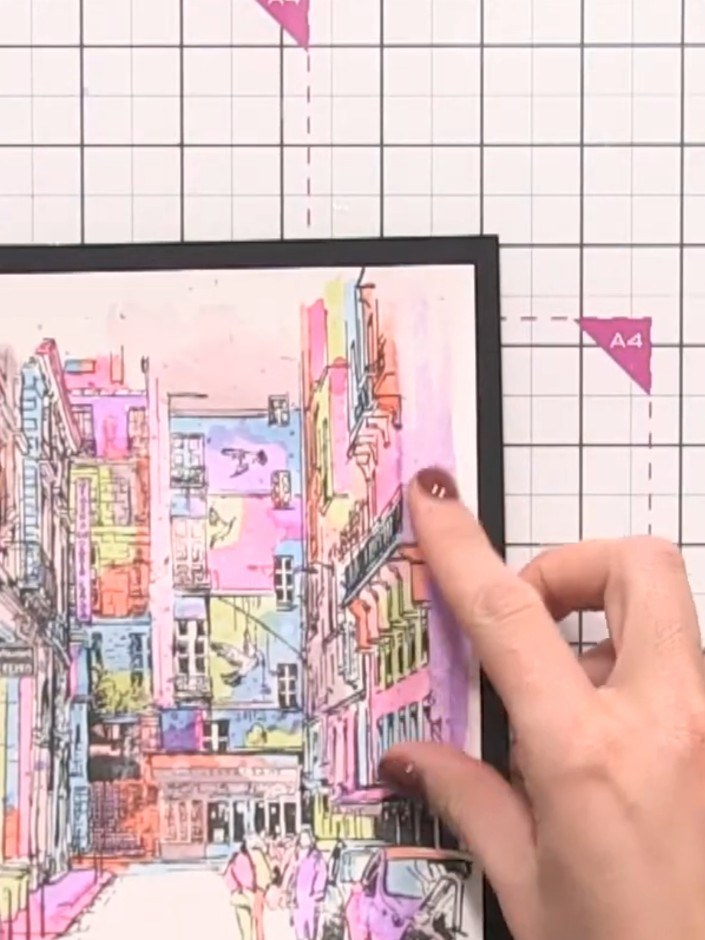
Allow the painted image to dry completely. Once dry, trim the artwork to your desired size and mount it onto a black card base to create a finished framed effect.
▶ watch this step (45:15)Written up from the show itself. See every guide from our shows · free how-to guides · watch live on My Telly


