Give your friends €10 off their first order!
Refer a FRIEND








A project from our live show MY PODCAST - Catch my latest updates broadcast August 19th 2024 · 19/08/2024 · watch it from 51:00
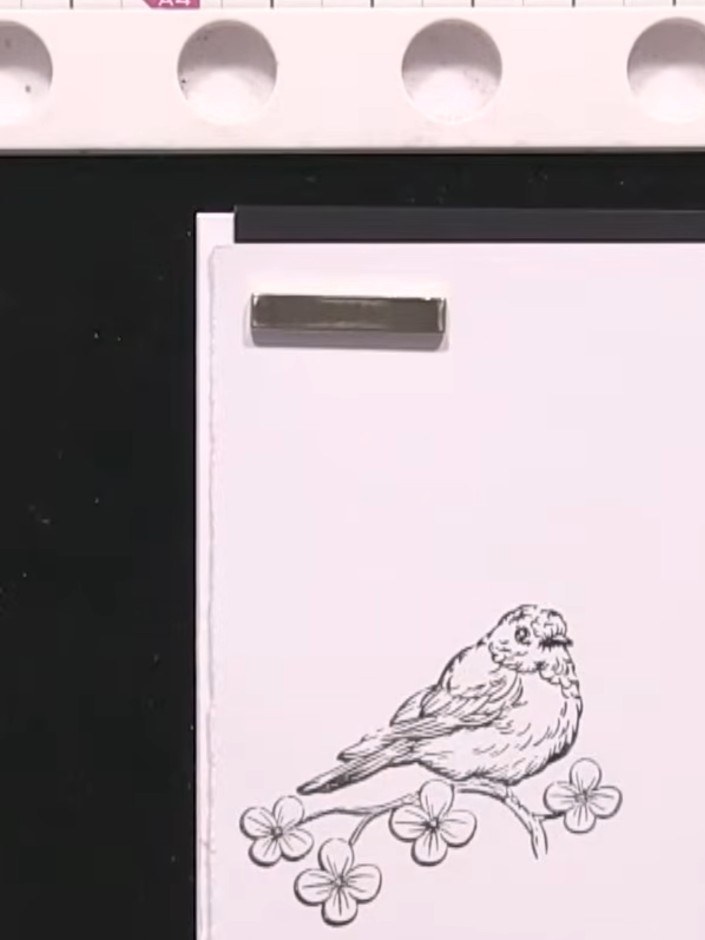
Create an elegant card featuring a charming bird stamp die-cut design. This project showcases a delicate bird perched on a branch with flowers, stamped in black ink and die-cut, then layered onto embossed cardstock in soft pink and grey tones. The main techniques include stamping, die-cutting, and embossing to create a beautiful dimensional card with a vintage botanical feel.
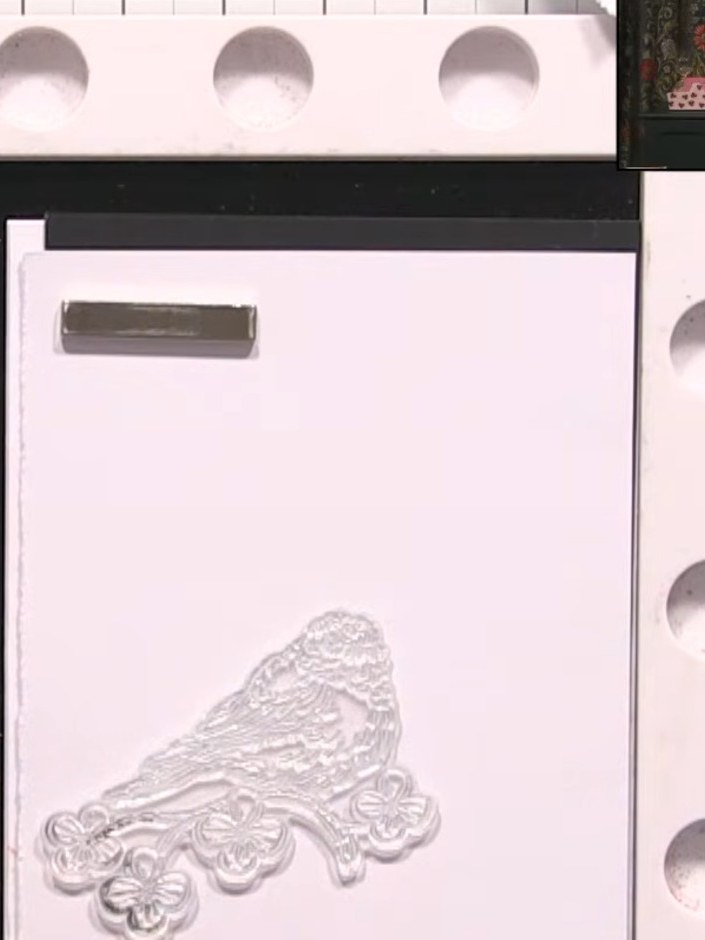
Stamp the bird design onto white cardstock using black ink. Position the stamp carefully on the card and press firmly to transfer the image.
▶ watch this step (51:15)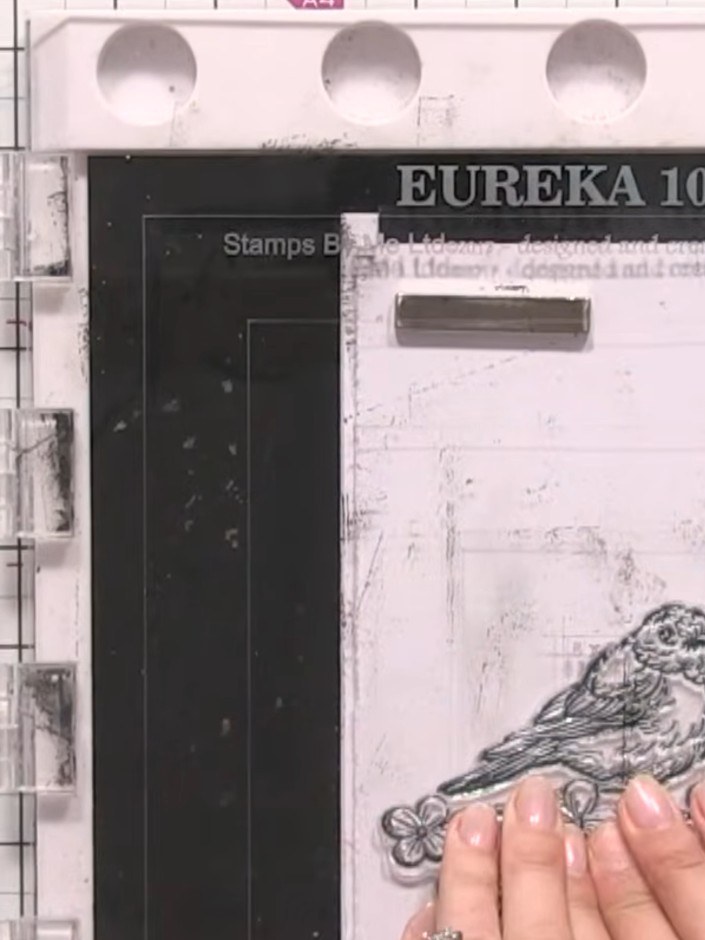
Place the stamped bird image into the coordinating die from the Eureka 101 stamp and die set. Position it carefully to ensure the die will cut around the stamped image precisely.
▶ watch this step (51:45)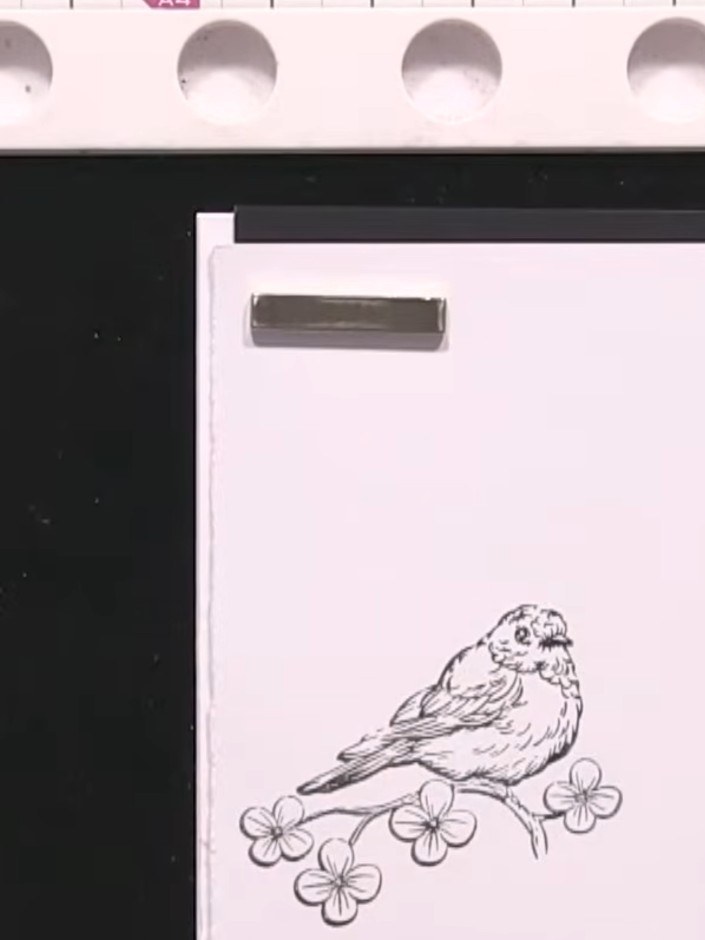
Run the stamped card panel through your die-cutting machine to cut out the bird design. The bird image should be cleanly cut from the white card.
▶ watch this step (52:00)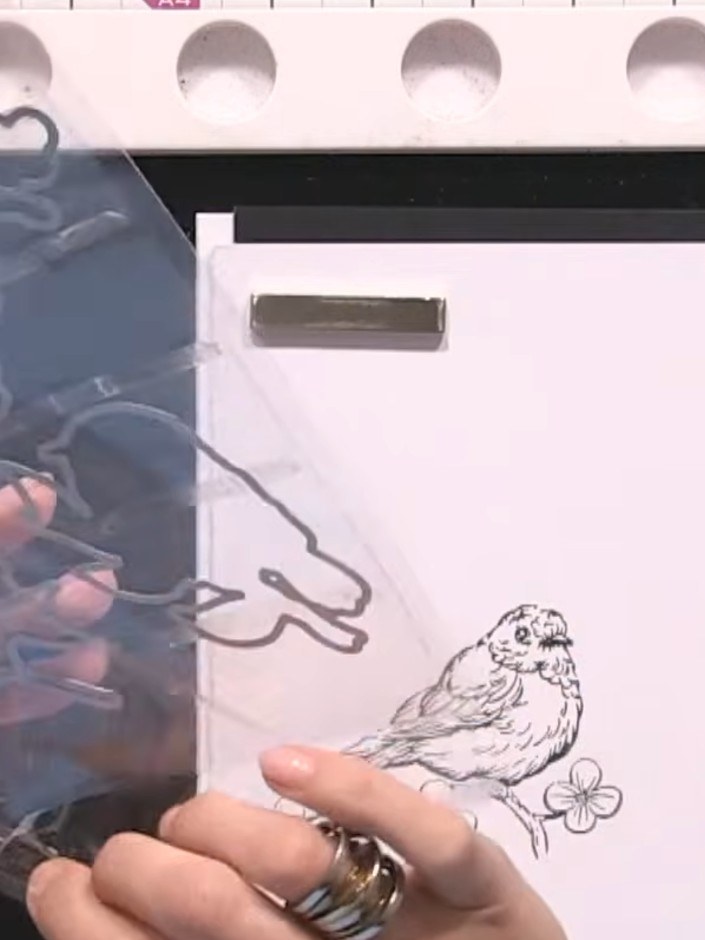
Carefully remove the die-cut bird from the white cardstock. The bird should lift away cleanly from the surrounding card, leaving the stamped and die-cut image ready to use.
▶ watch this step (52:30)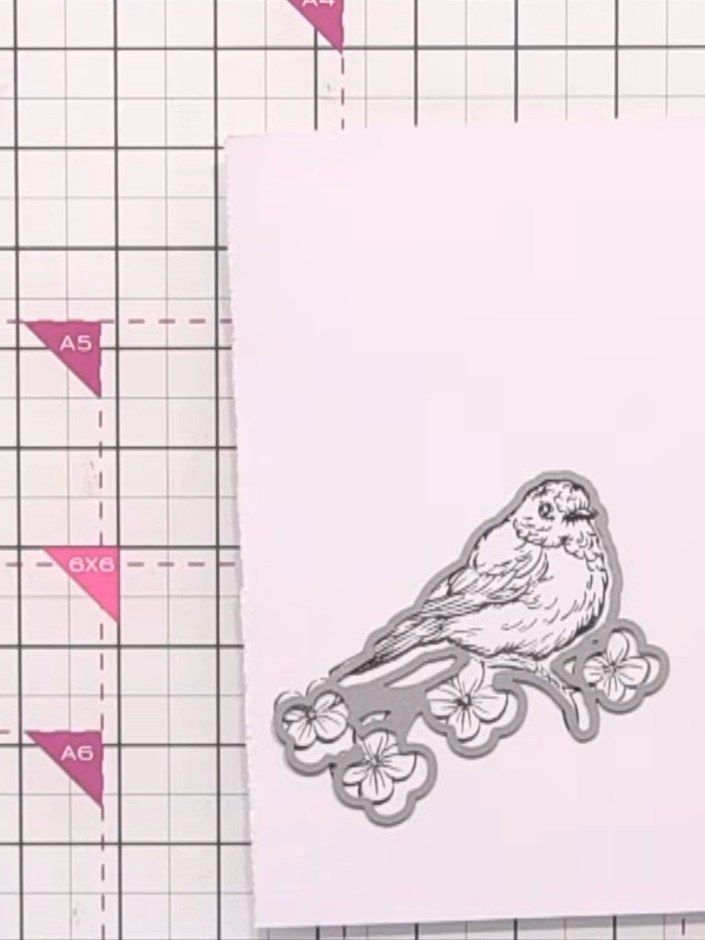
Colour the flowers on the bird stamp using coordinating dyes if desired. Apply the dye carefully to the small flower details on the die-cut bird image.
▶ watch this step (53:00)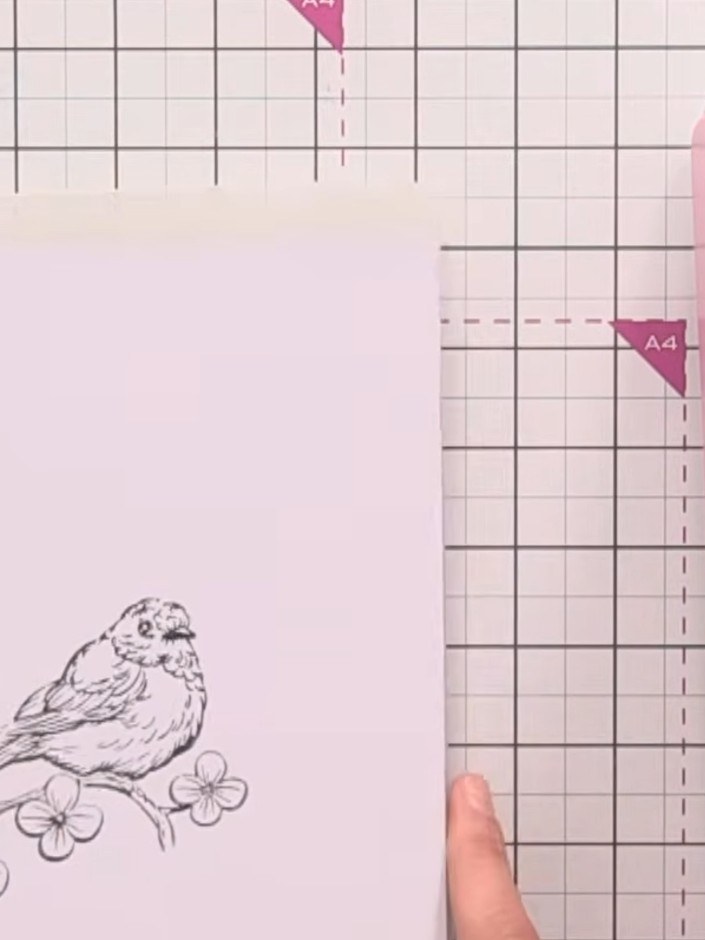
If desired, carefully cut around the bird stamp to separate it from the branch, creating a standalone element that can be positioned independently on your card.
▶ watch this step (53:30)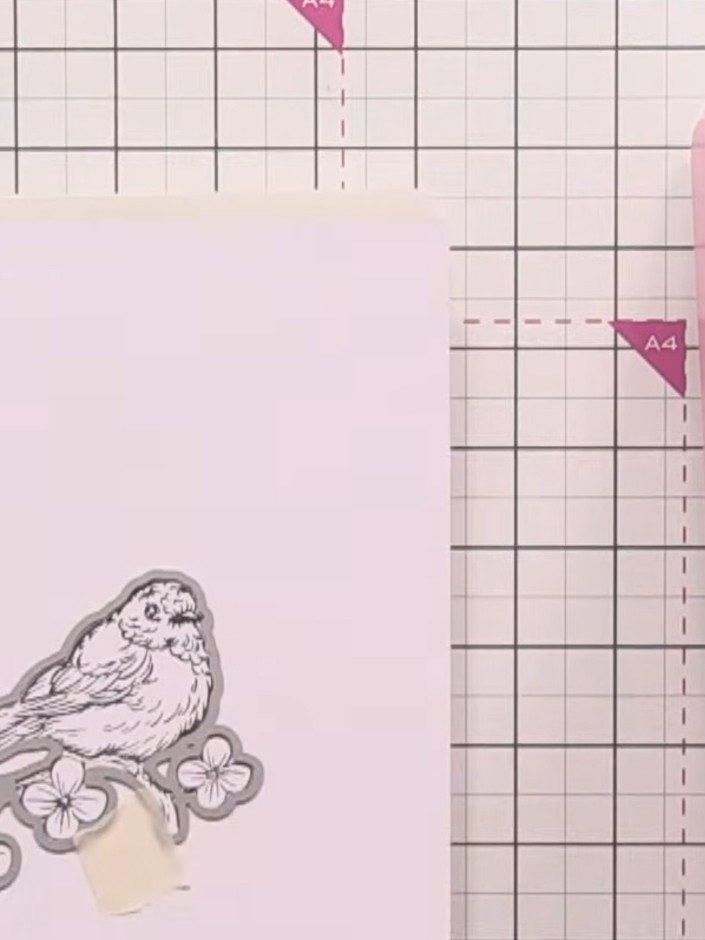
Secure the die-cut bird stamp to your card base using tape or adhesive. Position the bird motif with the flowers towards the bottom of the card for a balanced composition.
▶ watch this step (54:00)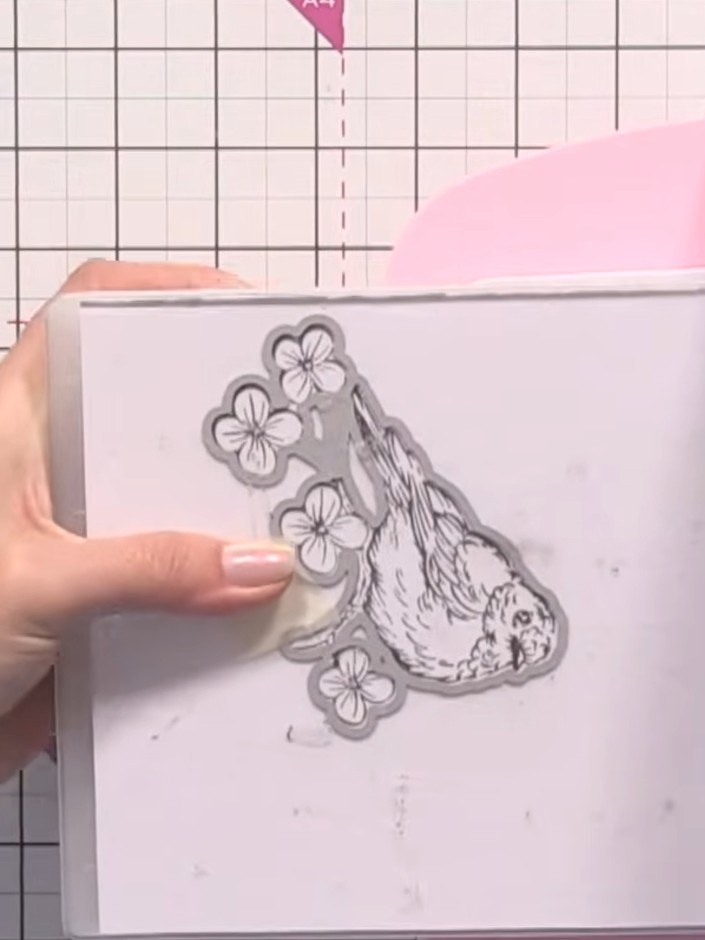
Add a sentiment stamp or text beneath or beside the bird to complete your card. Position the sentiment carefully to complement the die-cut bird design.
▶ watch this step (54:30)Written up from the show itself. See every guide from our shows · free how-to guides · watch live on My Telly