QUICK LINKS

info@howtocraftnetwork.com
We just got smarter - shop and watch with the SBM appGET THE APPWatch us live on your smart TVSEE HOWDiscover our dedicated IPTV channel - go to my-telly.comWATCHCollect loyalty points on every orderFIND OUT MORE
Welcome to the How to Craft Network
 
SBM SHOP
FOLLOW US
GIVE YOUR FRIENDS €10 OFF REFER A FRIEND › DISCOVER MY-TELLY.COM › WE JUST GOT SMARTER GET THE APP › AWARD WINNING CHANNEL ON YOUR TV › JOIN THE CLUB FOR SAVINGS ›
 

Winter Village Embossed Card with Pink Ink and Blended Finish

A project from our live show MY PODCAST - Catch my latest updates broadcast 1st July 2024 · 01/07/2024 · watch it from 38:15
Winter Village Embossed Card with Pink Ink and Blended Finish - the finished project
The finished project

Create an elegant winter village card featuring a charming embossed scene of a church nestled among snow-covered trees. The design is embossed on white card and enhanced with subtle brown and sepia tones to create depth and warmth. This versatile card works beautifully for Christmas greetings, sympathy messages, or any occasion requiring a peaceful, wintry sentiment.
You will need

Stamps By Me - Signature Embossing Folder - Winter Village - A6 - 010223UStamps By Me - Signature Embossing Folder - Winter Village - A6 - 010223USEE IT

DOWNLOAD THIS GUIDE (PDF)

Step by step

  1. Step 1: Cut a piece of white card to fit your A5 embossing machine.

    Cut a piece of white card to fit your A5 embossing machine.

    ▶ watch this step (38:15)
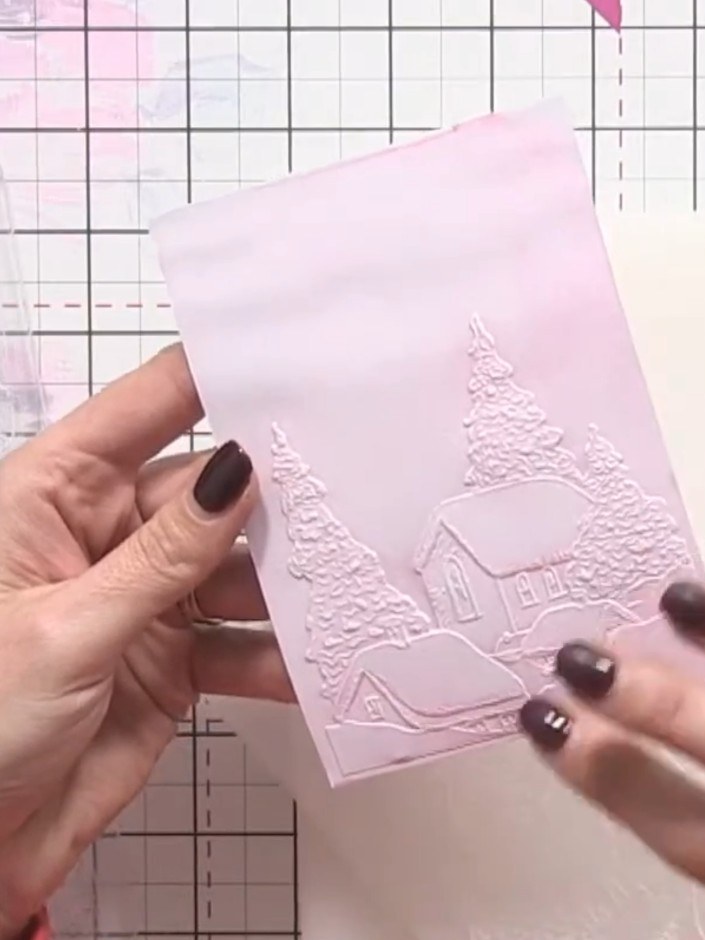
  2. Take a light pink ink pad and tap it onto both the top and bottom sides of the Winter Village A6 embossing folder to add colour. ▶ watch 38:45
  3. Step 3: Spray the inked embossing folder lightly with water to activate the ink before embossing.

    Spray the inked embossing folder lightly with water to activate the ink before embossing.

    ▶ watch this step (39:00)
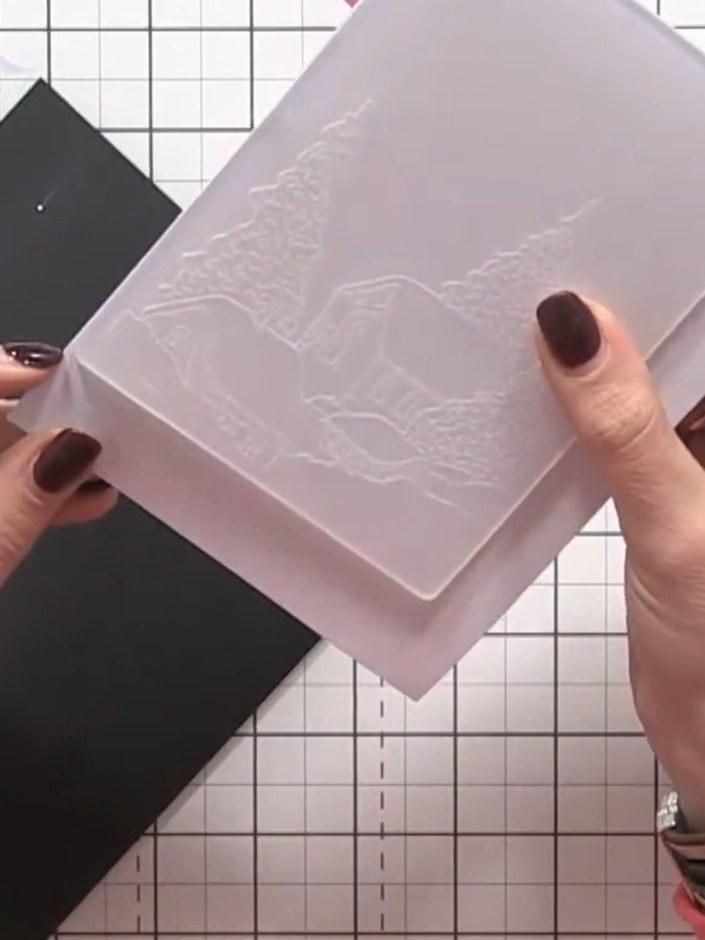
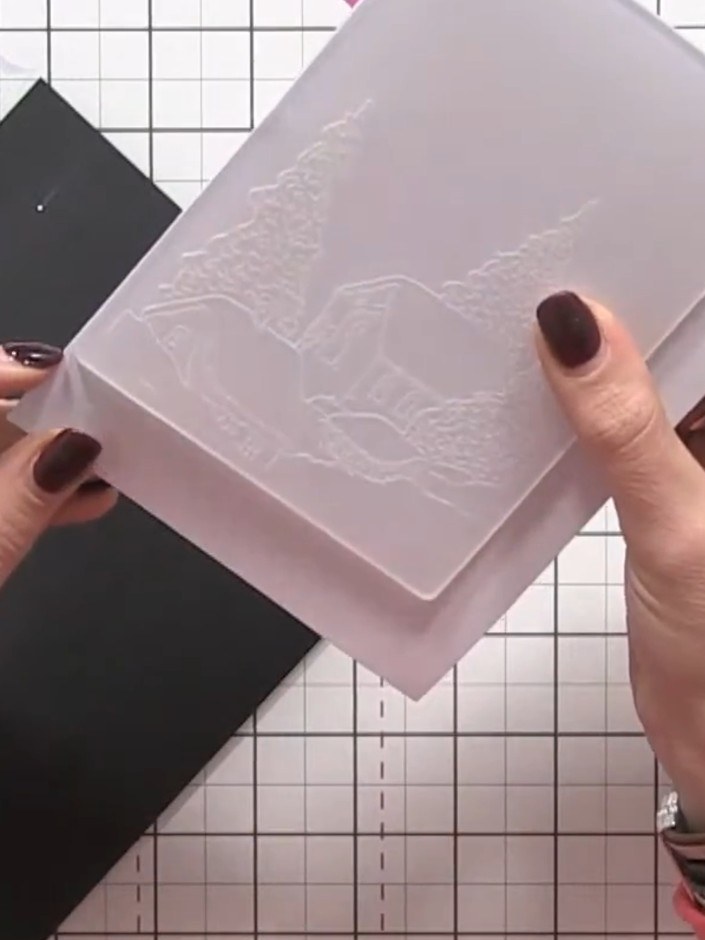
  4. Step 4: Place the white card into the Winter Village embossing folder. Run the folder with the card through your die-c

    Place the white card into the Winter Village embossing folder. Run the folder with the card through your die-cutting machine to emboss the design.

    ▶ watch this step (39:15)
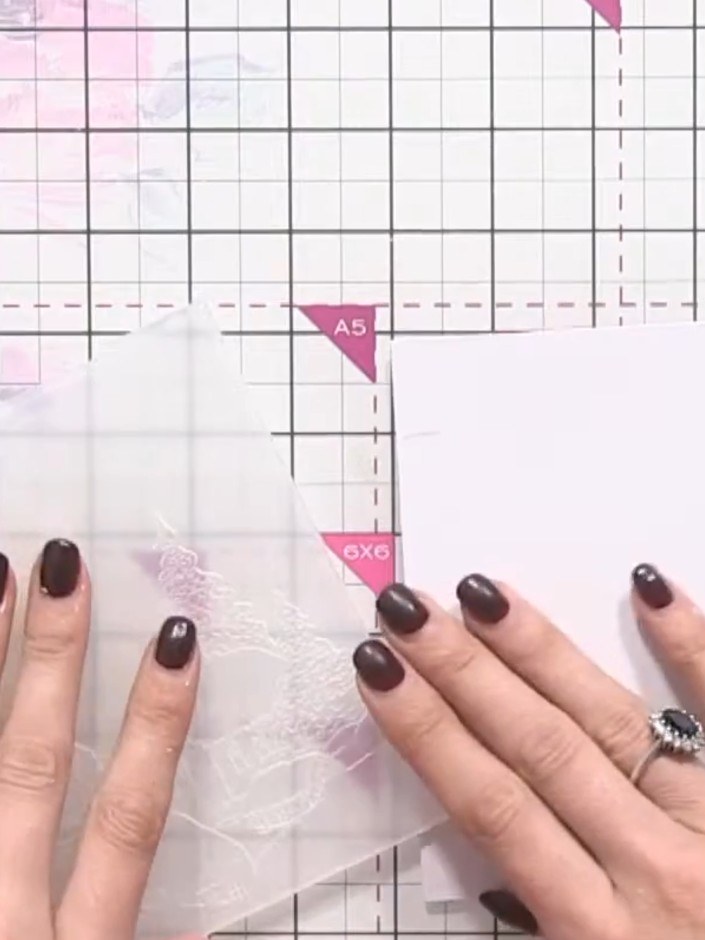
  5. Step 5: Remove the embossed card from the folder and set it aside to allow the embossing to dry completely.

    Remove the embossed card from the folder and set it aside to allow the embossing to dry completely.

    ▶ watch this step (39:30)
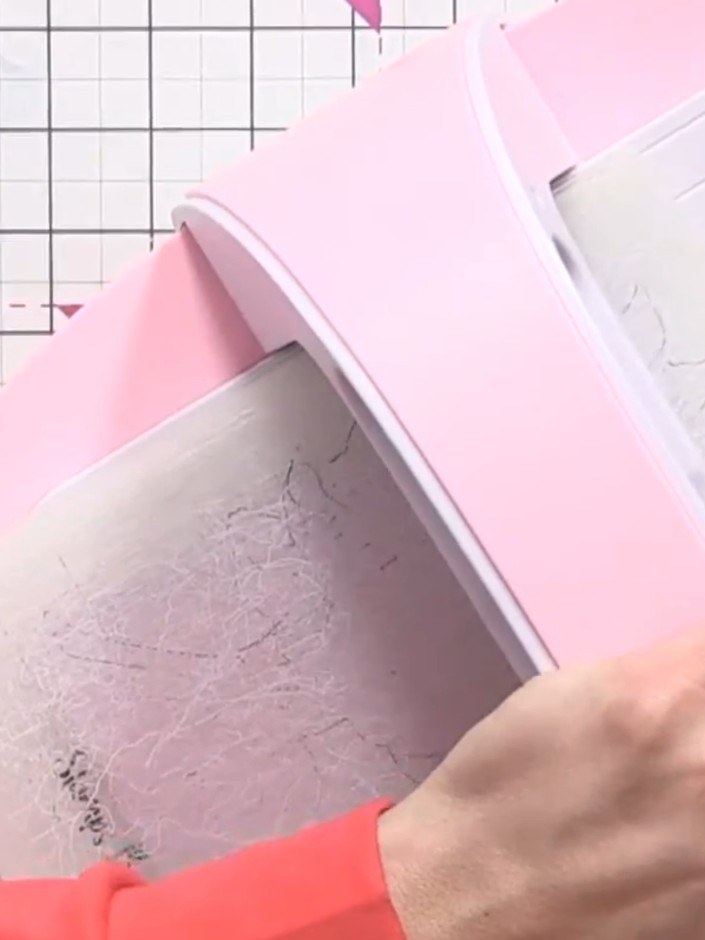
  6. Use a soft brush to gently blend out any harsh ink lines on the embossed panel, creating a soft, blended finish rather than defined lines. ▶ watch 40:00
  7. Step 7: Mount the embossed pink card onto black card stock to frame the design. Position the embossed panel centrally

    Mount the embossed pink card onto black card stock to frame the design. Position the embossed panel centrally on the black card and secure in place.

    ▶ watch this step (42:30)
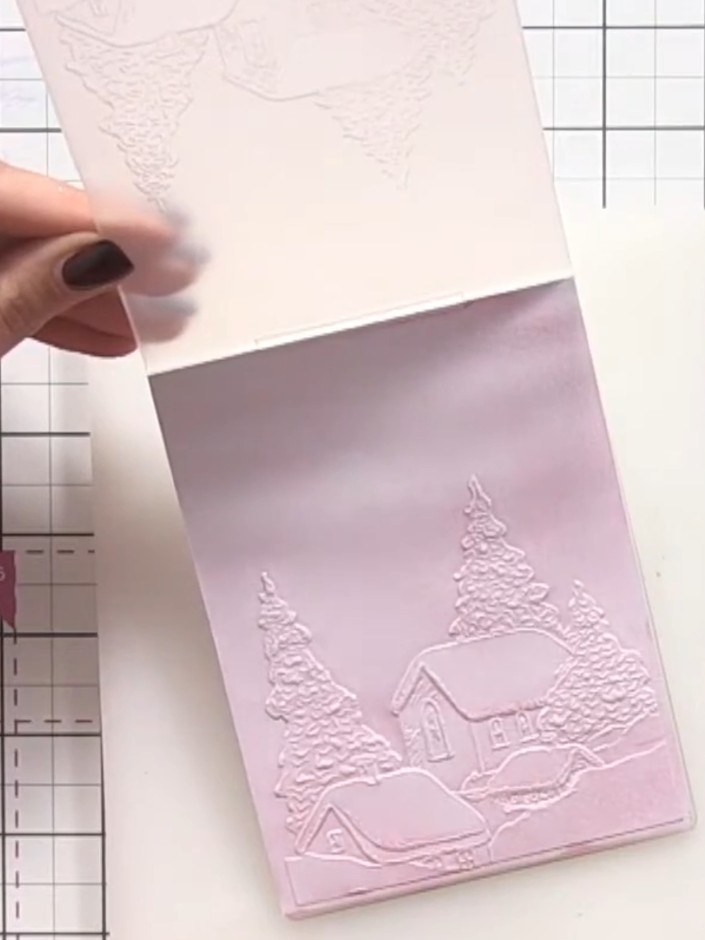
  8. Step 8: Using a dark pink ink, blend colour around the outer edges of the embossed panel to draw the eye towards the c

    Using a dark pink ink, blend colour around the outer edges of the embossed panel to draw the eye towards the centre of the winter village scene.

    ▶ watch this step (43:00)
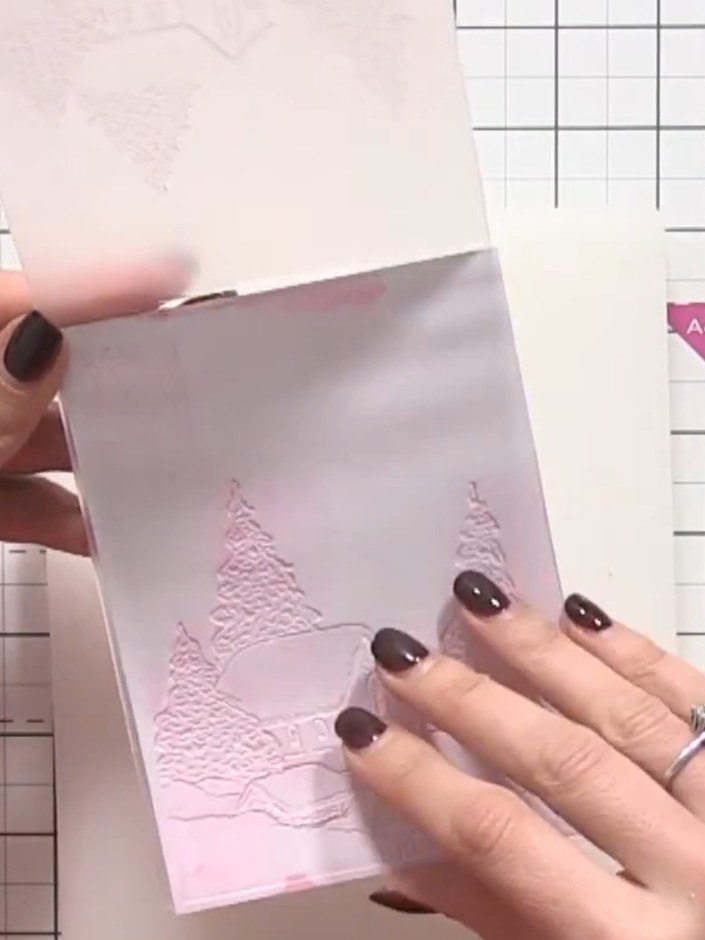
  9. Step 9: Use dark ink to edge the entire card, ensuring no white paper shows through at the edges.

    Use dark ink to edge the entire card, ensuring no white paper shows through at the edges.

    ▶ watch this step (43:30)
  10. Step 10: Add a sentiment to complete your winter village card. Position the sentiment on the embossed pink panel to fin

    Add a sentiment to complete your winter village card. Position the sentiment on the embossed pink panel to finish.

    ▶ watch this step (44:00)

Tips from the show

More from this show

Written up from the show itself. See every guide from our shows · free how-to guides · watch live on My Telly







