Give your friends €10 off their first order!
Refer a FRIEND








A project from our live show HOBBYMAKER TV - Join us for the latest show - Broadcast 5 p.m. (UK) 10th October 2026 · 10/10/2026 · watch it from 36:00
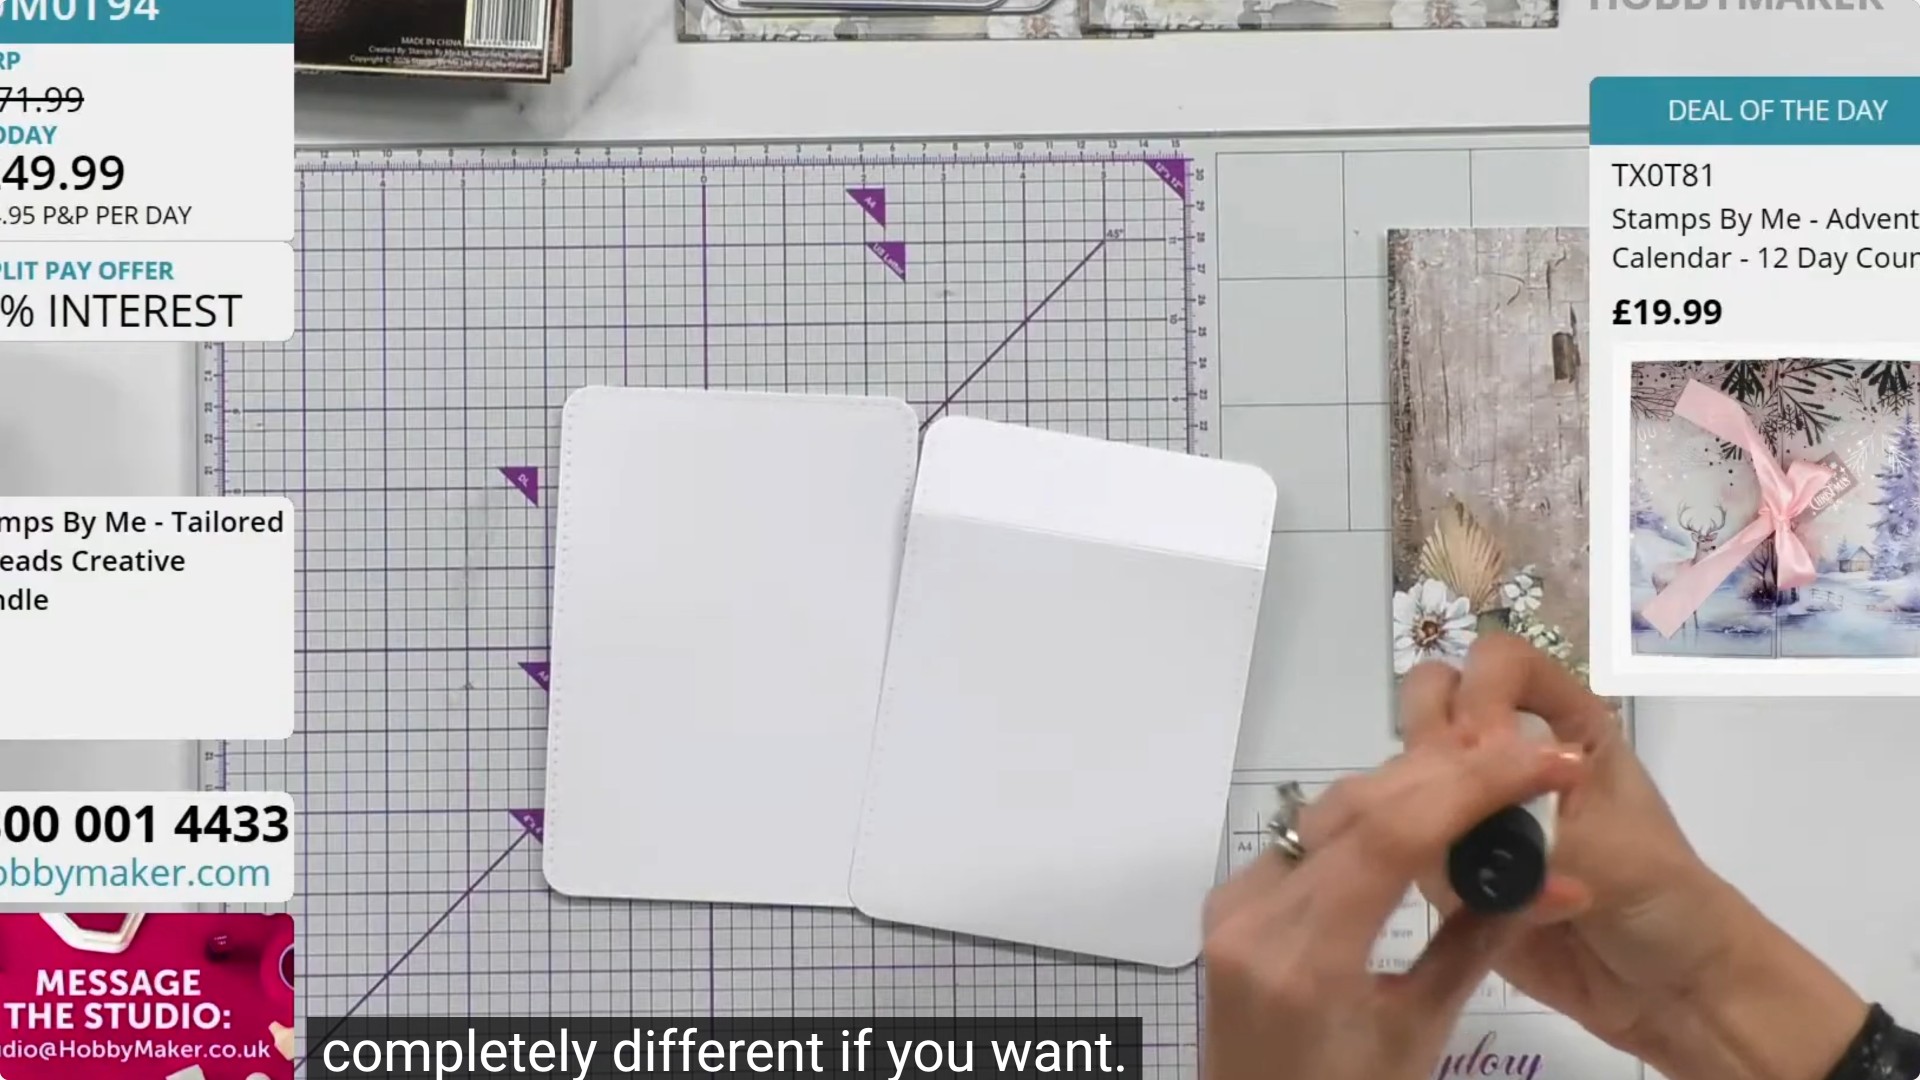
Create a distinctive shaped card using wallet die components and a circular stamped topper. This masculine-styled card features neutral tones with leather-effect papers, white florals, and decorative elements. The project demonstrates how to repurpose wallet die pieces into a unique card design with a dimensional circular focal point.
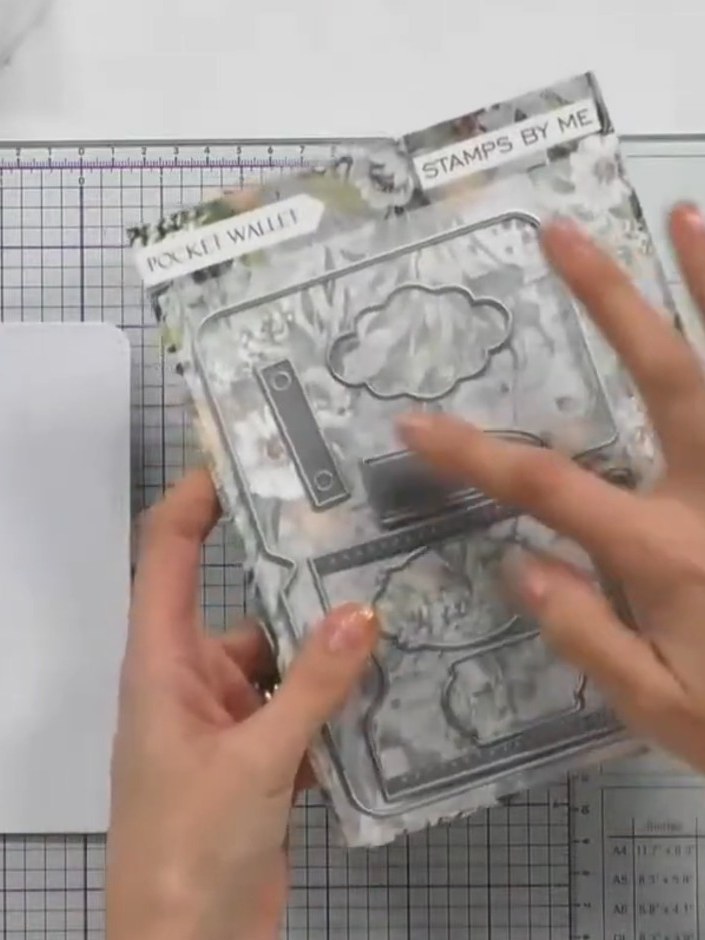
Cut two pieces using the shaped wallet die to create your card base and backing layer. Position the die on white card and run through your die-cutting machine twice to create both pieces.
▶ watch this step (36:15)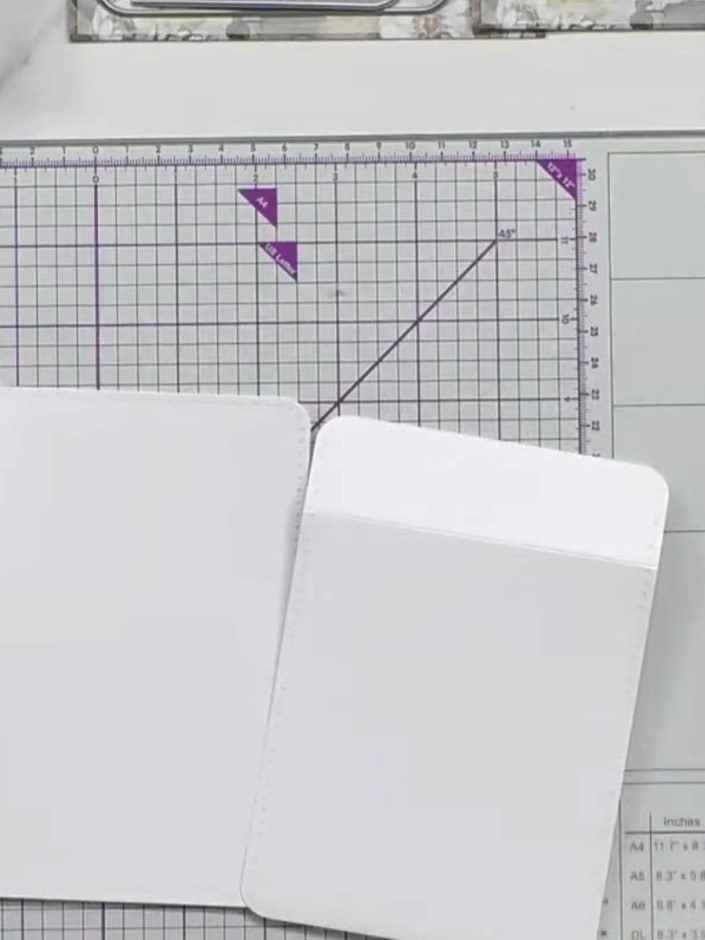
Score a line across the back piece of white card to create a fold for dimension.
▶ watch this step (37:00)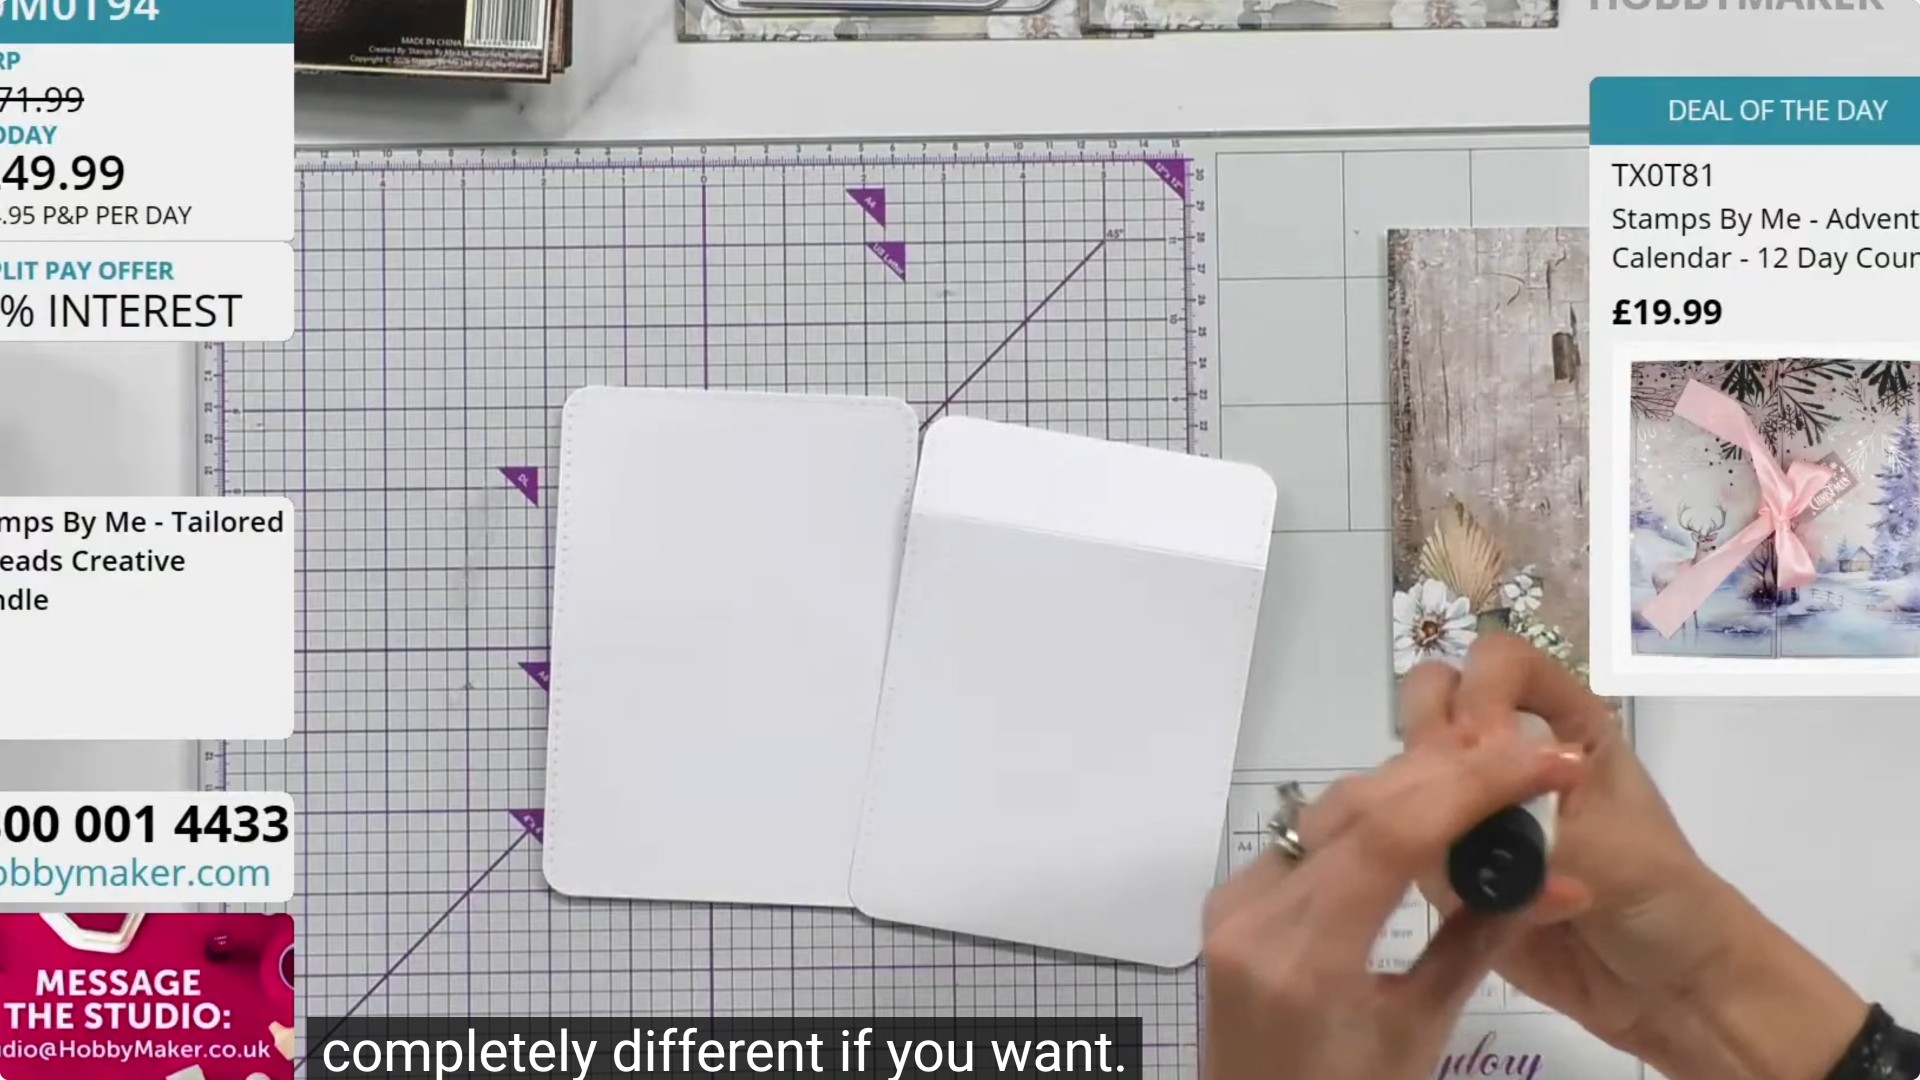
Apply glue to the scored back piece and attach it to the reverse of your front shaped piece, ensuring the scored fold aligns properly.
▶ watch this step (37:15)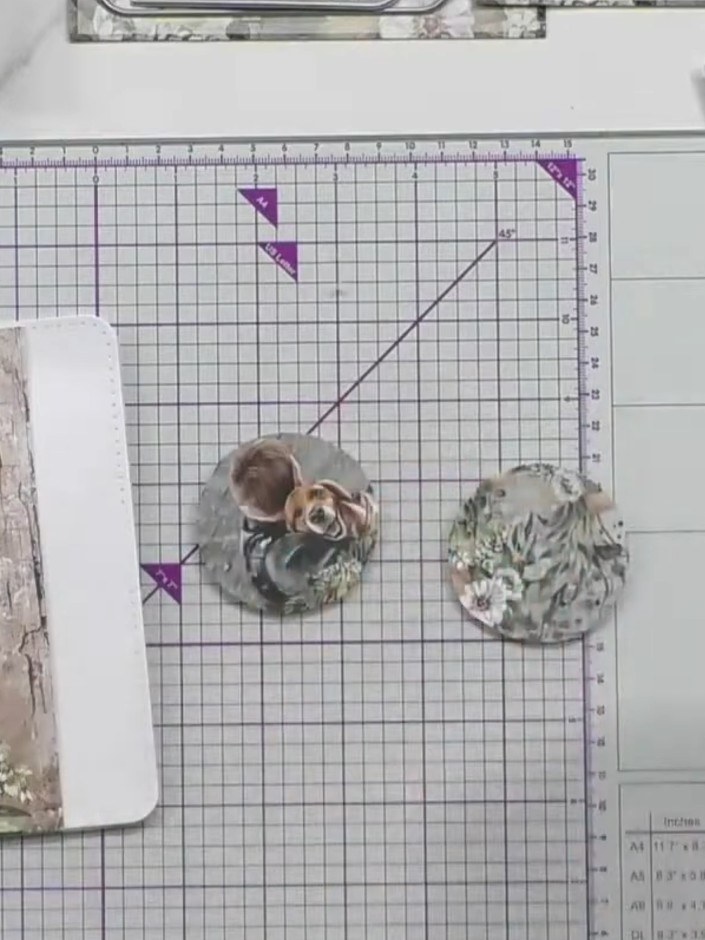
Cut two circles from coordinating paper. Use scissors or a circle punch to cut out the circles, adding a little bit of colour around the edges if desired.
▶ watch this step (39:30)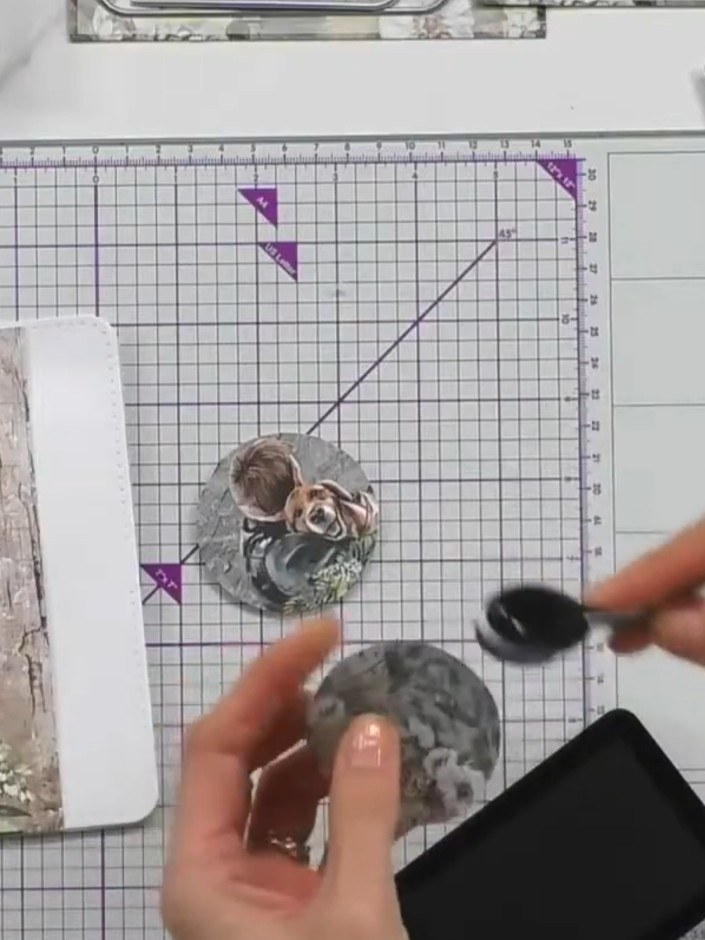
Using a blending brush, blend black ink around the edge of one of the circular toppers to create shading and depth.
▶ watch this step (39:45)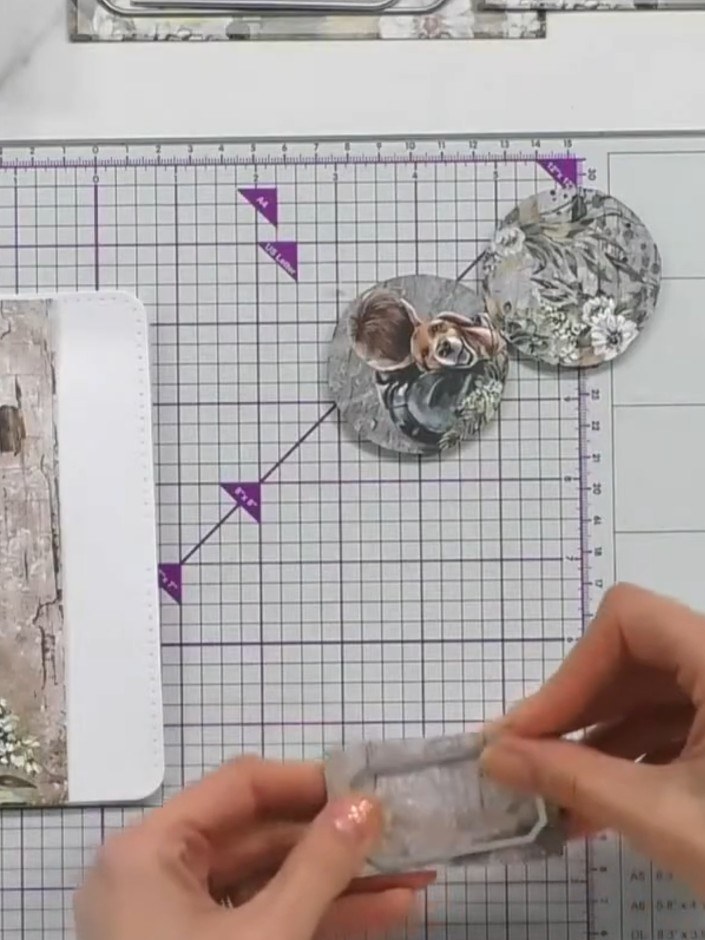
Adhere the inked circle topper to the centre of your card front using adhesive.
▶ watch this step (40:00)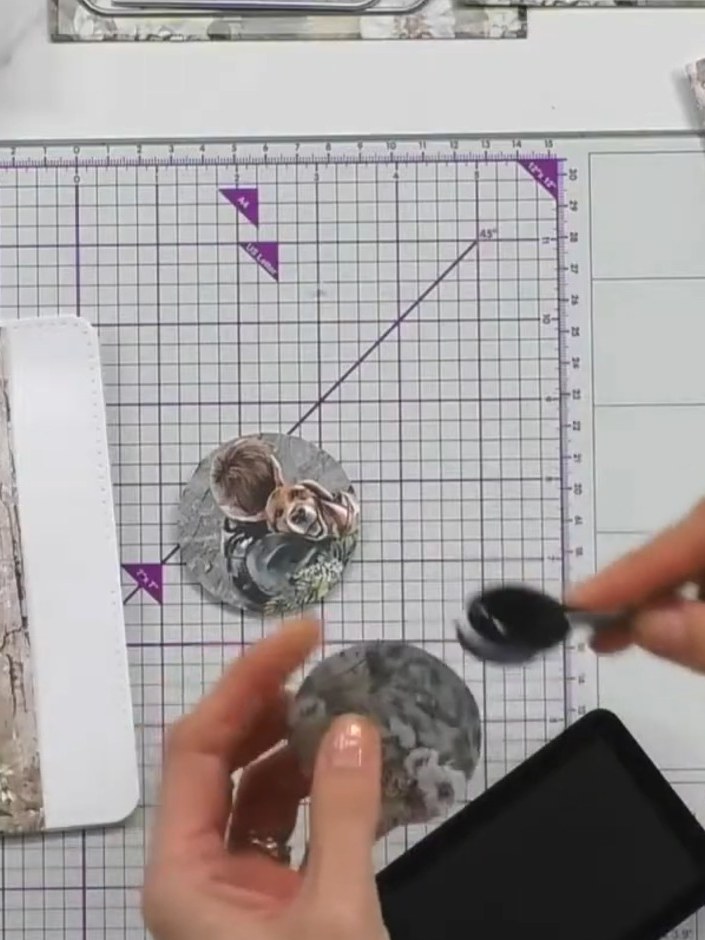
Stamp a sentiment from the coordinating stamp set onto the second circle using black ink.
▶ watch this step (40:15)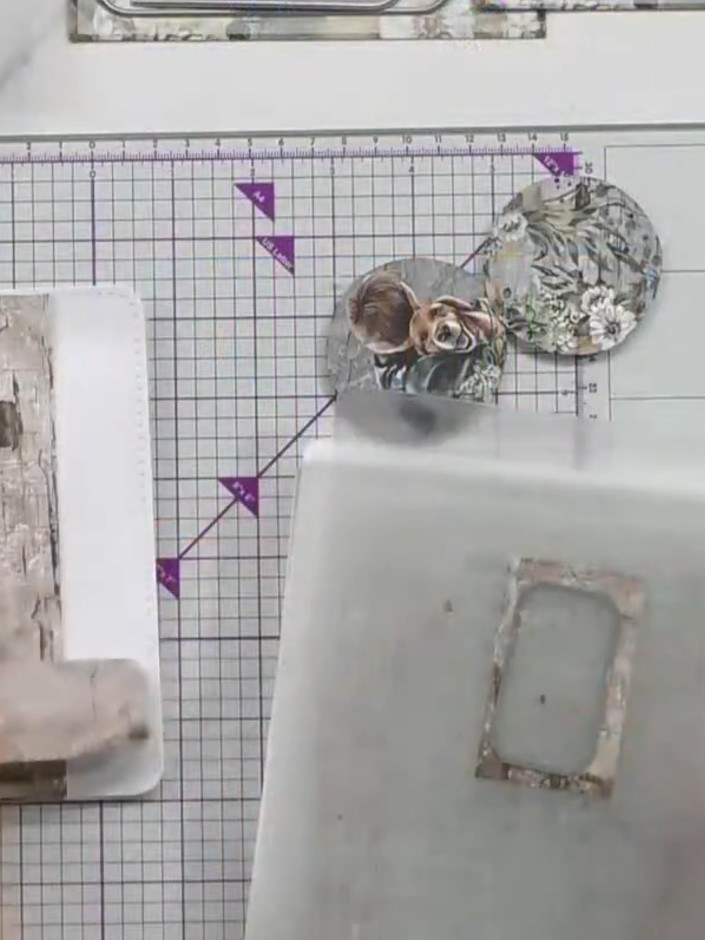
Layer the stamped circle on top of the inked circle using foam pads or card scraps for dimension. Adhere the layered topper to the card front.
▶ watch this step (40:45)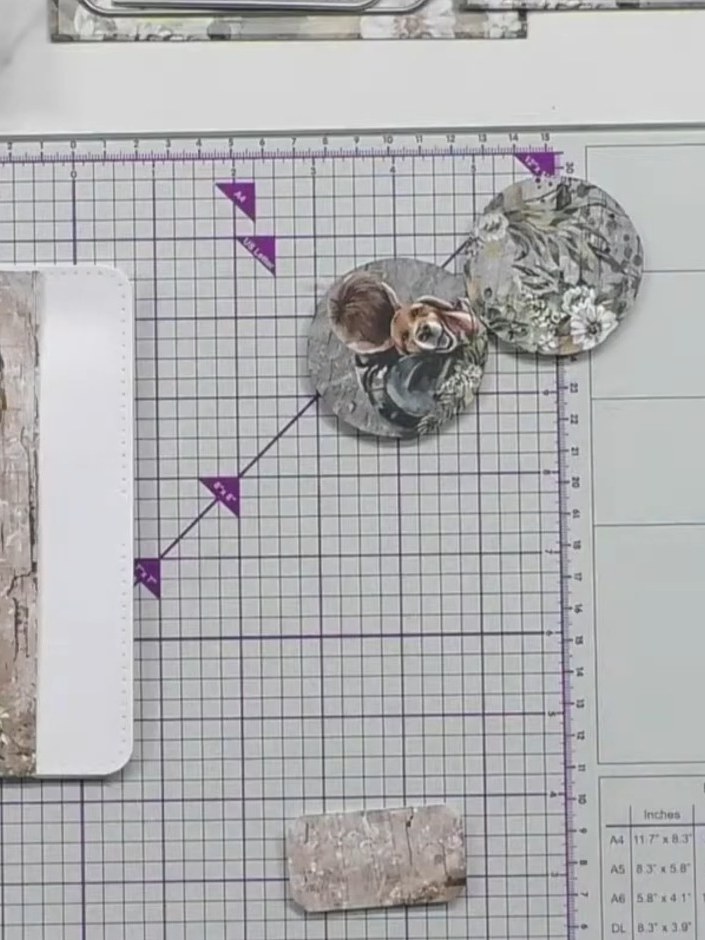
Add decorative paper scraps down one side of the card base, positioning them to create visual interest whilst keeping the white space visible. Layer the pieces to create depth and texture.
▶ watch this step (41:00)Written up from the show itself. See every guide from our shows · free how-to guides · watch live on My Telly