Give your friends €10 off their first order!
Refer a FRIEND








A project from our live show Create Together Club - Chapter 4 - Broadcast 22ND May 24 · 22/05/2024 · watch it from 3:00
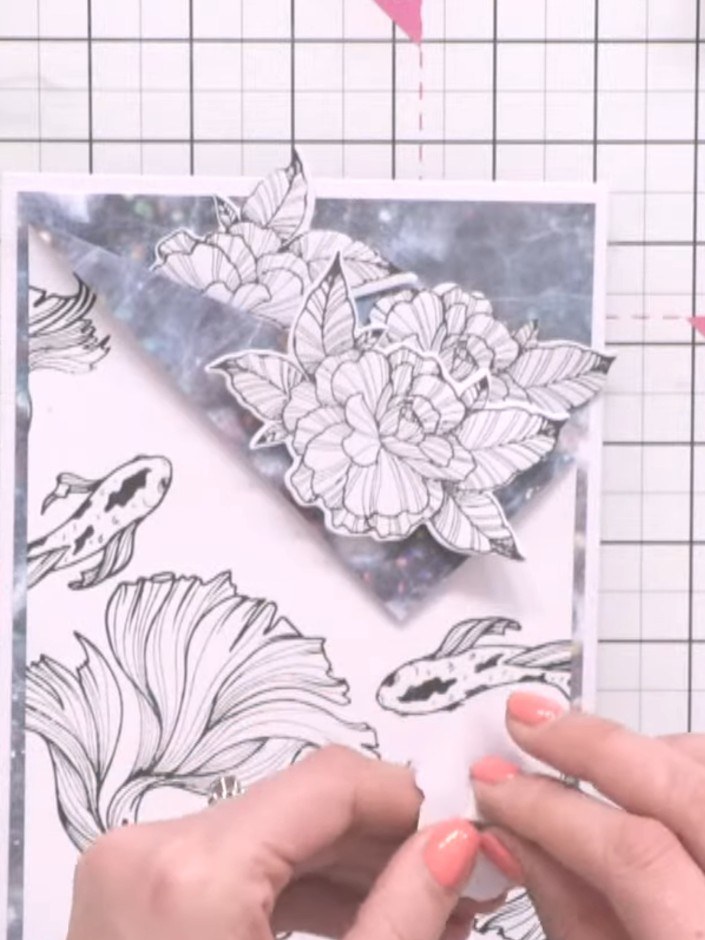
Create a beautiful layered card featuring delicate die-cut flowers arranged in a dimensional pocket at the top, complemented by a stamped tropical fish with shadow technique below. This design combines soft grey patterned papers with black line-drawn florals and a 'POSITIVITY' sentiment banner, using layering and 3D shadow effects to add depth and visual interest to your handmade greeting card.
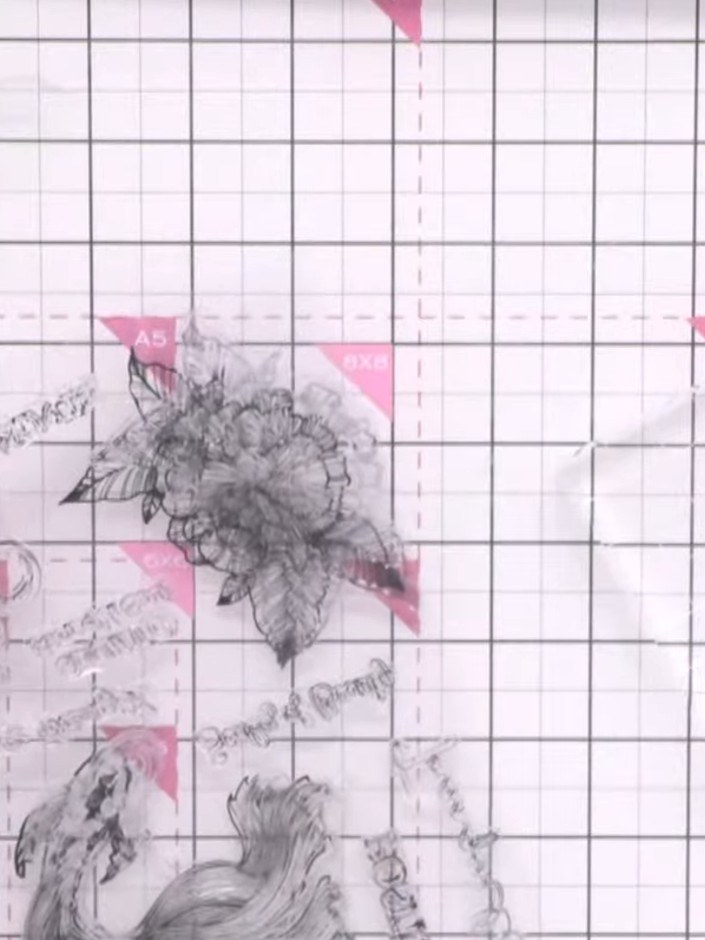
Stamp the flower image three or four times onto white card stock using an acrylic block and black ink.
▶ watch this step (3:15)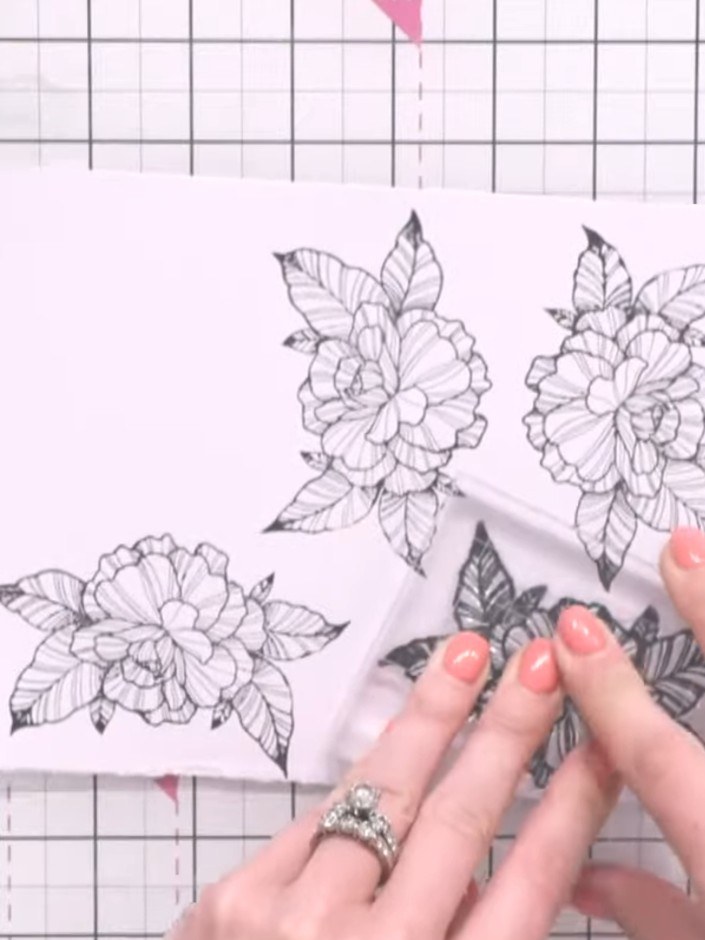
Die-cut all four stamped flowers using your die-cutting machine. Carefully remove the die-cut flowers from the card.
▶ watch this step (4:45)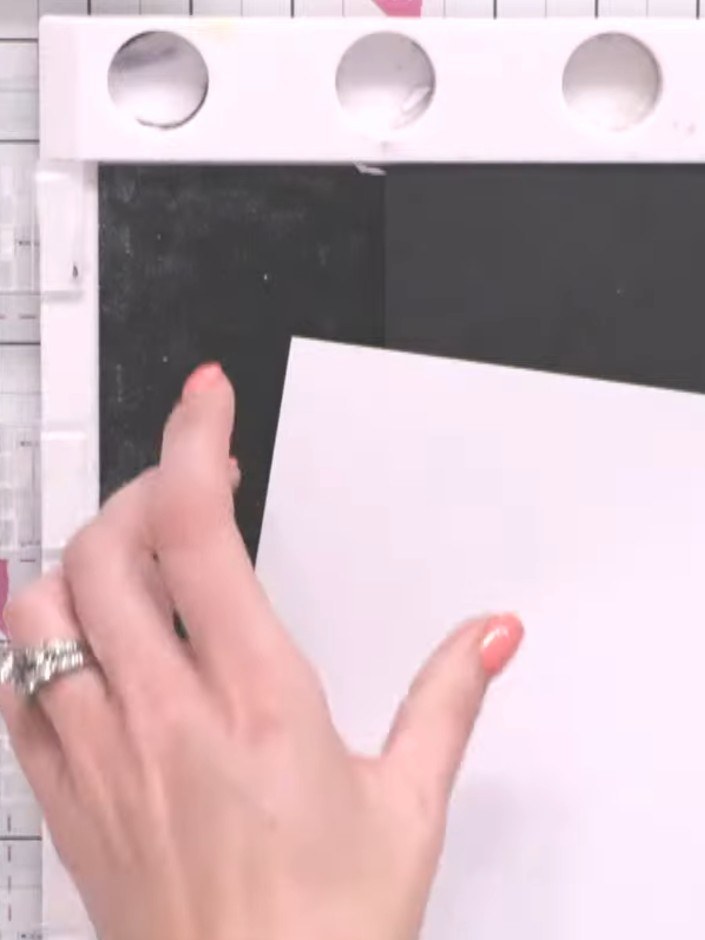
Score a horizontal line across the patterned paper piece to create a fold line for the pocket at the top of the card.
▶ watch this step (12:15)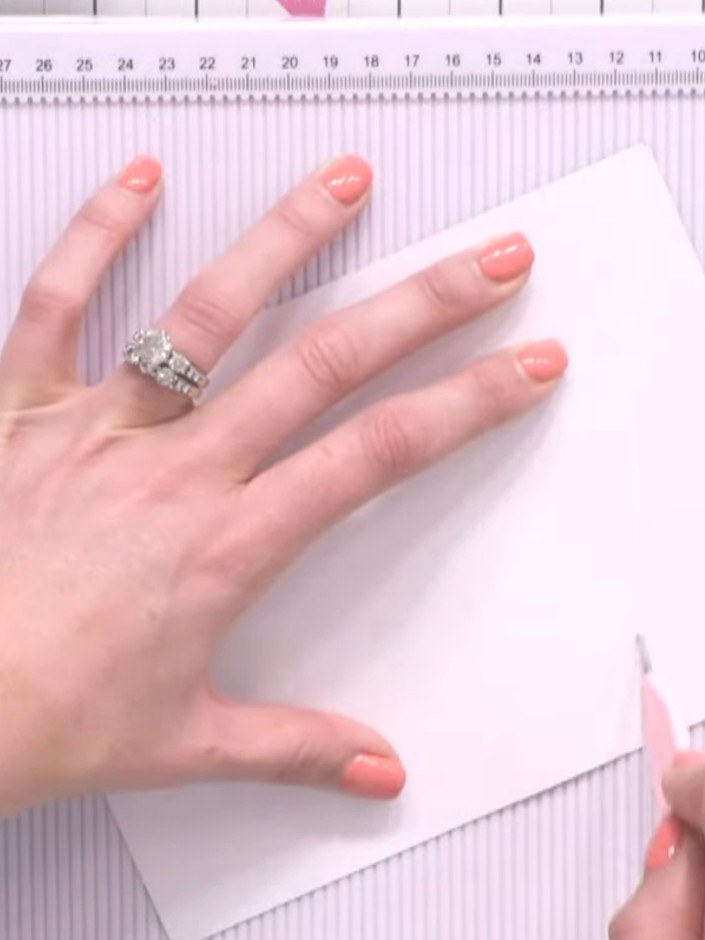
Fold the patterned paper back along the score line to create a pocket effect at the top of the card.
▶ watch this step (12:30)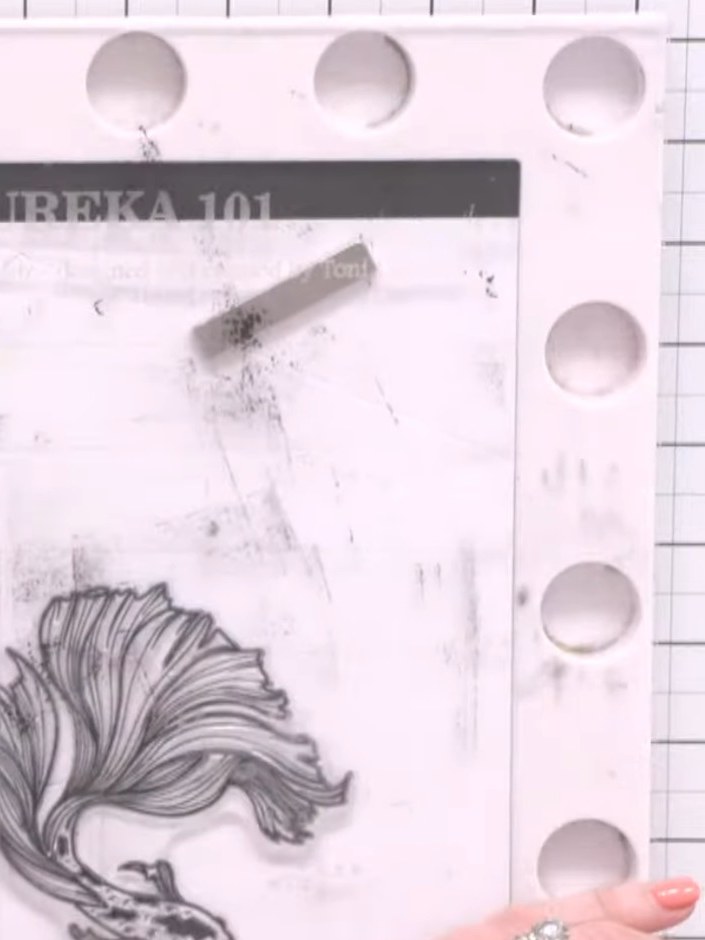
Stamp the fish image from the Eureka 101 stamp set in black ink onto the white patterned paper, positioning it in the lower right area so part of the fish will be hidden when the pocket is folded.
▶ watch this step (14:00)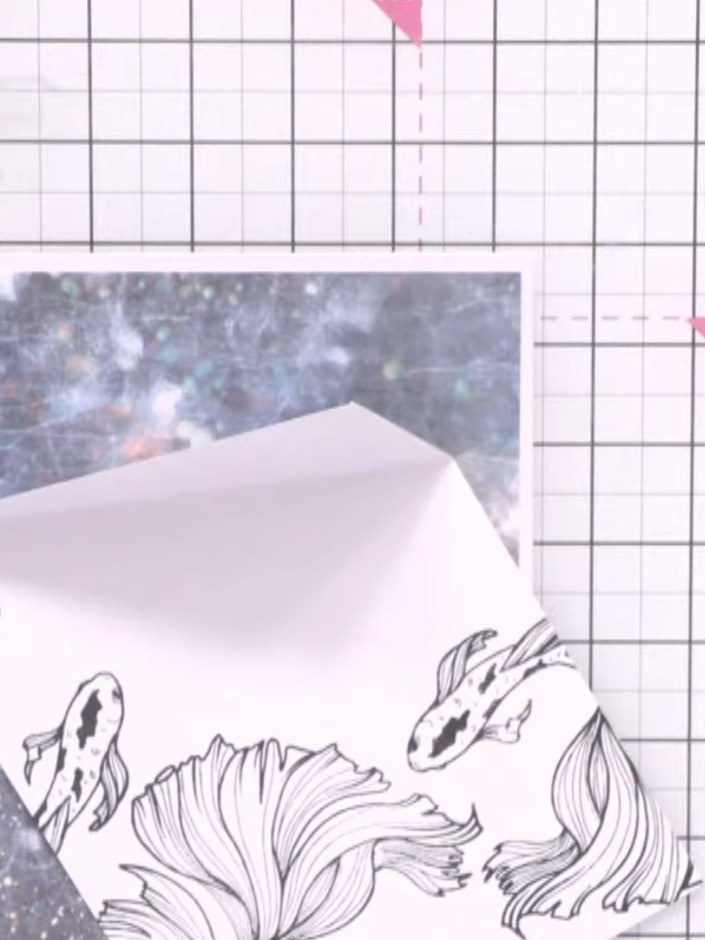
Adhere the first piece of patterned paper flat to your card base. Layer the folded pocket piece on top using foam pads underneath to create dimension.
▶ watch this step (17:15)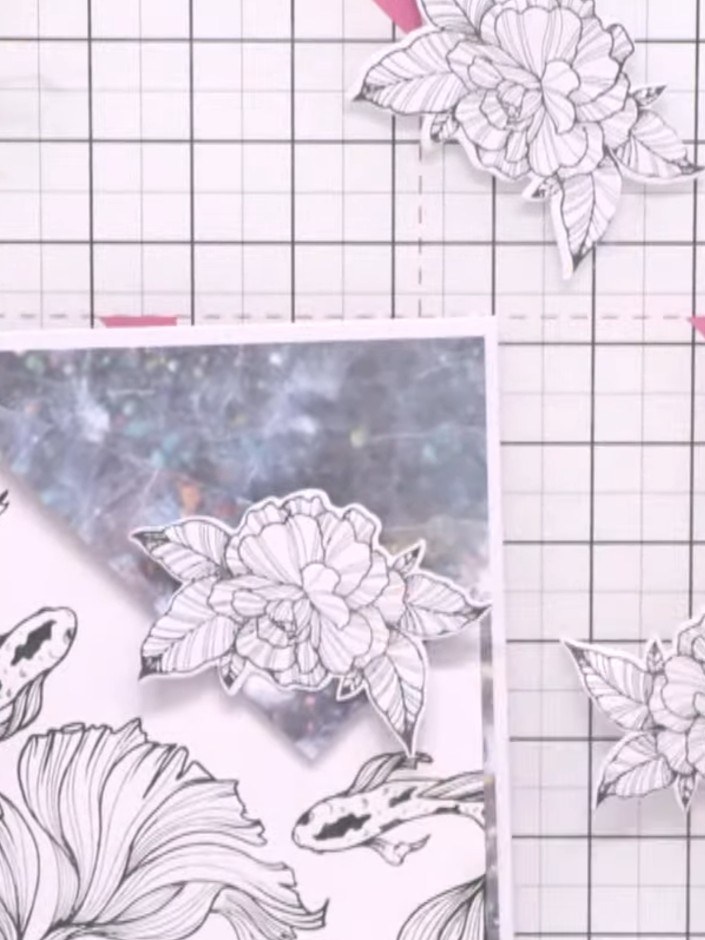
Trim the die-cut flowers, removing any excess leaves and white edges to create neat 3D flower shapes ready for layering.
▶ watch this step (18:30)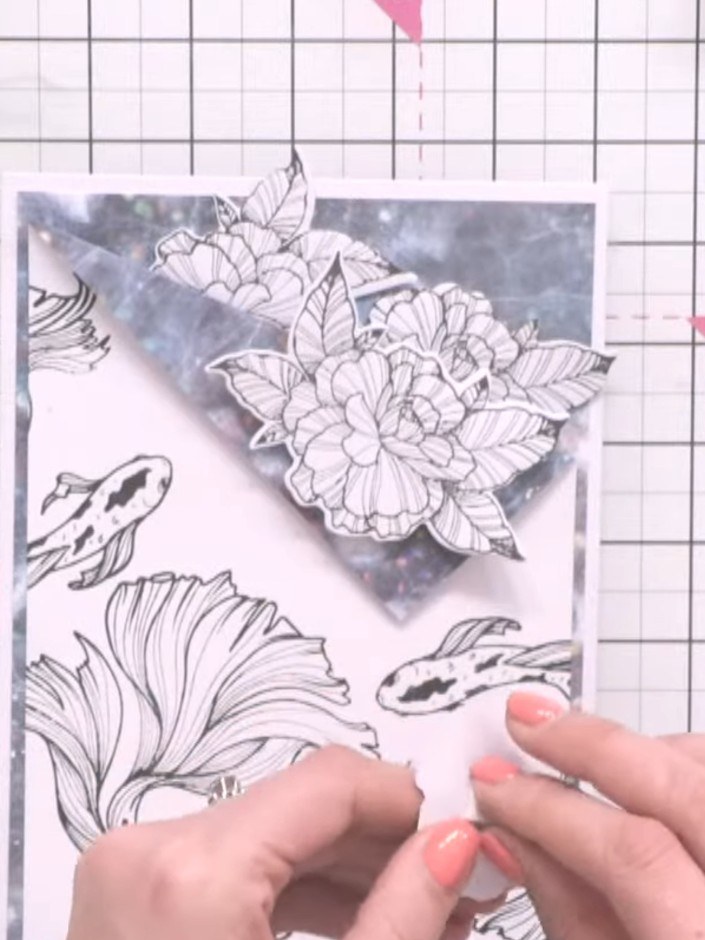
Apply foam pads to the back of the trimmed floral elements. Position the flowers with dimension inside the pocket area of the card, layering them to create depth.
▶ watch this step (21:30)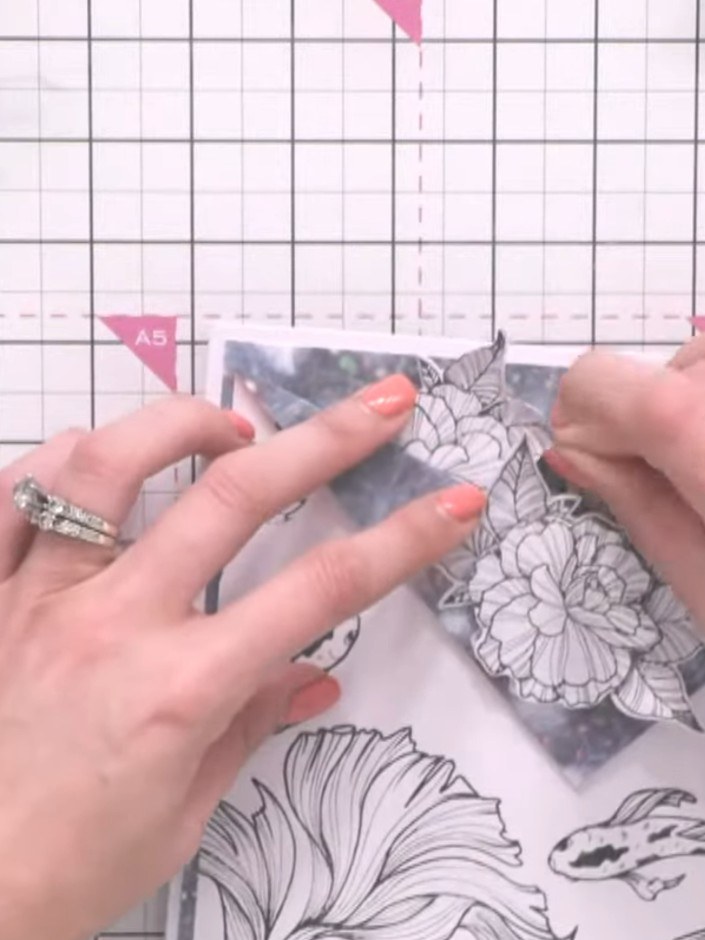
Pinch and curl the flower leaves to add extra dimension. Gently bend and shape each petal to create a more realistic, three-dimensional appearance.
▶ watch this step (22:00)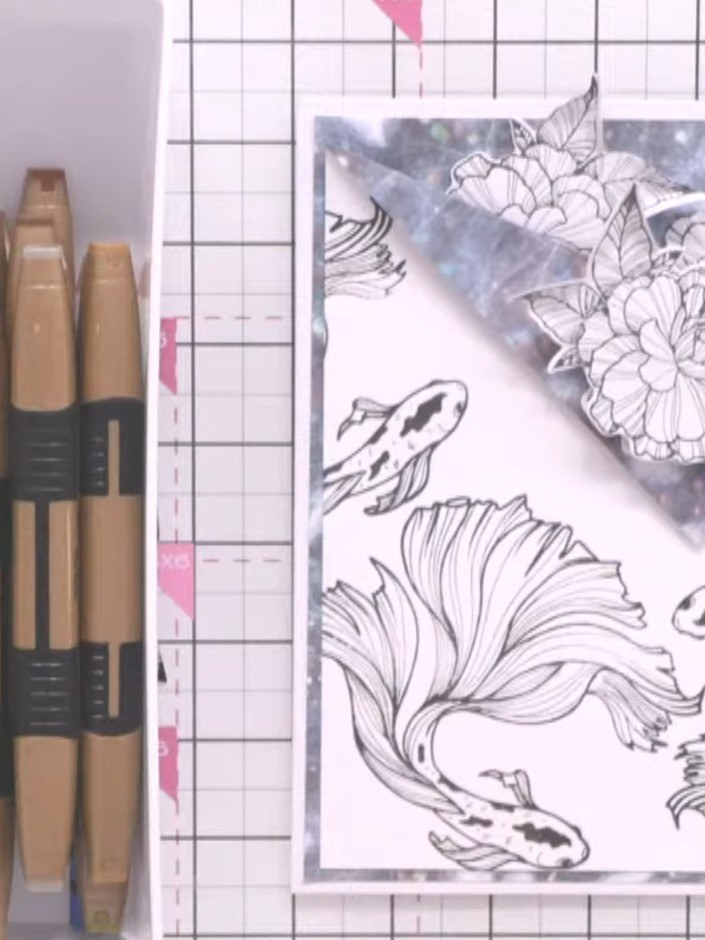
Use a grey alcohol marker to draw a shadow around the fish. Start with a darker shade and then blend with a lighter shade to create a 3D effect.
▶ watch this step (22:15)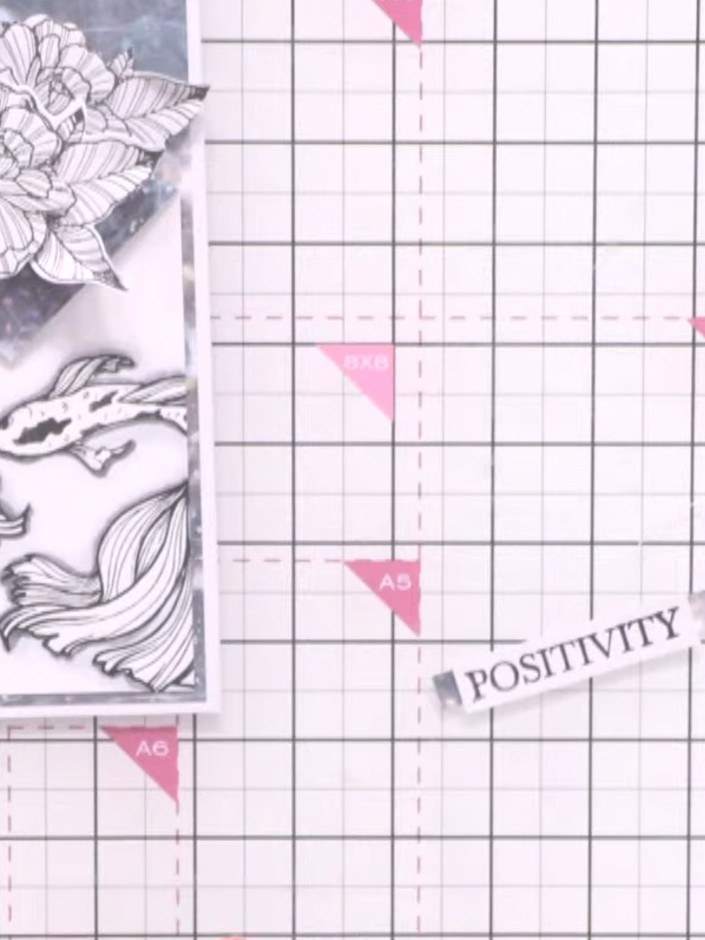
Stamp the word 'positivity' onto white card stock using black ink. Allow the ink to dry completely before proceeding.
▶ watch this step (29:30)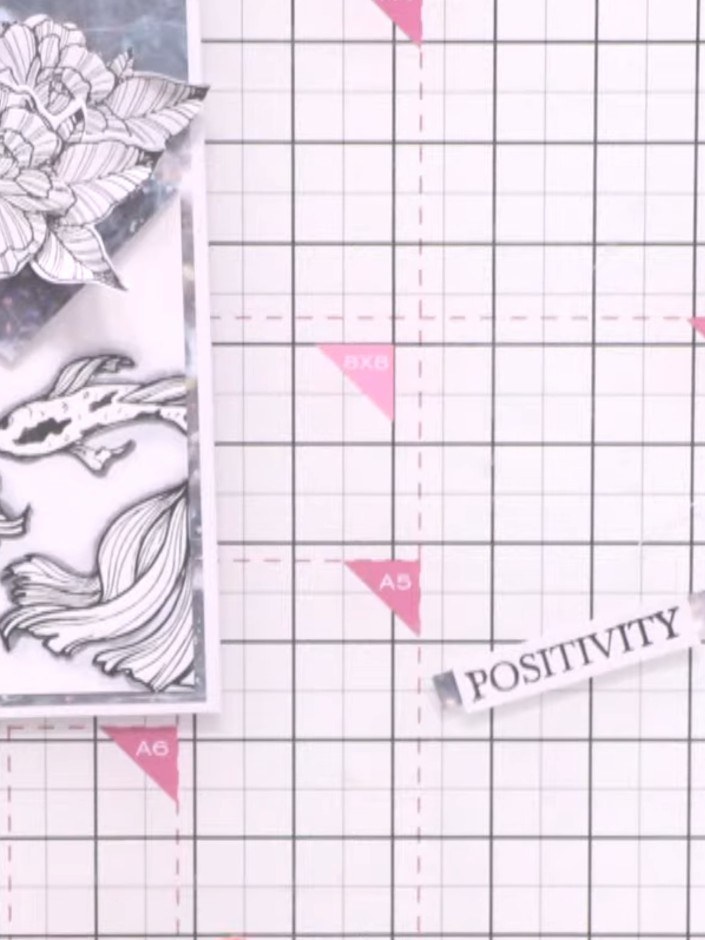
Layer the 'POSITIVITY' sentiment onto a piece of patterned paper off-cut, allowing a narrow border of the coloured paper to show around the edges for visual interest.
▶ watch this step (30:45)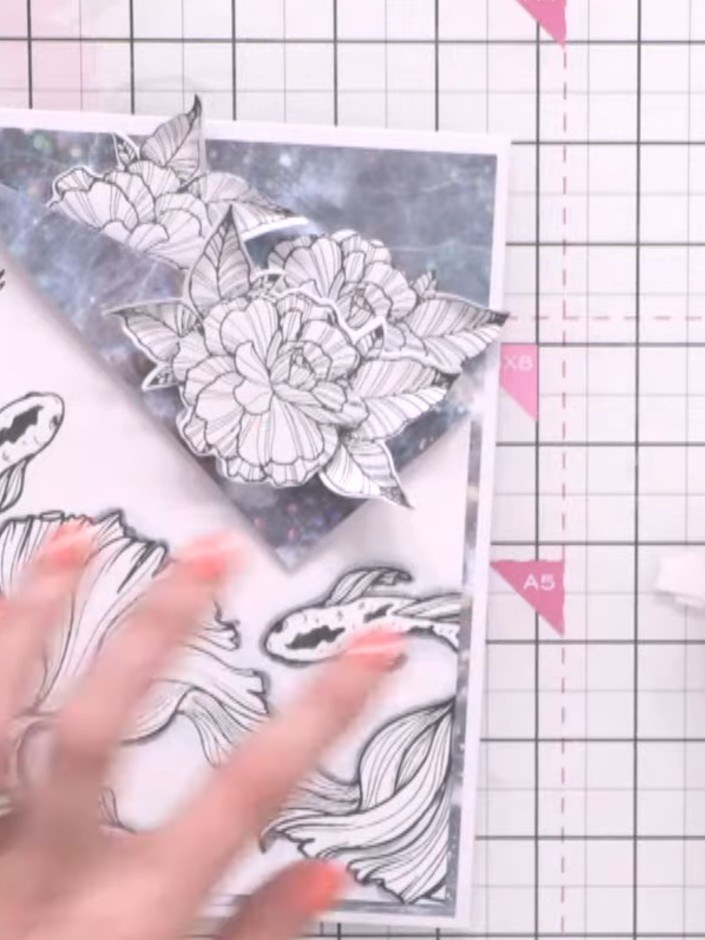
Apply foam pads to the back of the sentiment panel and position it in the centre of the card front.
▶ watch this step (31:30)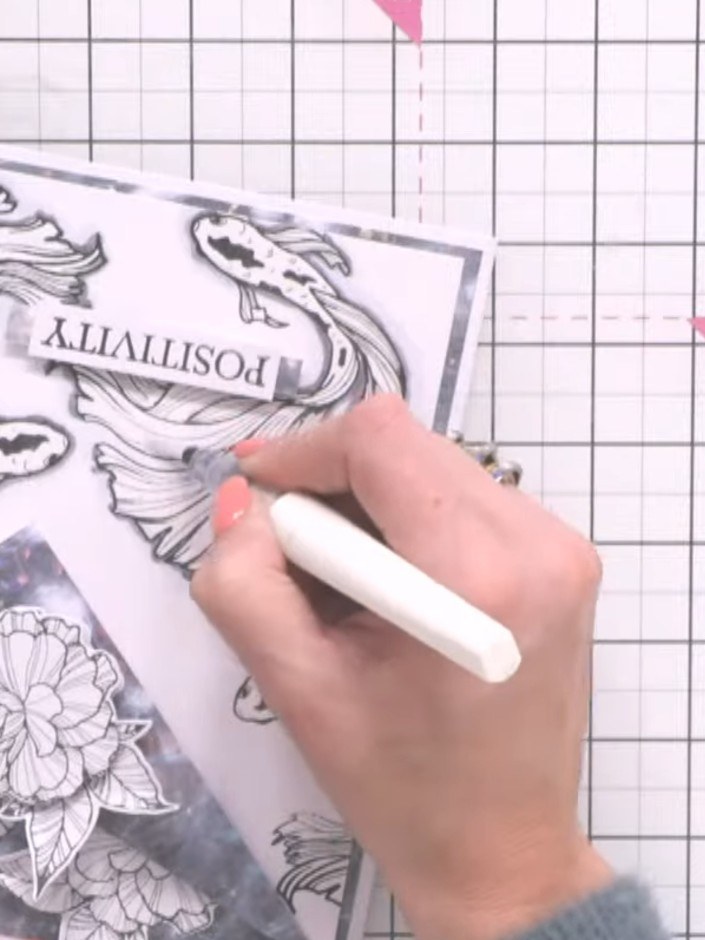
Add sparkle pen details to the fish's tail and body to complete the card.
▶ watch this step (32:15)Written up from the show itself. See every guide from our shows · free how-to guides · watch live on My Telly