Give your friends €10 off their first order!
Refer a FRIEND








A project from our live show Create Together Club - Chapter 4 - Broadcast 21ST May 24 · 21/05/2024 · watch it from 1:45
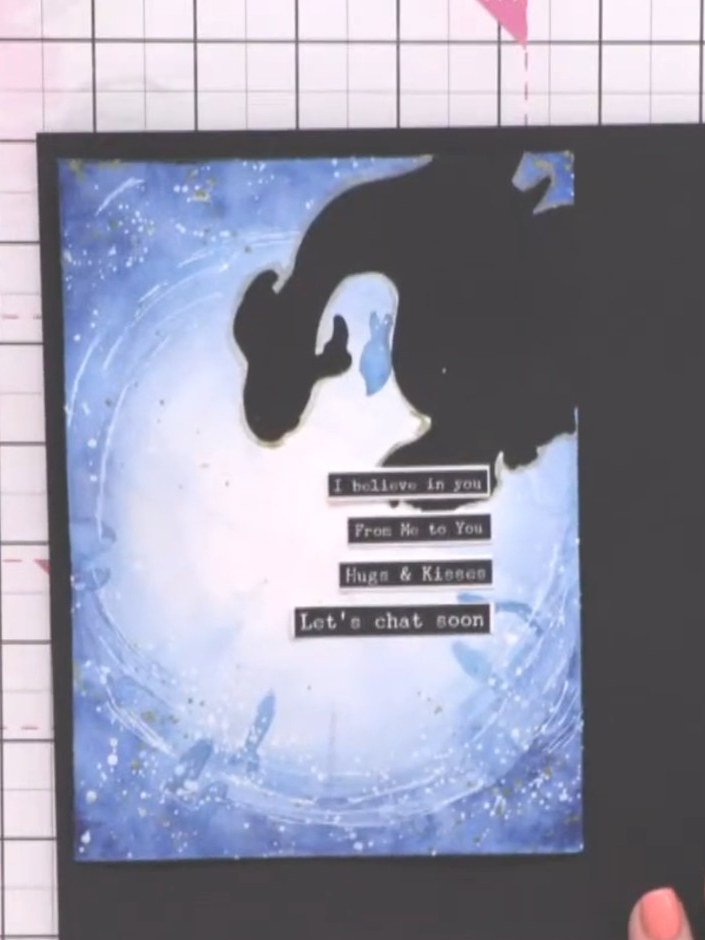
Create a stunning underwater scene card featuring a hand-painted fish silhouette against a dreamy watercolour background. Soft blues and teals blend together to depict the view looking up towards the water's surface, enhanced with splattered details and shimmering gold accents. This project combines freehand watercolour techniques with simple stamping to create a serene aquatic scene perfect for any occasion.
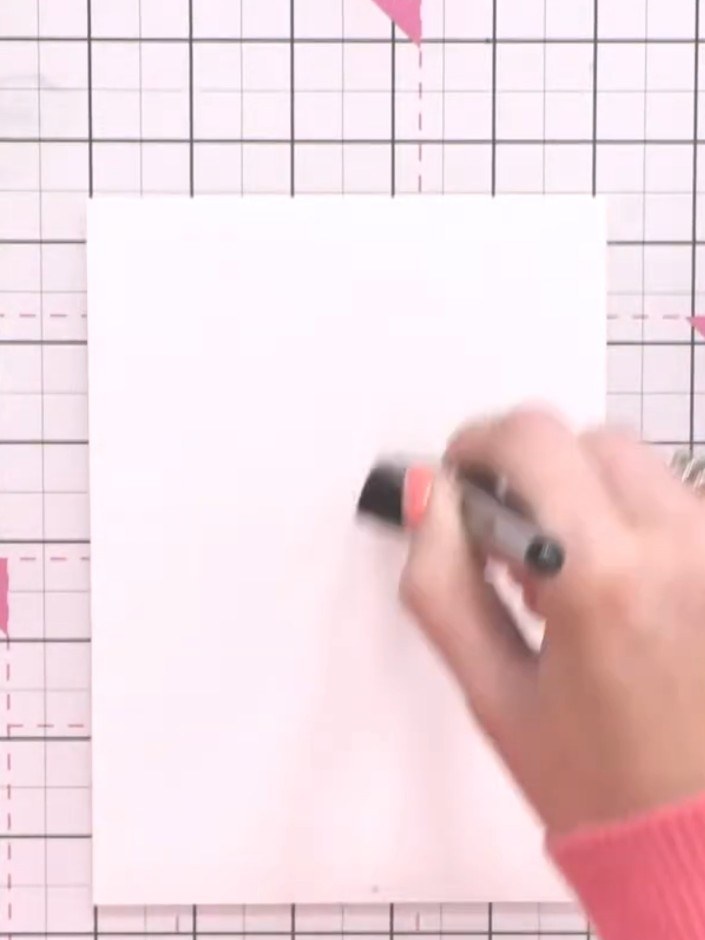
Wet your watercolour card stock thoroughly with clean water using a flat or round brush, ensuring the entire surface is damp.
▶ watch this step (3:00)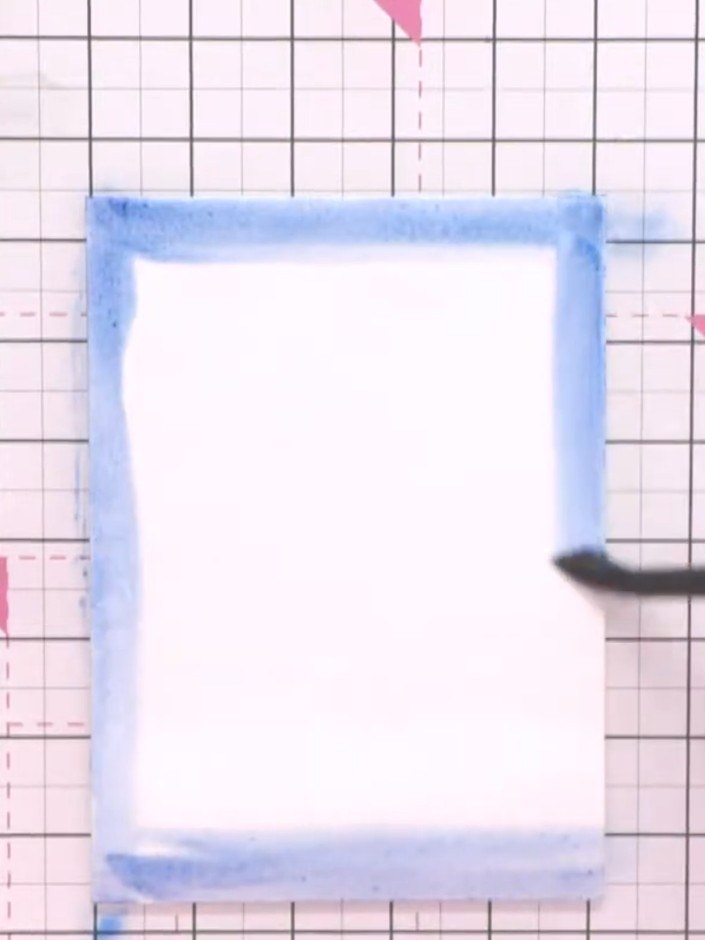
Apply ocean blue ink to the edges of the wet card using circular motions, working from the edges towards the centre to create depth. Continue building up the colour around all four edges of the card.
▶ watch this step (4:45)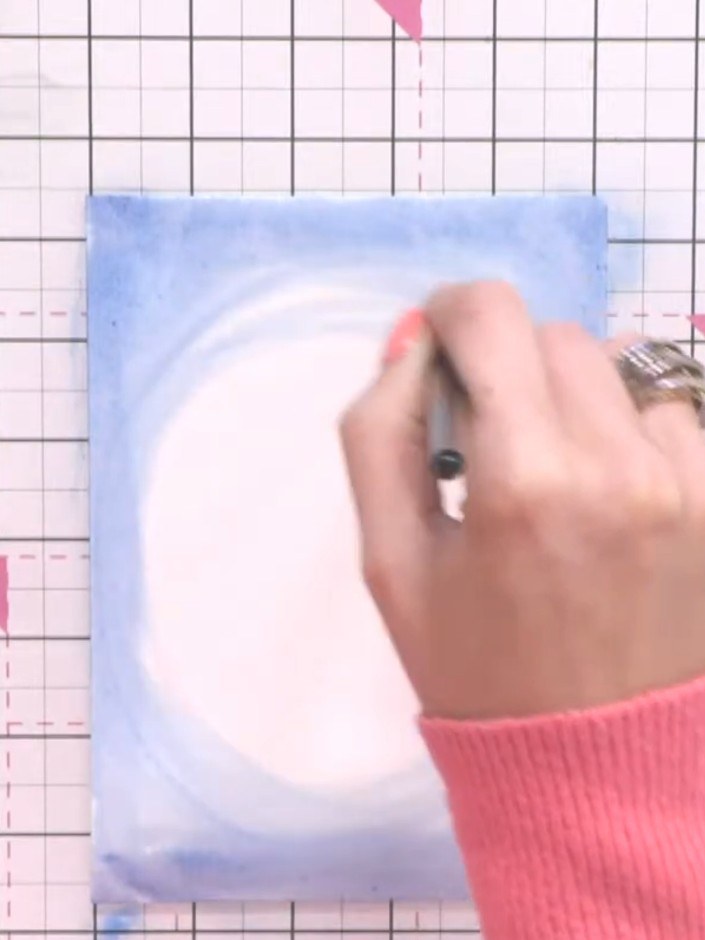
Pull the blue colour inward from all edges towards the centre using your brush, creating an oval or circular shape in the middle of the white area to suggest looking up through water.
▶ watch this step (5:30)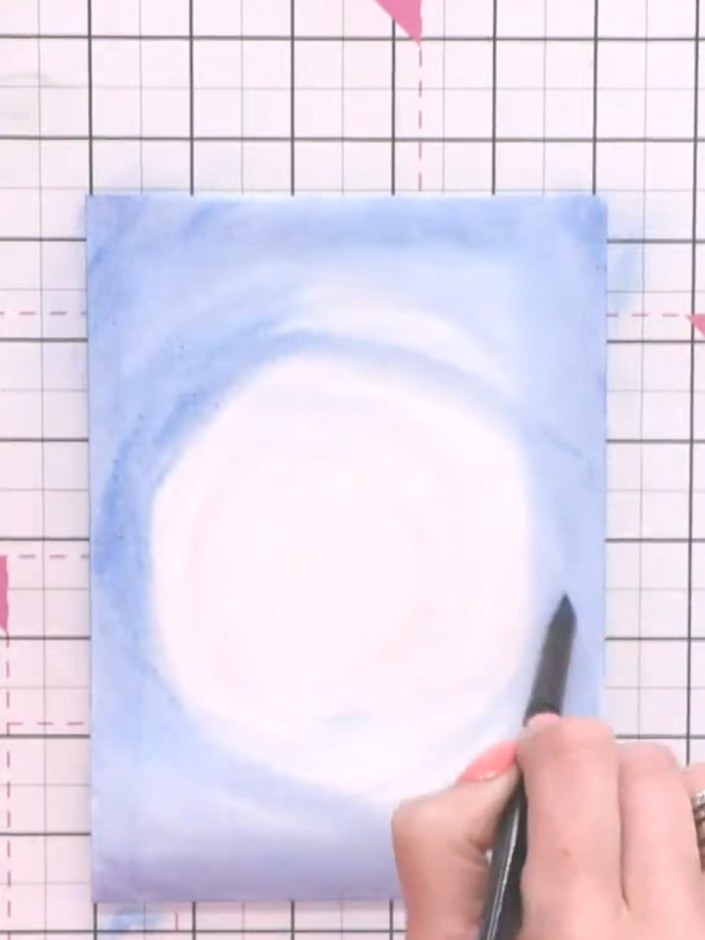
Gently blot areas of the wet blue watercolour with tissue to soften harsh lines and create a soft, cloud-like atmospheric effect in the background.
▶ watch this step (6:15)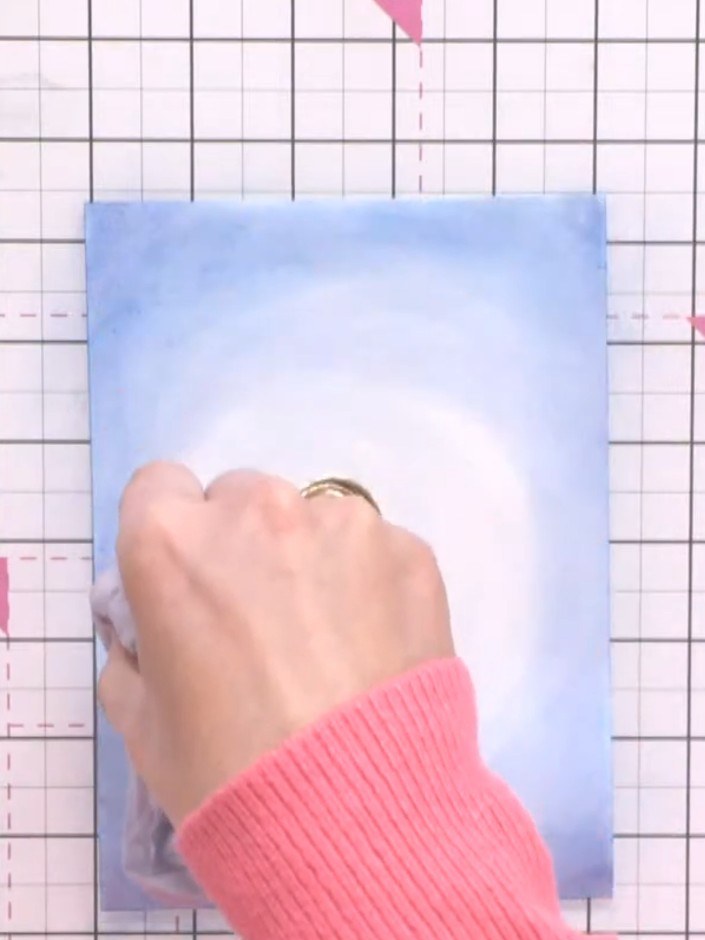
Using a damp brush or tissue, blend darker blue colour around the edges of the card to add depth and dimension to your underwater background.
▶ watch this step (8:00)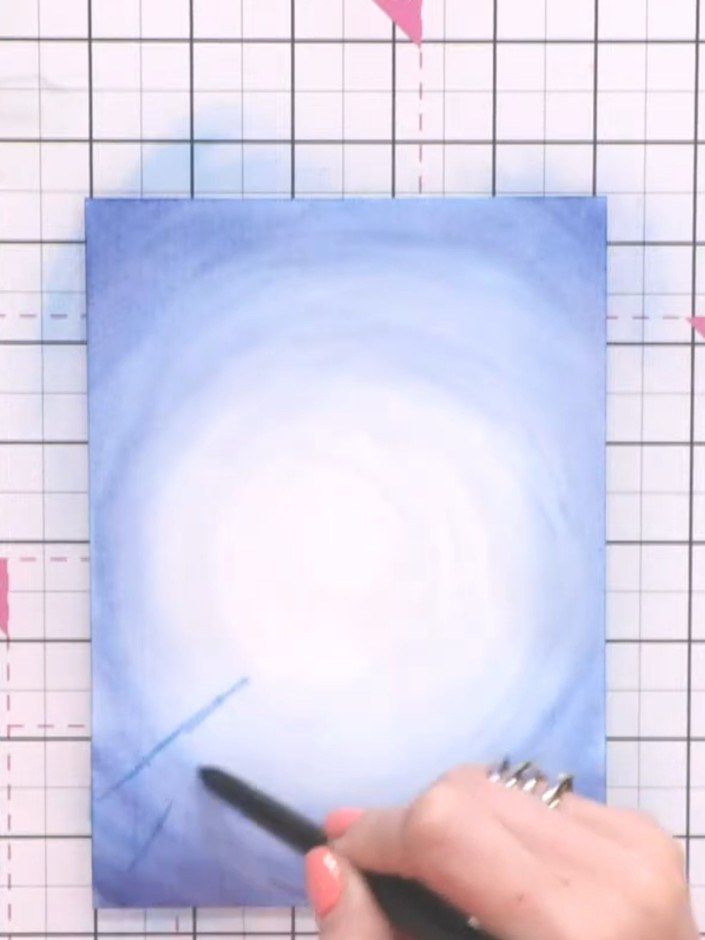
Allow the card to dry slightly until still damp but not soaking wet. Using a smaller brush, add fine lines with Ocean ink to suggest light rays coming through the water.
▶ watch this step (12:30)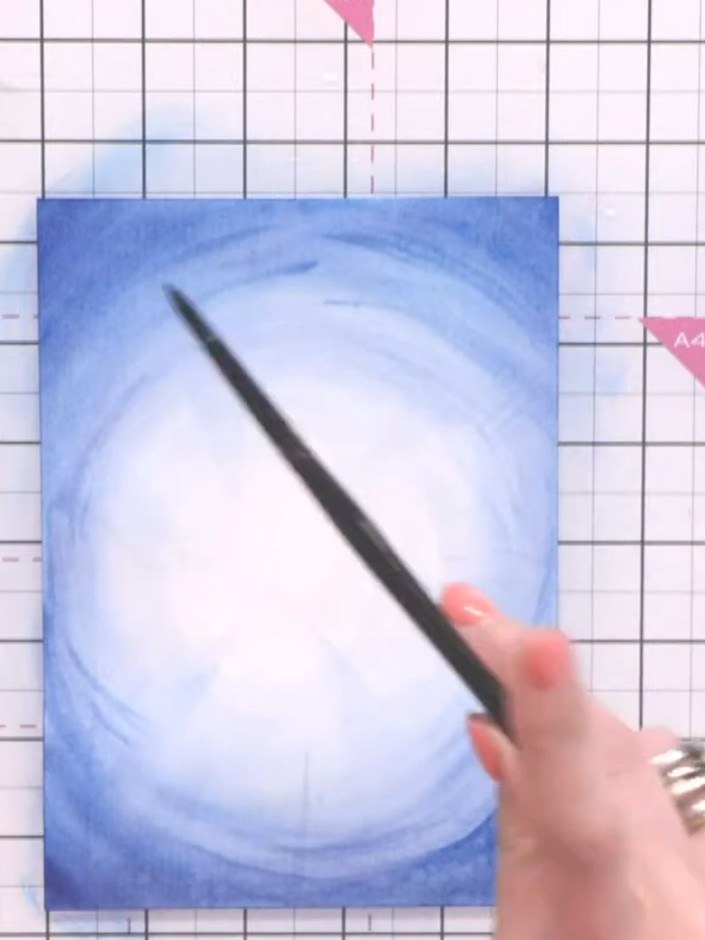
Splash clean water across the damp blue background using a loaded brush to create a speckled ripple and wave effect.
▶ watch this step (19:00)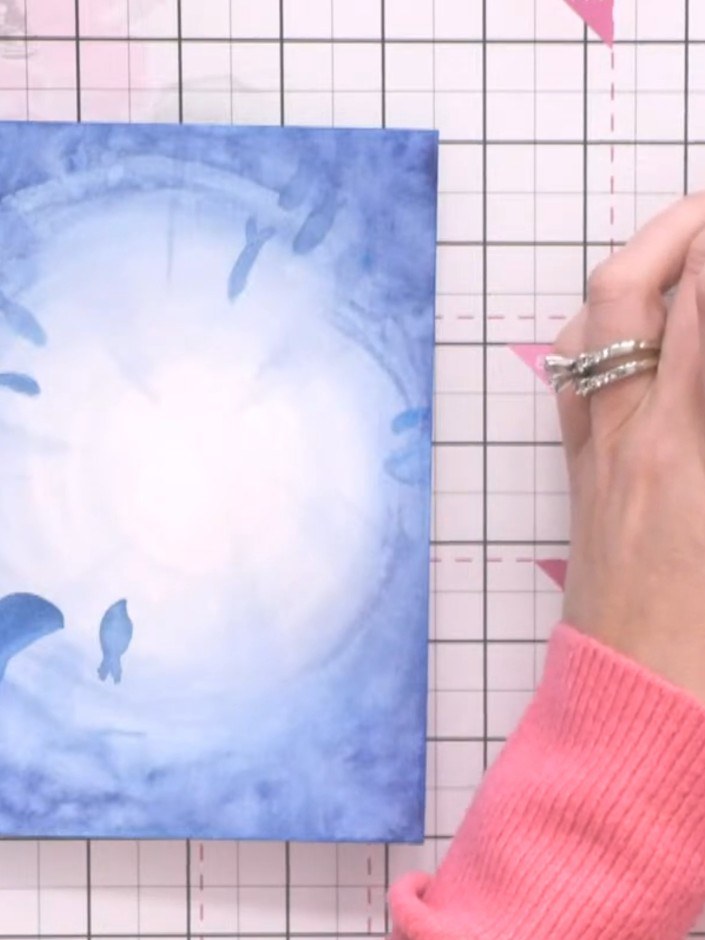
Using a fine brush, add white confetti splashes across the card to represent sea foam and bubbles. This will push the fish into the background and create depth in your underwater scene.
▶ watch this step (33:45)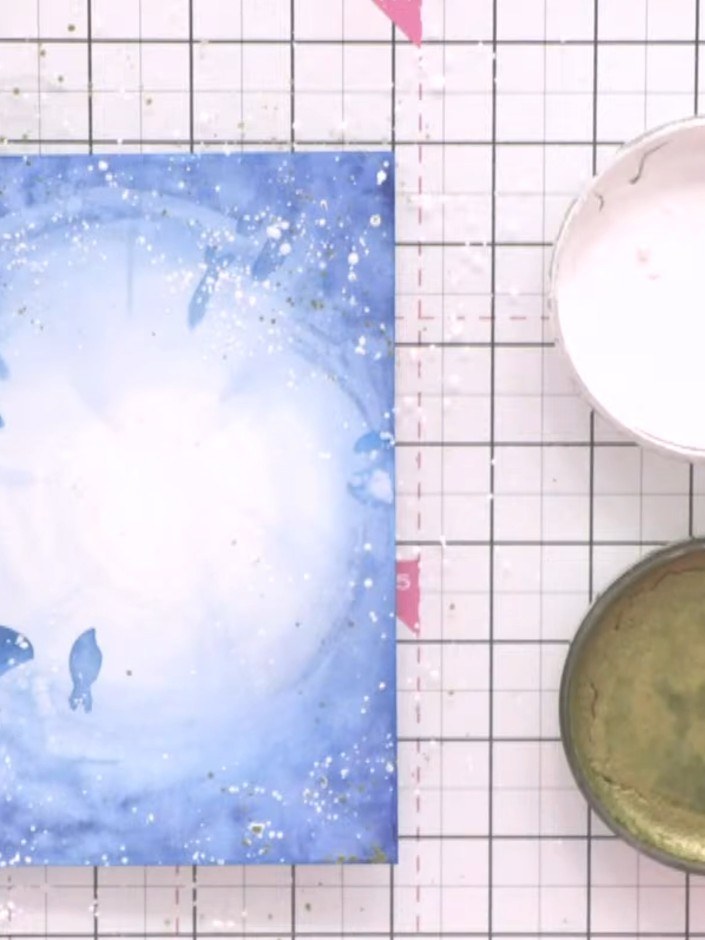
Add gold confetti splashes around the edges of the card and particularly around the main fish to create shimmer and highlight. Use the gold confetti paste sparingly to add sparkle to the underwater scene.
▶ watch this step (35:00)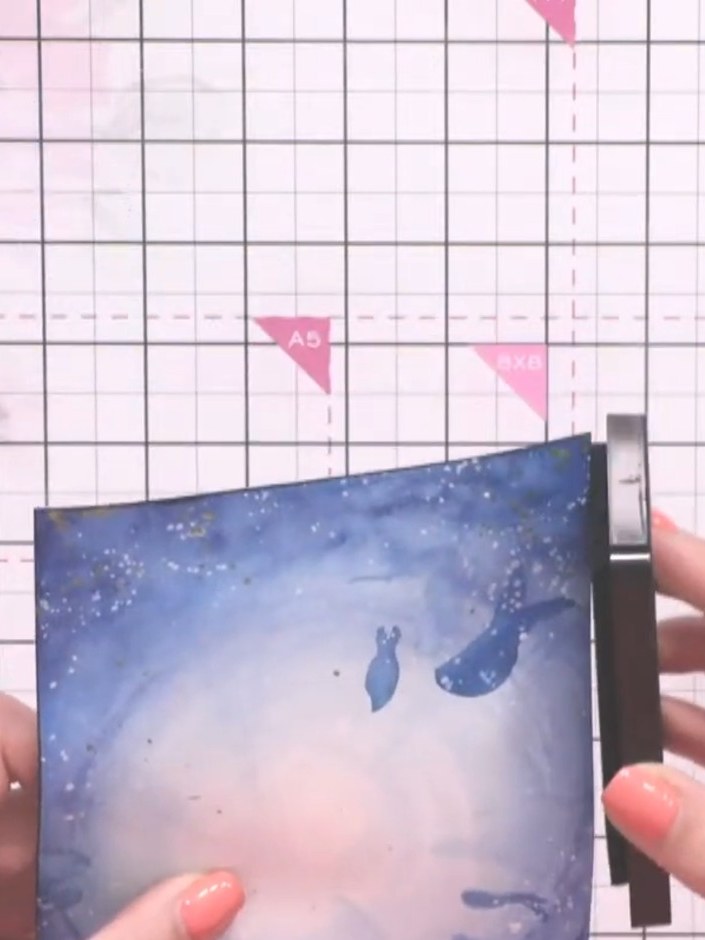
Edge the entire card with black ink pad using a blending tool to frame and finish the design.
▶ watch this step (37:00)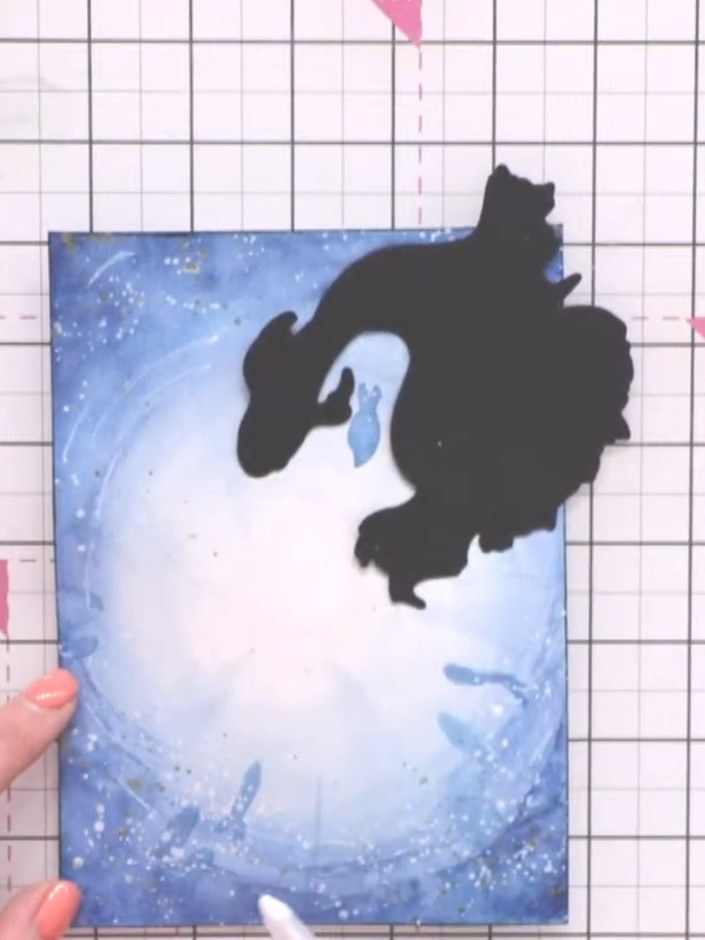
Use a white gel pen to add fine lines through the water areas to create movement and detail. Position washi tape sentiment strips on the card, connecting them to the fish design to complete your underwater scene.
▶ watch this step (38:30)Written up from the show itself. See every guide from our shows · free how-to guides · watch live on My Telly