Give your friends €10 off their first order!
Refer a FRIEND








A project from our live show How to Make the Perfect Envelope Every Time - Broadcast 18TH May 24 · 18/05/2024 · watch it from 1:45
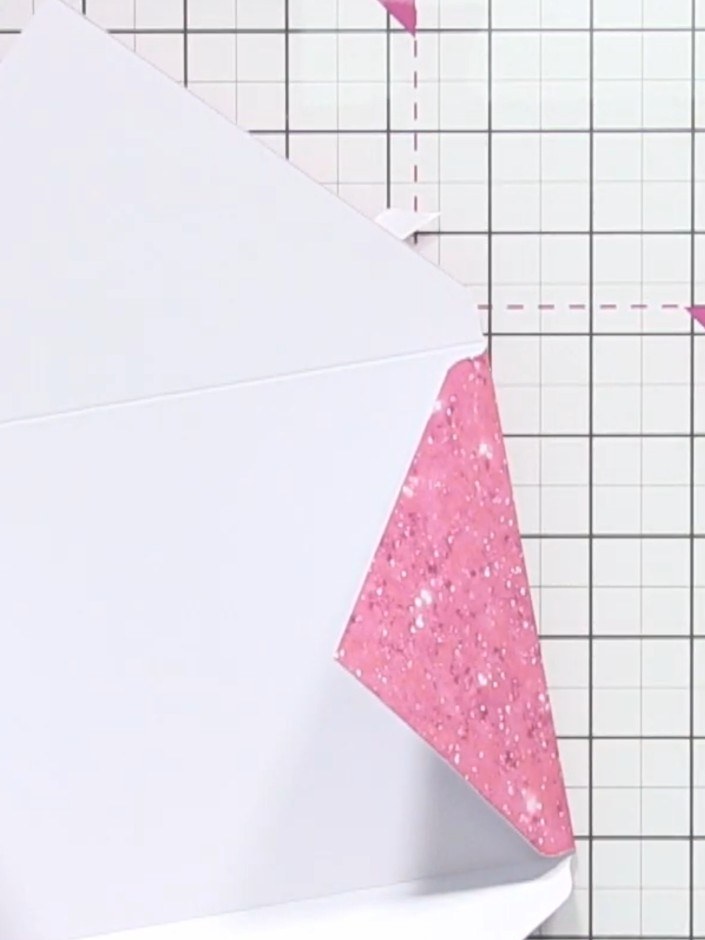
Create a perfectly proportioned 5x7 envelope using the Box and Envelope Maker tool. This elegant white envelope features crisp score lines, neatly punched corners, and rounded edges for a professional finish. Master the techniques of precise scoring, corner punching, and assembly to produce a beautiful handmade envelope suitable for cards and special occasions.
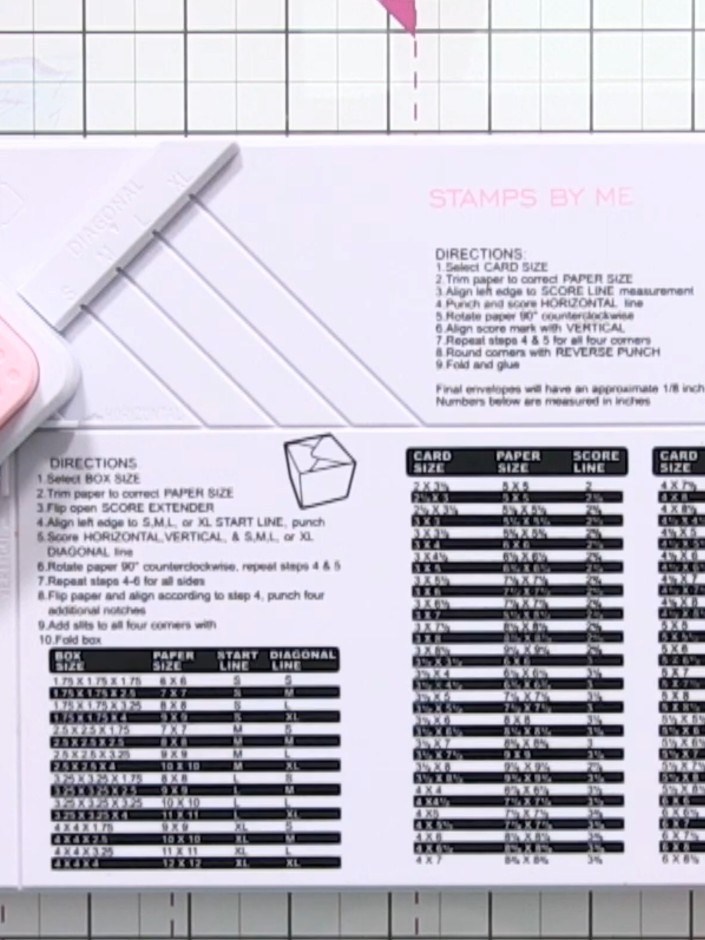
Using the envelope size chart on the Stamps By Me Box and Envelope Maker, locate the measurements for a 5x7 card. Cut your card stock to 9½ by 9½ inches as indicated on the chart.
▶ watch this step (1:45)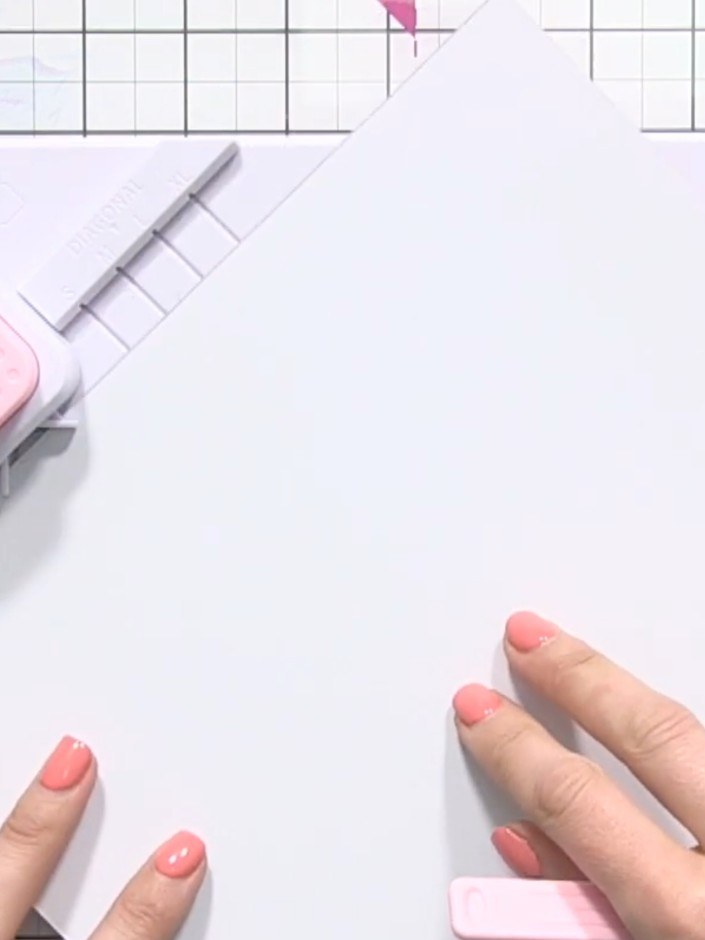
Place your card stock into the envelope maker tool, aligning it at the 4 inch score line marking on the white side of the board.
▶ watch this step (2:00)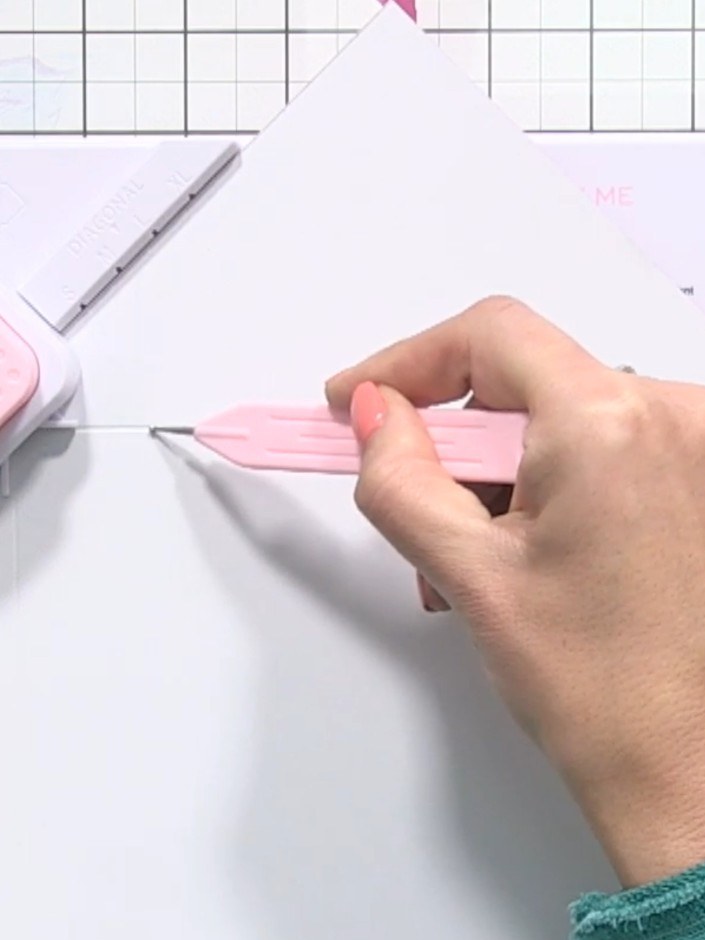
Place the groove tool in line four of the envelope maker. Pull the tool down and then across the paper to score your first line.
▶ watch this step (2:15)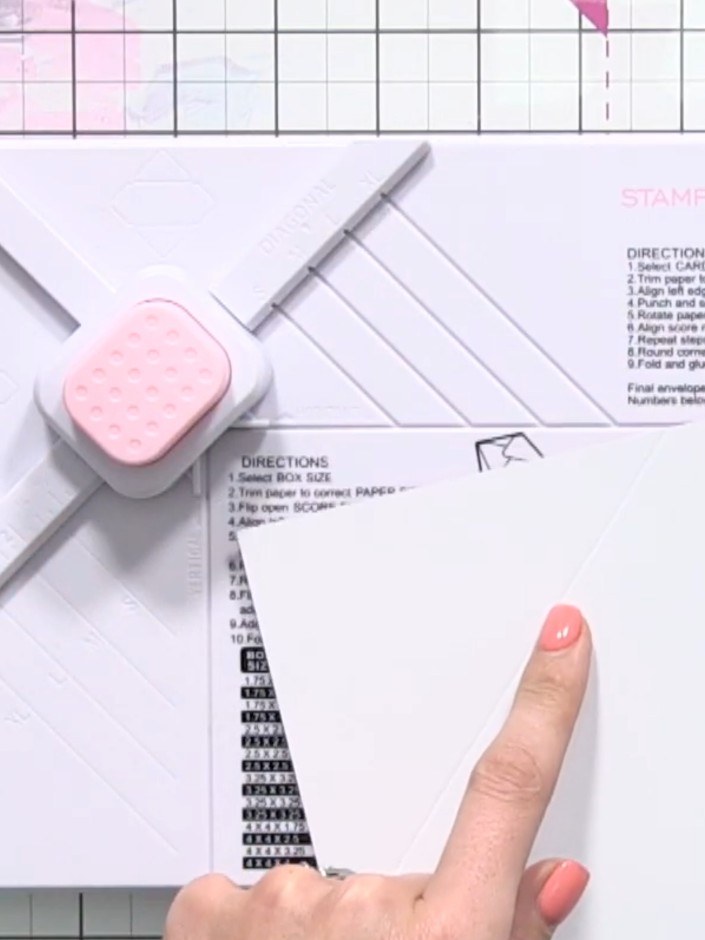
Punch along the scored line using the punch feature on the Box and Envelope Maker tool. Position the tool over the scored line and press down to create the punch marks.
▶ watch this step (2:45)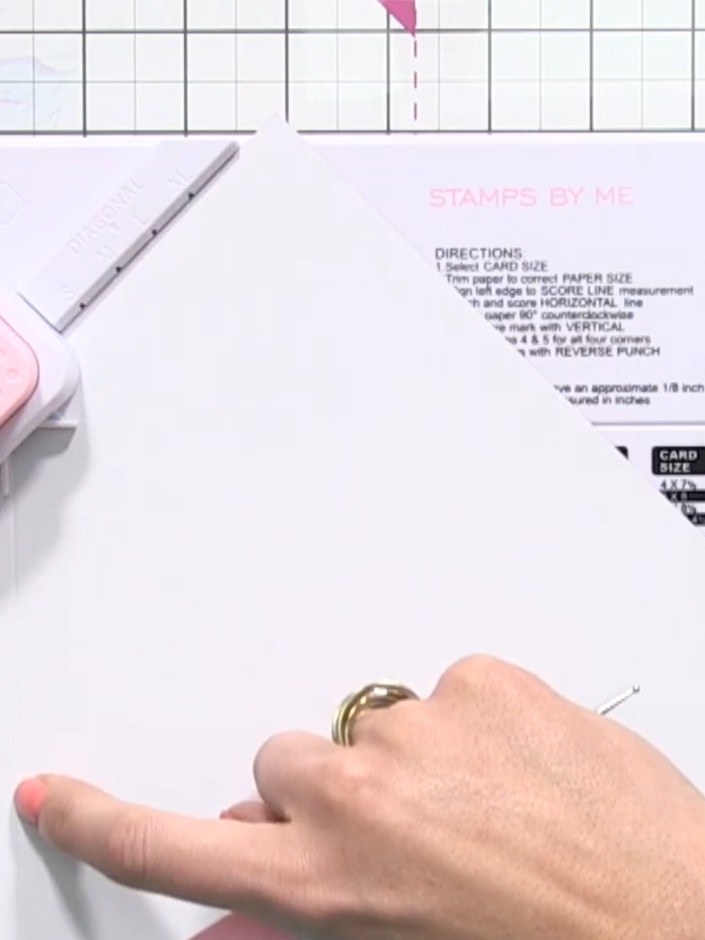
Twist the paper and line it back up with the first score line you created on the envelope maker board.
▶ watch this step (2:45)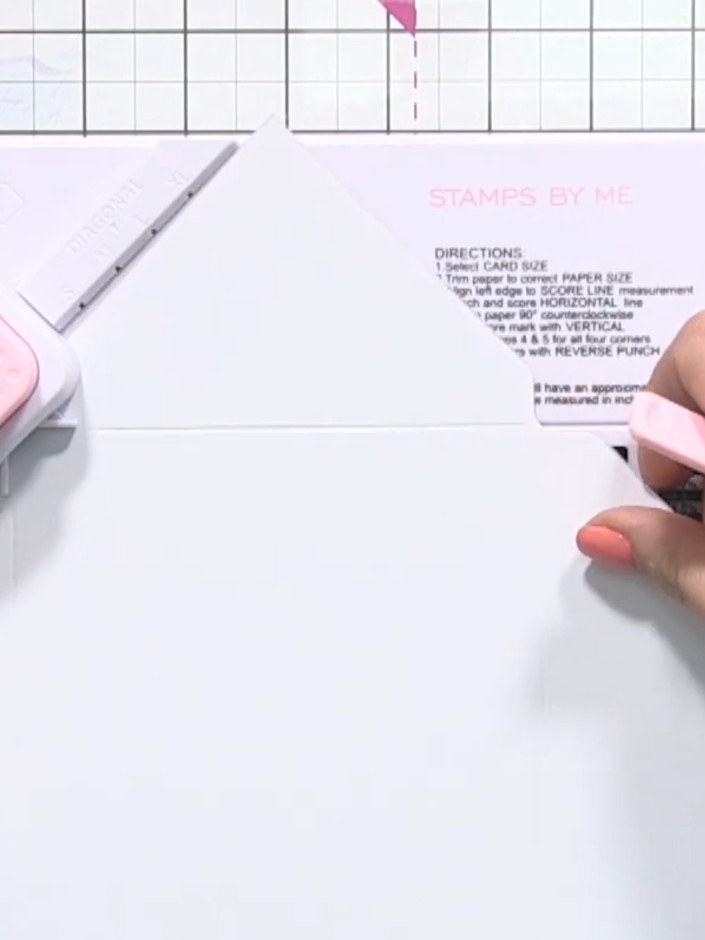
Score and punch across the opposite side. Rotate the paper 90 degrees, align the twist line with the score line, and punch the remaining two sides in the same way.
▶ watch this step (3:00)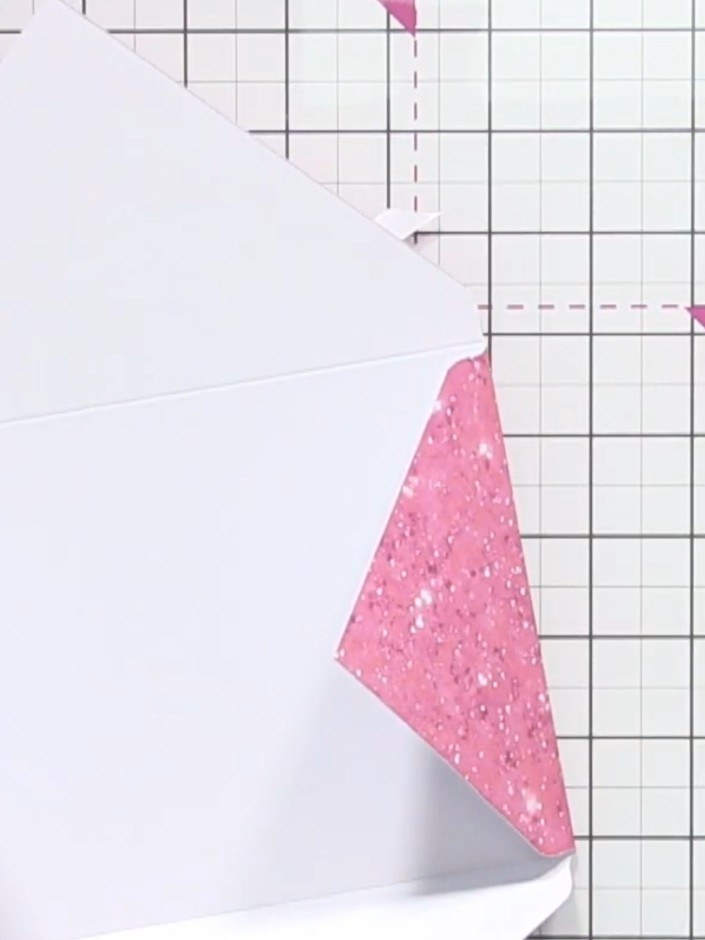
Fold the envelope together along all the scored lines, creating crisp creases to form the envelope shape.
▶ watch this step (3:30)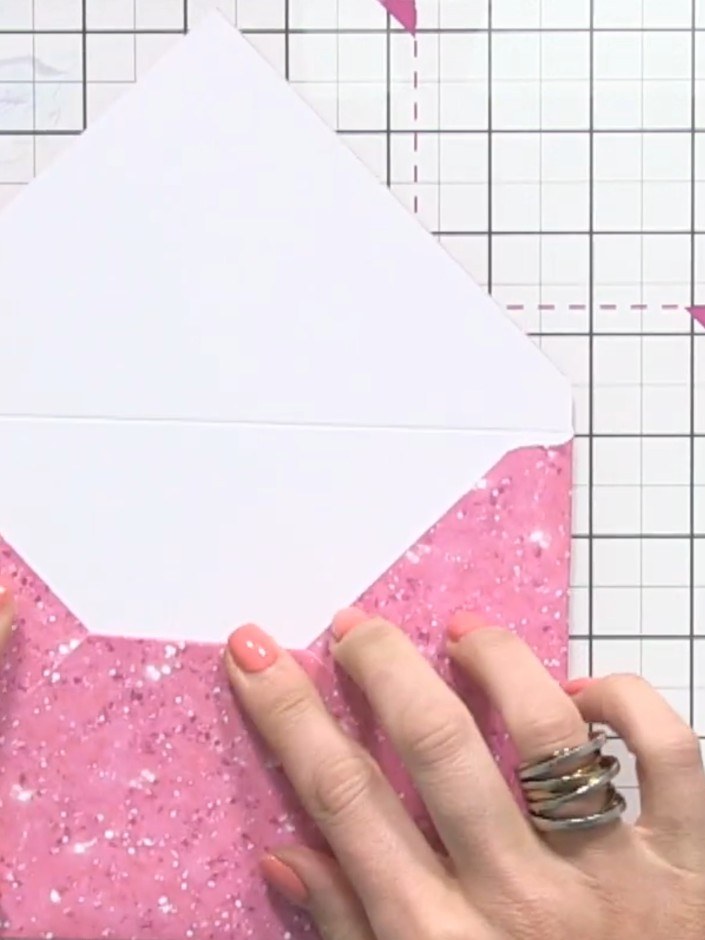
Fold the small triangular tail inward on the pink glitter cardstock to create a neat finish at the back of the envelope.
▶ watch this step (3:45)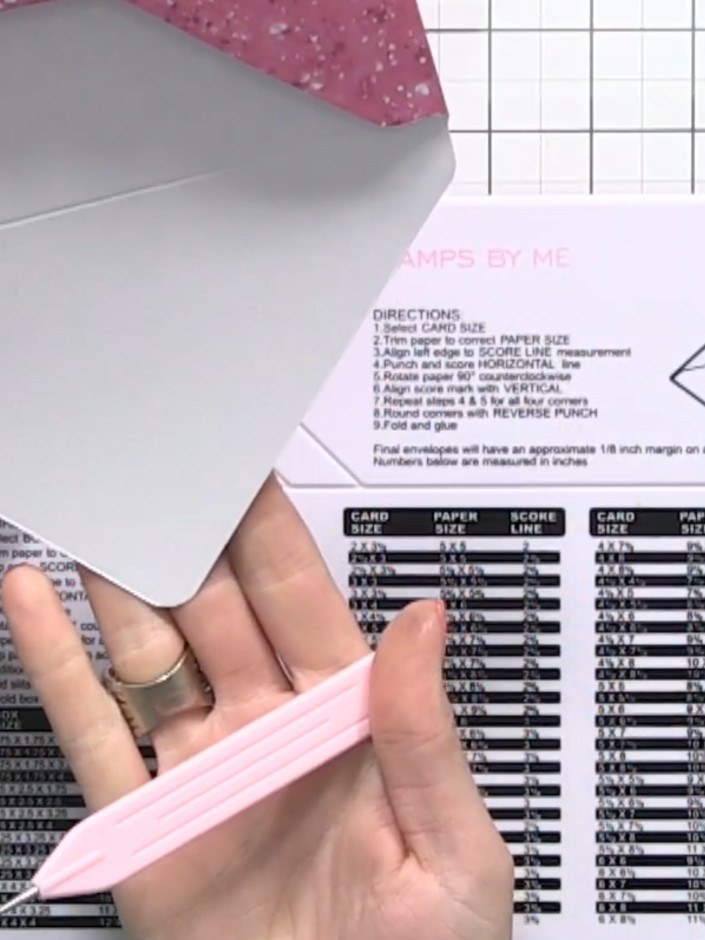
Use the corner punch feature on the envelope maker tool to round all four corners of your grey envelope for a professional finish.
▶ watch this step (4:00)Written up from the show itself. See every guide from our shows · free how-to guides · watch live on My Telly