Give your friends €10 off their first order!
Refer a FRIEND








A project from our live show Create Together Club - Chapter 4 - Broadcast 7TH May 24 · 07/05/2024 · watch it from 5:00
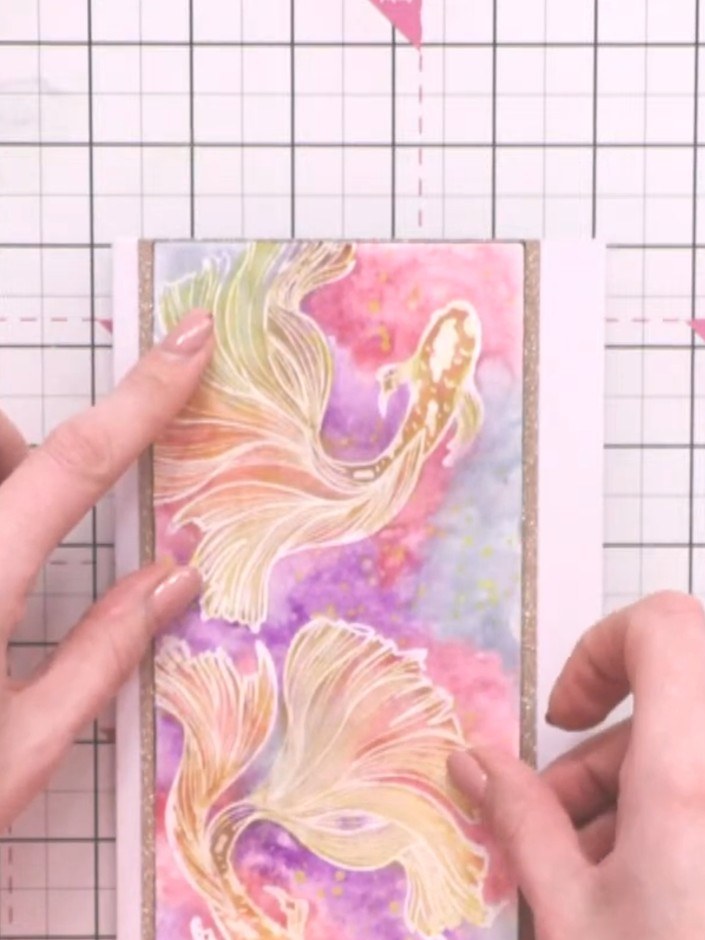
Create a stunning tropical fish card using heat embossing as a resist technique, layered with vibrant watercolour washes and metallic details. The white embossed fish design sits proudly against a colourful, splattered background in pinks, purples and peach tones, creating a tranquil underwater scene. This elegant card is mounted on rose gold glitter cardstock for an extra touch of shimmer.
 100089 - HTCN - Eureka 101 Watercolour and Scoring Tablet - 240921GSEE IT
 Stamps By Me Confetti Ink - Chocolat - 180822CSEE IT
 Stamps By Me Confetti Ink - Bluebell - 180822ASEE IT
 Stamps By Me Confetti Ink - Tangerine - 180822KSEE IT
 Stamps By Me Confetti Ink - Blush - 180822BSEE IT
 Carta - Traditional Watercolour Paper - A5 - WCPA501SEE IT
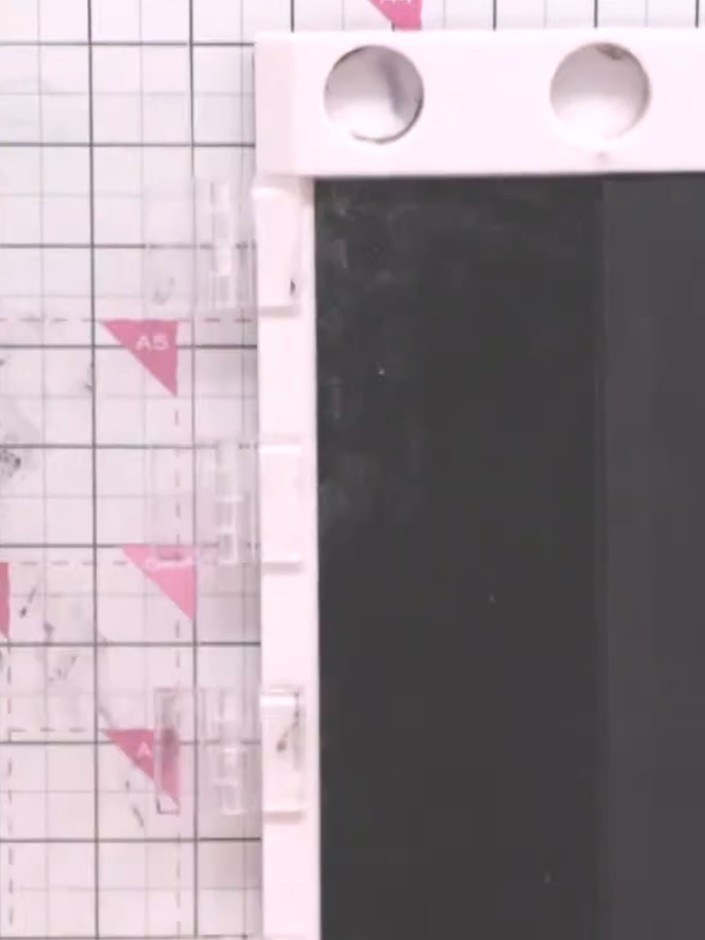
Cut a strip of watercolour card. Use an antistatic bag to remove any moisture from the surface of the card.
▶ watch this step (5:00)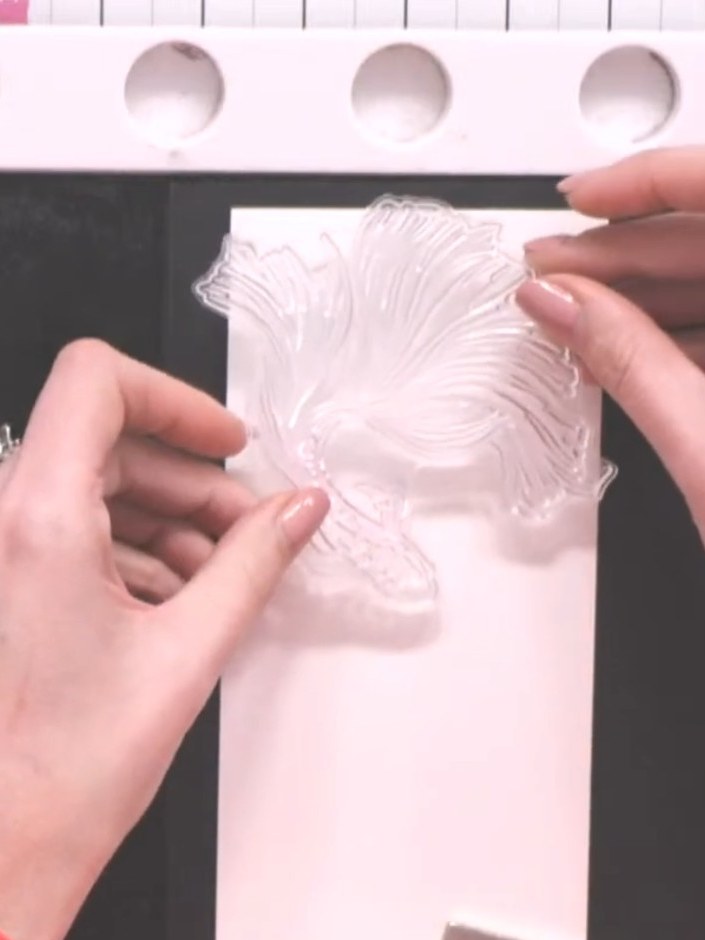
Stamp the fish design onto the smooth side of the white watercolour card using a sticky ink pad. Position the stamp carefully and press firmly to ensure a clear impression.
▶ watch this step (5:30)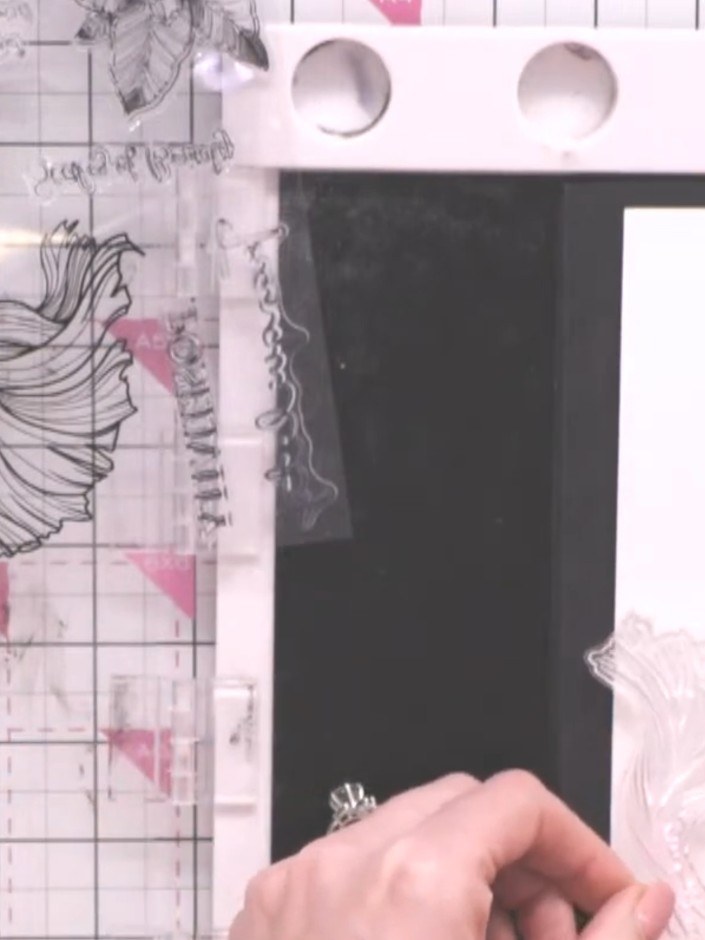
Heat emboss the stamped fish using white embossing powder. Tilt the card to check the embossed detail is clear and complete.
▶ watch this step (5:45)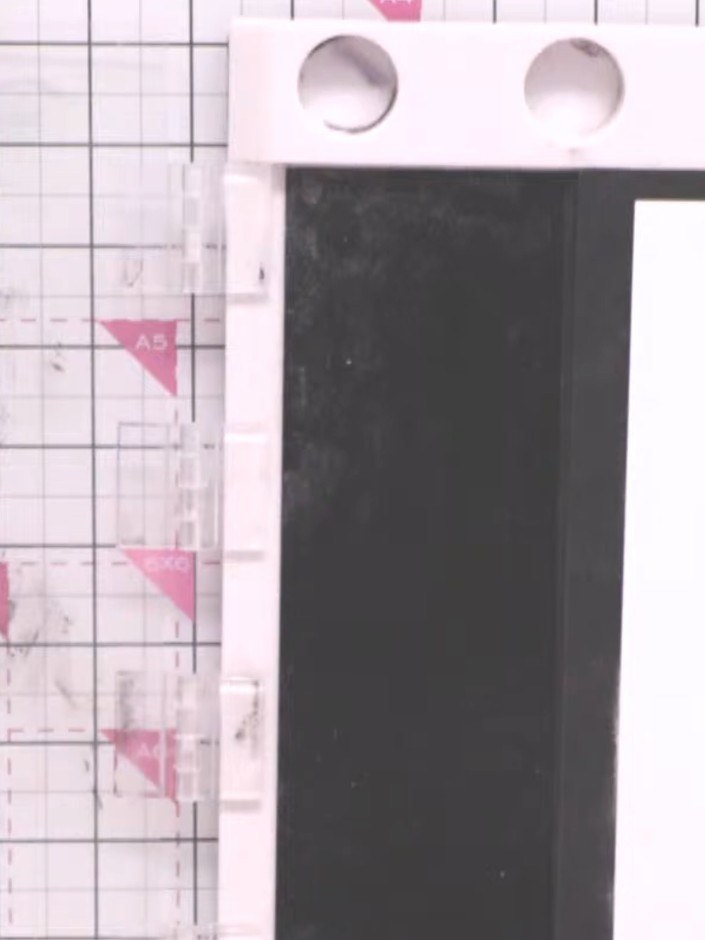
Allow the heat embossing to cool completely. Once cooled, use the antistatic bag to treat the smooth side of the watercolour paper card base.
▶ watch this step (6:00)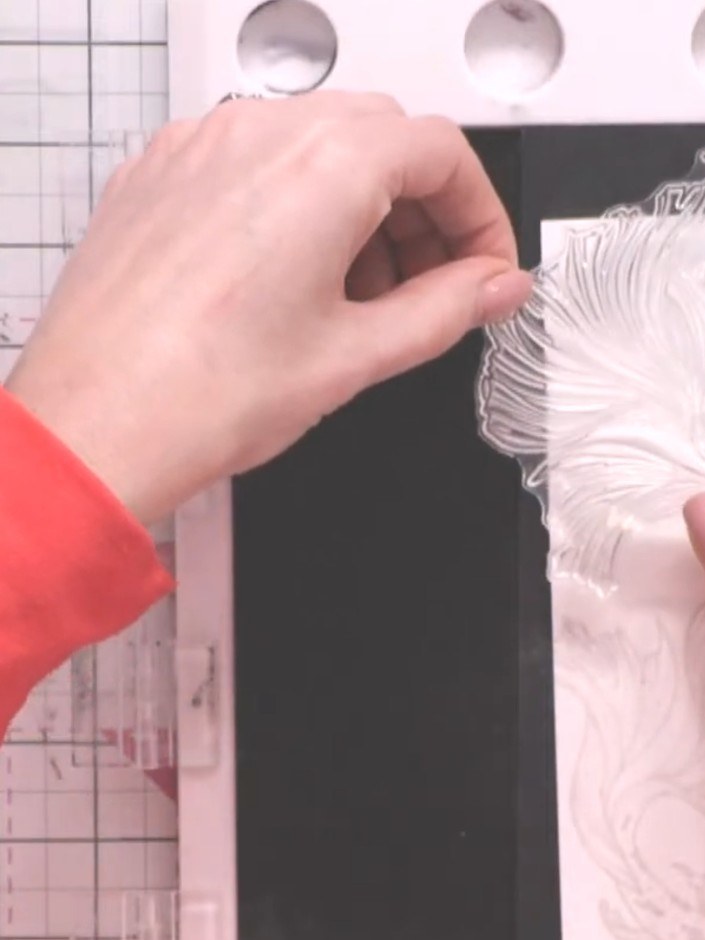
Stamp the fish design again onto the white card in a different position using the same clear embossing ink and white embossing powder technique. Heat emboss to set the design.
▶ watch this step (7:45)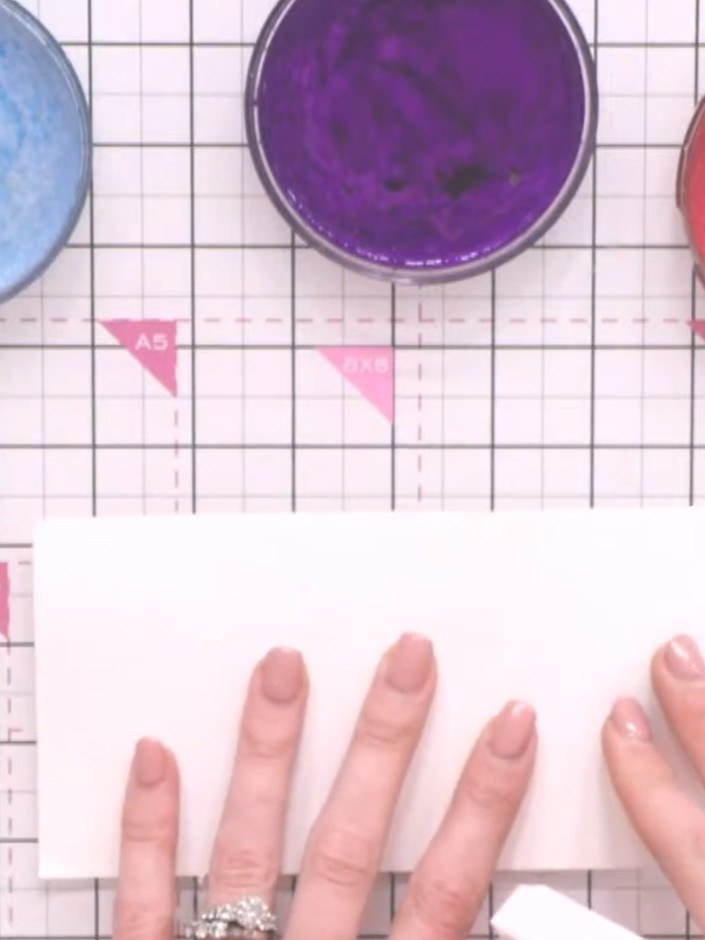
Spray your craft mat with water and place the watercolour card face down onto the wet mat to help it stick in place whilst working.
▶ watch this step (13:30)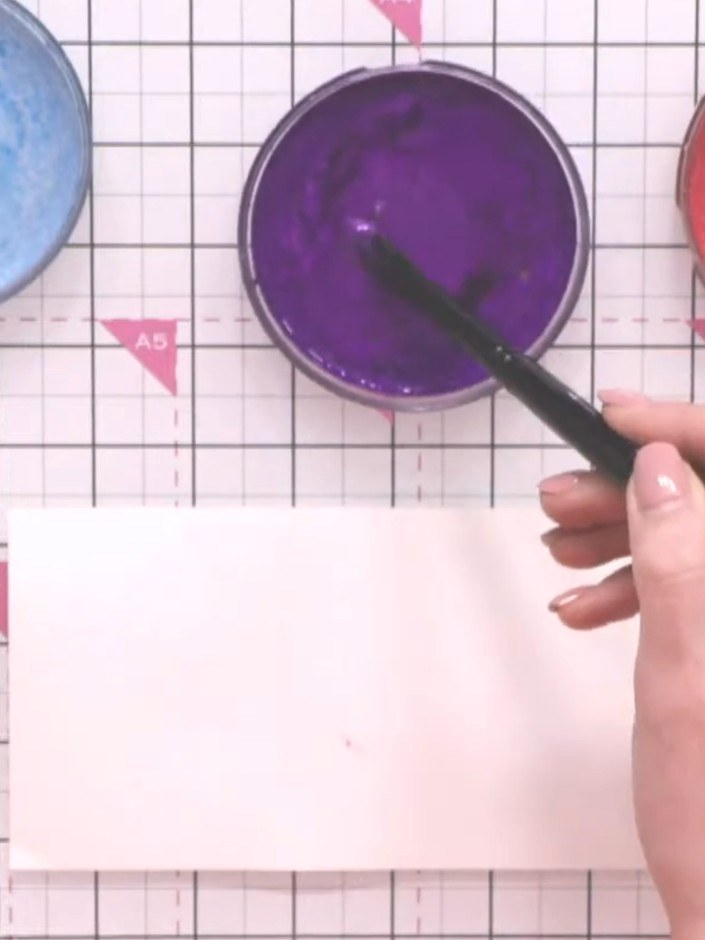
Activate the confetti inks in three colours (bluebell, chocolat and tangerine) by spraying each with water from a spray bottle. Use a brush to mix the water into each ink.
▶ watch this step (13:45)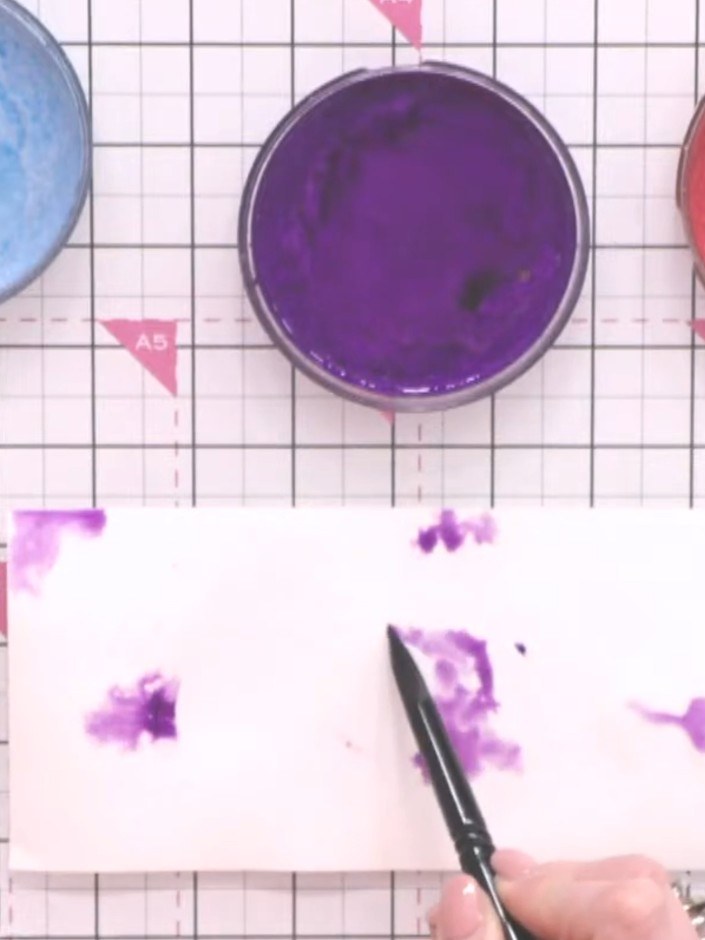
Apply purple ink to the wet watercolour paper using a brush, allowing the colour to spread naturally across the surface. Start with the darker purple shade and let it blend into the water on the card.
▶ watch this step (14:15)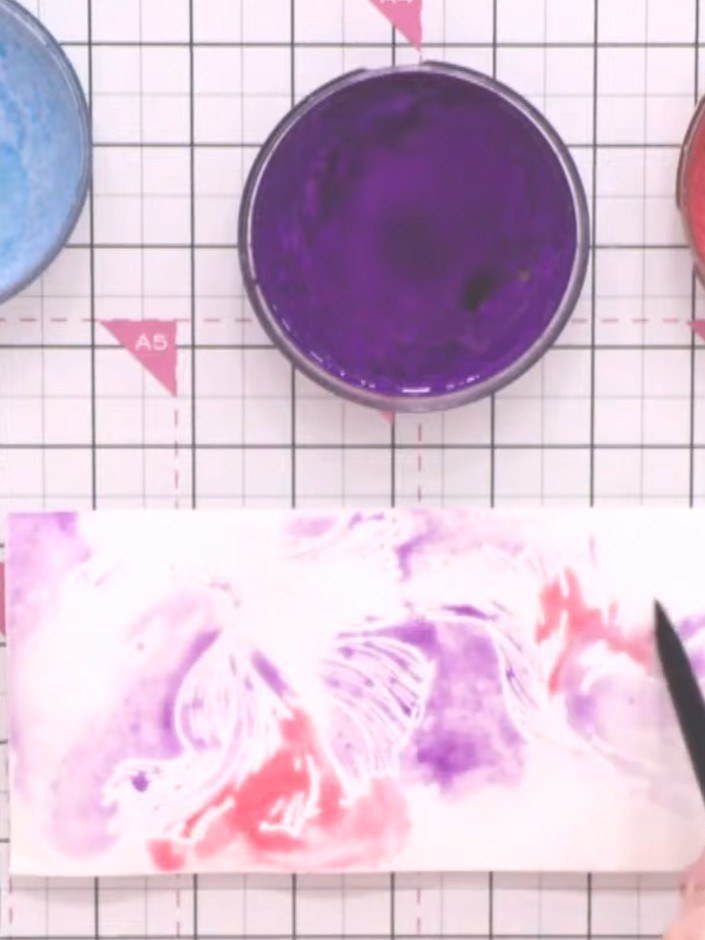
Add red and pink colours to different areas of the card using a brush, keeping the colours somewhat separate rather than fully blending them together.
▶ watch this step (14:45)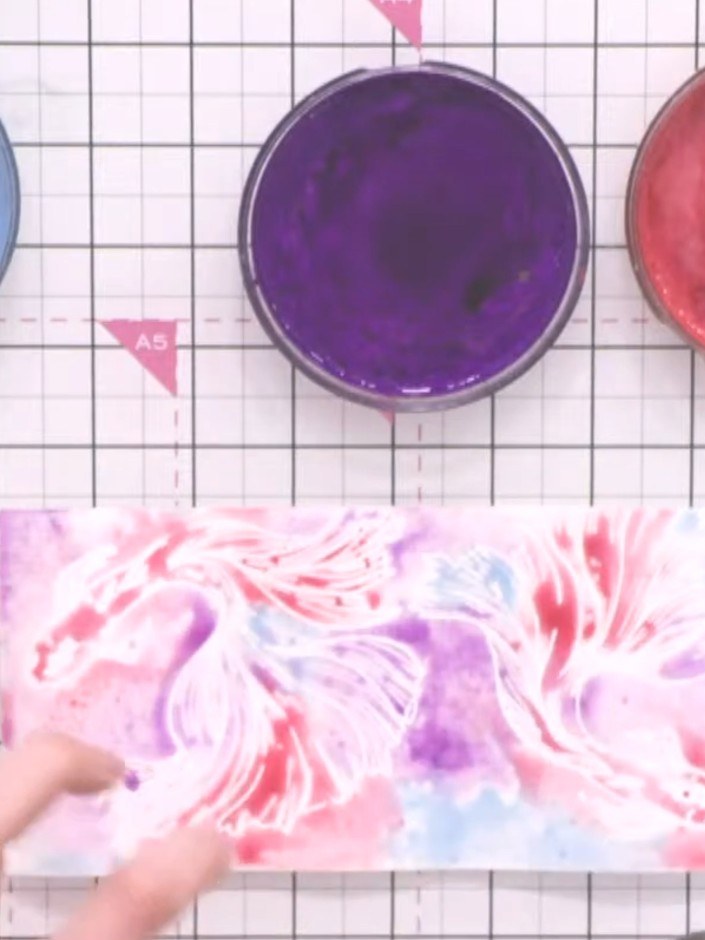
Once the base layer is completely dry, apply the same watercolours again to the same areas to intensify and deepen the colours, making the design more vibrant and prominent.
▶ watch this step (16:30)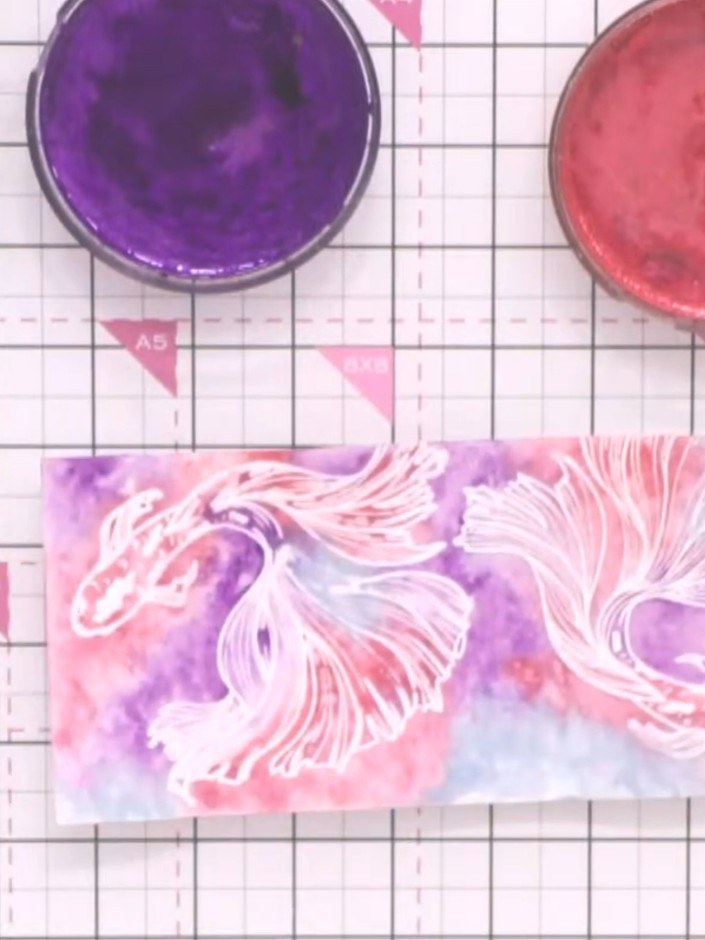
Gently brush off the excess white embossing powder with a clean tissue or soft cloth to reveal the crisp white fish design against the watercoloured background.
▶ watch this step (23:00)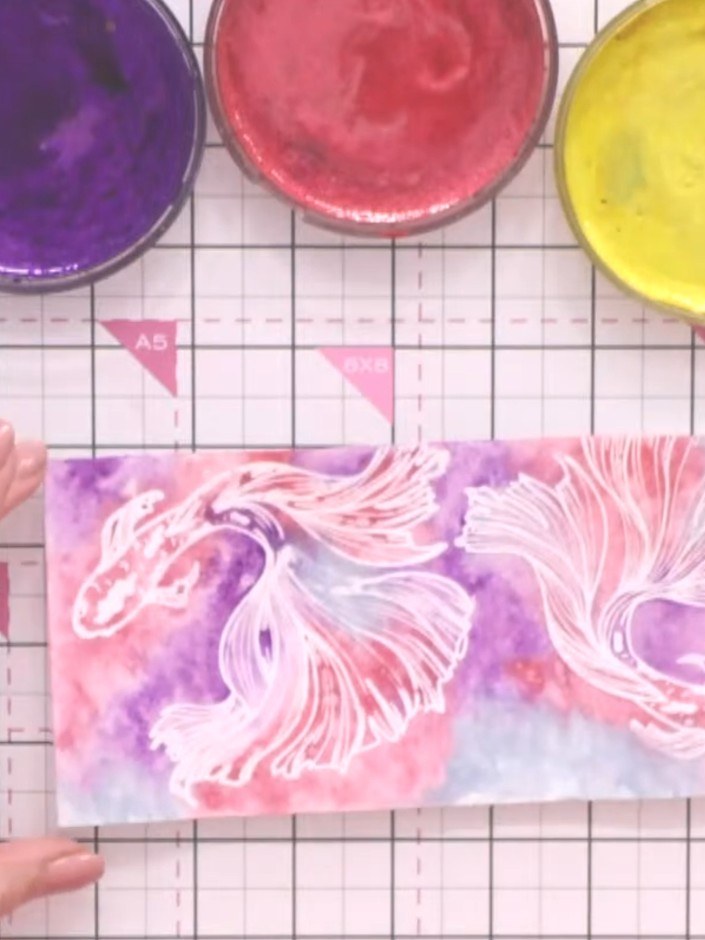
Using a size six watercolour brush, paint the fish's tail and body with gold or metallic watercolour to bring the fish to the foreground.
▶ watch this step (23:15)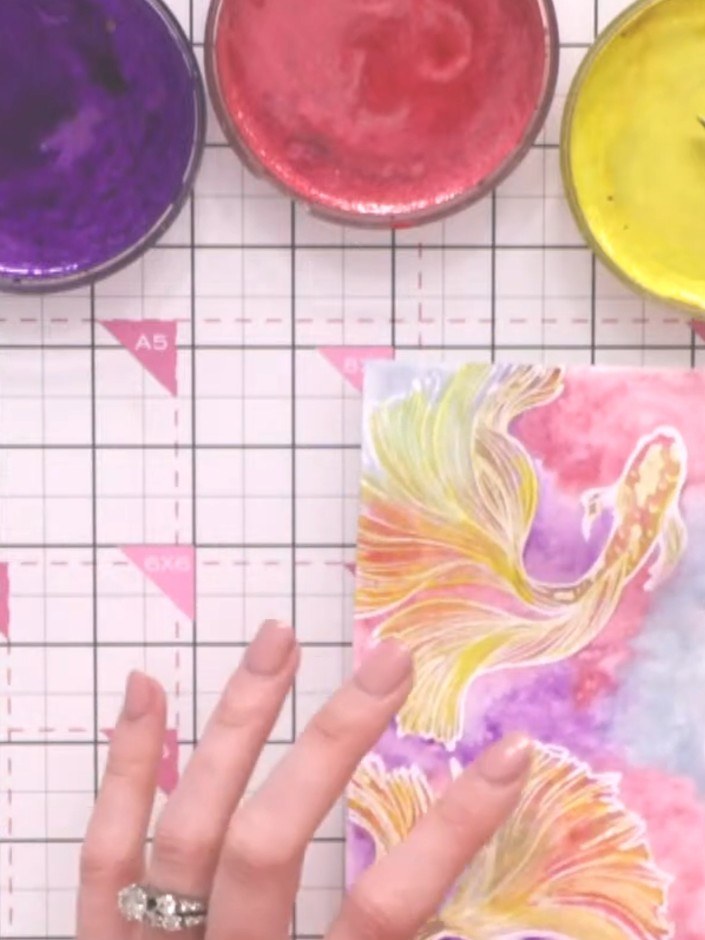
Create splatter details by loading a brush with watercolour and holding it high above the card to create larger droplets, or hold it close for smaller speckles. Use the Confetti Inks in Bluebell, Blush, Chocolat and Tangerine to add colour variation.
▶ watch this step (26:45)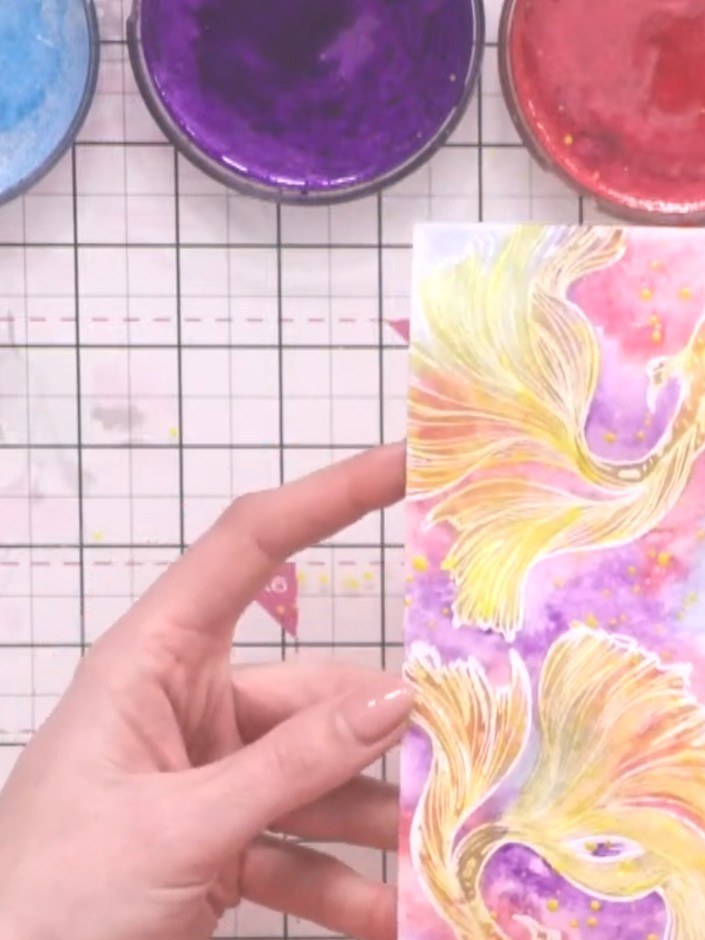
Brush off any watercolour splatter spots that have landed on the white heat-embossed fish details, as they will brush away cleanly once dry, leaving the embossed areas pristine.
▶ watch this step (28:30)Written up from the show itself. See every guide from our shows · free how-to guides · watch live on My Telly