Give your friends €10 off their first order!
Refer a FRIEND








A project from our live show Create Together Club - Chapter 4 - Broadcast 6TH May 24 · 06/05/2024 · watch it from 7:15
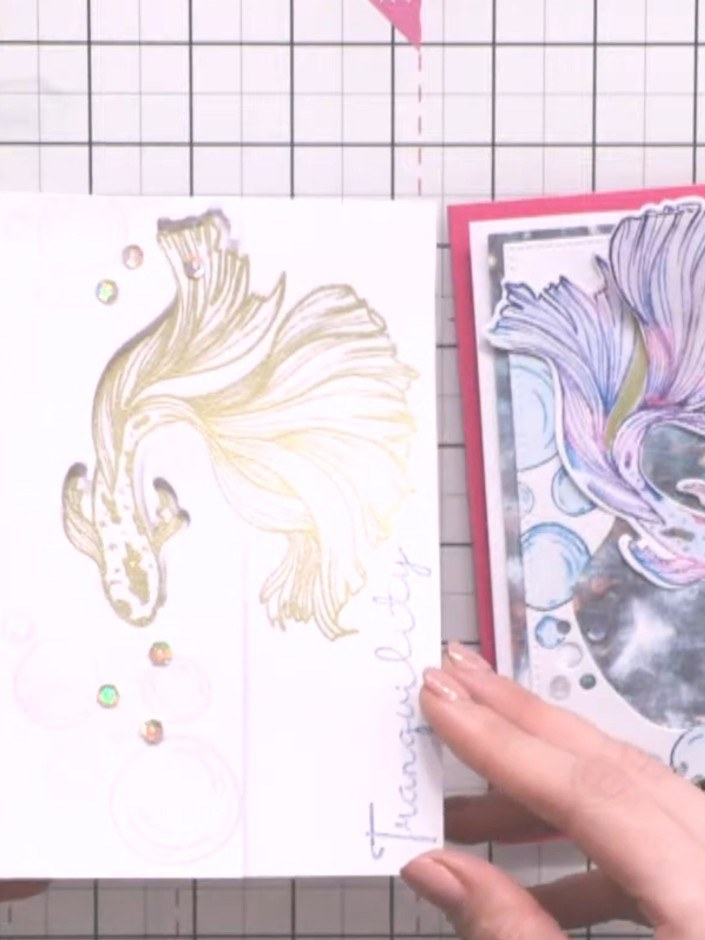
Create an elegant card featuring a beautifully embossed fish design with flowing fins in purple and grey tones, set against a pink card base. This sophisticated project uses a partial die-cut inlay technique, where the fish extends beyond its decorative panel, combined with heat embossing, bubble stamps, and sparkling gem accents for a dimensional finish. The design showcases advanced stamping and die-cutting skills to achieve a professional, eye-catching result.
Heat emboss the fish stamp in gold onto the front of a 5x7 inch card blank. Position the stamped image centrally on the card front.
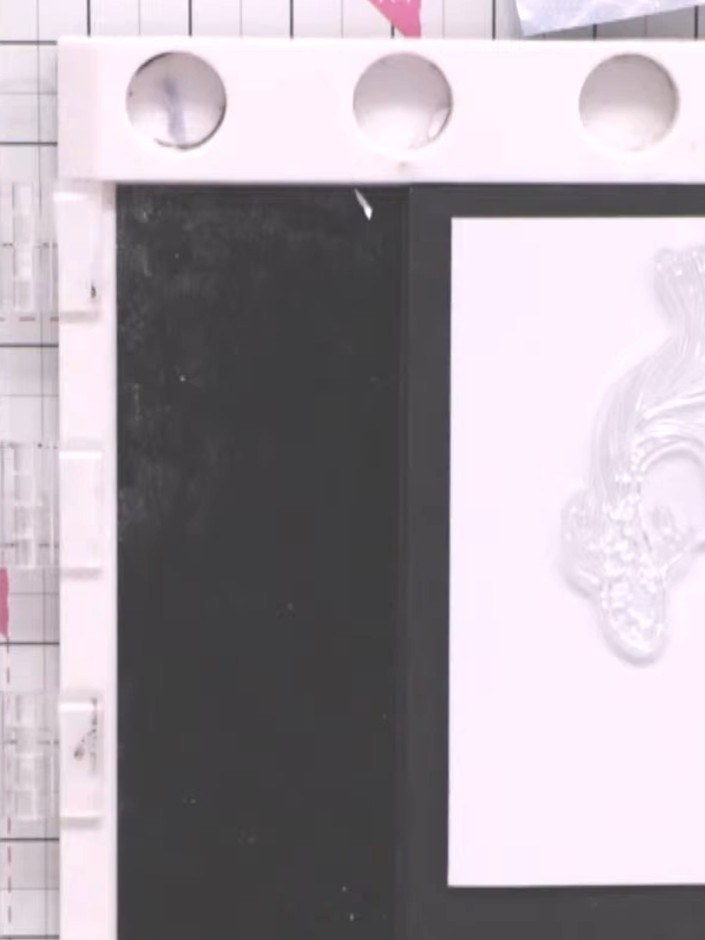
▶ watch this step (8:00)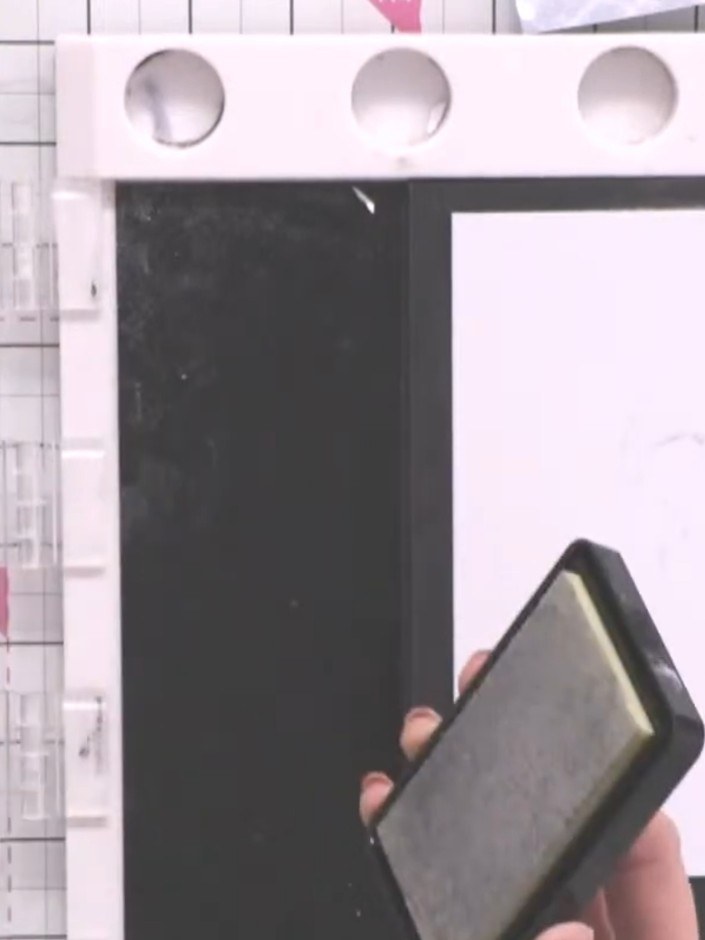
Ink the fish stamp with sticky ink pad, ensuring all detail is captured. Stamp the image twice onto white cardstock for full coverage.
▶ watch this step (9:30)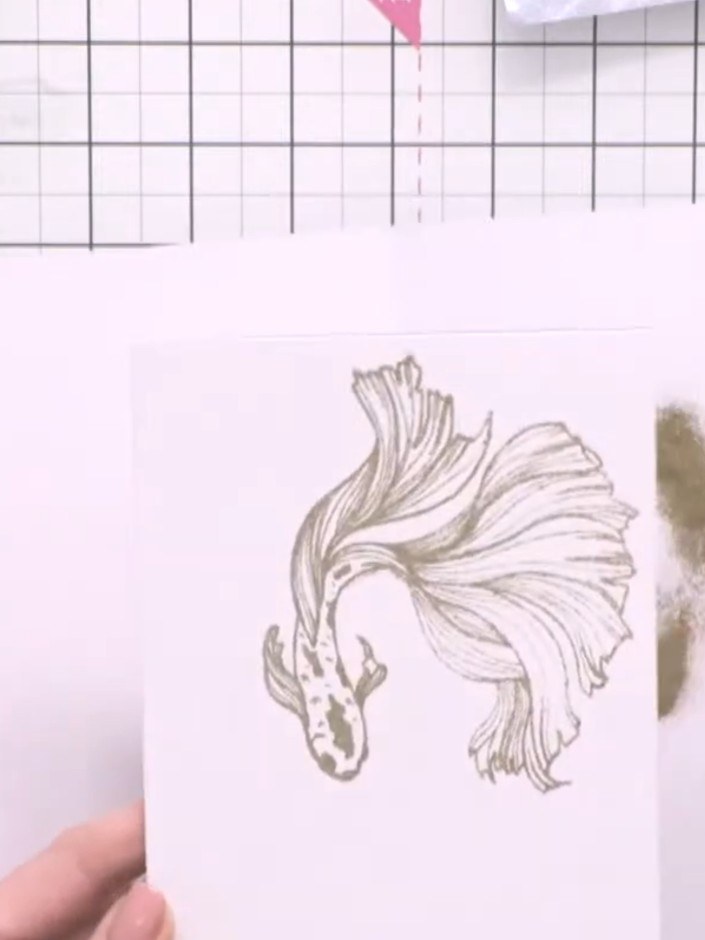
Apply gold embossing powder to the inked fish stamp. Heat set with a heat tool until the powder melts and becomes shiny.
▶ watch this step (10:45)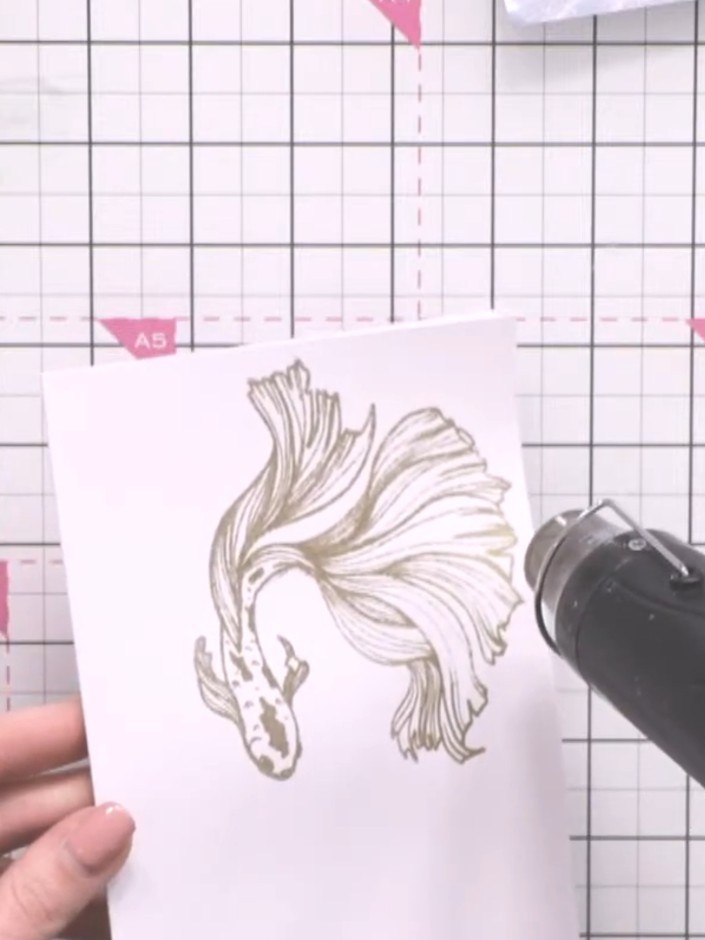
Position your decorative panel on the card base. Align the fish die on top so it sits half on the panel and half off, with the fish's head and body on the panel and the tail extending beyond it.
▶ watch this step (13:00)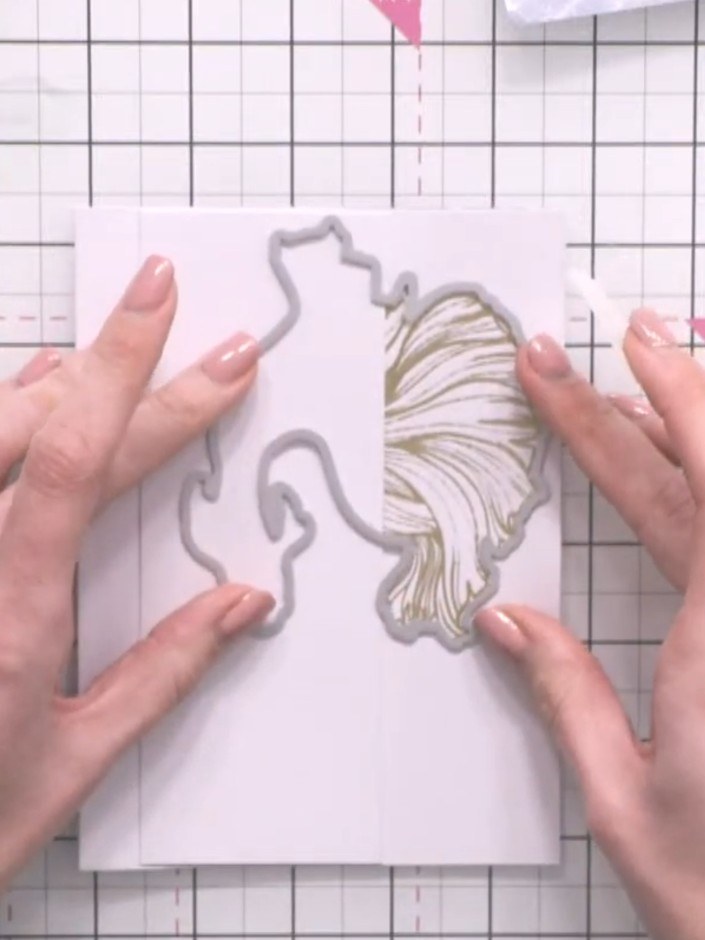
Secure the die and panel with low-tack tape, then run through your die-cutting machine carefully to avoid tearing.
▶ watch this step (15:30)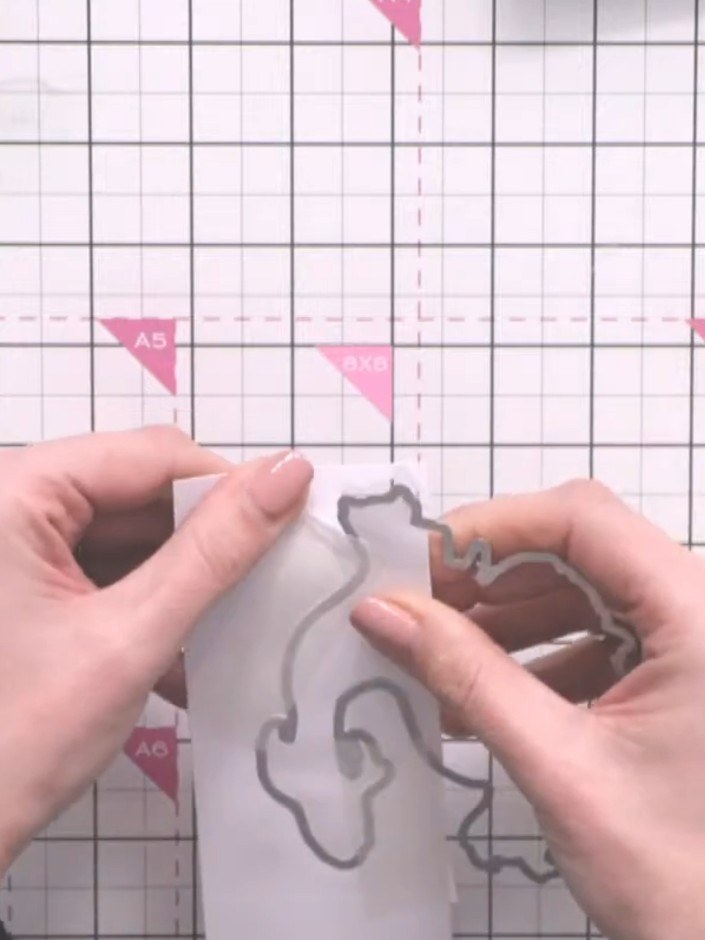
Remove the tape and carefully separate the die-cut pieces. Keep the panel with the partial fish design intact, discarding the outer cut-away pieces.
▶ watch this step (18:00)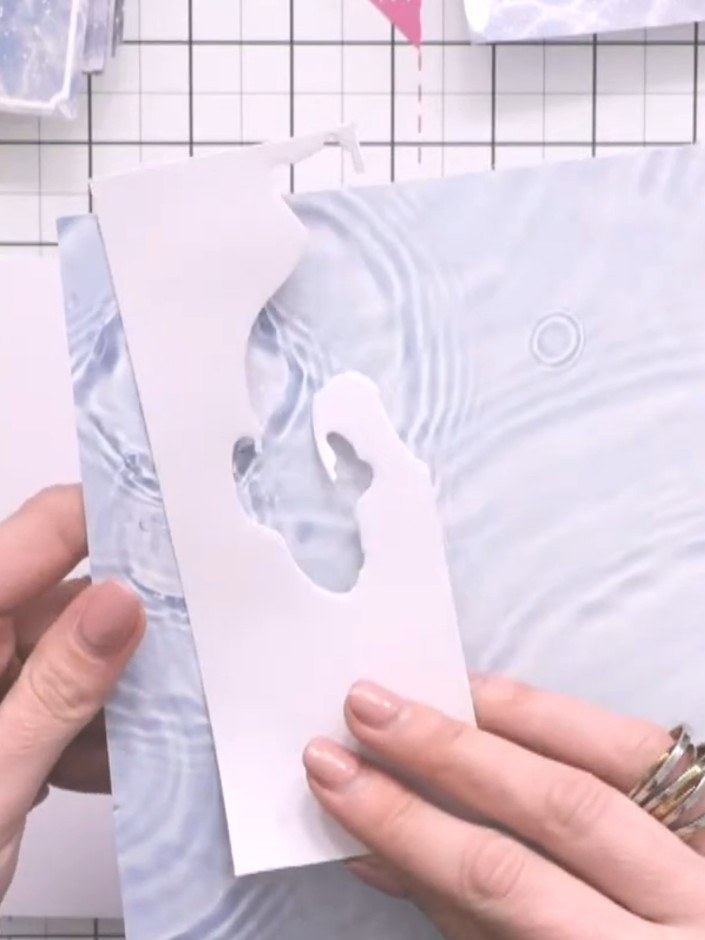
Cut a thin strip of the water-effect patterned paper and adhere it down the left side of the white panel as a colour accent.
▶ watch this step (19:30)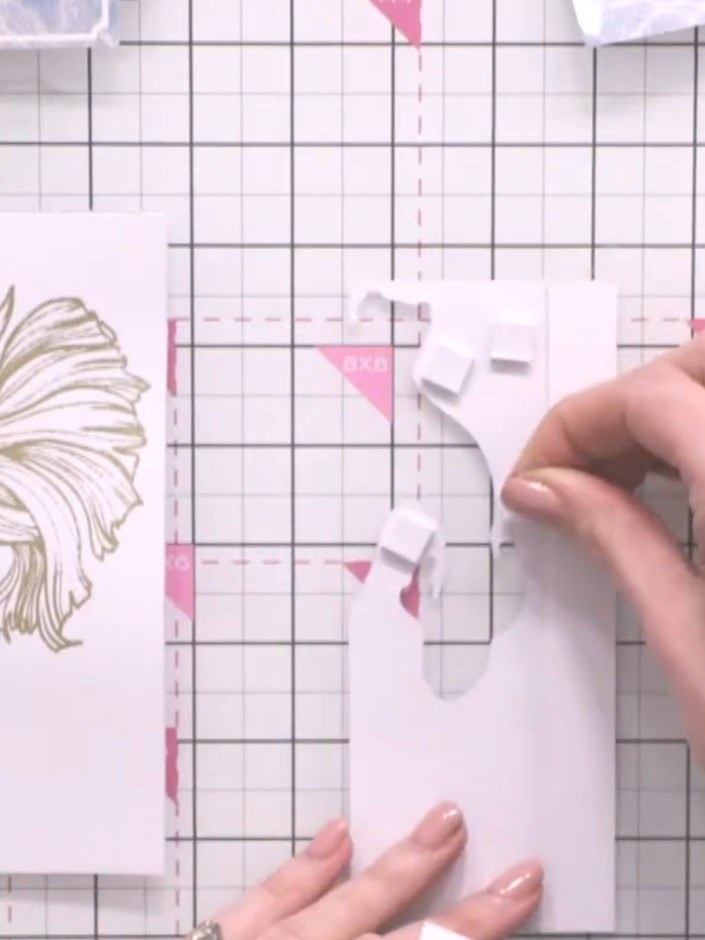
Apply small foam pads to the back of the partial fish die-cut, using smaller pieces in tight corners to create dimension. Position the foam pads carefully to ensure even adhesion.
▶ watch this step (26:15)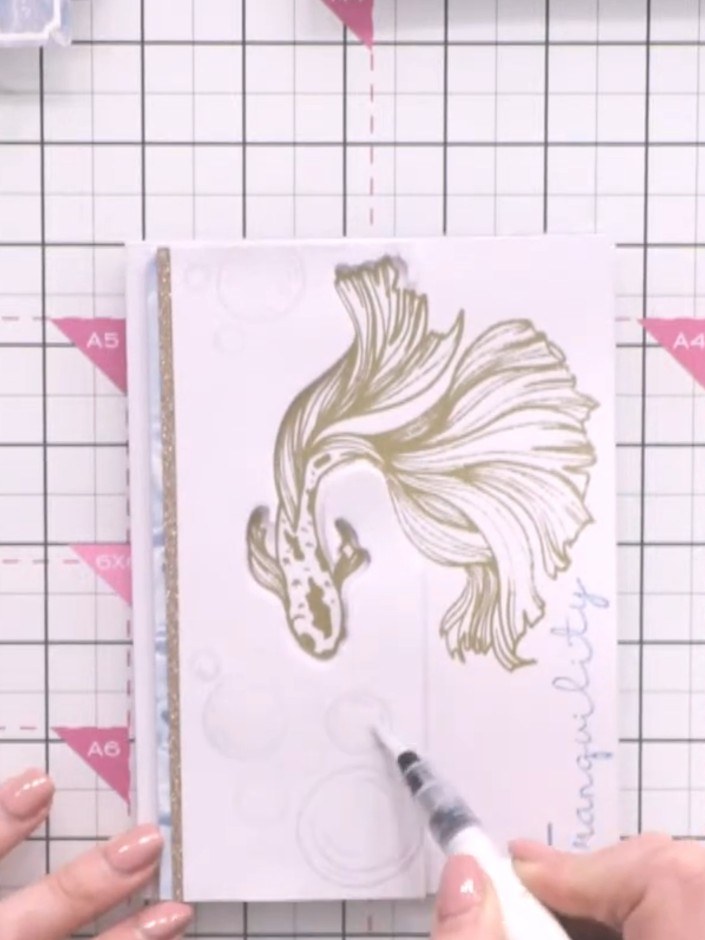
Add gold gem embellishments scattered amongst the stamped bubbles on the card for sparkle and definition.
▶ watch this step (31:00)Written up from the show itself. See every guide from our shows · free how-to guides · watch live on My Telly