Give your friends €10 off their first order!
Refer a FRIEND








A project from our live show CREATE AND CRAFT TV - Join Toni for her brand new SBM launch show 2 - broadcast 8th Jan 2024 · 08/01/2024 · watch it from 21:00
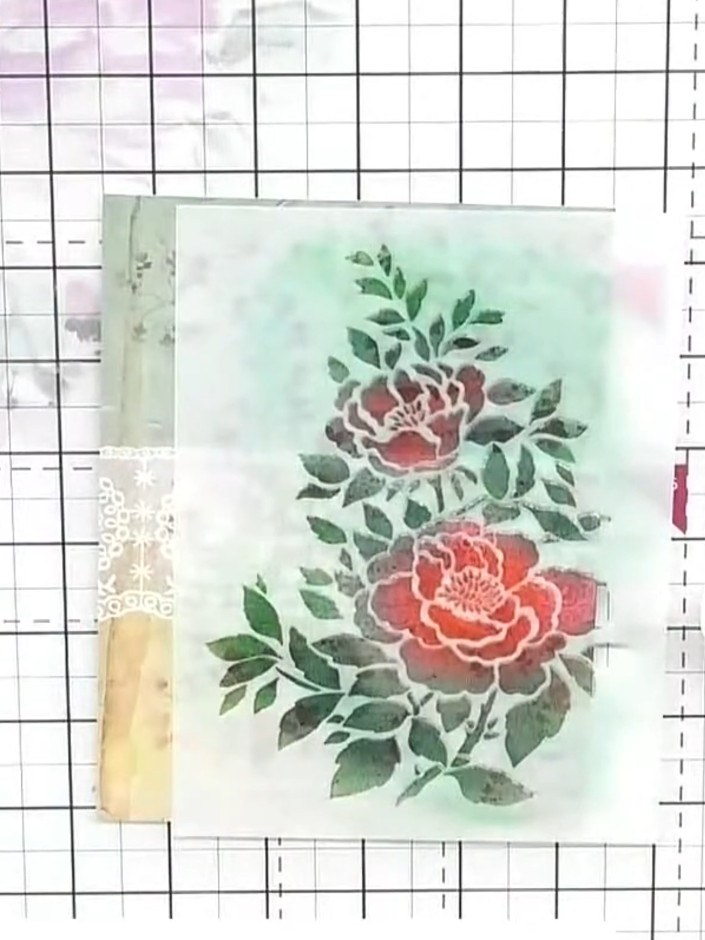
Create a beautiful floral design on vellum featuring soft pink peonies and delicate green foliage. Using white pigment ink, you'll learn to soften and refine embossed areas, creating a gentle watercolour effect with subtle highlights that bring dimension to your work.
 Stamps By Me - Wistful Charm - 5 X 7 Stencil - Fern - 180723BSEE IT
 Stamps By Me - Wistful Charm - 5 X 7 Stencil - Floral 180723CSEE IT
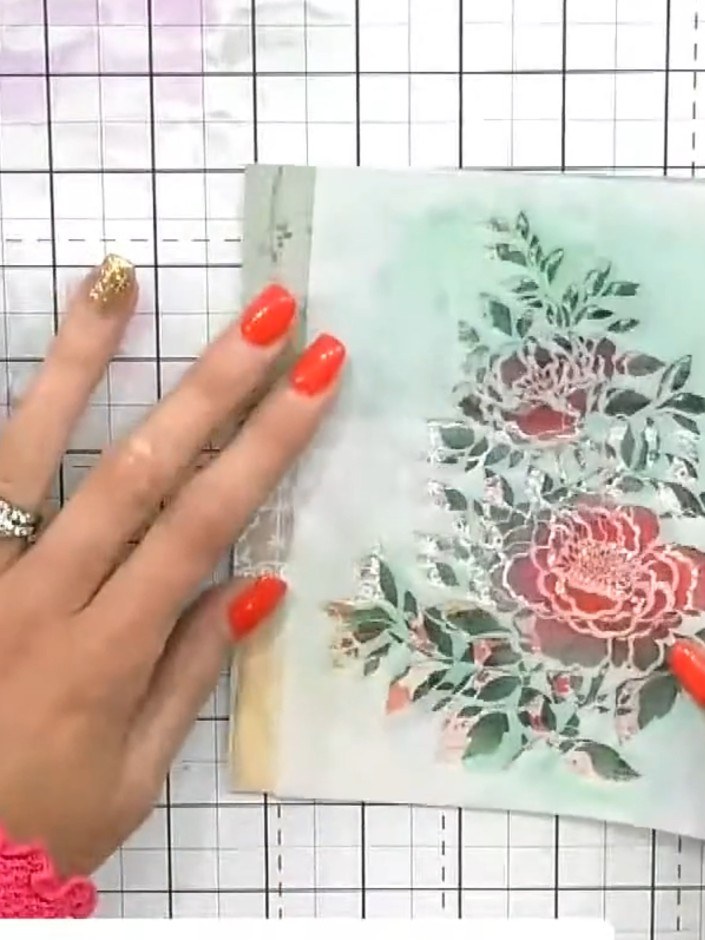
Review your stencilled floral design and identify areas that appear too dark or need softening. Look for sections where the ink coverage is heavy and could benefit from white ink highlights to create dimension.
▶ watch this step (21:00)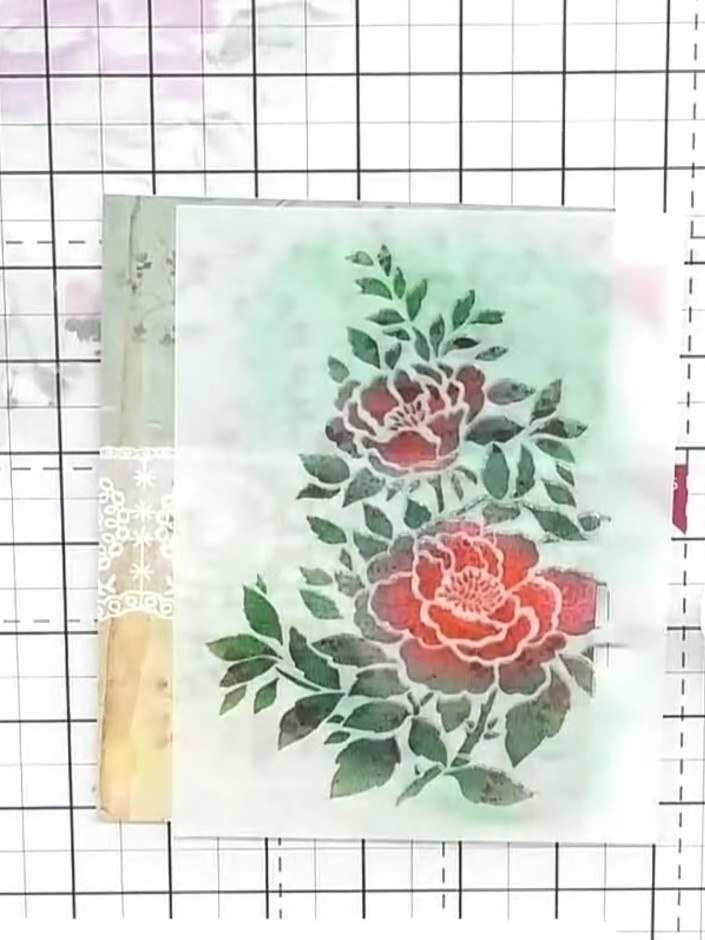
Place the same stencil back over the embossed design, carefully aligning it with the existing stamped floral image. Hold it firmly in place to ensure accurate positioning.
▶ watch this step (21:15)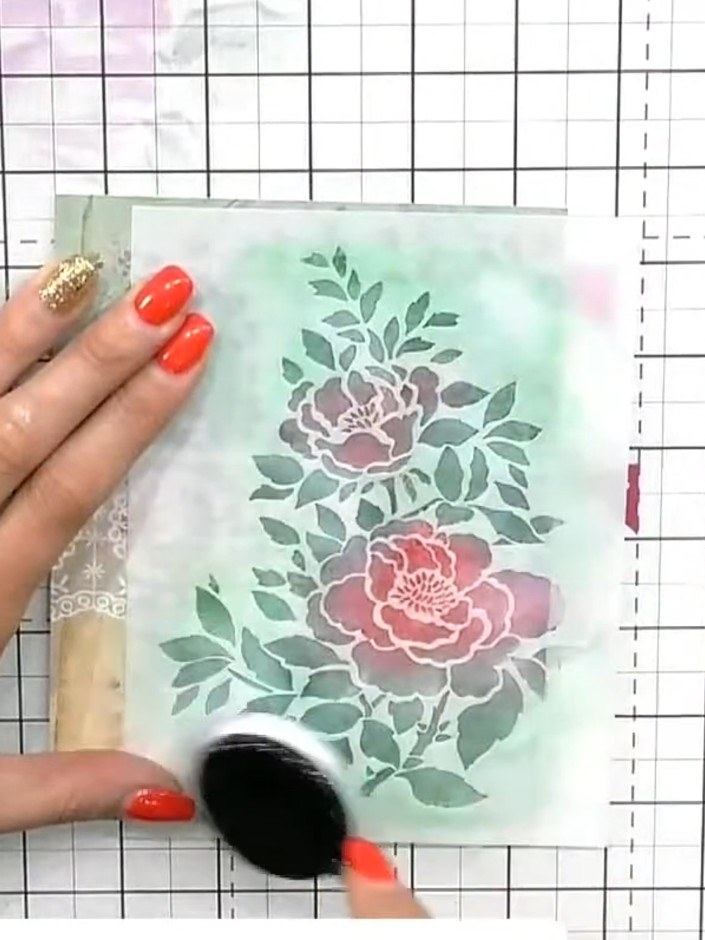
Load a clean blending brush with white pigment ink and tap off any excess on a scrap piece of paper.
▶ watch this step (21:30)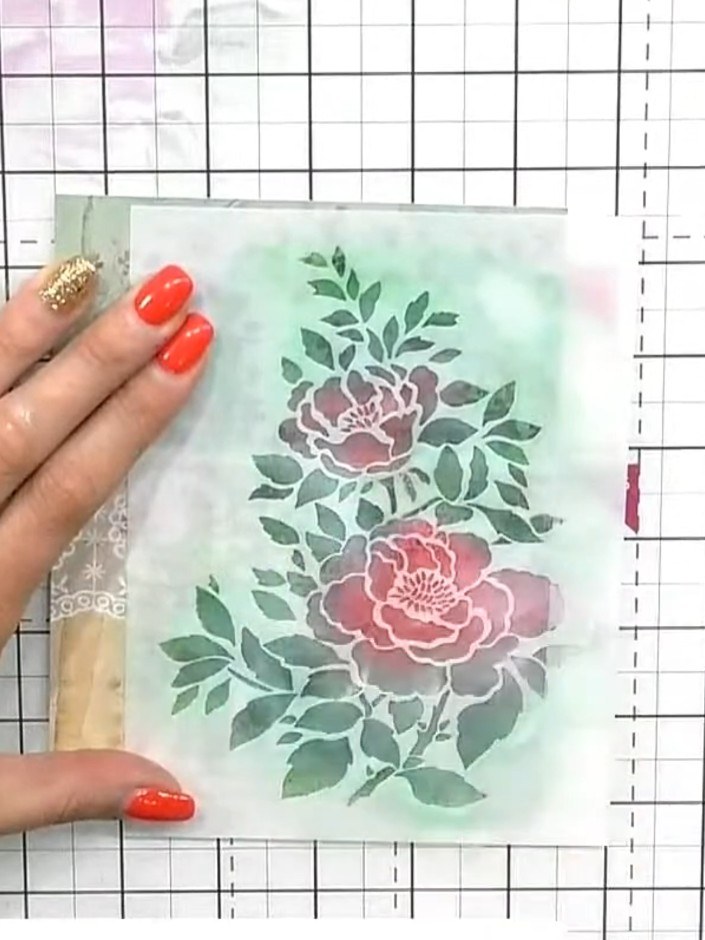
Pounce the white ink through the stencil using gentle tapping motions. This will push back the darker colour and create highlights on the embossed floral design.
▶ watch this step (21:45)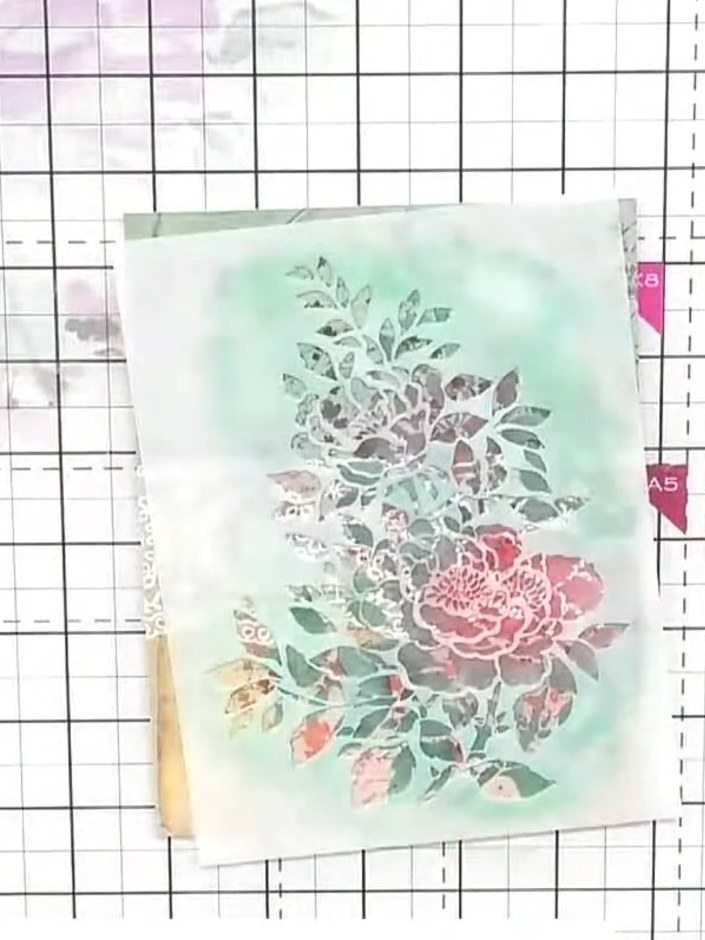
Carefully lift and remove the stencil to reveal the softened, highlighted floral design with the white ink creating a lighter, more delicate effect on the embossed image.
▶ watch this step (22:15)Written up from the show itself. See every guide from our shows · free how-to guides · watch live on My Telly