Give your friends €10 off their first order!
Refer a FRIEND








A project from our live show CREATE AND CRAFT TV - Join Toni for her brand new launch show 2 - broadcast 25th Oct 23 · 25/10/2023 · watch it from 23:15
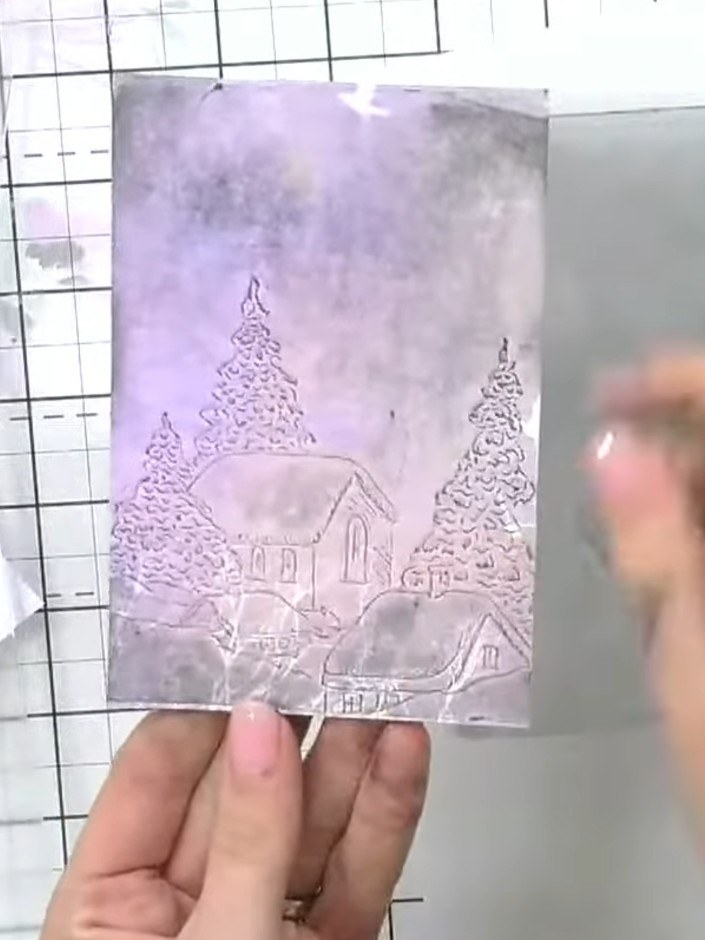
Create a sophisticated winter scene card featuring skeleton trees and snowflakes in elegant grey and white tones. This project uses the innovative technique of inking an embossing folder before running patterned paper through it, creating a beautiful letterpress effect. White ink highlights add delicate detail to reveal the intricate winter imagery.
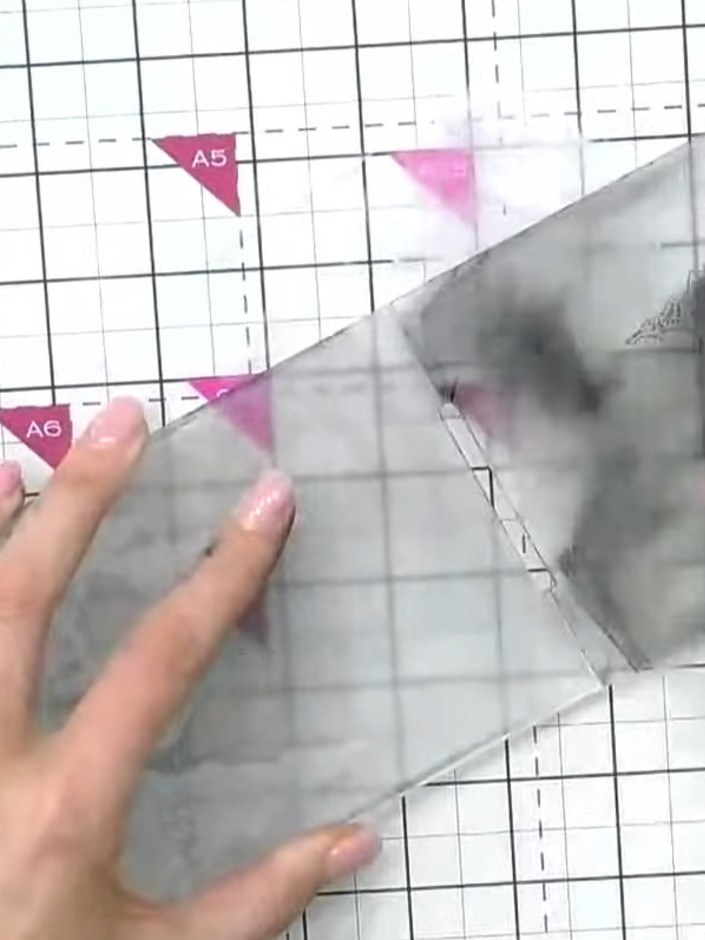
Select a black ink pad and ink both sides of your embossing folder thoroughly. You can spray the folder with a bit of water if desired to help the ink spread evenly.
▶ watch this step (23:15)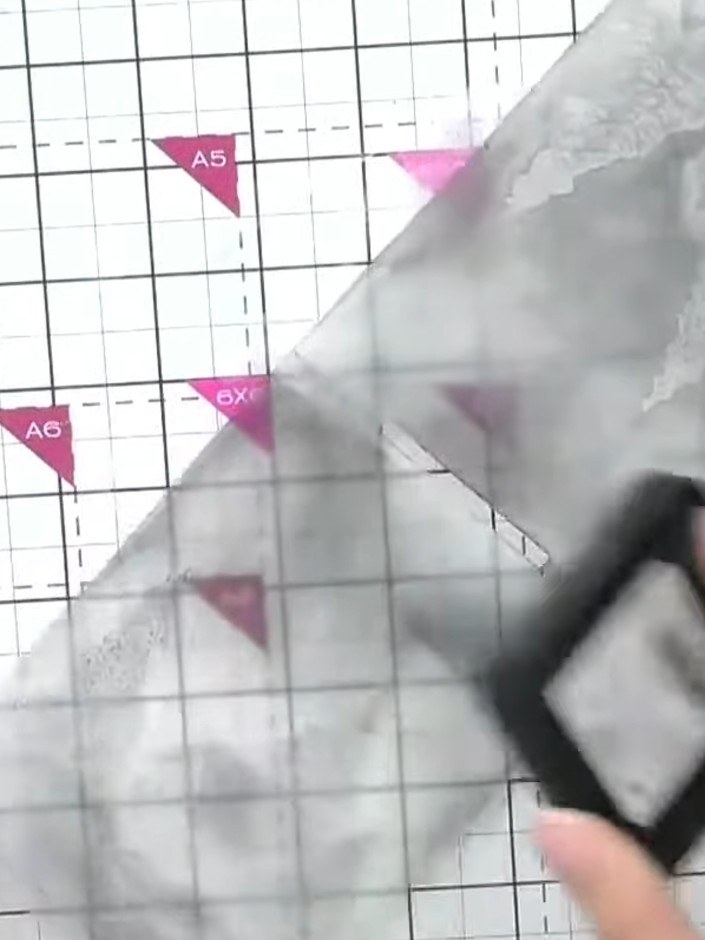
Place your patterned paper with trees or winter imagery into the inked embossing folder. Position the paper carefully to ensure it sits flat within the folder before closing.
▶ watch this step (23:30)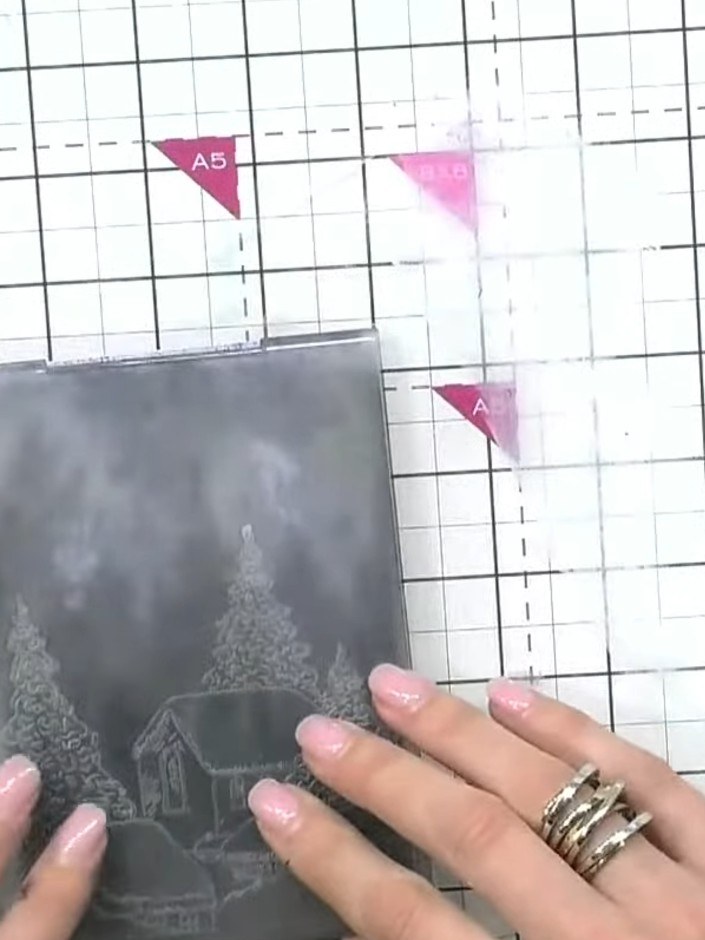
Run the embossed paper through your die-cutting machine using the embossing folder to create the raised design.
▶ watch this step (24:00)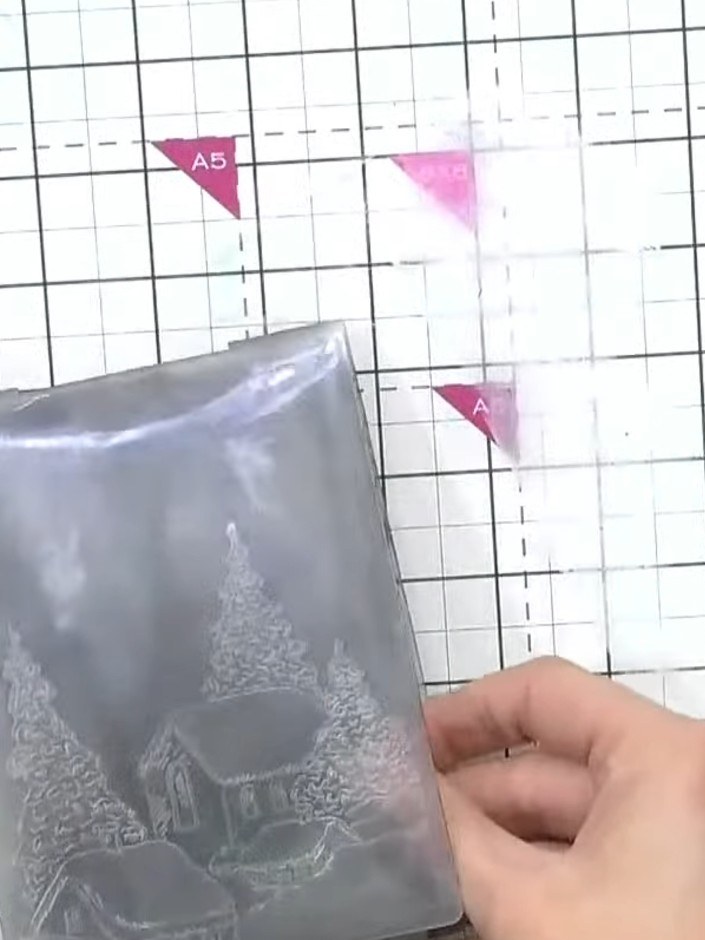
Examine the embossed result. You should see the skeleton trees and snowflake details from the pattern showing through on the card.
▶ watch this step (24:15)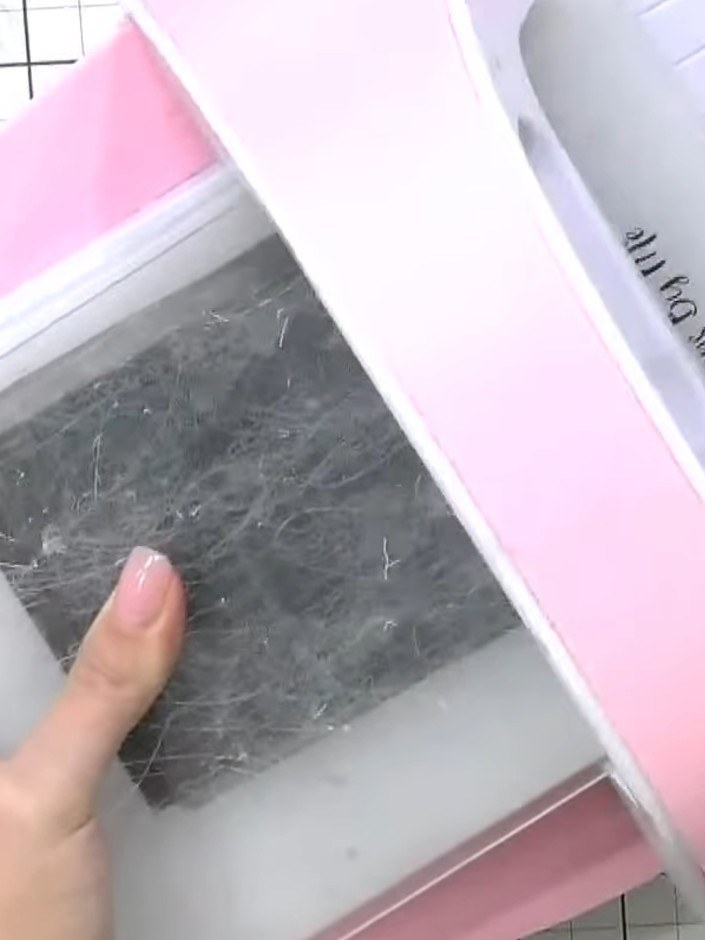
Tap white pigment ink pad over the embossed surface to highlight the raised details and create contrast. Gently dab the ink pad across the entire embossed area, focusing on the raised portions to make them stand out.
▶ watch this step (24:30)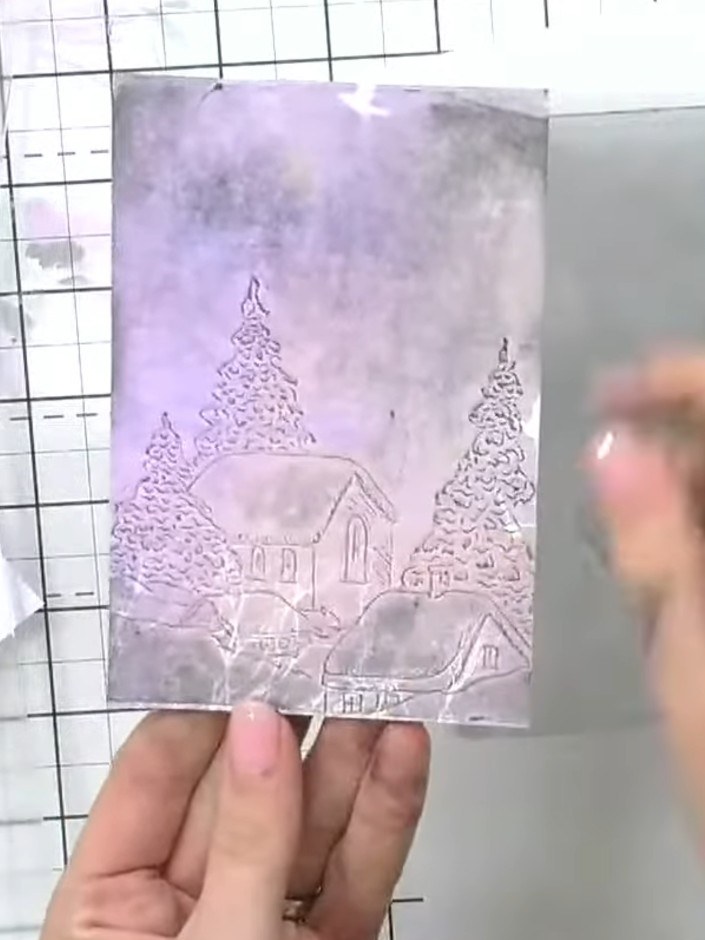
If you make a line you don't like with the pigment ink, gently push it out with your finger. The oil-based pigment ink can be manipulated and blended whilst still wet.
▶ watch this step (25:00)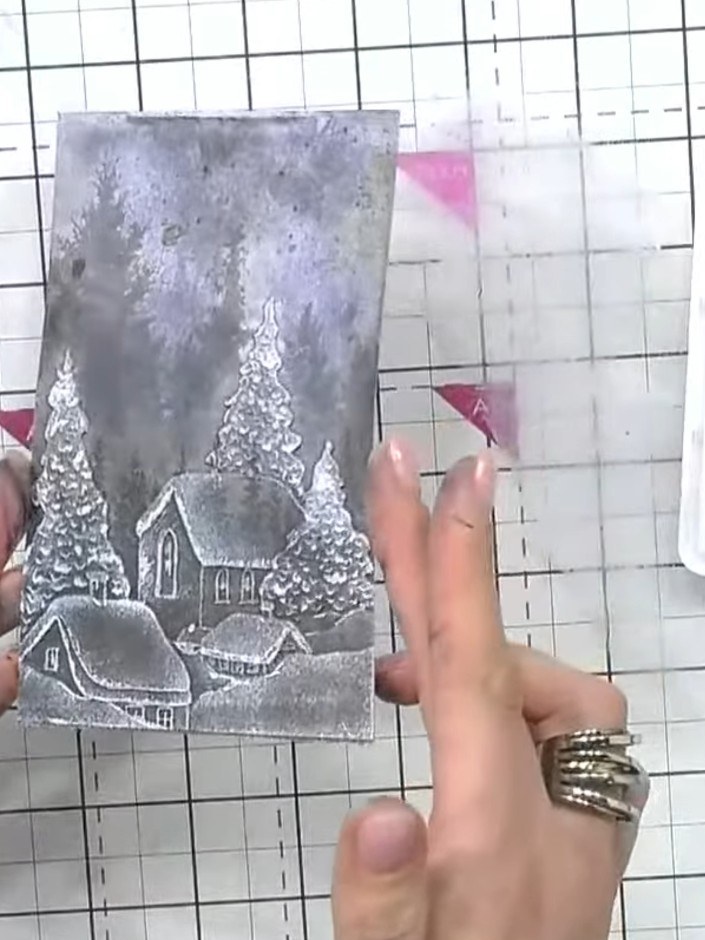
Mount the finished embossed winter scene panel onto your card base. Add a sentiment to complete your card.
▶ watch this step (25:30)Written up from the show itself. See every guide from our shows · free how-to guides · watch live on My Telly