Give your friends €10 off their first order!
Refer a FRIEND








A project from our live show MY PODCAST - Join me for my latest news and updates - Broadcast 24th OCT 2023 · 24/10/2023 · watch it from 20:45
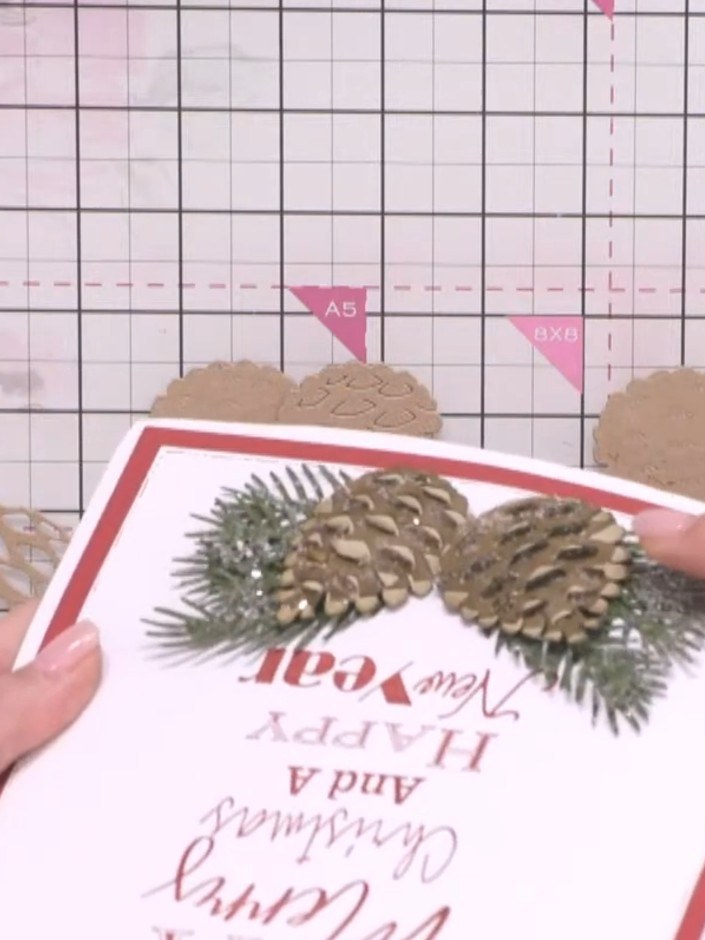
Create a stunning winter card featuring a realistic three-dimensional pine cone with embossed detail. The design combines die-cut layers with lifted flaps to create depth and dimension, complemented by evergreen foliage and a watercolour background. This elegant card uses layering and embossing techniques to achieve a beautiful festive centrepiece with the word 'JOY'.
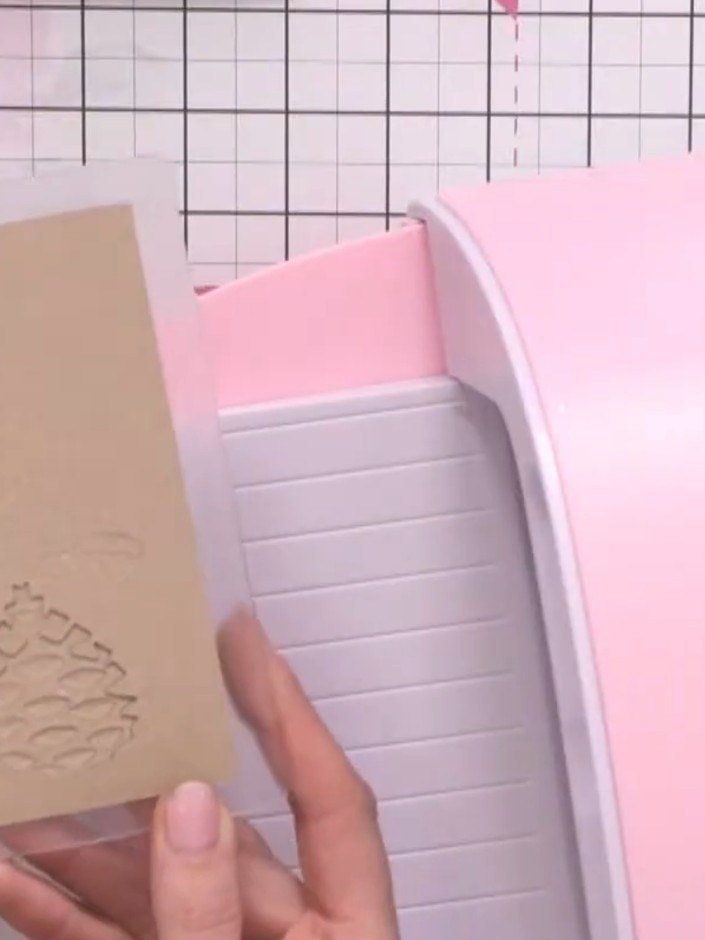
Cut out the base branch layer from craft card using the die plate. Run the die through your die-cutting machine to create the branch shape.
▶ watch this step (22:30)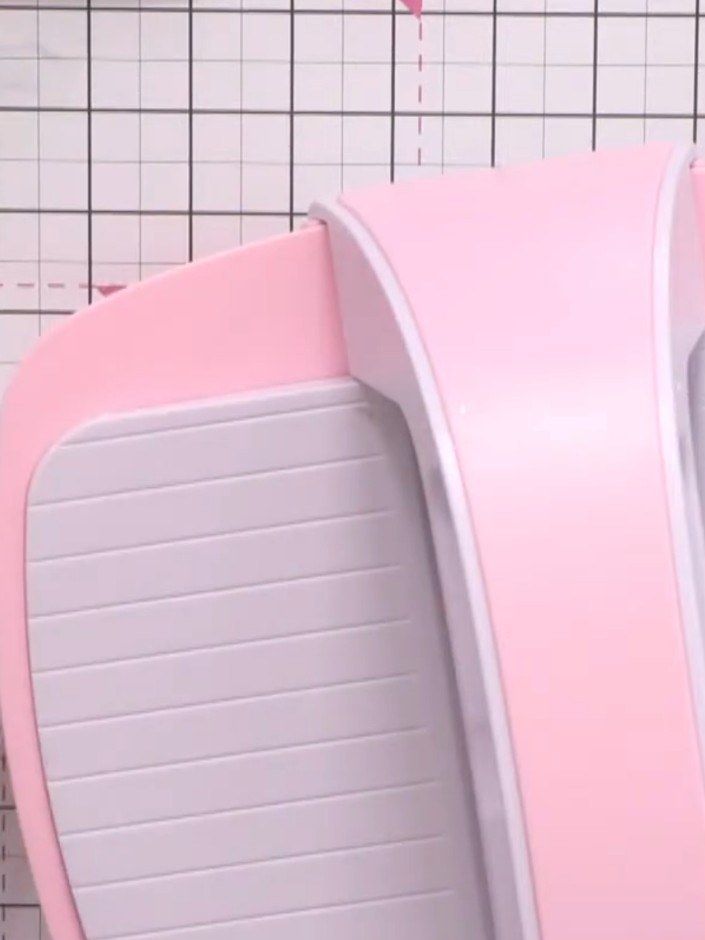
Cut out the first layering piece from the die set. This piece features embossed detail lines and small flaps around the edges.
▶ watch this step (23:30)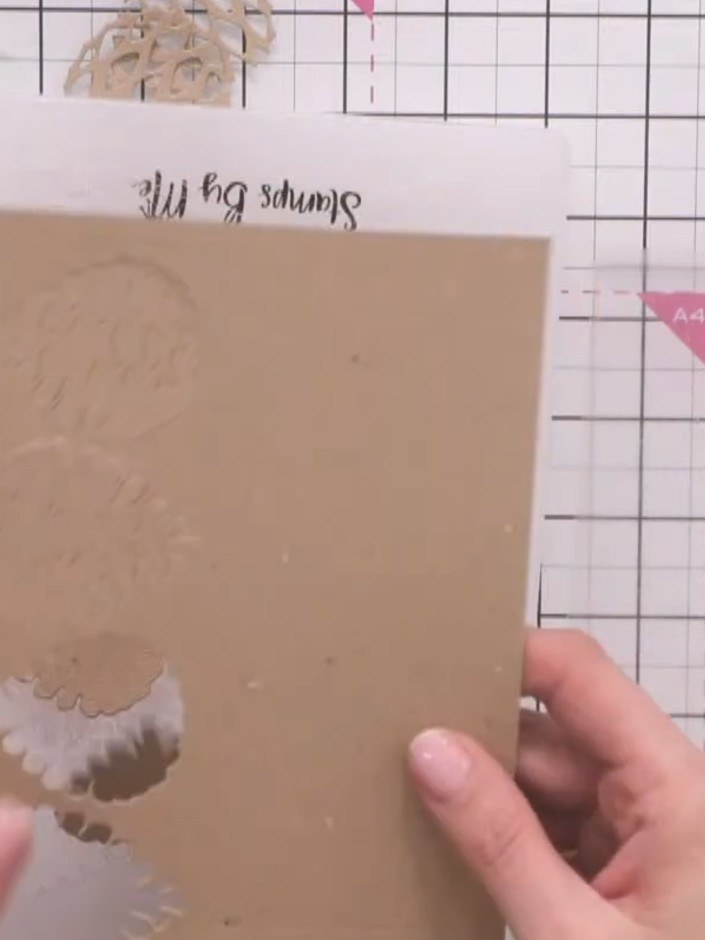
Ink the base layer of the pine cone with brown distress ink (ground espresso and vintage photo) to add colour and depth. Apply the ink using an ink blending tool or sponge, working over the embossed details.
▶ watch this step (24:15)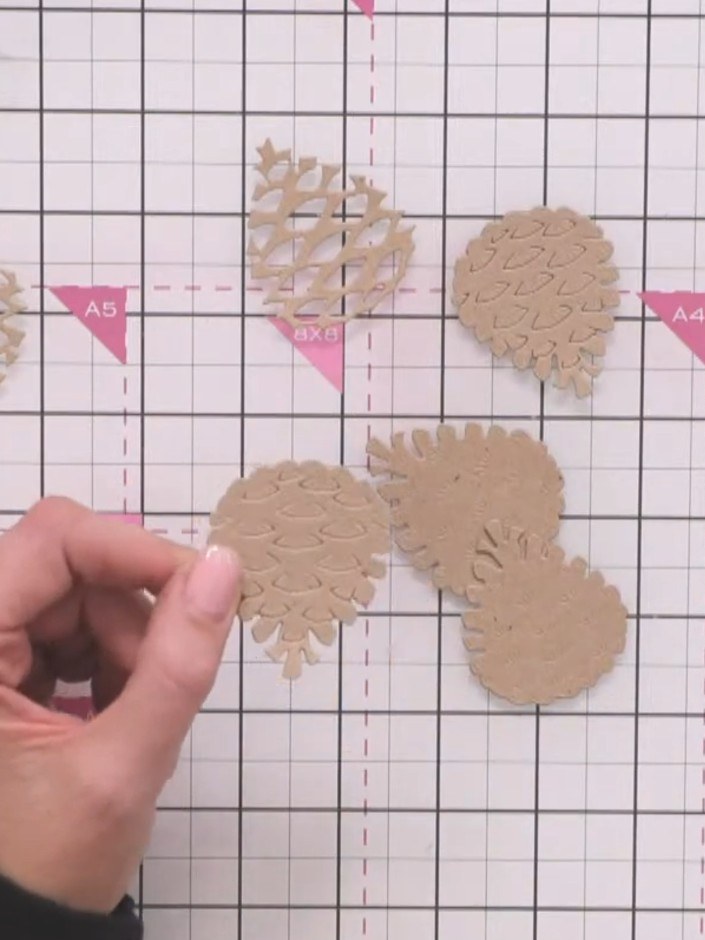
Apply glue randomly to the back of the first pine cone layer. Avoid precise placement for a natural look.
▶ watch this step (25:45)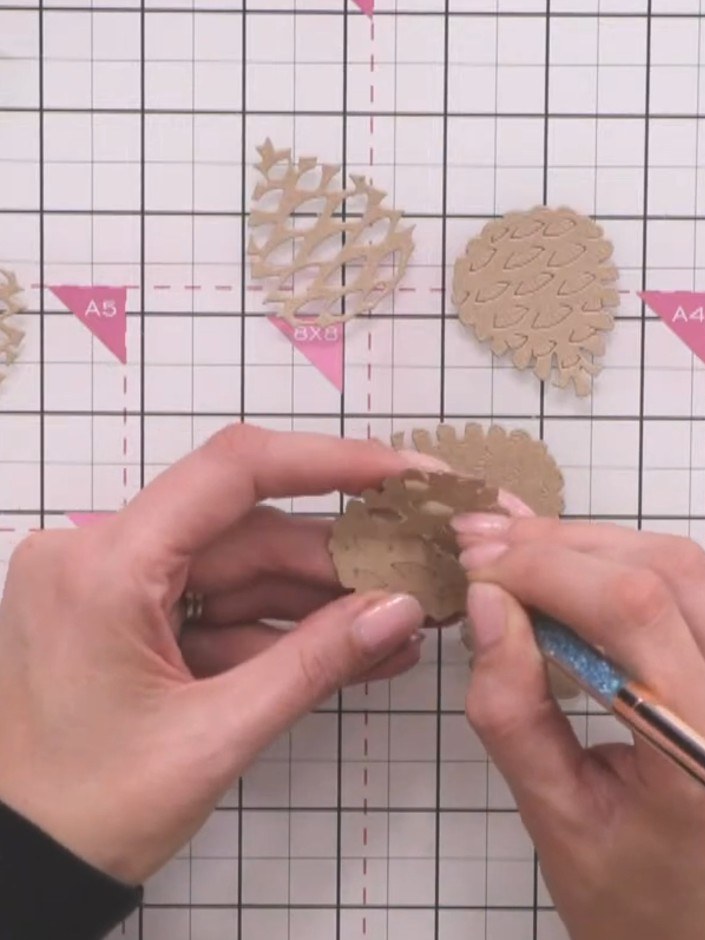
Adhere the first layer to the base layer, ensuring the flaps align with the holes in the base. Press firmly to secure the pieces together.
▶ watch this step (26:00)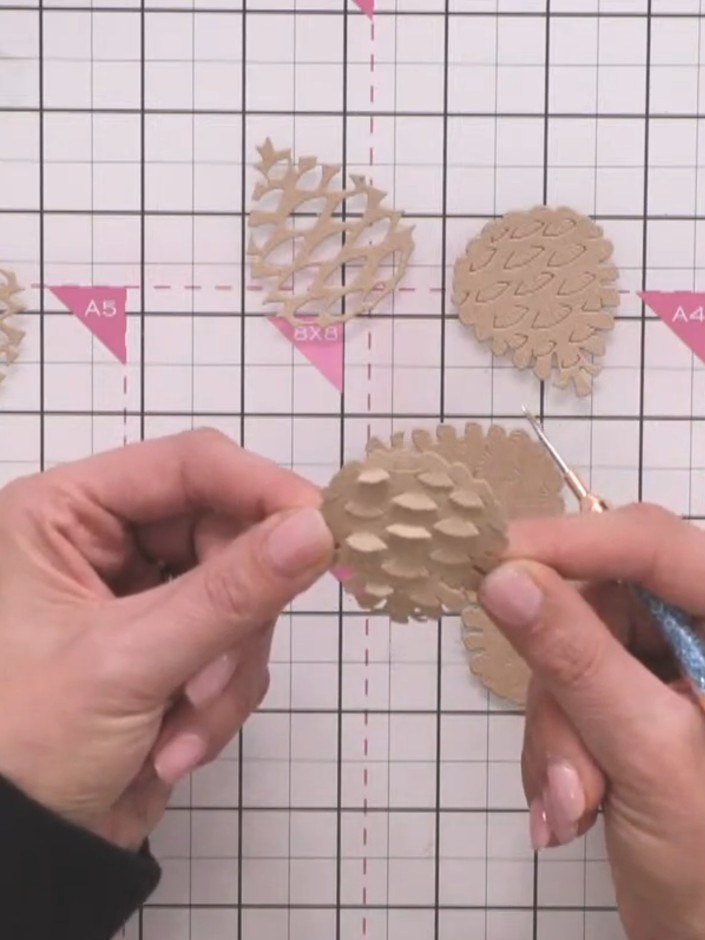
Turn the pine cone piece over and use a pokey tool to push the embossed flaps through to the front, creating a dimensional effect.
▶ watch this step (26:15)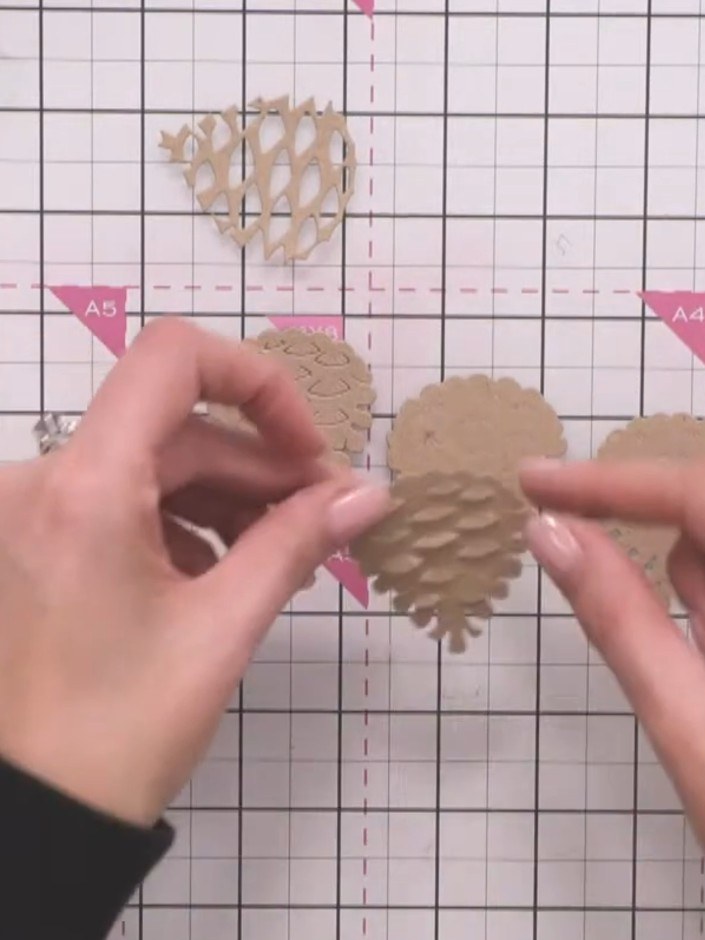
Gently pinch the sides of each pine cone piece to create a subtle curve, giving them dimension.
▶ watch this step (26:45)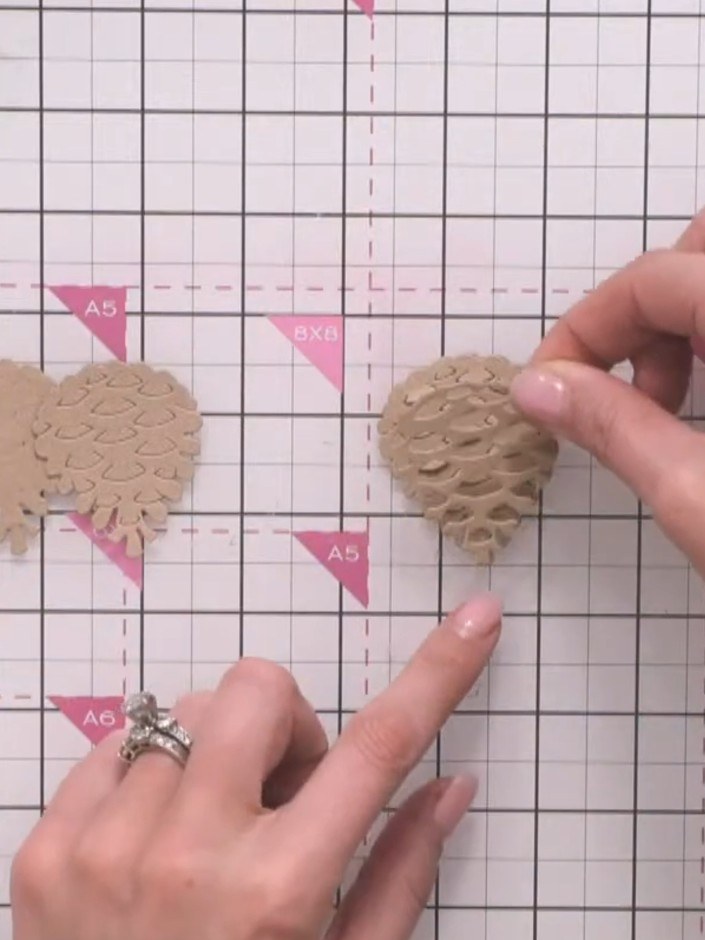
Apply glue to the back of the second textured pine cone layer, being careful to avoid the lifted scale flaps that create the dimensional effect.
▶ watch this step (27:00)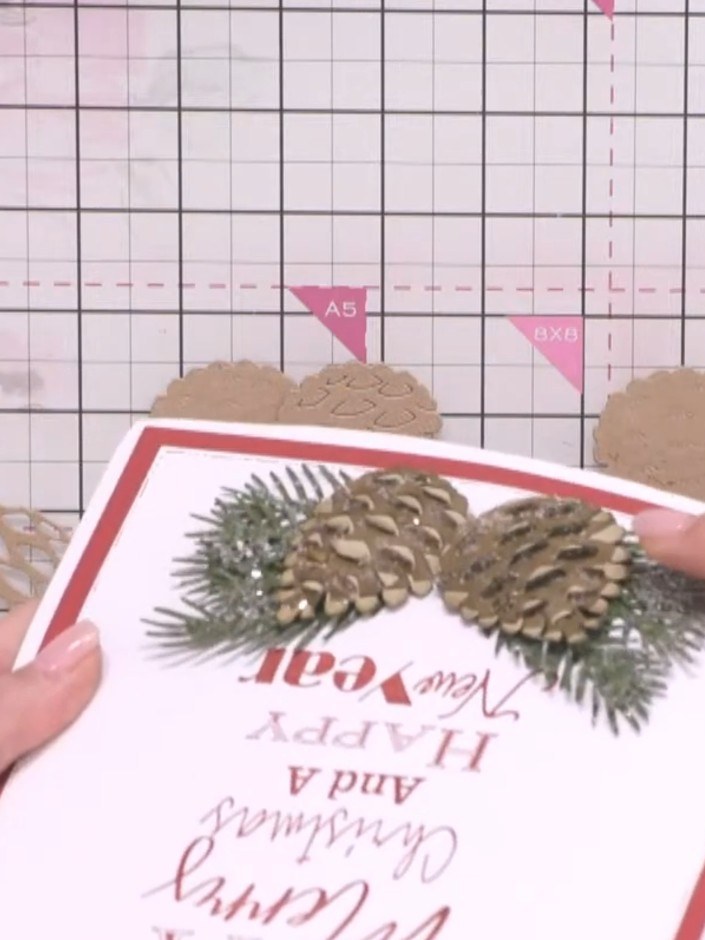
Adhere the second pine cone layer to the base layer on the card, allowing the edges to sit slightly unevenly for a natural, dimensional appearance.
▶ watch this step (27:30)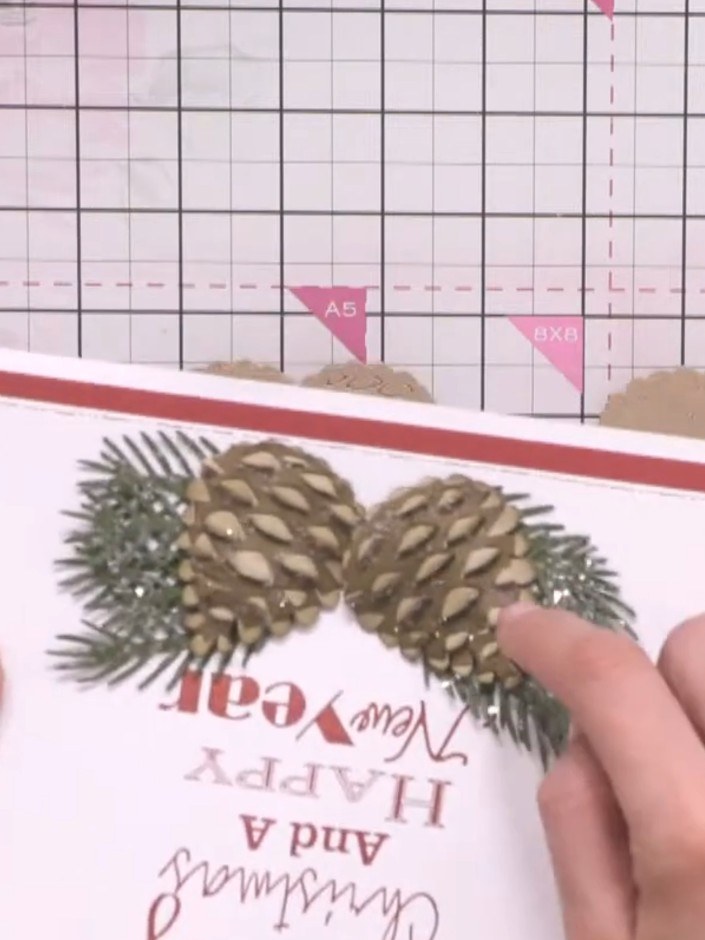
Layer the pine cone die-cuts onto your card, positioning them as desired. Add white ink or sparkle to the edges of the raised pine cone scales to create a snow effect.
▶ watch this step (28:00)Written up from the show itself. See every guide from our shows · free how-to guides · watch live on My Telly
