Give your friends €10 off their first order!
Refer a FRIEND








A project from our live show CREATE AND CRAFT TV - Join Toni for her brand new launch - broadcast 23rd Oct 23 · 23/10/2023 · watch it from 15:00
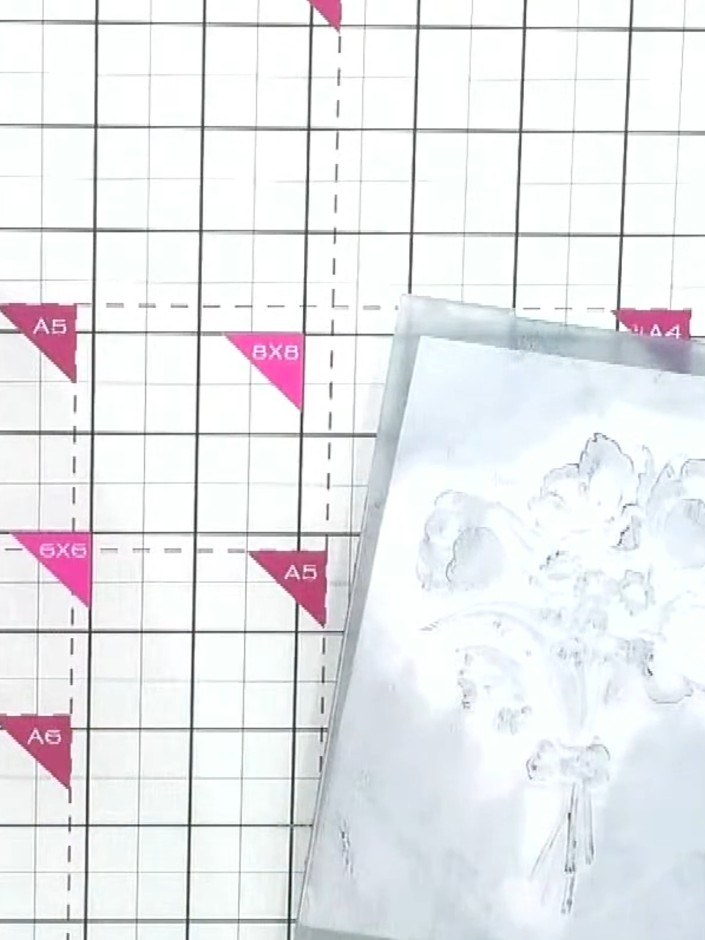
Create a beautifully textured card featuring delicate floral imagery in soft blue and white tones. This project uses the weathered wood inking technique, where you apply ink to both sides of an embossing folder before running cardstock through to achieve a richly detailed, dimensional embossed design. The result is an elegant card with vintage charm and sophisticated depth.
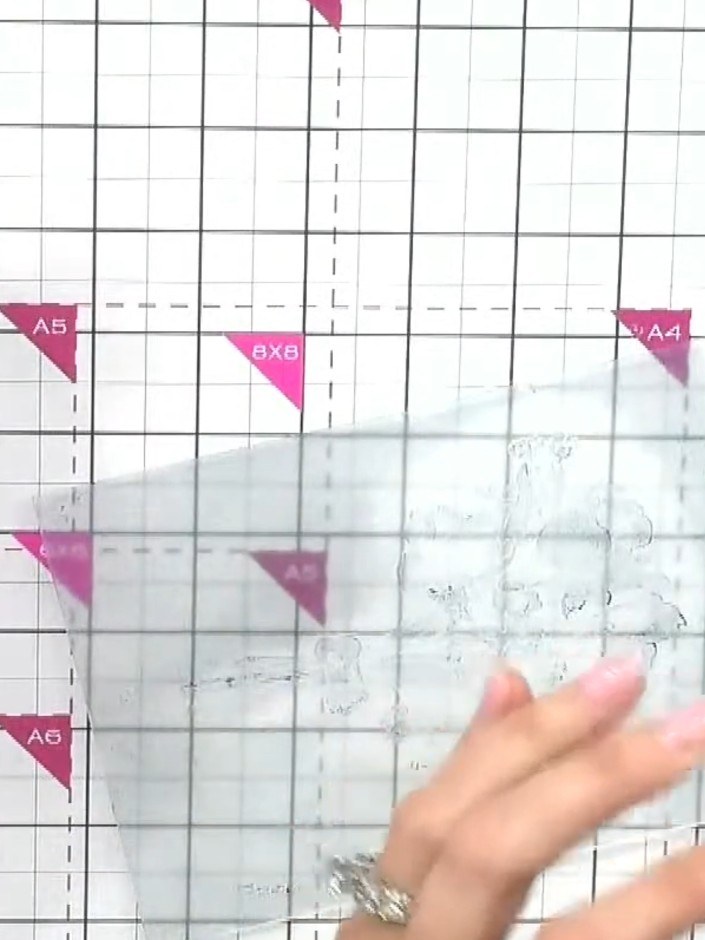
Gather your embossing folder and weathered wood ink pad. Have them ready on your work surface for the next steps.
▶ watch this step (15:15)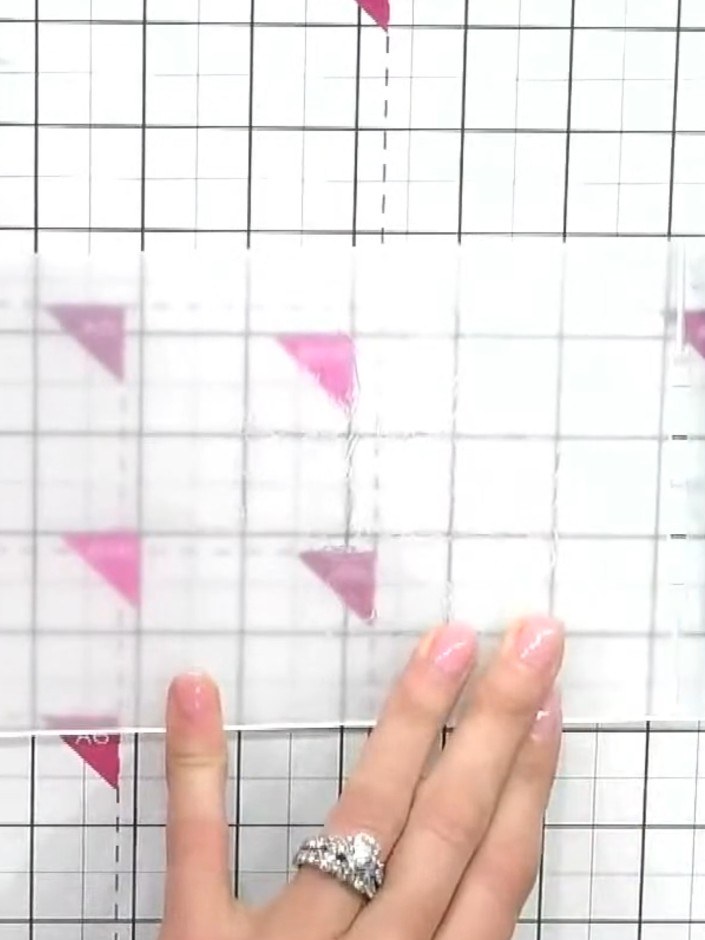
Ink both sides of the embossing folder thoroughly with the Withered Wood ink pad, working the colour into all the crevices using the corner of the pad.
▶ watch this step (15:30)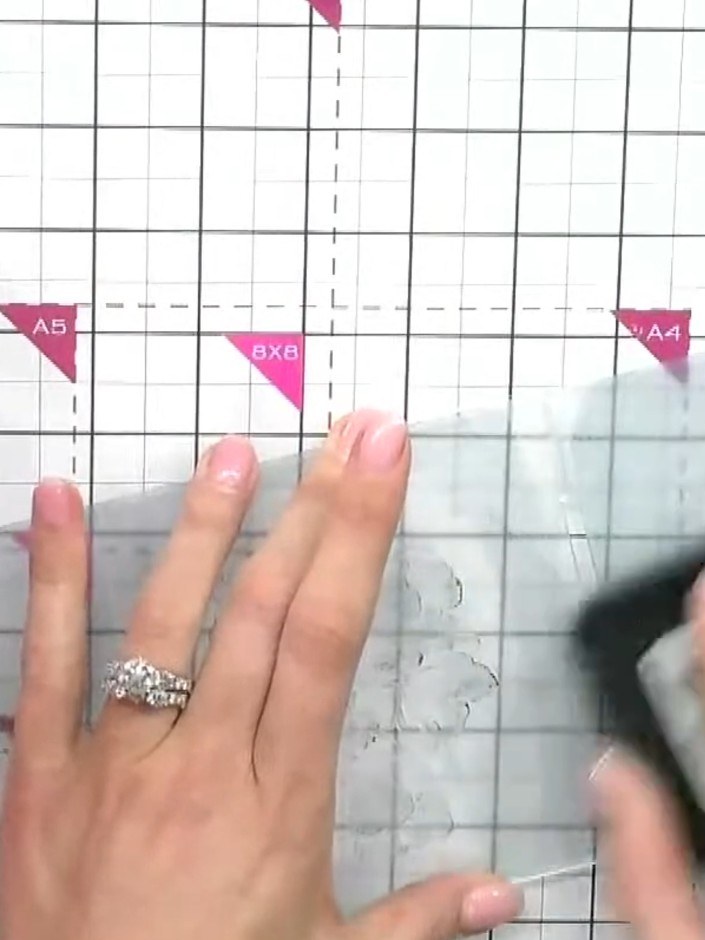
Insert a piece of cardstock into the embossing folder, ensuring it sits properly in the crevice of the folder.
▶ watch this step (15:45)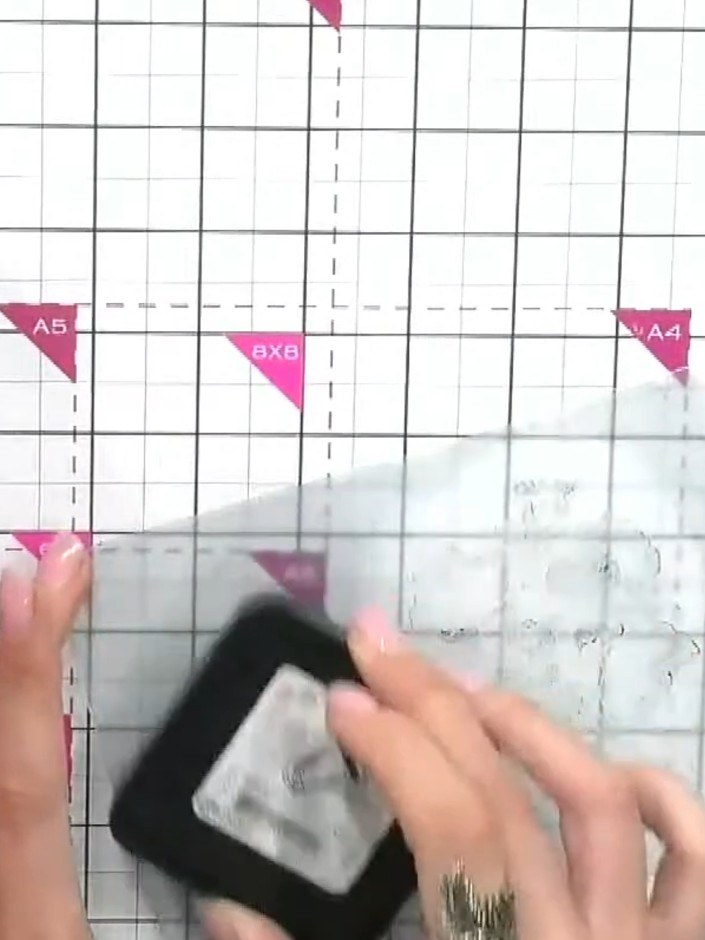
Run the embossing folder through your die-cutting machine according to the manufacturer's settings to emboss the design onto the card.
▶ watch this step (16:00)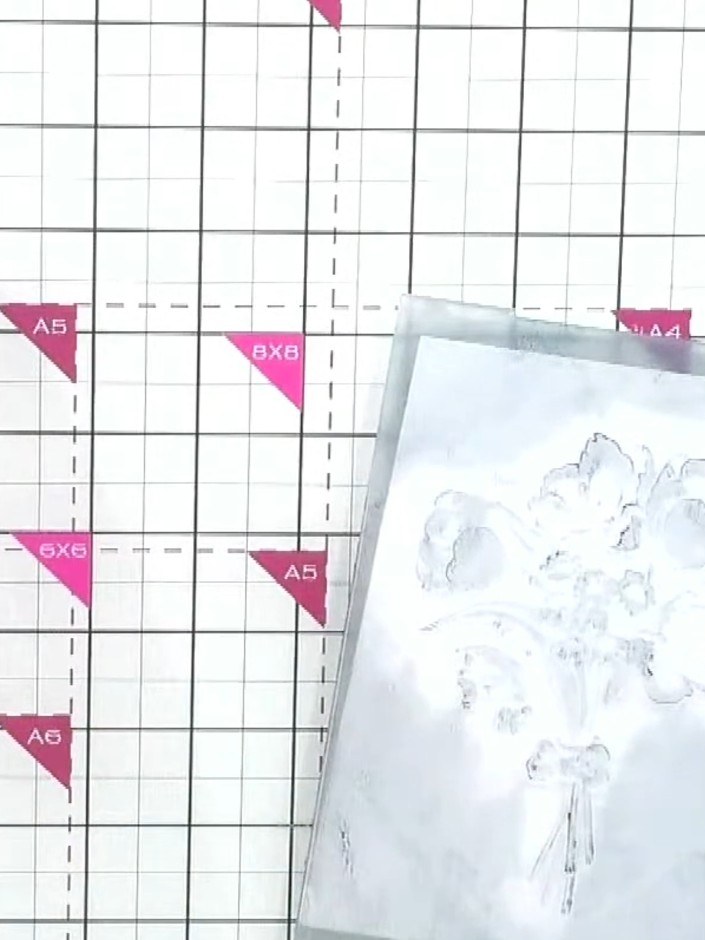
Remove the cardstock from the embossing folder and examine both sides. Choose which side you prefer - the white-on-white embossed effect or the inked side.
▶ watch this step (16:15)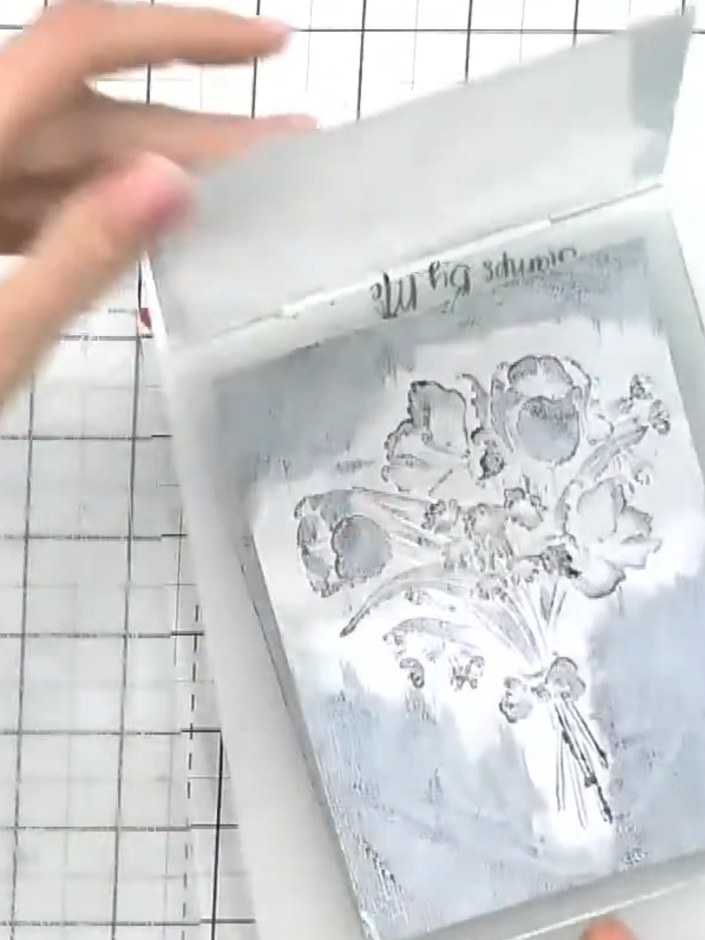
For deeper detail, flip the card over and run it through the embossing folder again with black ink on the folder. This will bring back dimension and enhance the embossed design.
▶ watch this step (16:30)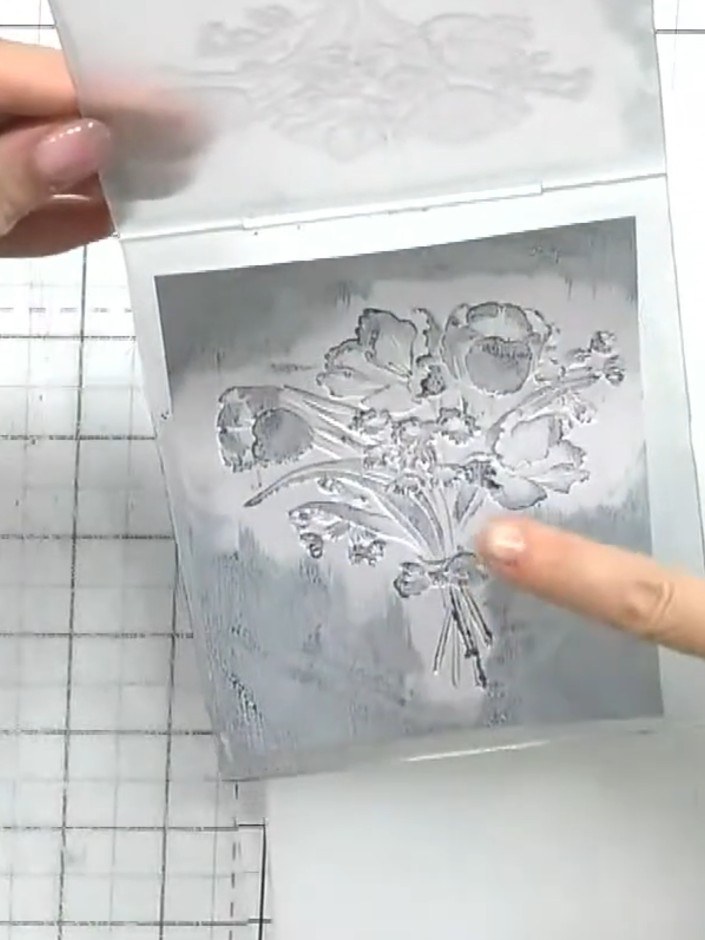
Use a white ink pad to gently dab and highlight the raised areas of the embossed image. This will restore fine detail and add contrast to the design.
▶ watch this step (17:00)Written up from the show itself. See every guide from our shows · free how-to guides · watch live on My Telly