Schenke deinen Freundinnen und Freunden 10 € Rabatt auf ihre erste Bestellung!
Freunde WERBEN








Ein Projekt aus unserer Live-Show HSN PRODUKT-INSPIRATION - Sei dabei bei meiner Show voller Spaß, Sendung vom 20. Oktober 2026 · 20.10.2026 · ab 1:06:15 ansehen
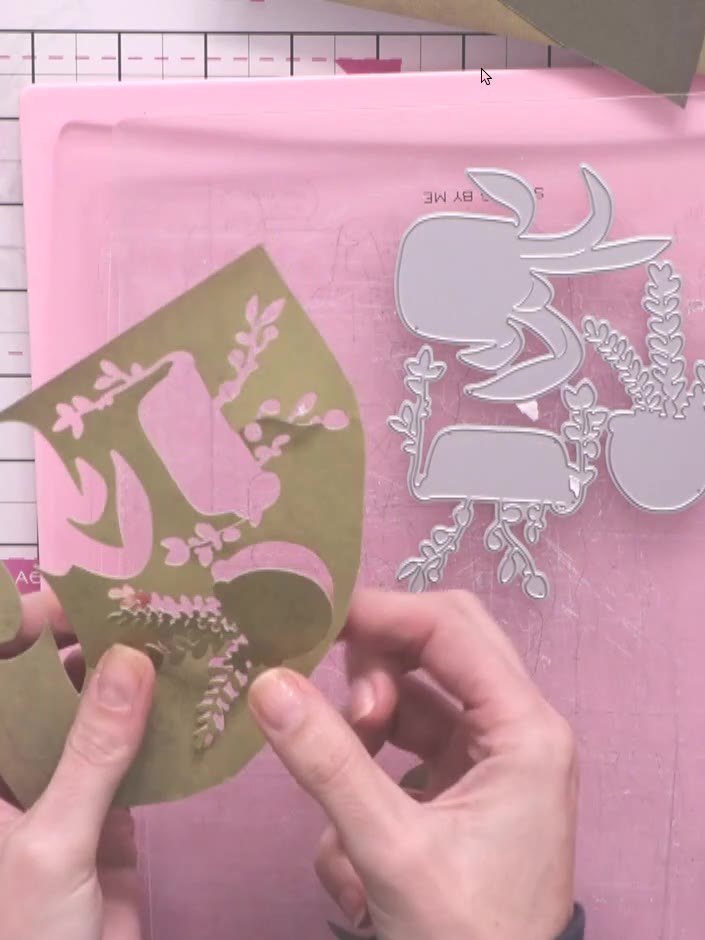
Create a beautiful card featuring layered potted flowers in varying shades of green and brown cardstock. The dimensional layering technique builds depth and allows you to create multiple pots in one pass, which can be positioned flat or with 3D foam pads for added perspective. This elegant design showcases hanging plants in decorative pots arranged in a striking vertical composition.
DIESE ANLEITUNG HERUNTERLADEN (PDF)
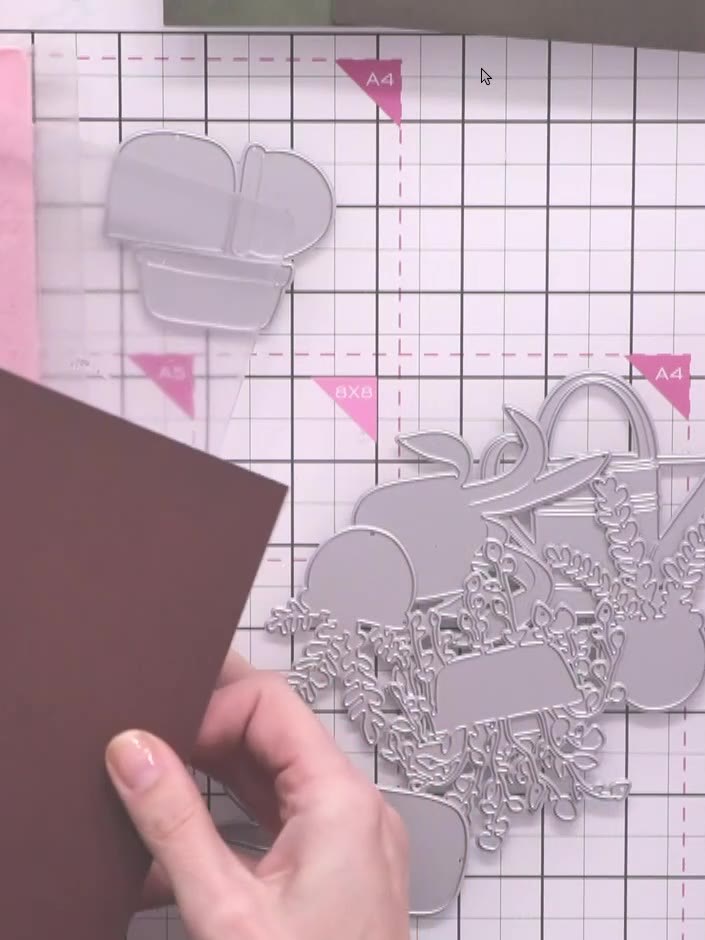
Cut a piece of brown cardstock to size. Position the brown cardstock on your die-cutting machine plate with the pot die on top.
▶ diesen Schritt ansehen (1:10:00)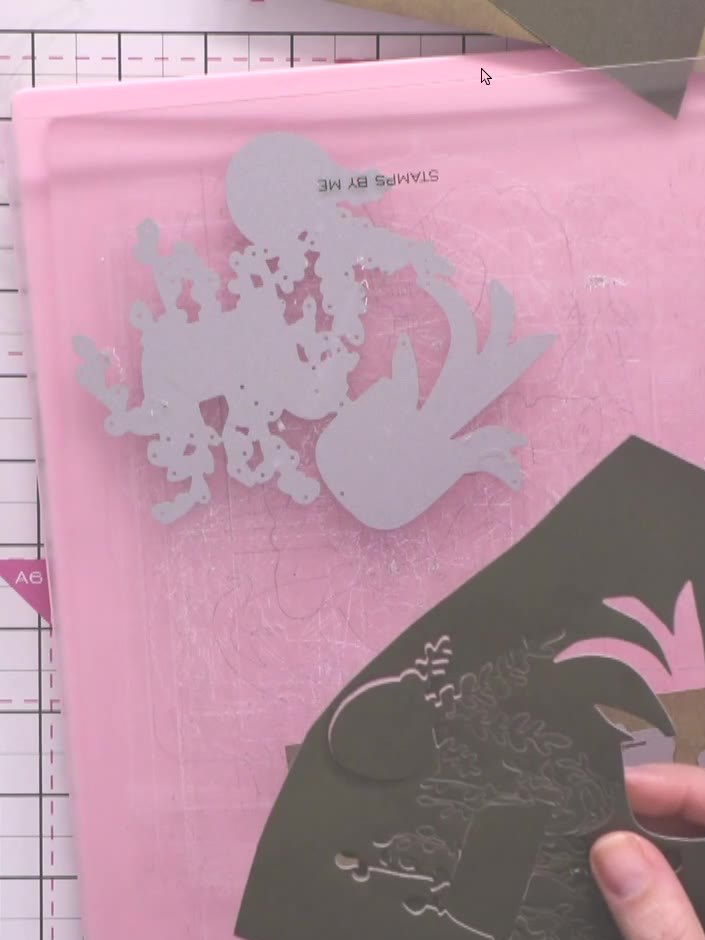
Carefully remove all die-cut pieces from the magnetic glass plates. Take care to remove the small floral filler pieces as well as the larger bird and flower elements.
▶ diesen Schritt ansehen (1:13:30)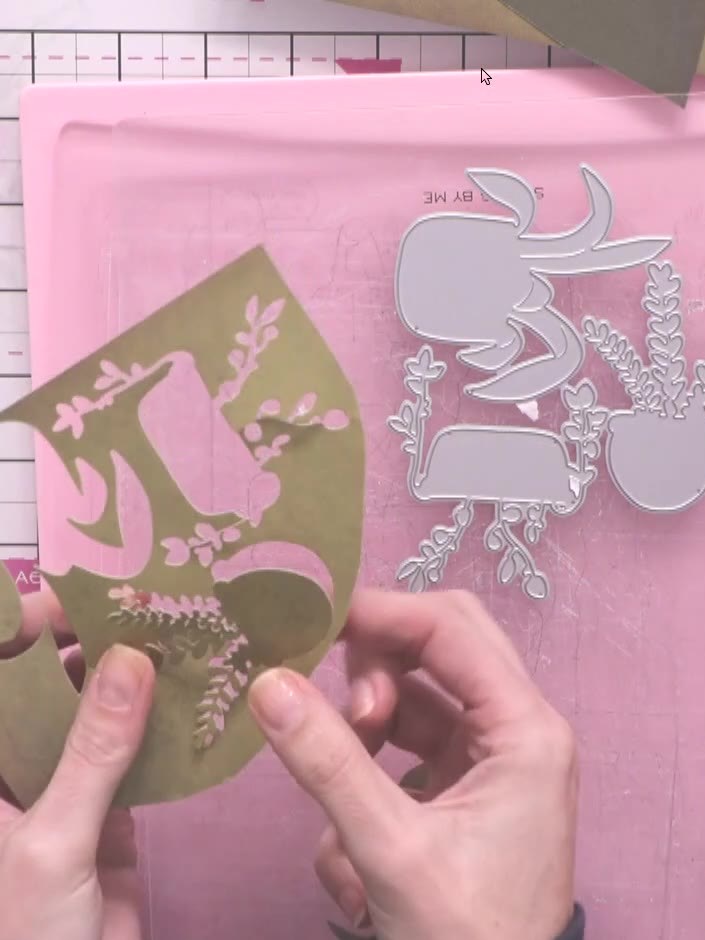
Layer the three pot pieces together in order, starting with the darkest shade at the back. Position the medium shade on top, followed by the lightest shade at the front to create dimension.
▶ diesen Schritt ansehen (1:16:15)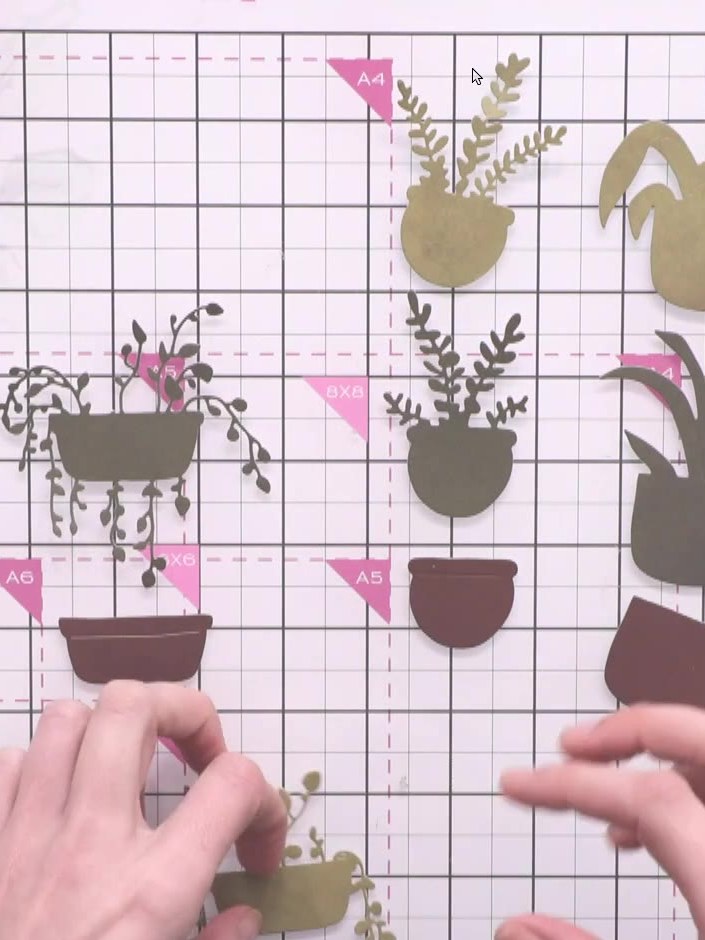
Add small floral pieces to the top of the layered pots using glue. Position the delicate foliage and flower elements onto each pot arrangement to complete the design.
▶ diesen Schritt ansehen (1:17:00)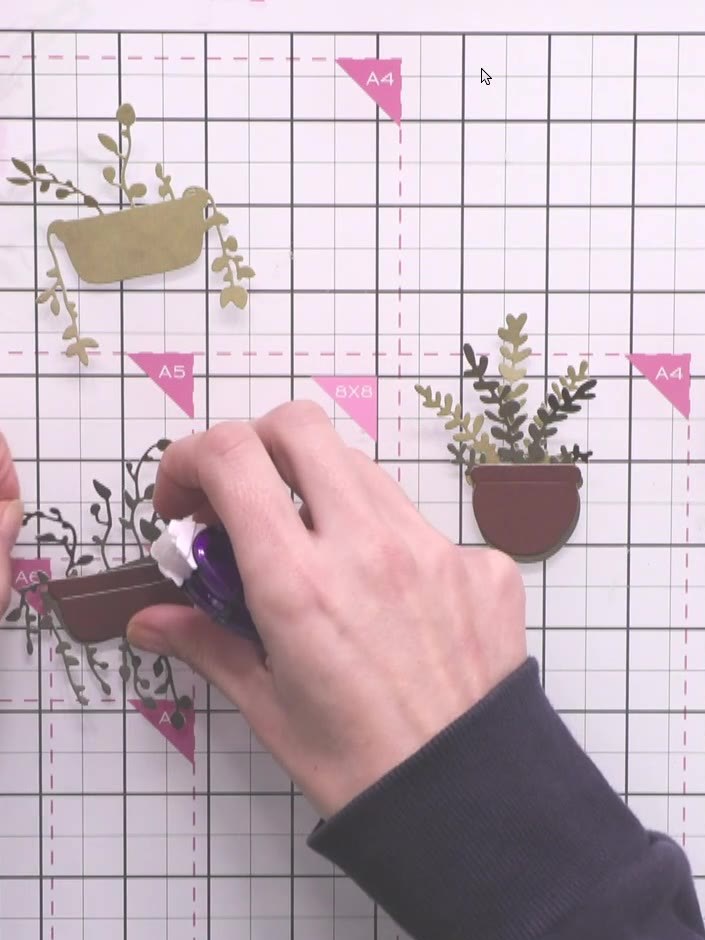
Apply a small 3D foam pad to the back of the brown pot piece to add dimension to your layered assembly.
▶ diesen Schritt ansehen (1:17:30)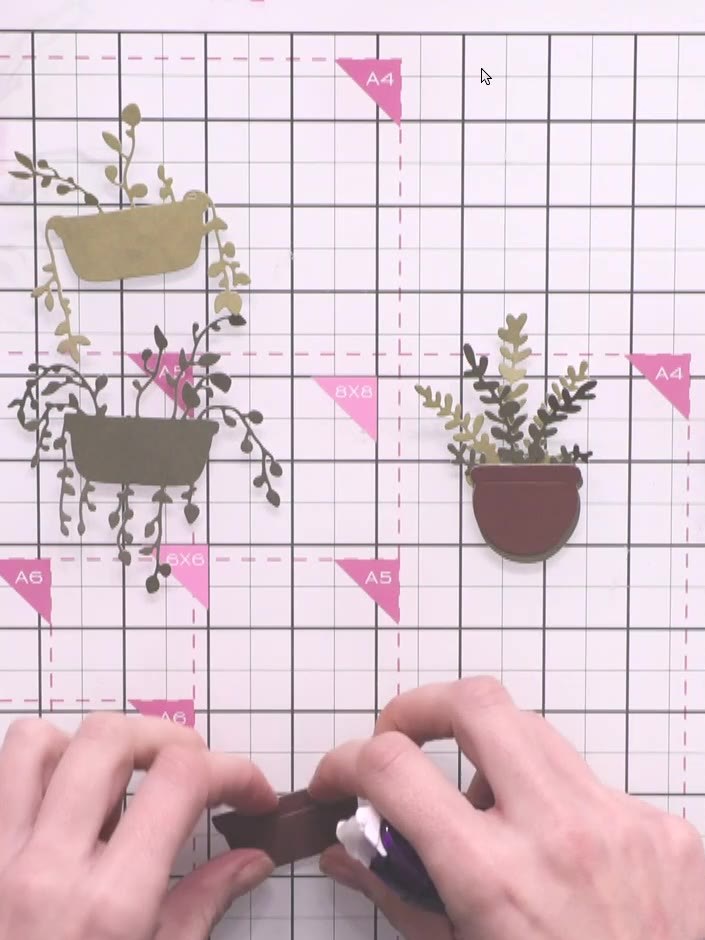
Position the finished pot onto your card base and glue it in place to complete your layered potted flowers card.
▶ diesen Schritt ansehen (1:18:00)Direkt aus der Show aufgeschrieben. Alle Anleitungen aus unseren Shows ansehen · kostenlose Anleitungen · live auf My Telly ansehen