Schenke deinen Freundinnen und Freunden 10 € Rabatt auf ihre erste Bestellung!
Freunde WERBEN








Ein Projekt aus unserer Live-Show HSN PRODUKT-INSPIRATION - Sei dabei bei meiner Show voller Spaß, Sendung vom 20. Oktober 2026 · 20.10.2026 · ab 1:28:15 ansehen
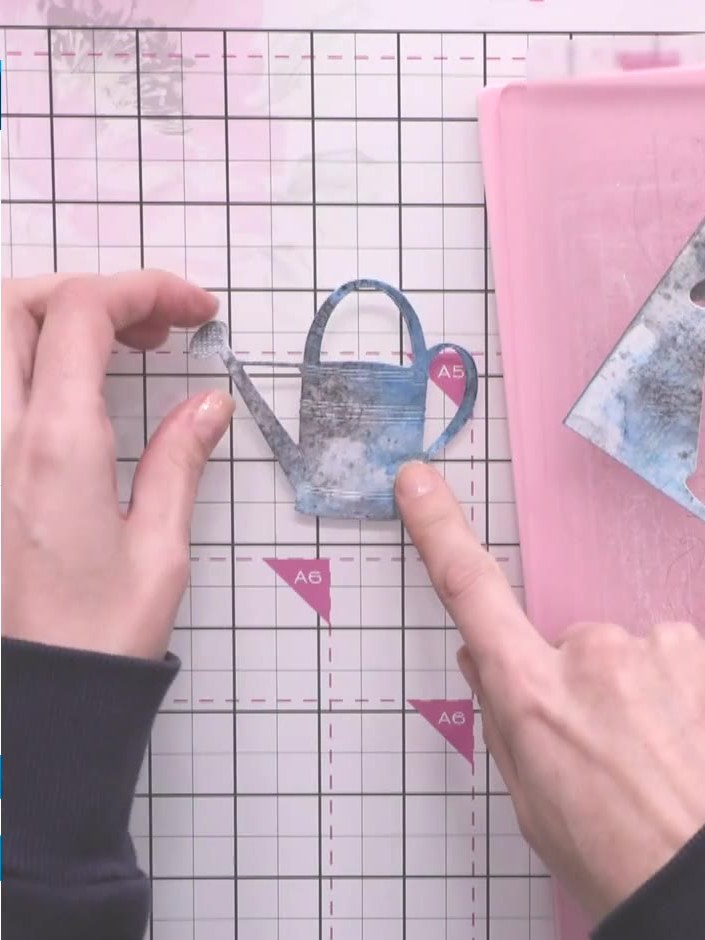
Create a rustic, aged watering can decoration using watercolour cardstock, layered distress inks in blues and greys, and embossing powder for added texture. The finished piece has an authentic old, battered metal effect that's perfect for garden-themed cards and projects. This guide will show you how to build up layers of colour and texture to achieve a beautifully weathered look.
DIESE ANLEITUNG HERUNTERLADEN (PDF)
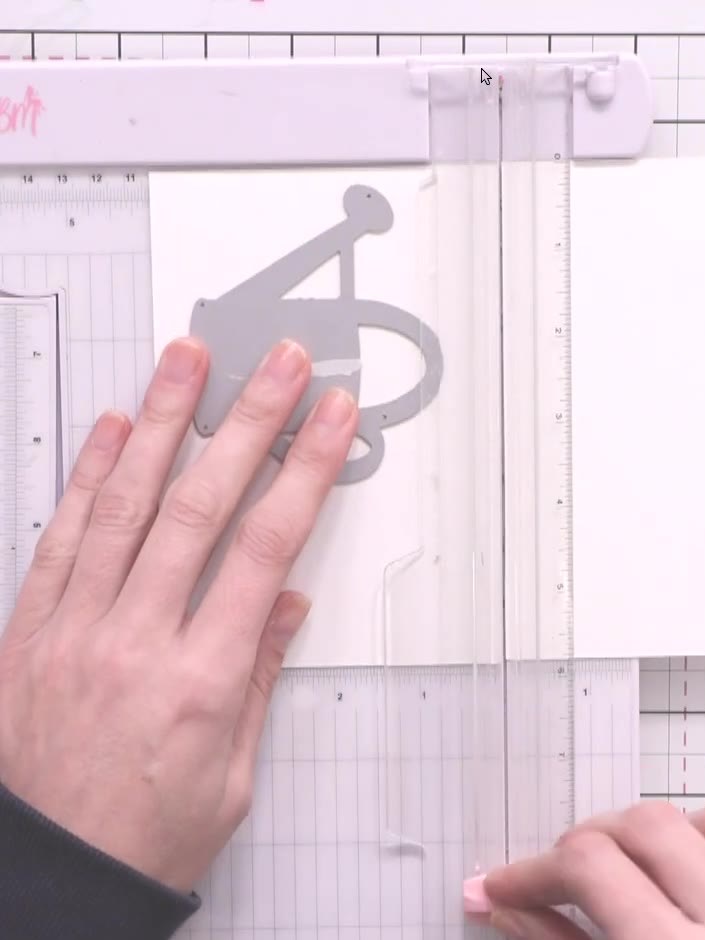
Cut a piece of white watercolour cardstock in half to create your base for inking.
▶ diesen Schritt ansehen (1:29:00)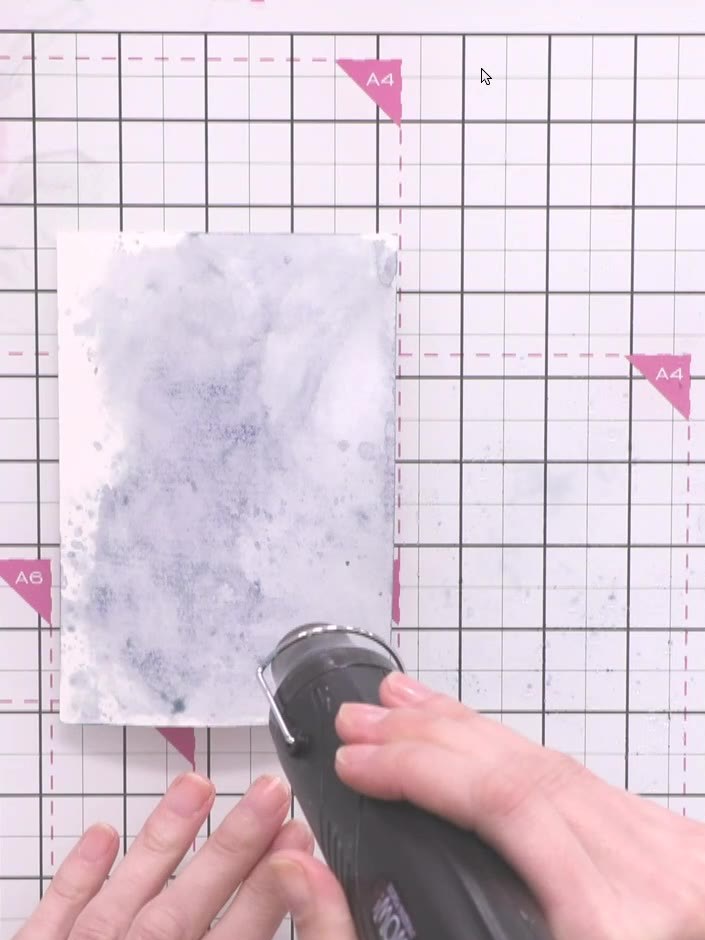
Use a heat gun to completely dry the inked cardstock. Hold the heat gun over the surface, moving it around until all the ink is dry to the touch.
▶ diesen Schritt ansehen (1:31:00)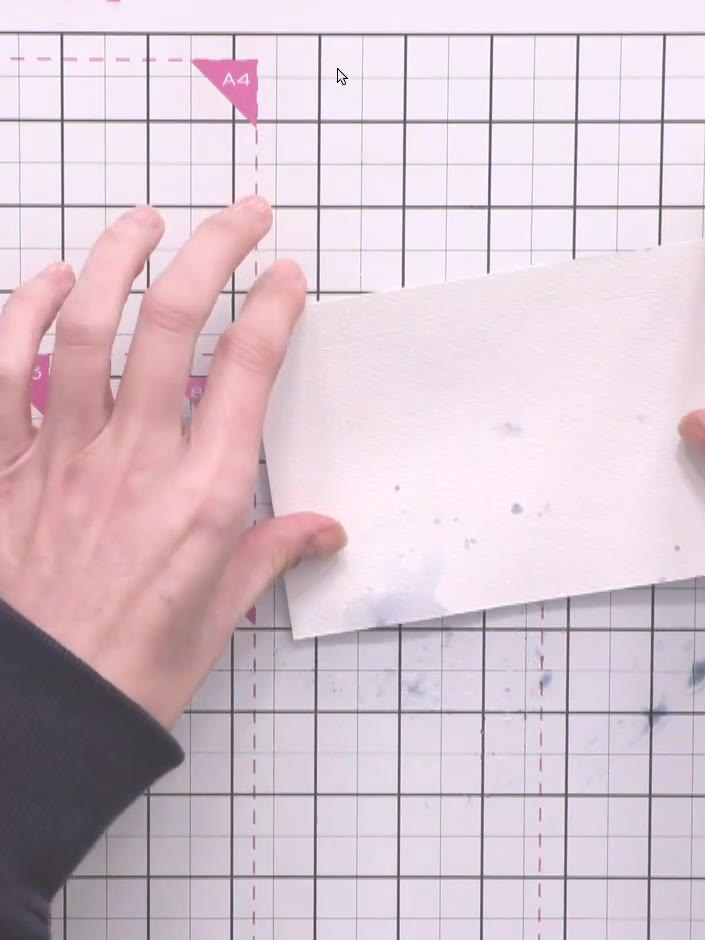
Apply a second layer of Stormy Sky ink by picking up excess ink from the craft mat with your finger and dabbing it onto the cardstock to build up the colour intensity.
▶ diesen Schritt ansehen (1:32:00)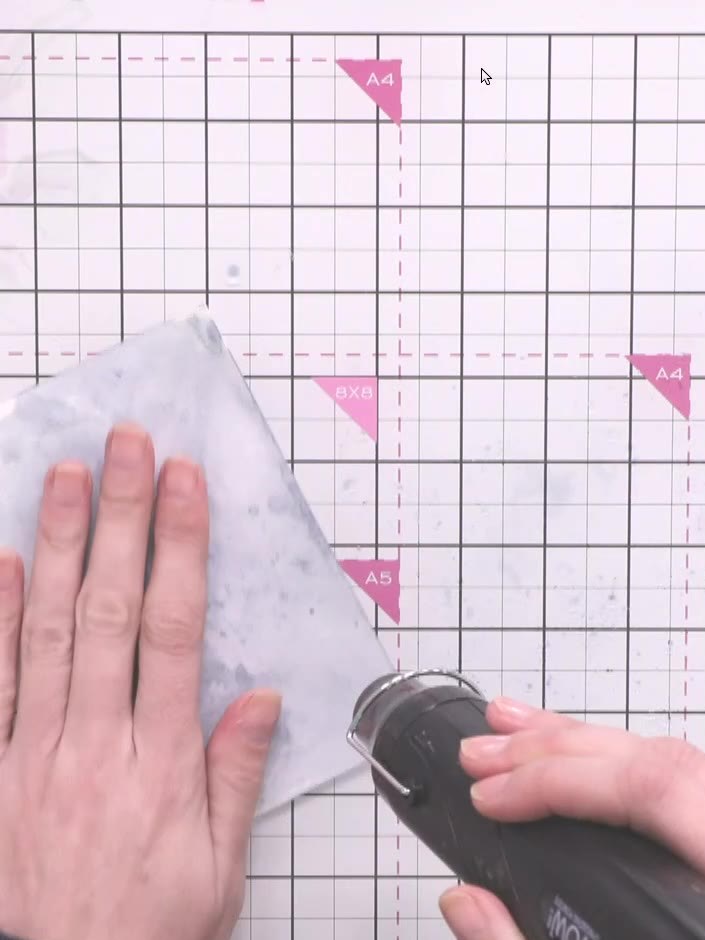
Dry the piece again with the heat tool. Apply Tumbled Glass Distress Ink to the watering can using the blending tool for a different shade of blue.
▶ diesen Schritt ansehen (1:33:00)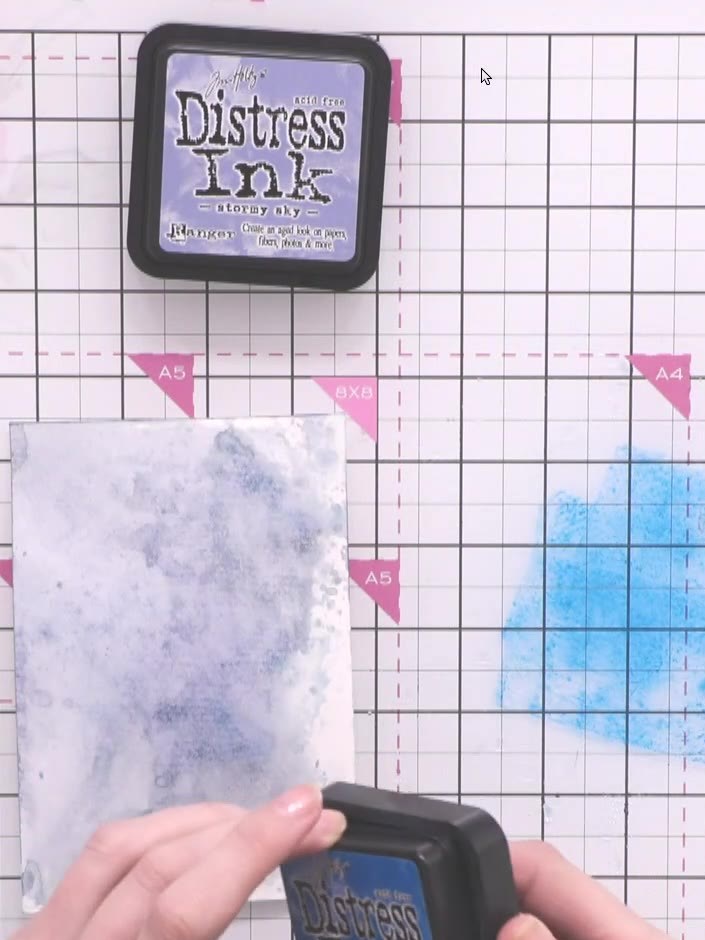
Apply Mermaid Lagoon Distress Ink to the watering can image using the ink pad directly on the paper. Build up the colour to create a darker blue tone and add depth to the design.
▶ diesen Schritt ansehen (1:34:00)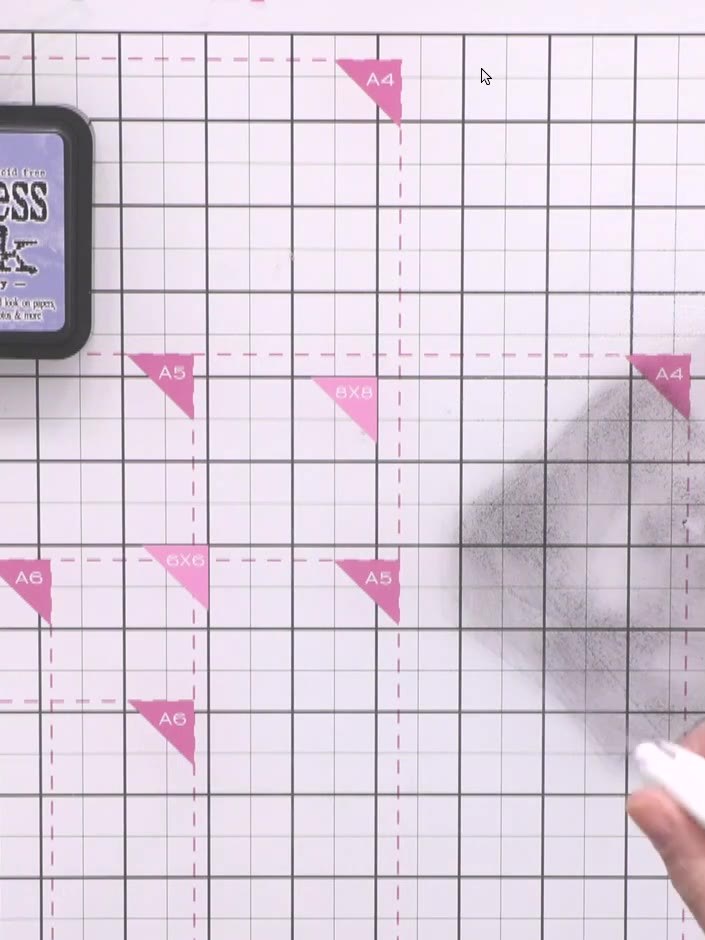
Pick up dark grey or black ink on your blending tool and apply it to the edges and darker areas of the image to add contrast and depth.
▶ diesen Schritt ansehen (1:36:00)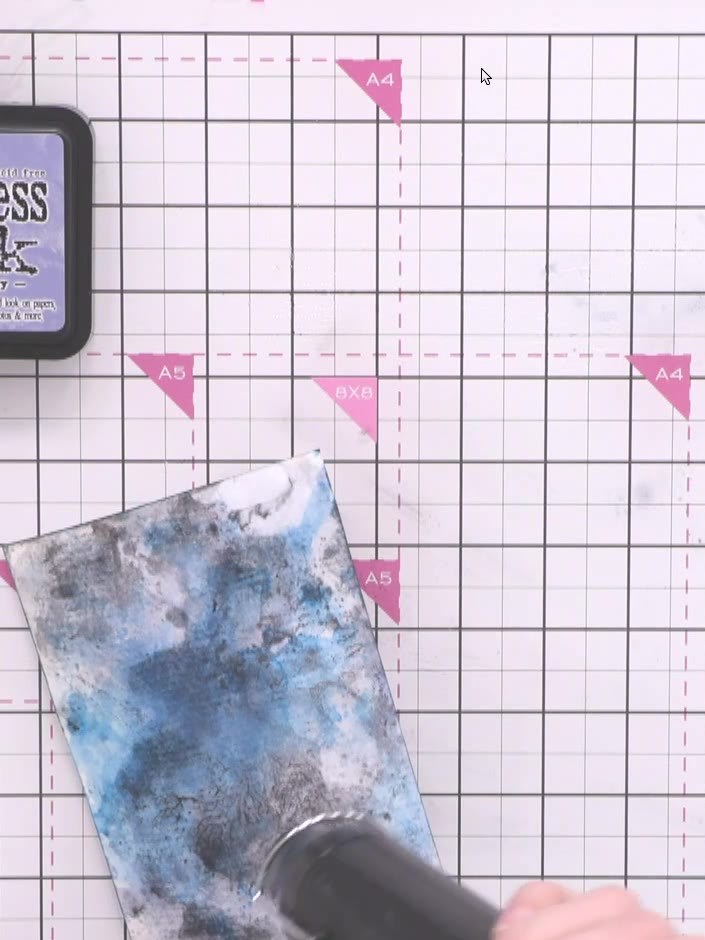
Dry the inked cardstock thoroughly with a heat tool until it is completely dry before proceeding to die-cut.
▶ diesen Schritt ansehen (1:37:30)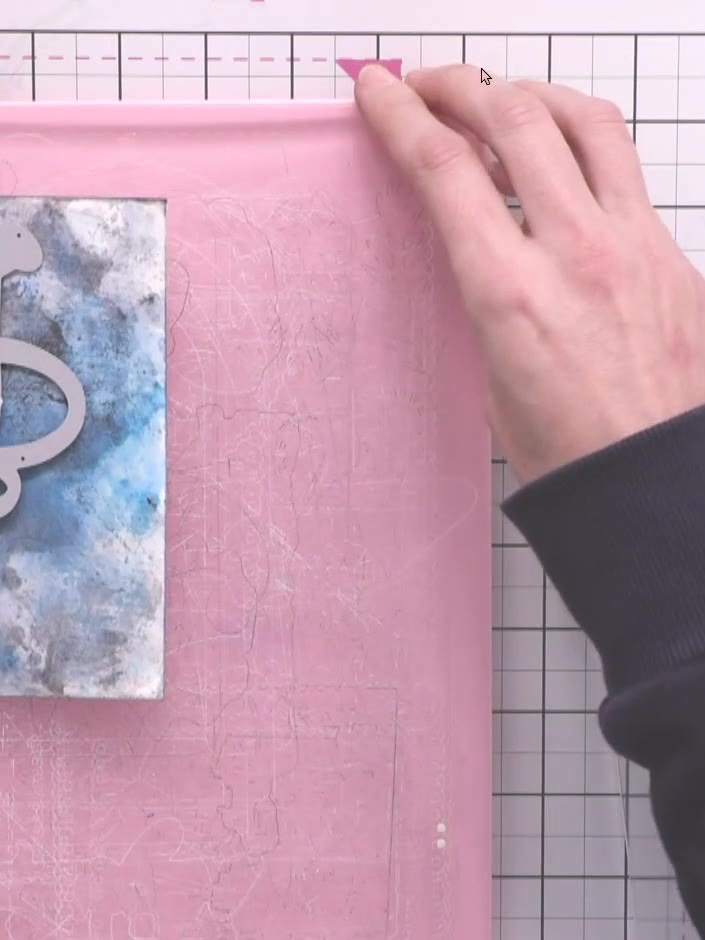
Position the watering can die on top of the inked cardstock panel. Run the layered pieces through your die-cutting machine to cut out the watering can shape.
▶ diesen Schritt ansehen (1:39:30)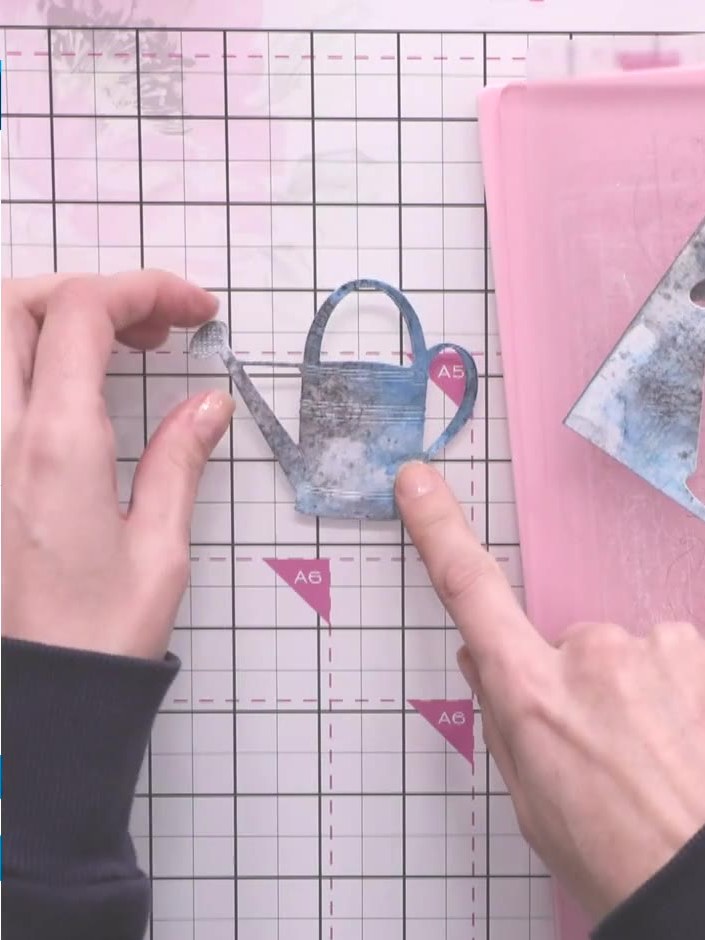
Remove the die-cut watering can from the stencil. Apply sticky ink pad to the top, edges, sides and bottom of the watering can.
▶ diesen Schritt ansehen (1:41:00)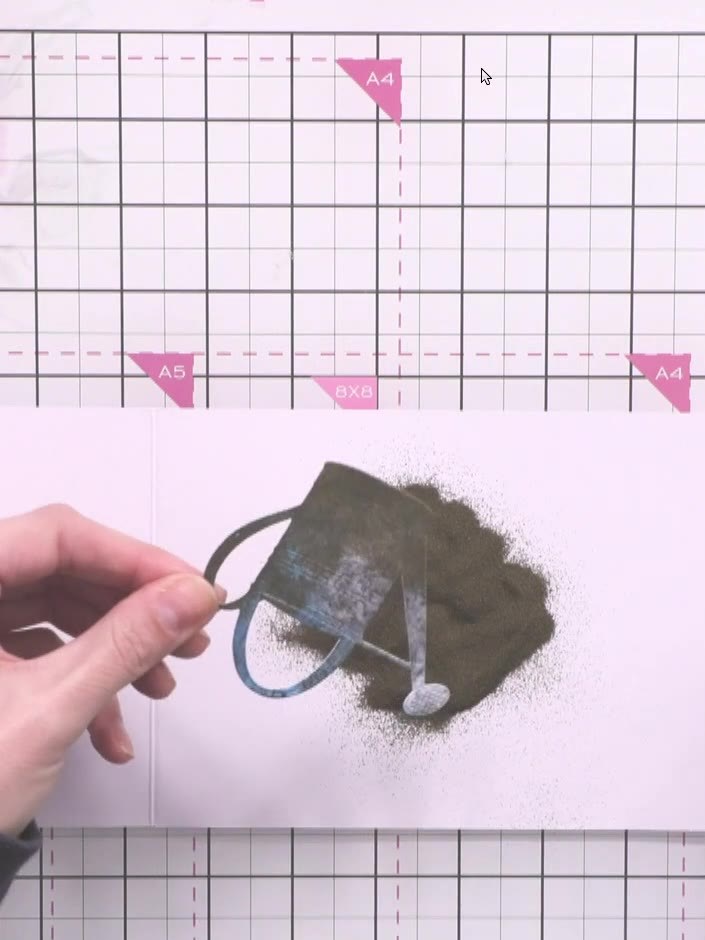
Dust embossing powder over the inked watering can, allowing it to stick to all the wet ink areas. Tap off any excess powder back into the container.
▶ diesen Schritt ansehen (1:42:30)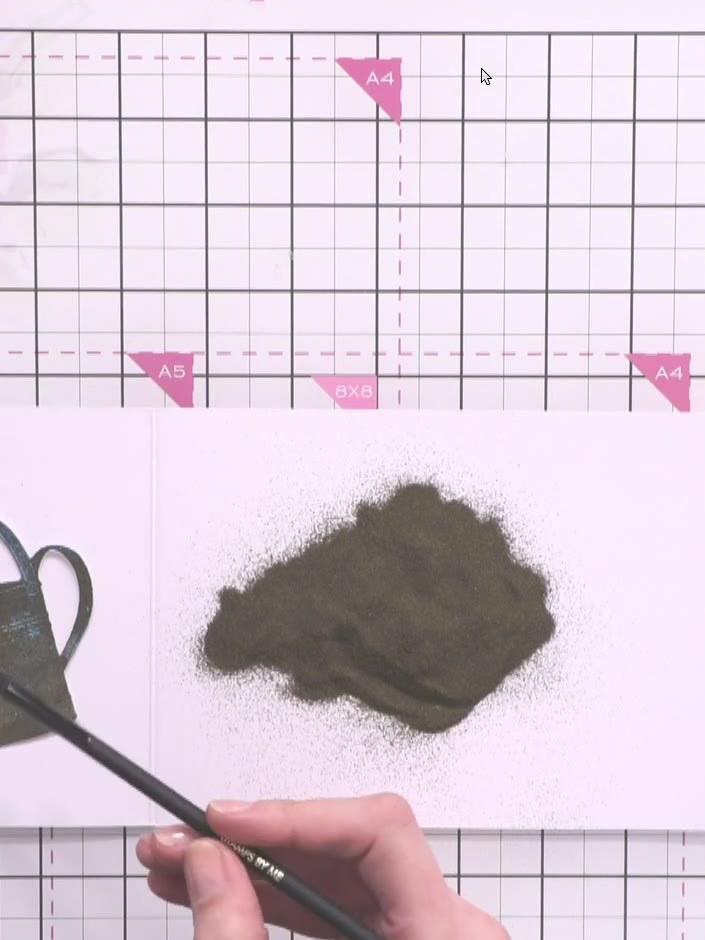
Use a dusting brush or old paintbrush to gently brush off any excess embossing powder from areas where you don't want it, particularly around the watering can image.
▶ diesen Schritt ansehen (1:43:15)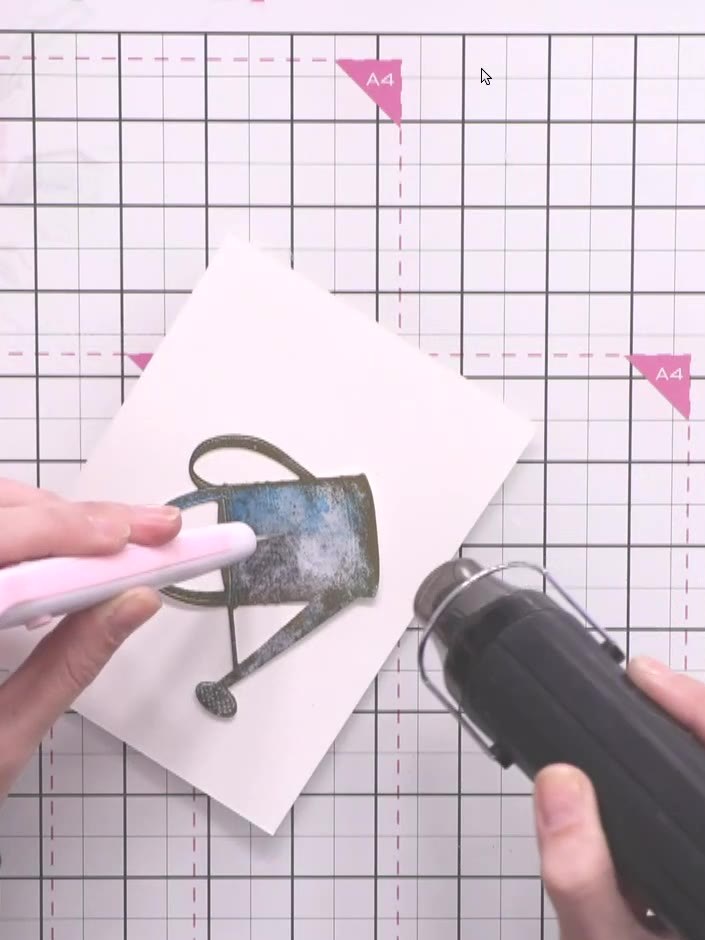
Heat set the embossing powder using a heat gun, holding the watering can steady with tweezers. Move the heat gun evenly over the embossed areas until the powder melts and sets.
▶ diesen Schritt ansehen (1:45:30)Direkt aus der Show aufgeschrieben. Alle Anleitungen aus unseren Shows ansehen · kostenlose Anleitungen · live auf My Telly ansehen