SCHNELLLINKS

info@howtocraftnetwork.com
Wir sind jetzt noch smarter – shoppen und zuschauen mit der SBM-AppHOL DIR DIE APPSchau uns live auf deinem Smart-TVSO GEHT'SEntdecke unseren eigenen IPTV-Sender – geh auf my-telly.comANSEHENSammle bei jeder Bestellung TreuepunkteMEHR ERFAHREN
Willkommen beim How to Craft Network
 
SBM SHOP
FOLGE UNS
SCHENK DEINEN FREUNDEN 10 € RABATT FREUNDE WERBEN › ENTDECKEN MY-TELLY.COM › WIR SIND JETZT NOCH SMARTER HOL DIR DIE APP › PREISGEKRÖNTER SENDER AUF DEINEM FERNSEHER › TRITT DEM CLUB BEI ZU DEN ANGEBOTEN ›
 

Macramé Hanging Basket with Layered Pot Card

Ein Projekt aus unserer Live-Show HSN PRODUKT-INSPIRATION - Sei dabei bei meiner Show voller Spaß, Sendung vom 20. Oktober 2026 · 20.10.2026 · ab 1:19:00 ansehen
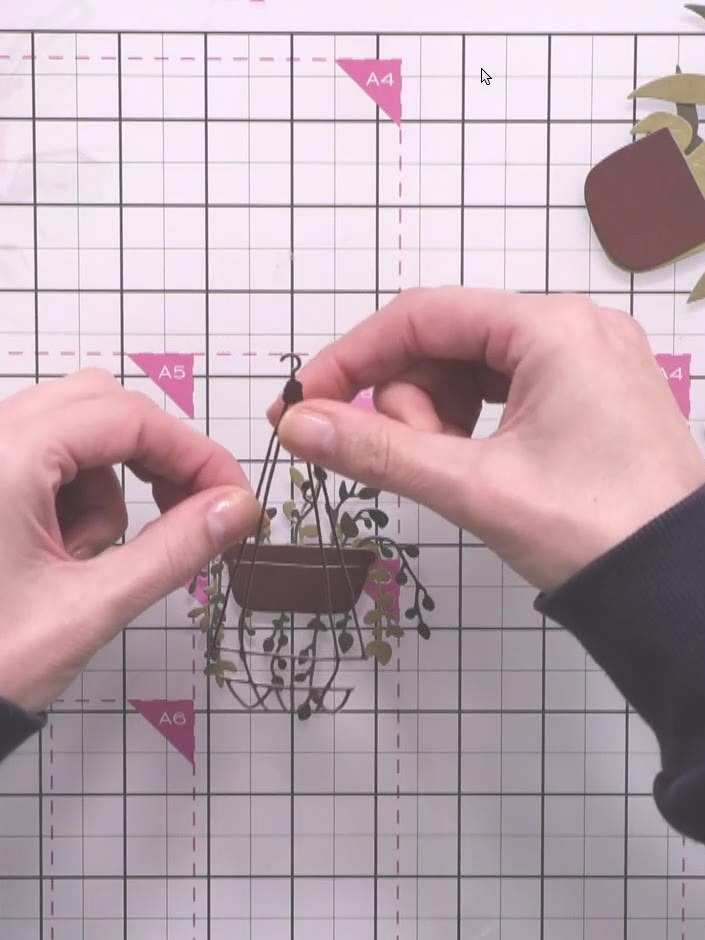
Macramé Hanging Basket with Layered Pot Card - the finished project
Das fertige Projekt
Aufgezeichnetes VideoOffers on screen may no longer be valid - find out more at HSN.com

Create a charming dimensional hanging basket card featuring a macramé-style basket with layered plant pots nestled inside. This realistic hanging garden design combines brown basket tones with green foliage, creating a three-dimensional effect perfect for nature lovers. The project uses die-cutting and layering techniques to build depth and dimension.

DIESE ANLEITUNG HERUNTERLADEN (PDF)
Schritt für Schritt

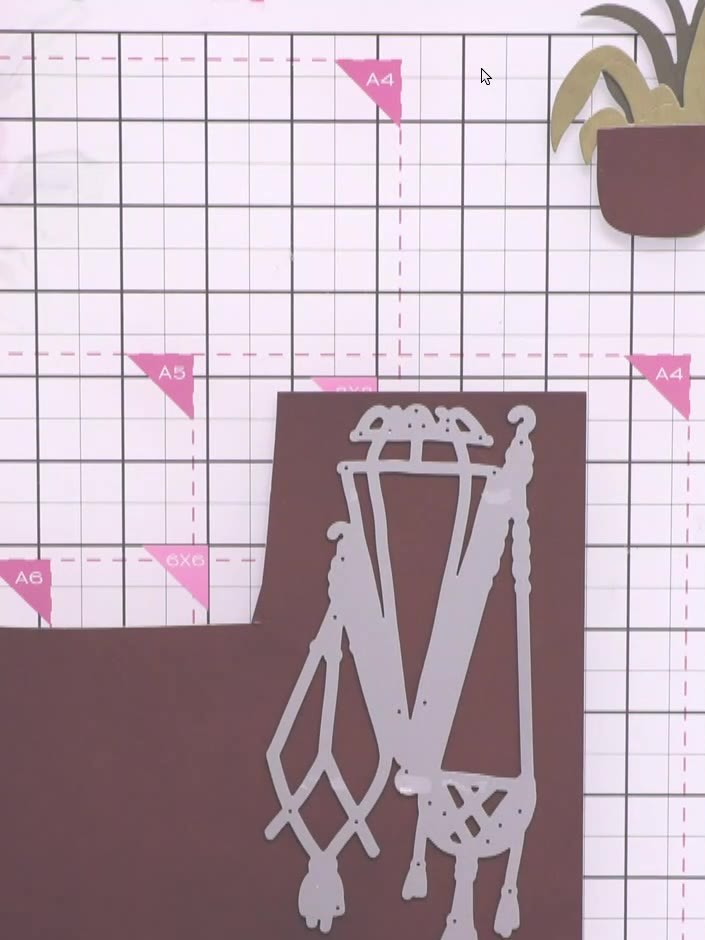
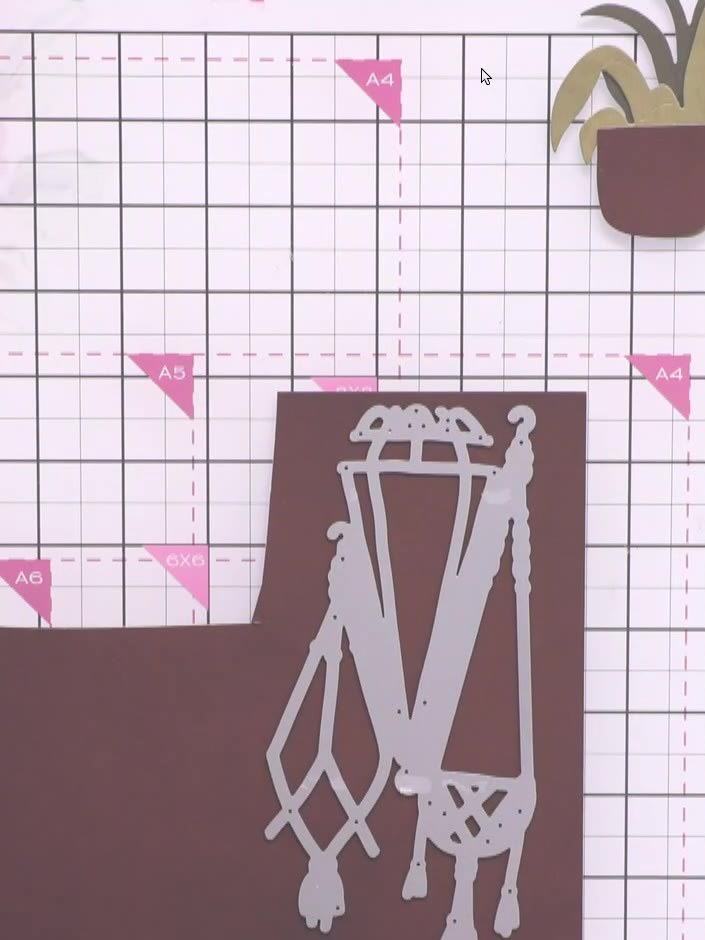
  1. Step 1: Cut the macramé hanging basket die from brown cardstock. Position the die on your brown cardstock and run it t

    Cut the macramé hanging basket die from brown cardstock. Position the die on your brown cardstock and run it through your die-cutting machine.

    ▶ diesen Schritt ansehen (1:19:30)
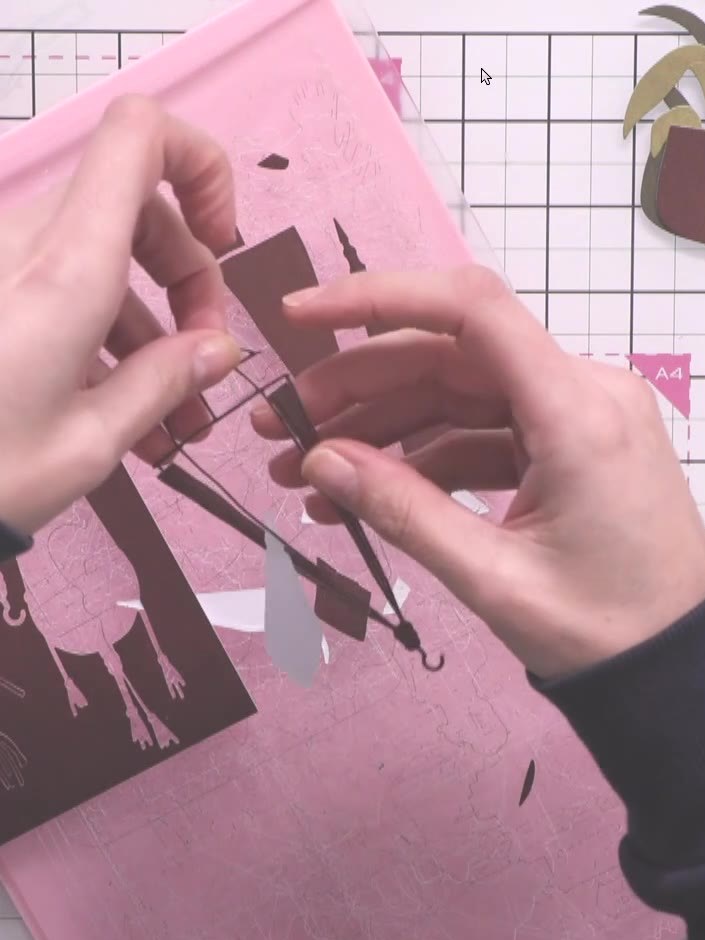
  2. Step 2: Carefully pop out all the small pieces from the brown basket die-cut, including the tassels and decorative ele

    Carefully pop out all the small pieces from the brown basket die-cut, including the tassels and decorative elements. Remove each piece gently to avoid tearing the cardstock.

    ▶ diesen Schritt ansehen (1:22:30)
  3. Cut three layered pot pieces from the die set in different shades of green cardstock. Use the pot shapes to create dimension for your hanging basket design. ▶ watch 1:23:30
  4. Glue the three pot layers together in order, starting with the brown pot base, then the gold/tan middle layer, and finally the darker brown top piece. Layer them to create dimension, ensuring each piece is aligned and securely adhered. ▶ watch 1:24:00
  5. Step 5: Position the layered pot element inside the macramé basket opening, placing it centrally so it sits within the

    Position the layered pot element inside the macramé basket opening, placing it centrally so it sits within the wire basket frame.

    ▶ diesen Schritt ansehen (1:24:30)
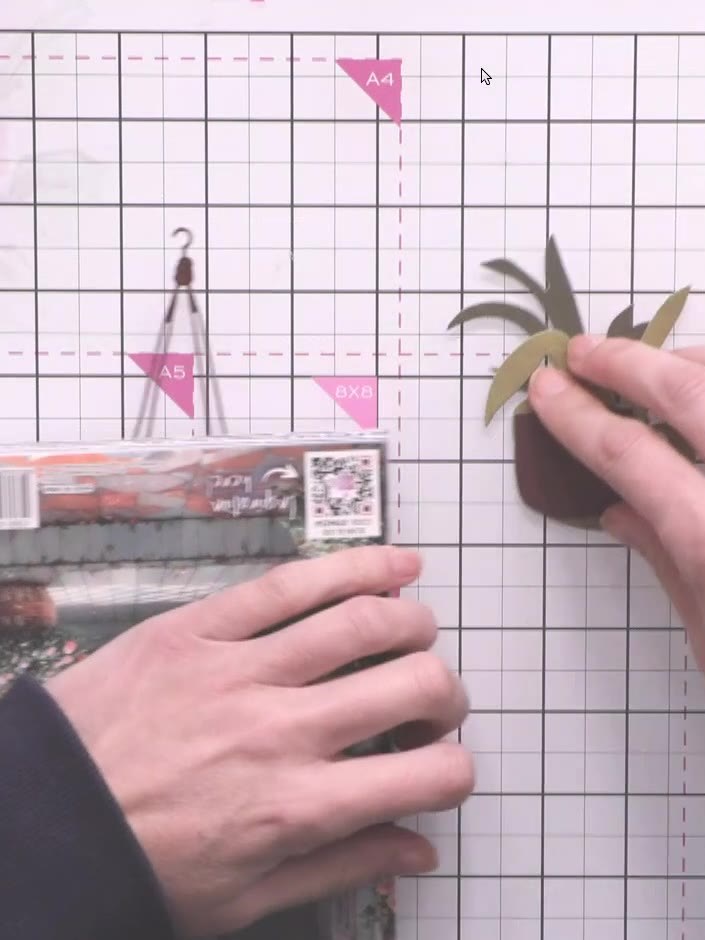
  6. Step 6: Manipulate the die-cut basket and plant pieces to add dimension. Gently bend and curve some of the leaves and

    Manipulate the die-cut basket and plant pieces to add dimension. Gently bend and curve some of the leaves and stems whilst keeping others straight to create a natural, layered appearance.

    ▶ diesen Schritt ansehen (1:25:00)
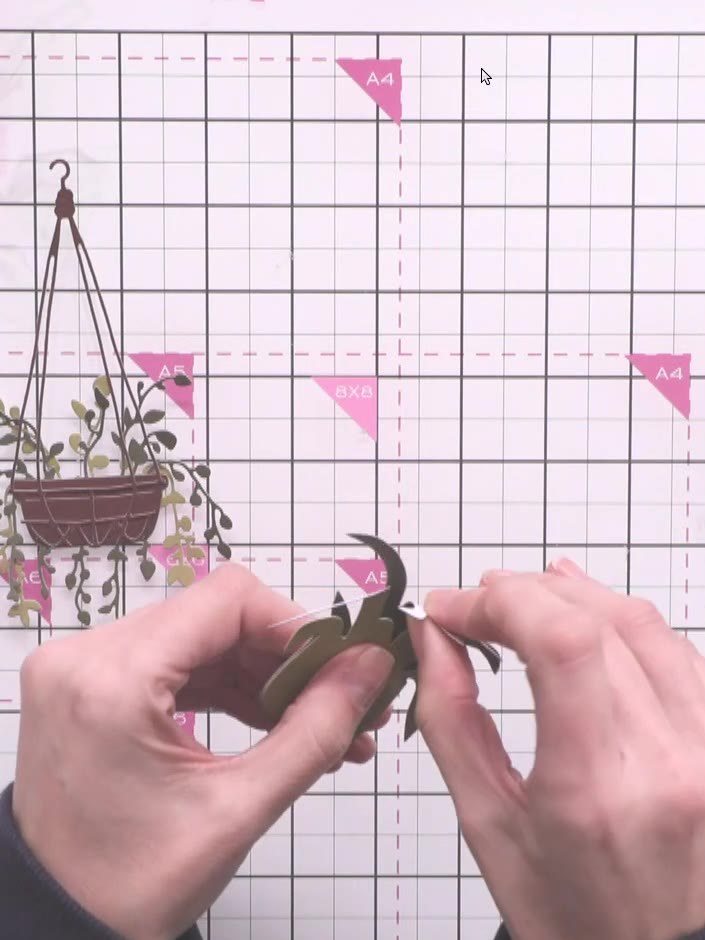
  7. Glue the complete macramé hanging basket assembly onto your white card base. Position it centrally on the card, ensuring all the layered elements are secure. ▶ watch 1:25:30
  8. Step 8: Add small floral filler pieces around the brown pot inside the hanging basket. Tuck the stems in around the po

    Add small floral filler pieces around the brown pot inside the hanging basket. Tuck the stems in around the pot to create a full, voluptuous arrangement.

    ▶ diesen Schritt ansehen (1:26:00)

Tipps aus der Show

Mehr aus dieser Show

Direkt aus der Show aufgeschrieben. Alle Anleitungen aus unseren Shows ansehen · kostenlose Anleitungen · live auf My Telly ansehen







