Schenke deinen Freundinnen und Freunden 10 € Rabatt auf ihre erste Bestellung!
Freunde WERBEN








Ein Projekt aus unserer Live-Show MARKEN-SHOWCASE - ISOBEL CRAFT - Sei dabei bei diesem beliebten Event, bei dem die KLEINEN Marken ganz GROSS rauskommen - Ausgestrahlt am 20. JAN. 23 · 20.01.2023 · ab 17:30 ansehen
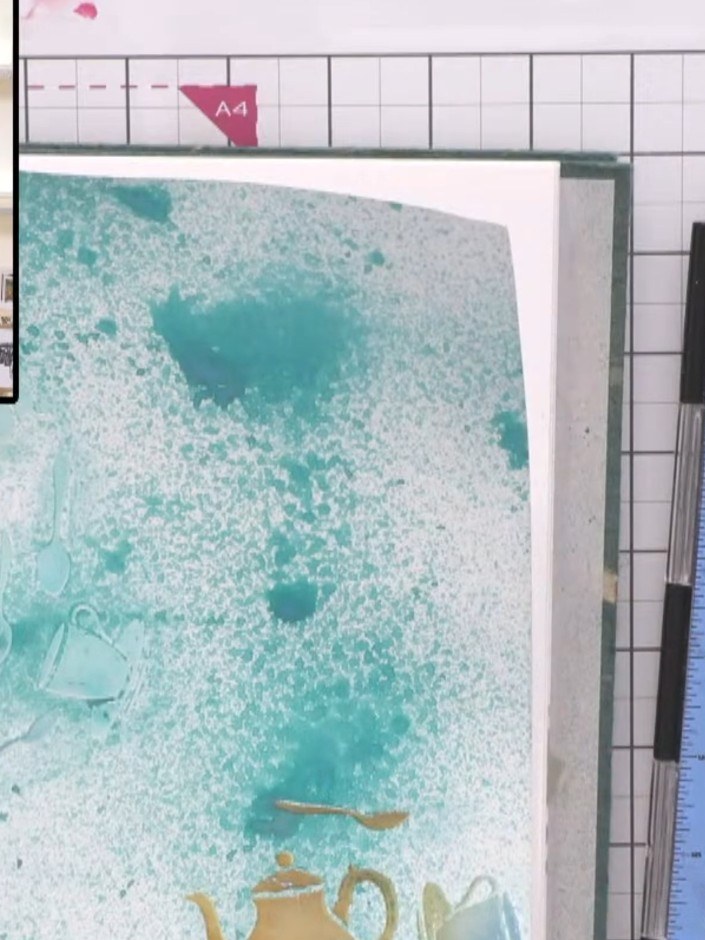
Create a beautiful ombré background featuring teapots and teacups in soft blues and golds. This mixed media technique combines distress inks, gel medium, and spray inks to produce a vintage, layered effect with subtle colour transitions. The wiping-back method reveals the blended colours beneath, perfect for adding depth and interest to your papercraft projects.
DIESE ANLEITUNG HERUNTERLADEN (PDF)
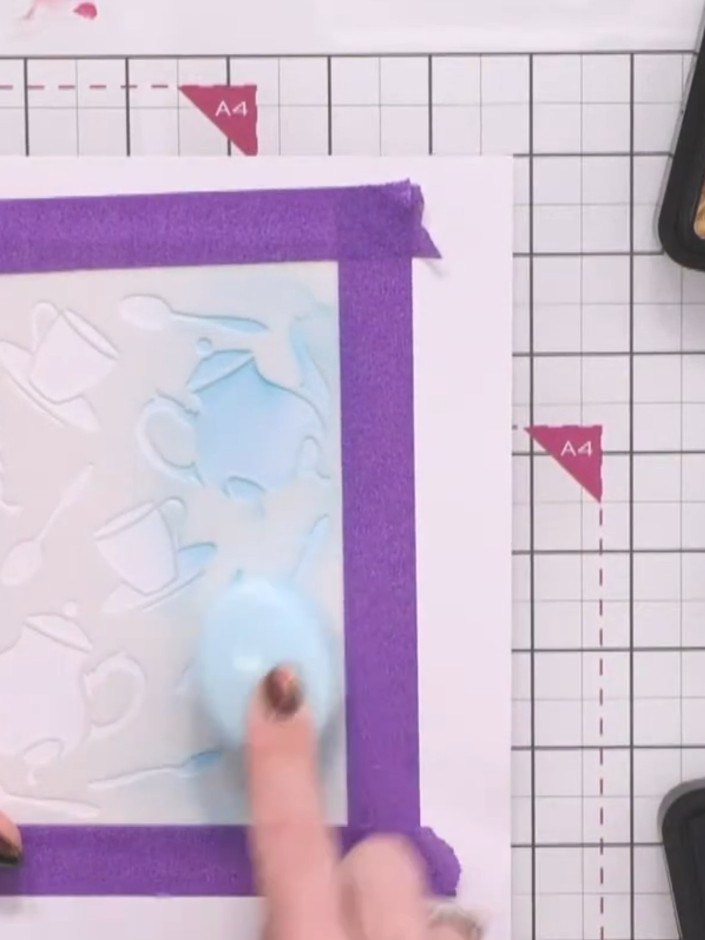
Apply Distress Ink in Peacock Feathers, Faded Jeans and Vintage Photo across your white embossed cardstock. Start with the paler blue (Faded Jeans) on the right side, blending the colours to create an ombré effect.
▶ diesen Schritt ansehen (20:00)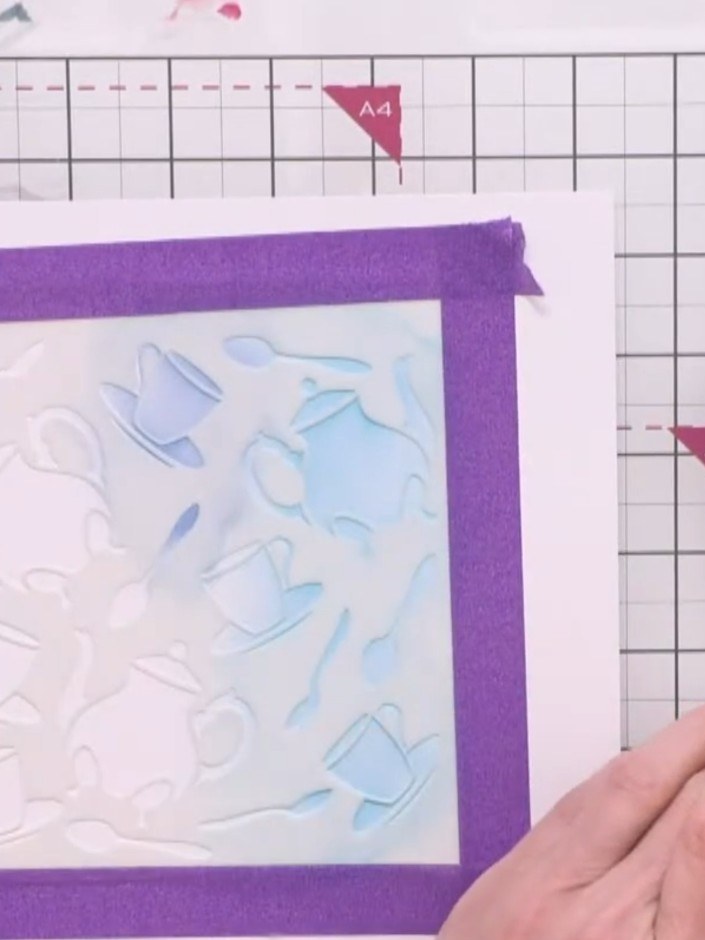
Apply Faded Jeans Distress Ink over the right-hand side of the embossed panel, overlapping with the Peacock Feathers to create a blended ombré effect.
▶ diesen Schritt ansehen (20:15)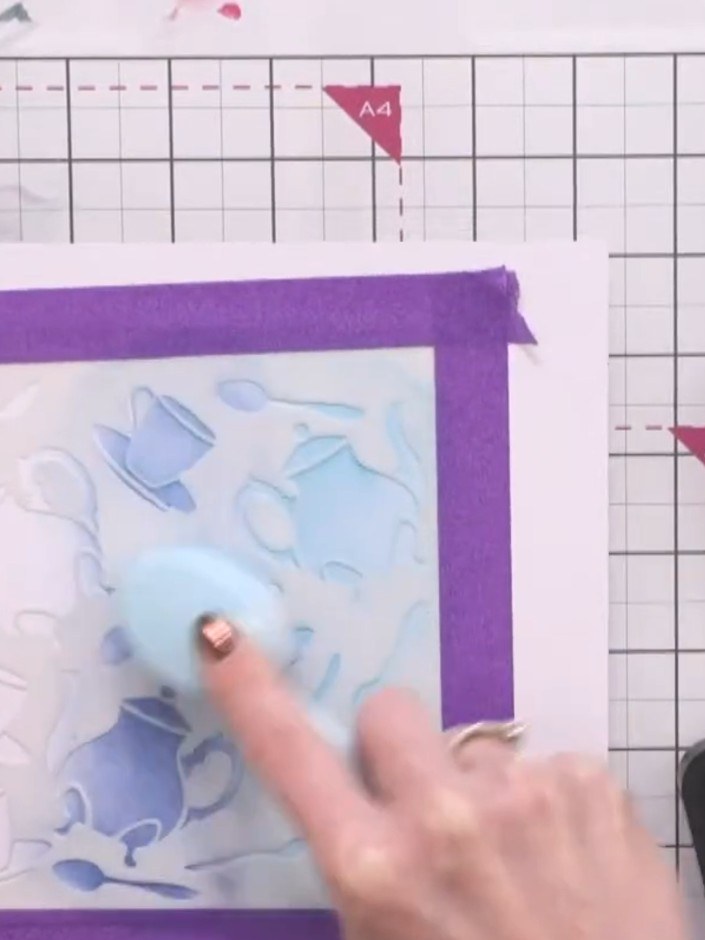
Apply vintage photo or brown Distress Ink over the blue areas to create the final darker layer of the ombré effect. Blend the ink to complete the smooth colour transition from light to dark.
▶ diesen Schritt ansehen (20:30)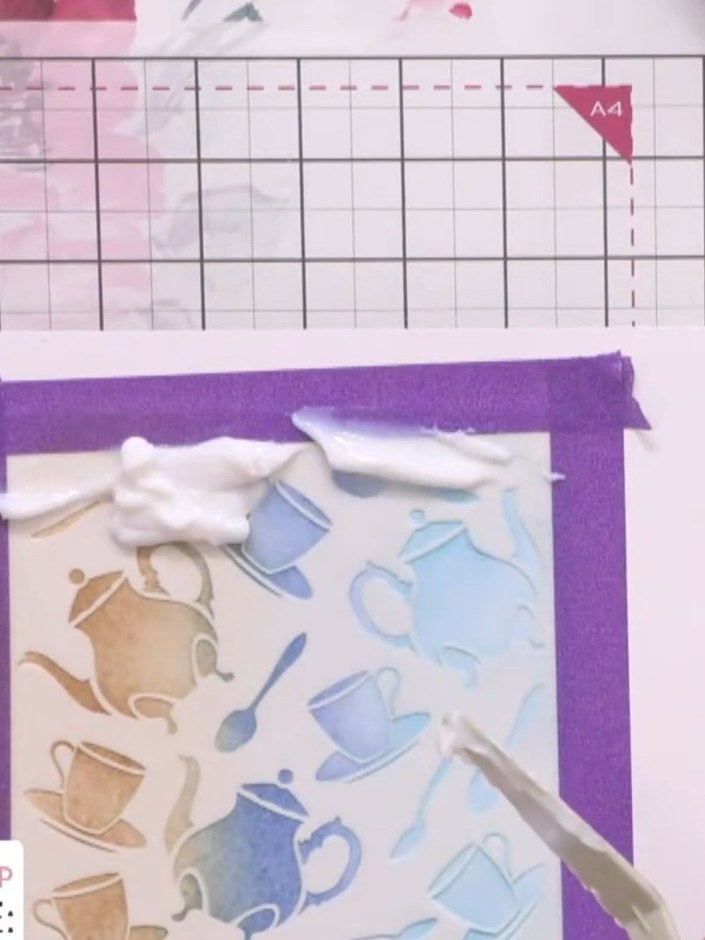
Apply Pentel heavy gel medium (glossy) over the dried ink using a stencil. Work the gel medium through the stencil pattern to lock in the colours beneath.
▶ diesen Schritt ansehen (22:00)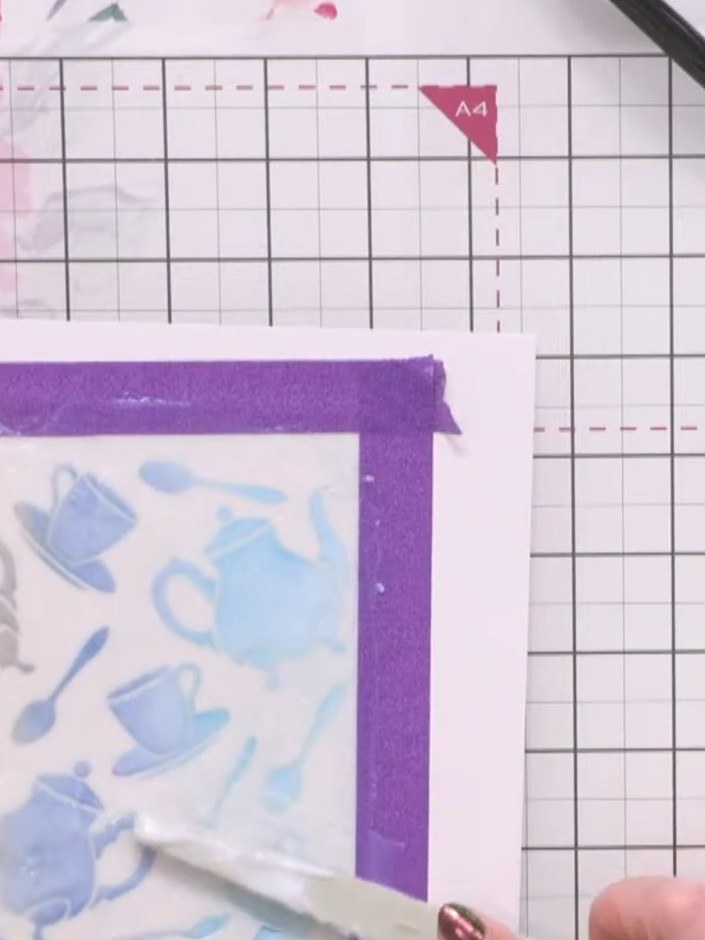
Once the gel medium is completely dry, spray your chosen Distress Oxide ink colour over the entire piece, covering both the stencilled design and the purple border.
▶ diesen Schritt ansehen (23:00)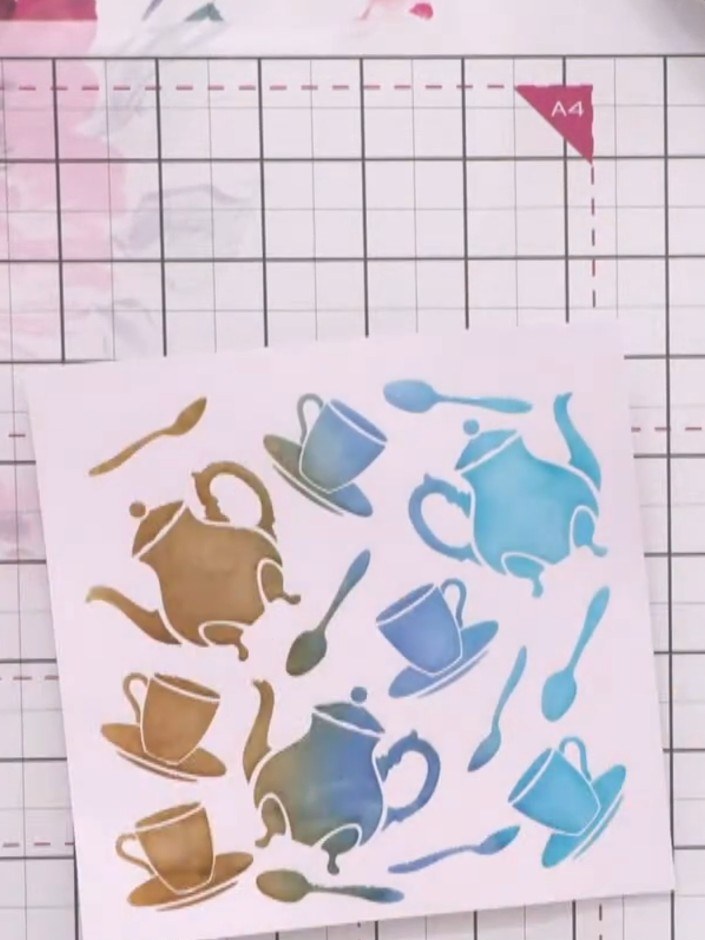
Use a damp cloth to gently rub off the sprayed ink from the raised stencil areas, revealing the coloured ombré background beneath. Work carefully to remove the ink only from the teapot and teacup images whilst leaving the background intact.
▶ diesen Schritt ansehen (24:30)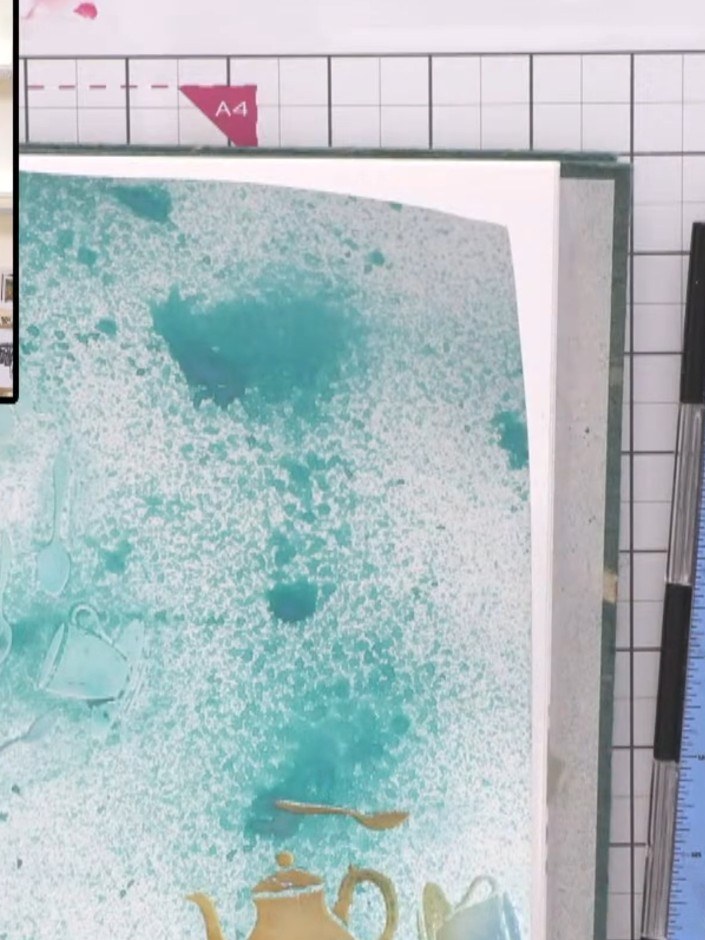
Allow the background to dry completely. Once dry, the gel medium and spray inks will have merged together to create a beautiful blended ombré effect with the stencilled tea party motifs visible throughout.
▶ diesen Schritt ansehen (25:00)Direkt aus der Show aufgeschrieben. Alle Anleitungen aus unseren Shows ansehen · kostenlose Anleitungen · live auf My Telly ansehen