SCHNELLLINKS

info@howtocraftnetwork.com
Wir sind jetzt noch smarter – shoppen und zuschauen mit der SBM-AppHOL DIR DIE APPSchau uns live auf deinem Smart-TVSO GEHT'SEntdecke unseren eigenen IPTV-Sender – geh auf my-telly.comANSEHENSammle bei jeder Bestellung TreuepunkteMEHR ERFAHREN
Willkommen beim How to Craft Network
 
SBM SHOP
FOLGE UNS
SCHENK DEINEN FREUNDEN 10 € RABATT FREUNDE WERBEN › ENTDECKEN MY-TELLY.COM › WIR SIND JETZT NOCH SMARTER HOL DIR DIE APP › PREISGEKRÖNTER SENDER AUF DEINEM FERNSEHER › TRITT DEM CLUB BEI ZU DEN ANGEBOTEN ›
 

Steampunk Distress Ink Layered Background

Ein Projekt aus unserer Live-Show MARKEN-SHOWCASE - ISOBEL CRAFT - Sei dabei bei diesem beliebten Event, bei dem die KLEINEN Marken ganz GROSS rauskommen - Ausgestrahlt am 20. JAN. 23 · 20.01.2023 · ab 44:45 ansehen
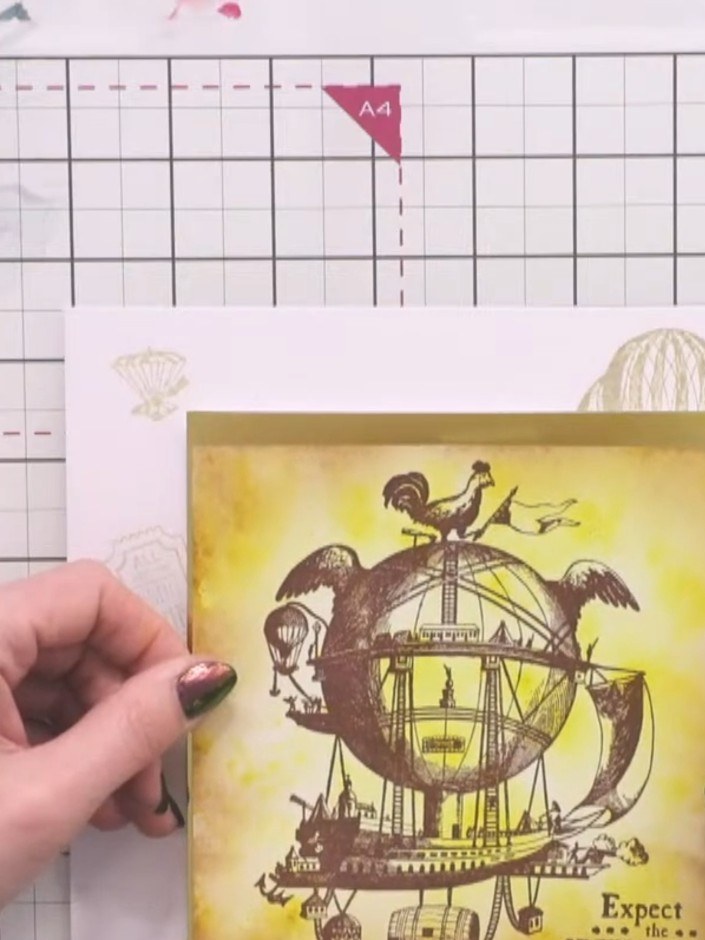
Steampunk Distress Ink Layered Background - the finished project
Das fertige Projekt

Create a stunning vintage steampunk background featuring a fantastical airship design with warm yellow and antique tones. Using distress inks in antique linen and coordinating colours, you'll build up layers to achieve an aged, industrial aesthetic. This technique produces a beautifully faded background perfect for steampunk-themed cards and crafts.

DIESE ANLEITUNG HERUNTERLADEN (PDF)
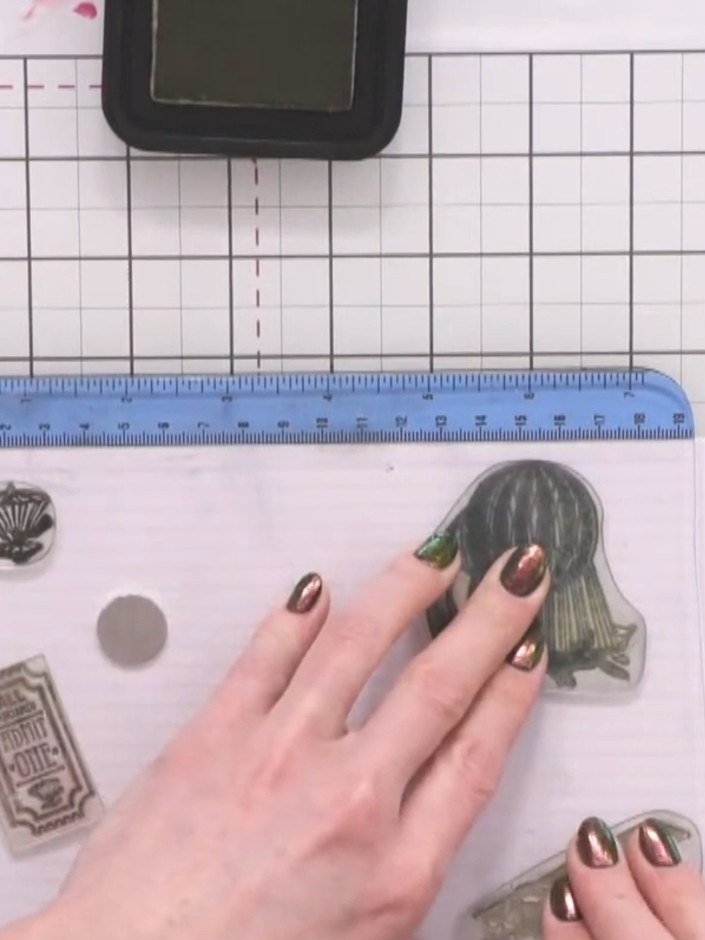
Schritt für Schritt

  1. Step 1: Apply a very pale antique linen distress ink across your white cardstock using a stamp platform, building up t

    Apply a very pale antique linen distress ink across your white cardstock using a stamp platform, building up the colour gradually with light layers.

    ▶ diesen Schritt ansehen (44:45)
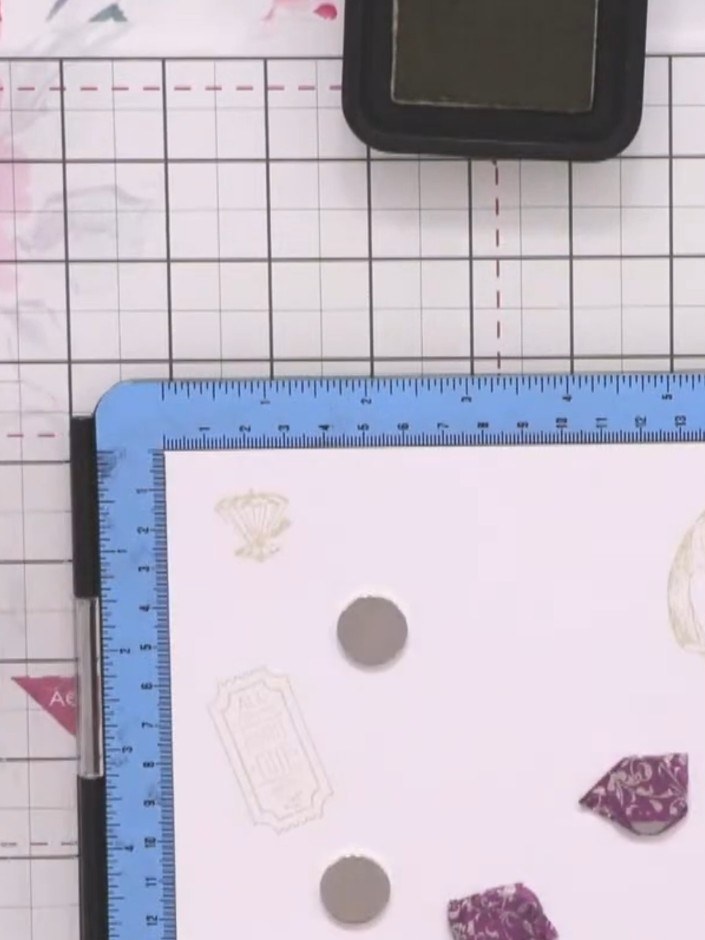
  2. Using the same pale gold ink, stamp the steampunk images multiple times across the white background. Vary the placement to create a layered, faded effect with the images overlapping. ▶ watch 45:15
  3. Step 3: Allow the ink to dry between applications to build up the vintage, aged appearance. Continue stamping and laye

    Allow the ink to dry between applications to build up the vintage, aged appearance. Continue stamping and layering the steampunk images across the white cardstock, varying the ink colours and stamp positions to create depth and interest.

    ▶ diesen Schritt ansehen (45:45)
  4. Layer your steampunk images and sentiments on top of the prepared background card. Position the die-cut elements and stamped pieces to create your desired composition, building up the layers for dimension. ▶ watch 46:30

Tipps aus der Show

Mehr aus dieser Show

Direkt aus der Show aufgeschrieben. Alle Anleitungen aus unseren Shows ansehen · kostenlose Anleitungen · live auf My Telly ansehen







