Schenke deinen Freundinnen und Freunden 10 € Rabatt auf ihre erste Bestellung!
Freunde WERBEN








Ein Projekt aus unserer Live-Show WEIHNACHTS-WORKSHOP - Bastel mit Toni ihr KOSTENLOSES Projekt ganz entspannt in Studio 3 - Ausstrahlung 7. Dez. 22 · 07.12.2022 · ab 42:00 ansehen
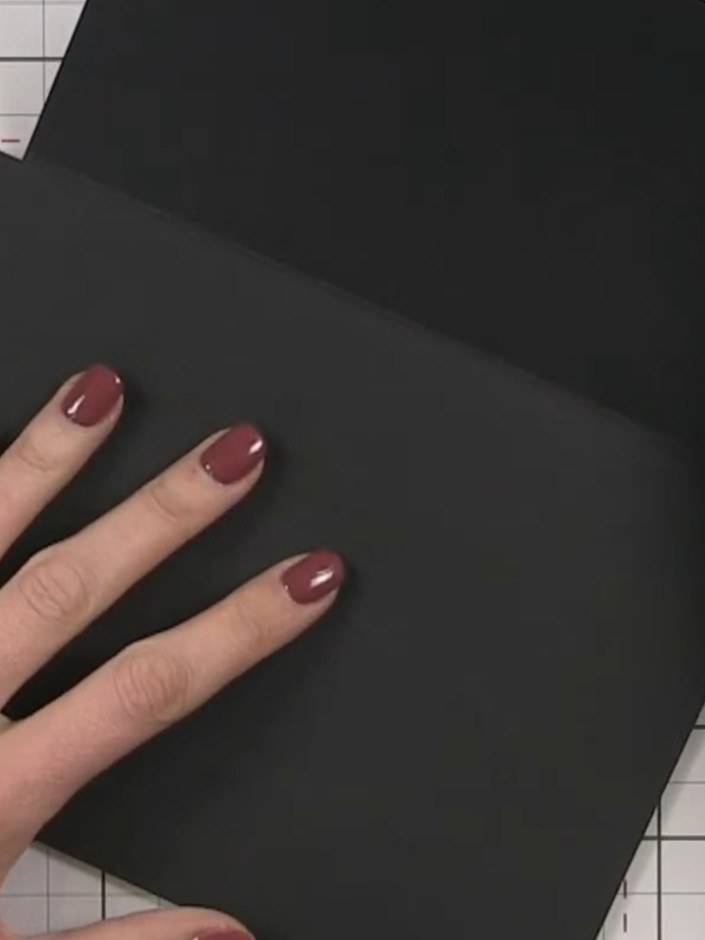
Create an interactive scrapbook page featuring a top-fold pocket design in elegant black cardstock. This project demonstrates how to construct a hinged pocket that folds down from the top, creating a hidden compartment perfect for concealing photos, journaling cards, or decorative embellishments. The technique adds dimension and surprise elements to your memory keeping pages.
DIESE ANLEITUNG HERUNTERLADEN (PDF)
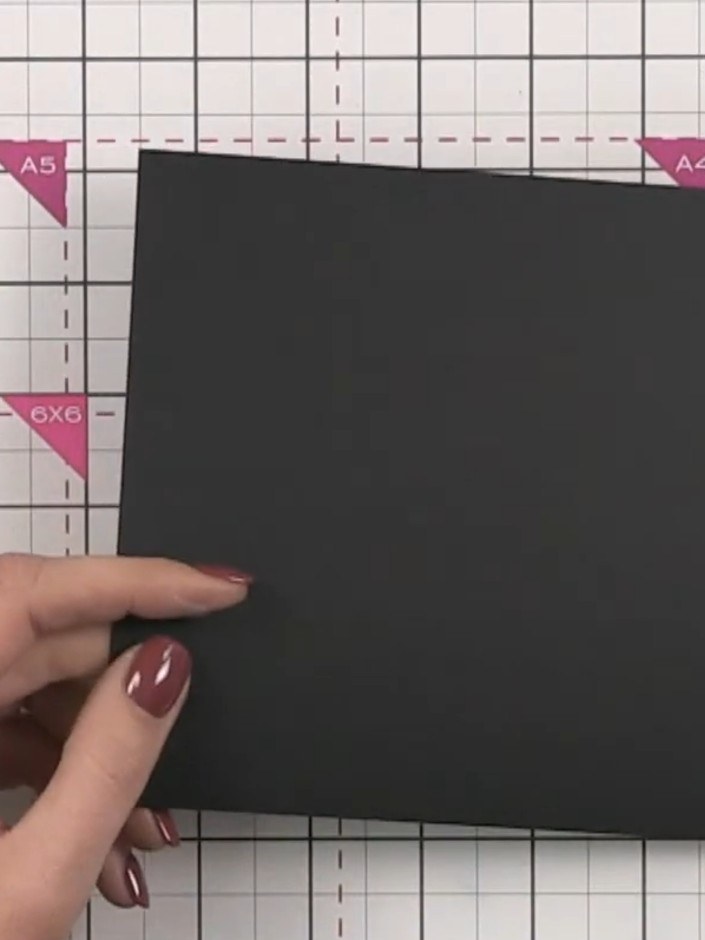
Take a piece of black cardstock measuring 14 cm wide by 17.8 cm tall (5.5 inches by 7 inches). Place it on your scoreboard with the 14 cm edge along the top.
▶ diesen Schritt ansehen (42:15)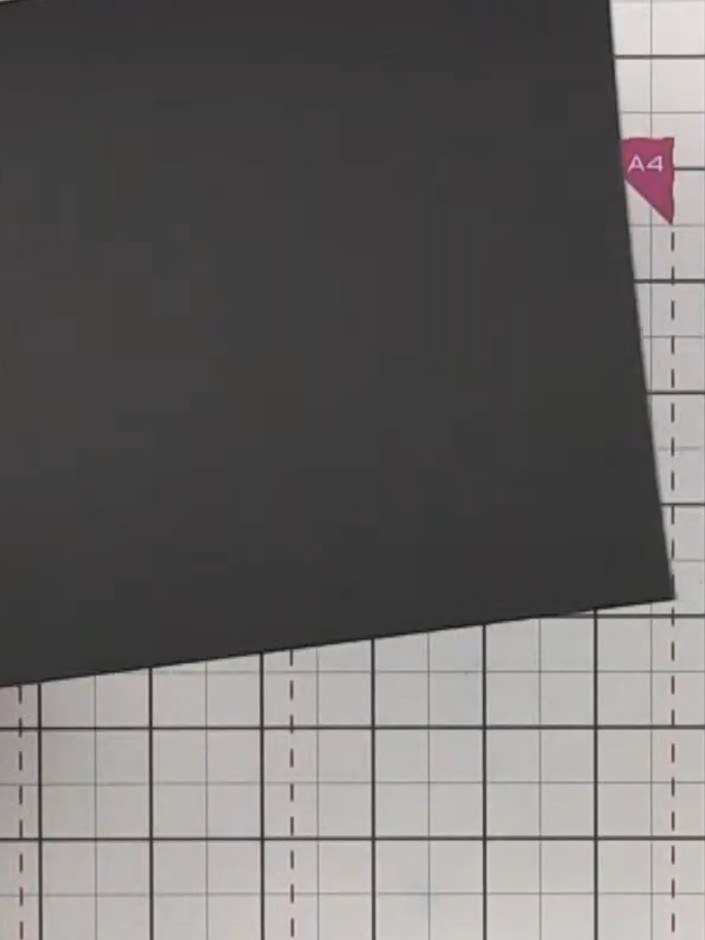
Score a horizontal line 1.5 inches (approximately 3.8 cm) down from the top edge of your black cardstock to create the fold line for the pocket flap.
▶ diesen Schritt ansehen (42:30)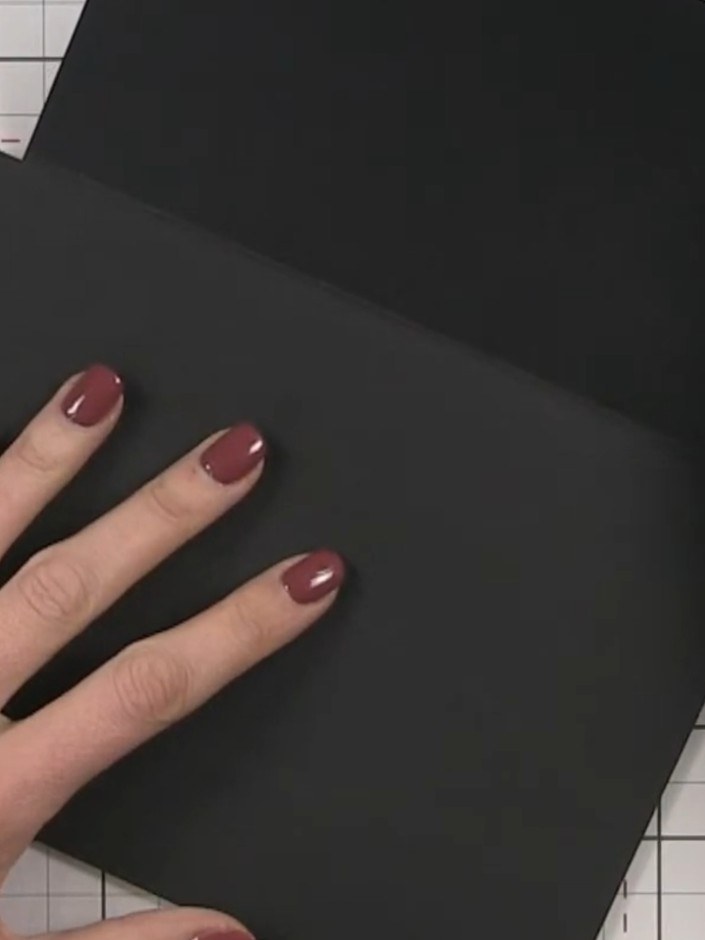
Fold the black card along the score line to create the pocket flap that opens downward.
▶ diesen Schritt ansehen (42:45)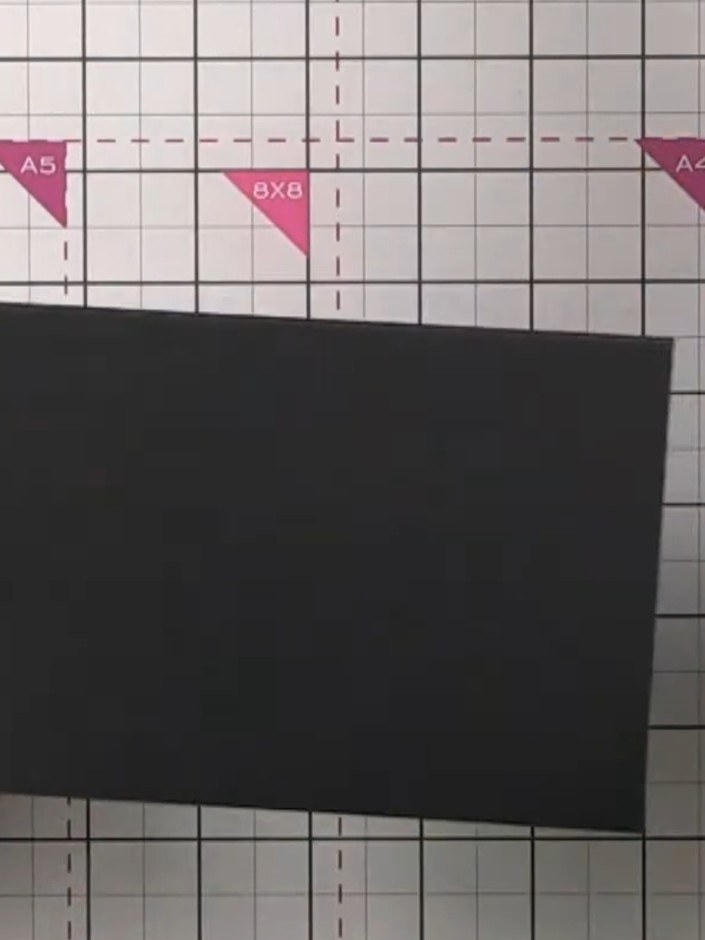
Position the folded flap onto the top of another black page. Ensure you stay slightly below the score line when adhering.
▶ diesen Schritt ansehen (43:00)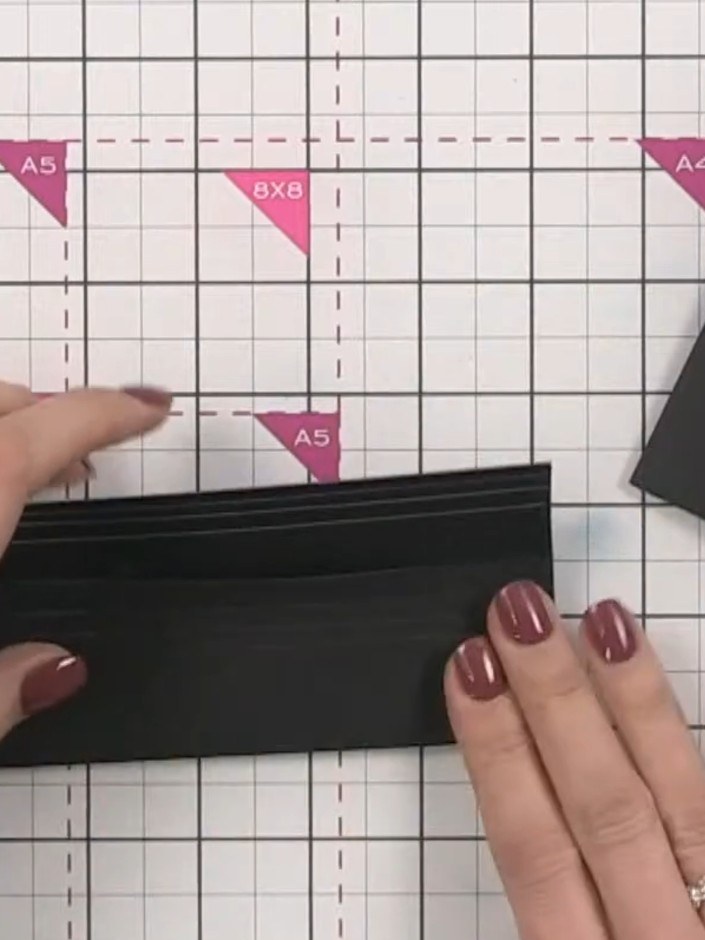
Place the completed pocket page into your album. The pocket opens from the top, allowing you to tuck photos, journaling cards, or other embellishments inside for interactive hidden content.
▶ diesen Schritt ansehen (43:30)Direkt aus der Show aufgeschrieben. Alle Anleitungen aus unseren Shows ansehen · kostenlose Anleitungen · live auf My Telly ansehen