Schenke deinen Freundinnen und Freunden 10 € Rabatt auf ihre erste Bestellung!
Freunde WERBEN








Ein Projekt aus unserer Live-Show WEIHNACHTS-WORKSHOP - Bastel mit Toni ihr KOSTENLOSES Projekt ganz entspannt in Studio 3 - Ausstrahlung 7. Dez. 22 · 07.12.2022 · ab 56:30 ansehen
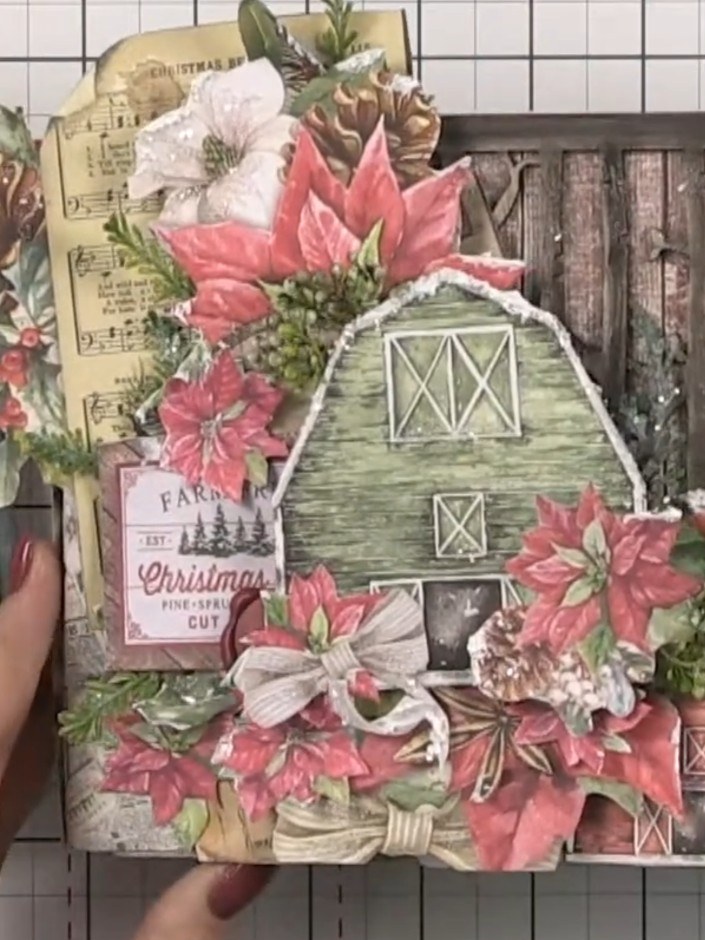
Create a stunning Christmas-themed album front cover featuring a festive farmhouse scene with poinsettias, pine cones, and vintage ephemera. This project uses layered patterned papers in warm reds, greens, and rustic neutrals to build a dimensional composition. The main techniques include fussy cutting decorative elements and using foam pads to add depth and visual interest to your design.
DIESE ANLEITUNG HERUNTERLADEN (PDF)
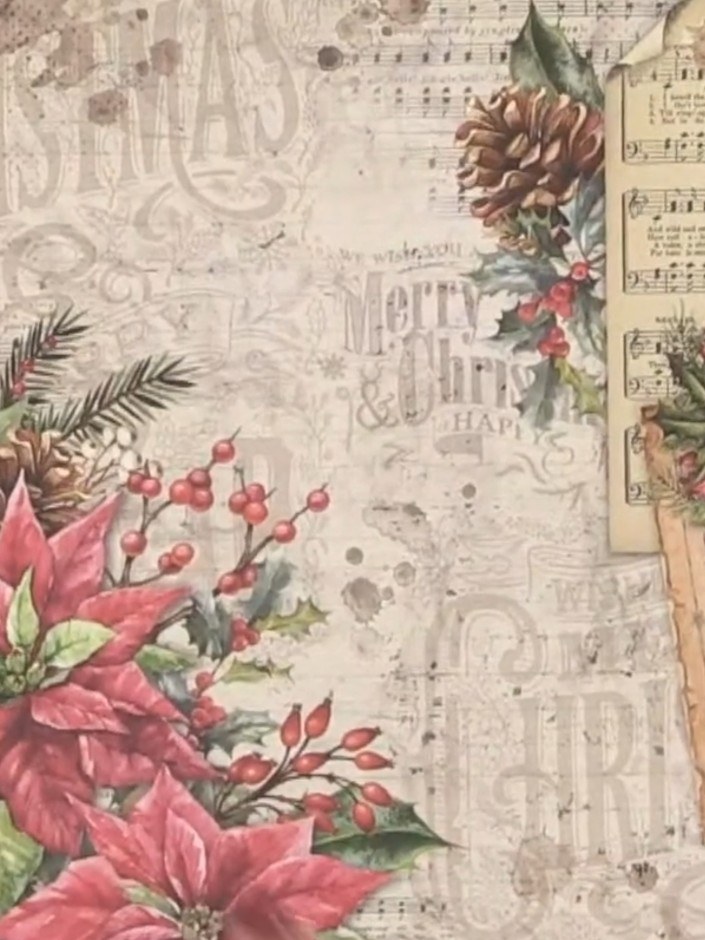
Select a 12 by 12 inch patterned paper from your Christmas collection to use as the base layer for the front cover. Choose a design featuring poinsettias, pine cones, berries and vintage ephemera elements on a neutral background.
▶ diesen Schritt ansehen (56:45)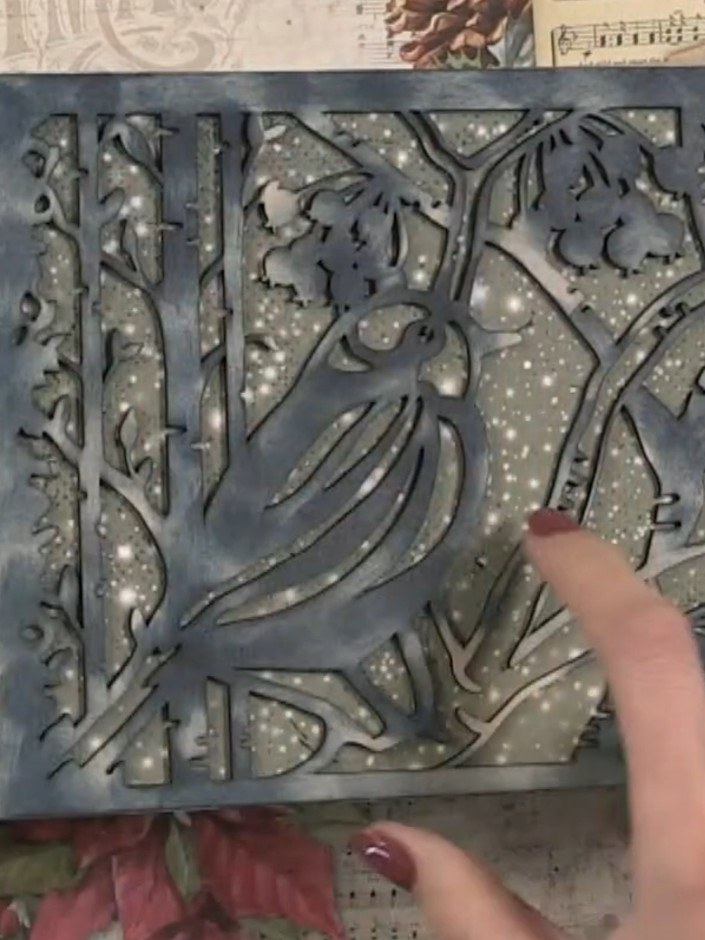
Place a decorative die-cut frame or stencil over the main design area of your paper. Use this as a guide to cut around the key design elements such as birds, trees, and floral motifs, creating a shaped panel with clean edges.
▶ diesen Schritt ansehen (57:15)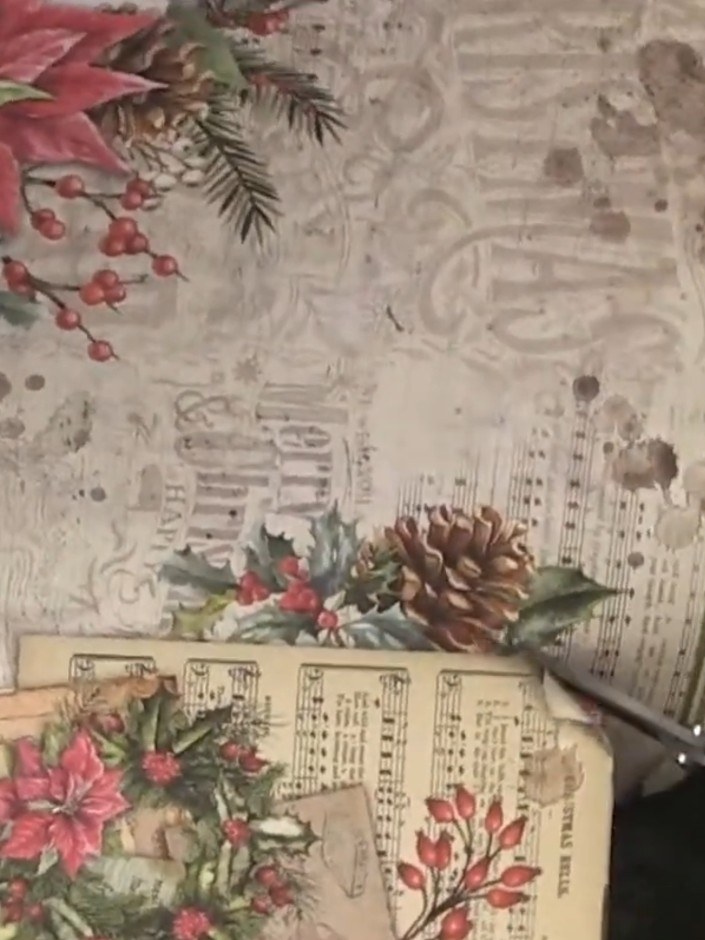
Position the cut decorative paper on the front cover of the album, adjusting the placement to frame the design nicely. Trim away any excess pieces if the paper is too large for your cover.
▶ diesen Schritt ansehen (58:00)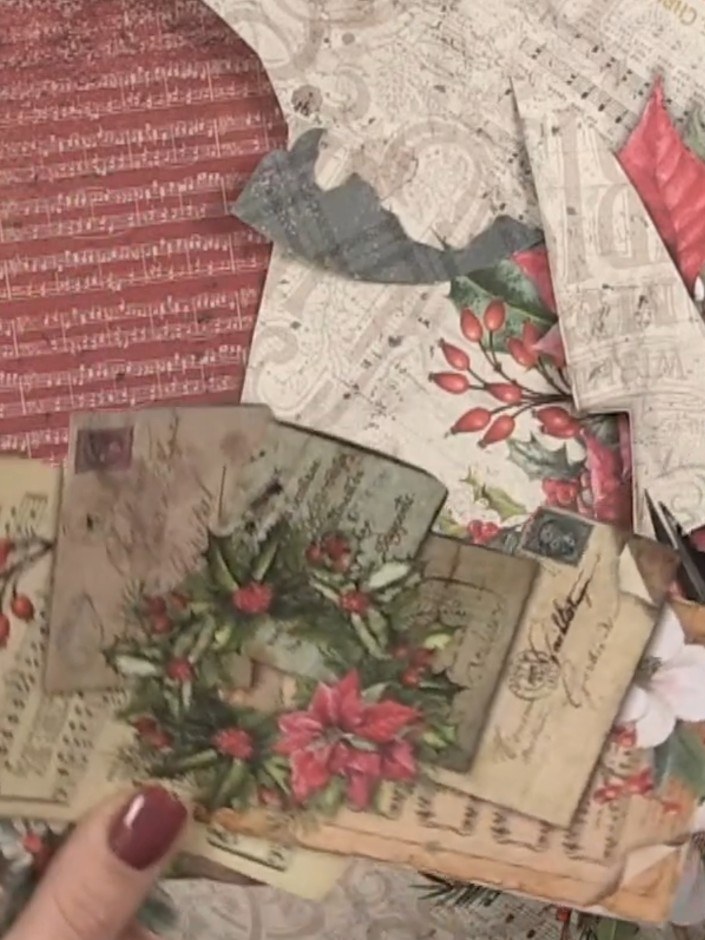
Apply adhesive to the back of the patterned paper layer featuring the poinsettias and greenery. Position and adhere it to the front cover of the album, layering it over the existing papers.
▶ diesen Schritt ansehen (59:00)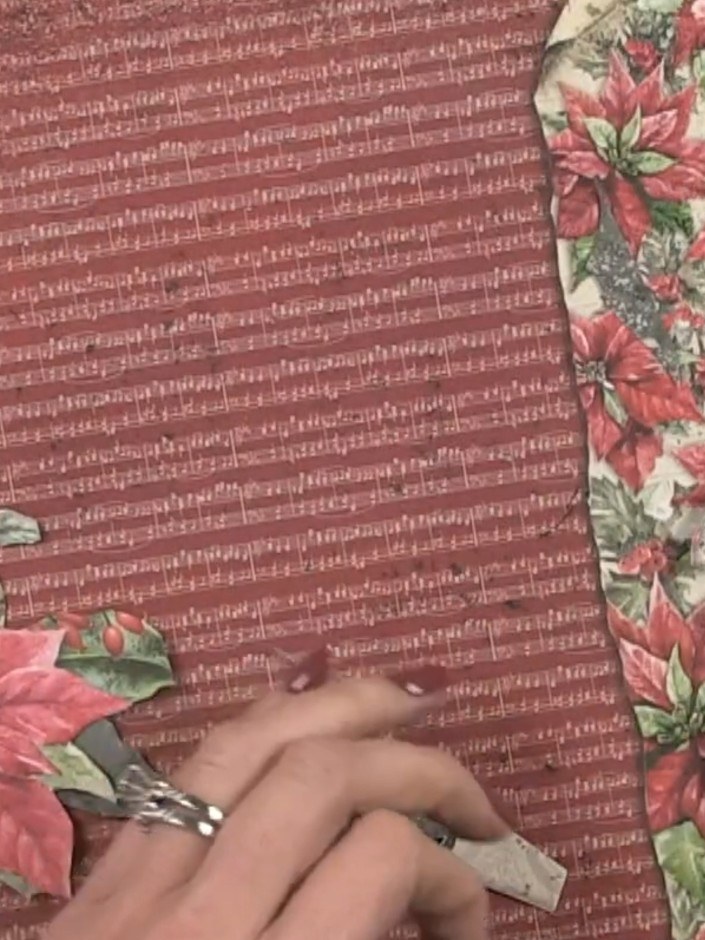
Cut additional embellishment pieces from the 8 by 8 papers, such as tags, toppers, and decorative elements featuring the poinsettia designs. Fussy cut around the floral motifs to create layered embellishments for your album cover.
▶ diesen Schritt ansehen (1:01:00)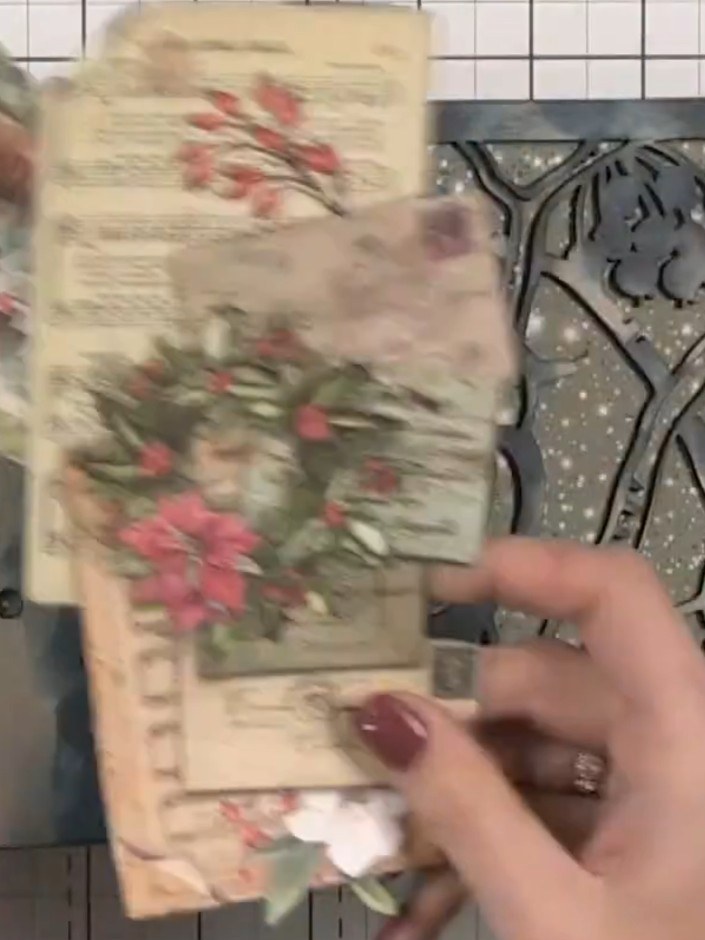
Layer embellishments onto the front cover using 3D foam pads to create dimension. Position decorative elements such as floral motifs and die-cut pieces, building up layers for a dimensional effect.
▶ diesen Schritt ansehen (1:02:00)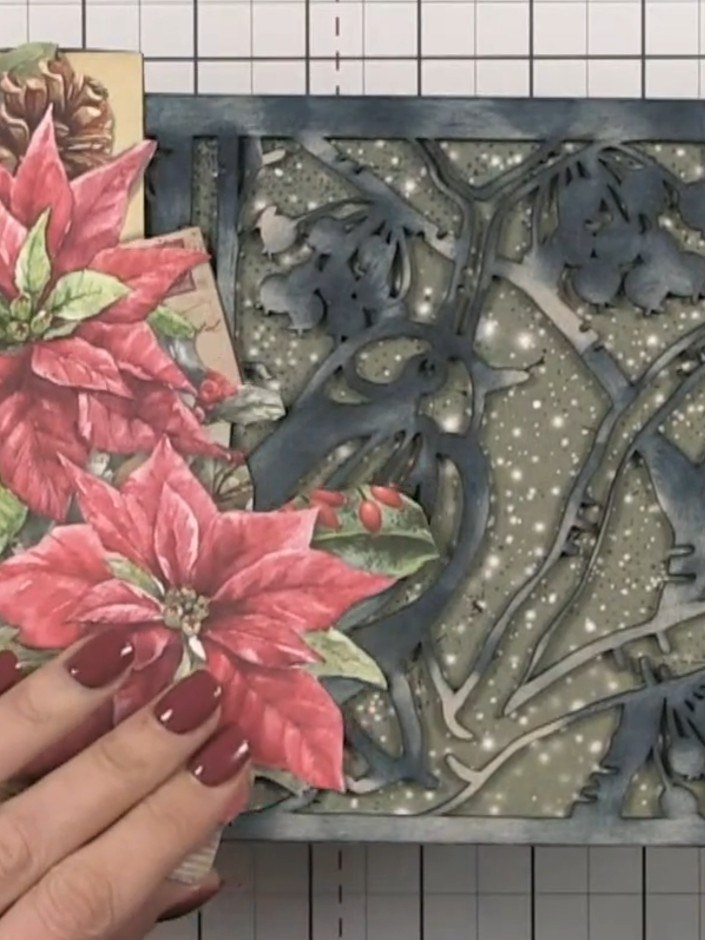
Arrange the poinsettia embellishments, pine cones, and floral elements on the album cover, layering them over the vintage papers and decorative frame. Position the pieces to create a balanced composition with visual flow from left to right.
▶ diesen Schritt ansehen (1:03:00)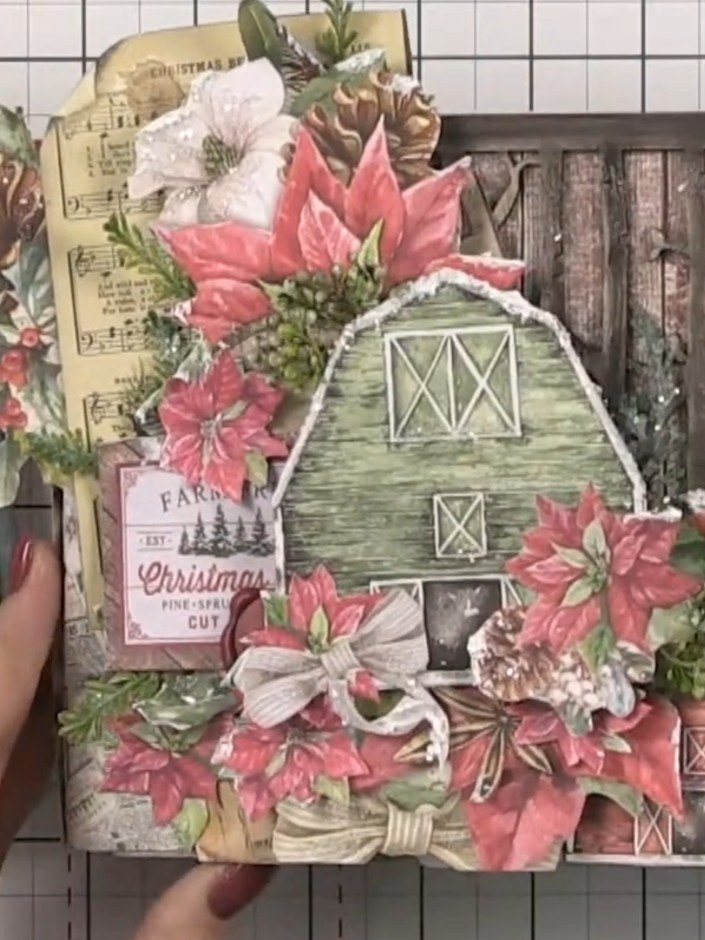
Glue all embellishments in place, layering the poinsettias, pine cones, music sheets, and decorative elements across both the left and right panels. Build up the layers to create depth and a finished, professional look, ensuring the barn centrepiece and wooden fence panel are fully embellished.
▶ diesen Schritt ansehen (1:04:00)Direkt aus der Show aufgeschrieben. Alle Anleitungen aus unseren Shows ansehen · kostenlose Anleitungen · live auf My Telly ansehen