Schenke deinen Freundinnen und Freunden 10 € Rabatt auf ihre erste Bestellung!
Freunde WERBEN








Ein Projekt aus unserer Live-Show CREATE AND CRAFT - NEU UND EXKLUSIV - Sei dabei, wenn Toni ihre neuesten Produkte und jede Menge Inspiration zeigt - Ausgestrahlt am 12. Okt. 22 · 12.10.2022 · ab 20:45 ansehen
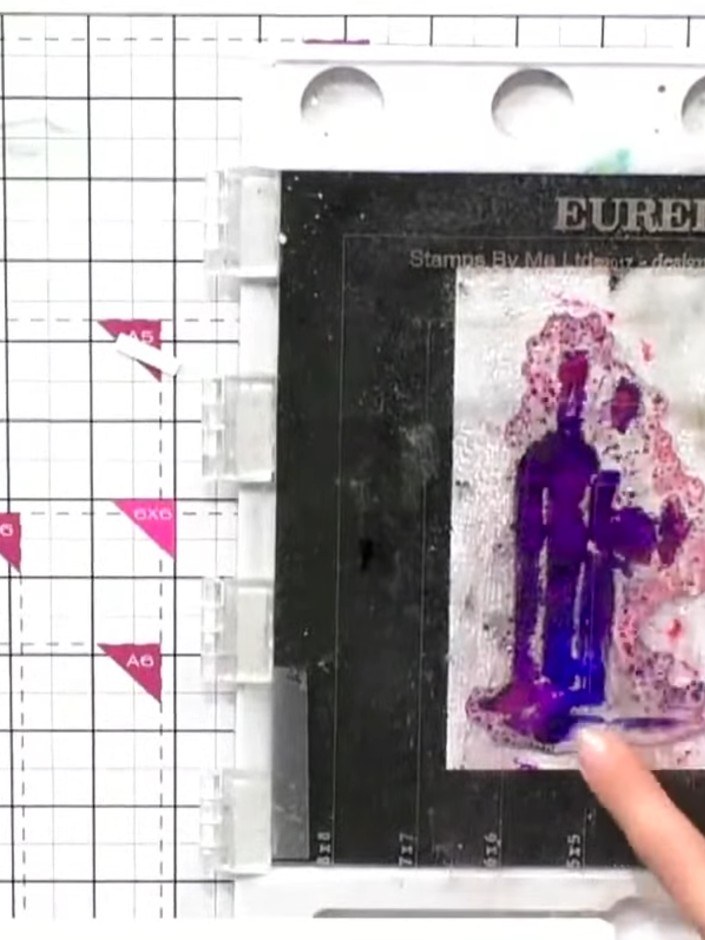
Create a beautiful watercolour-effect floral card using a two-part lamination stamp system. The solid portion adds vibrant colour splats in purple and pink tones whilst the outline stamp provides artistic detail, giving a hand-painted look without needing artistic skills. This elegant technique produces stunning cards with a professional watercolour finish.
DIESE ANLEITUNG HERUNTERLADEN (PDF)
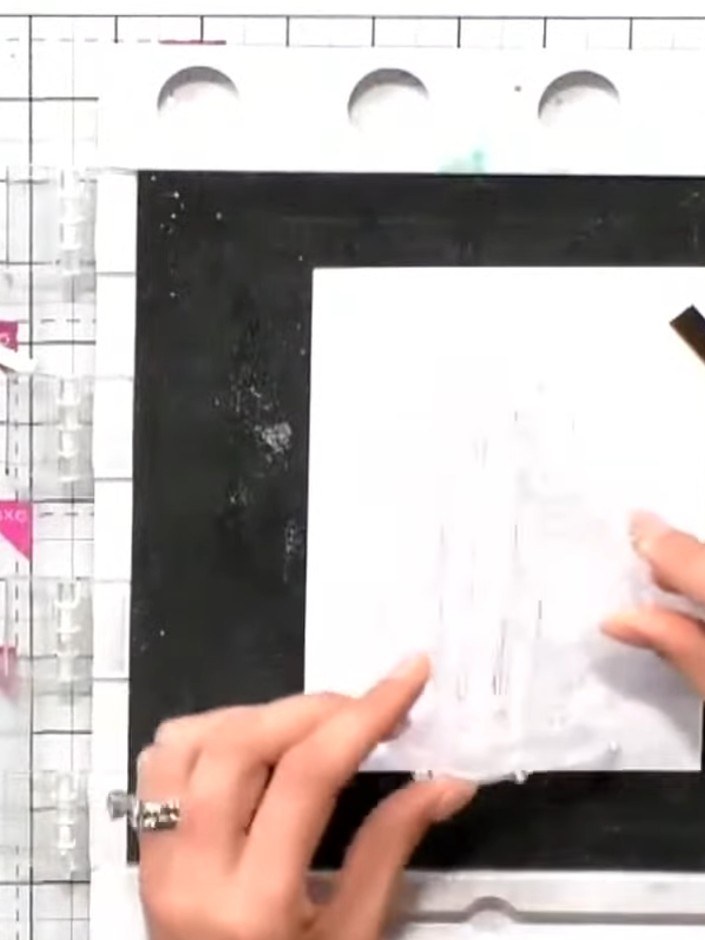
Stamp the solid portion of the floral design onto your white cardstock using your chosen ink pad. Position the stamp where you want the flower to appear on your card.
▶ diesen Schritt ansehen (20:45)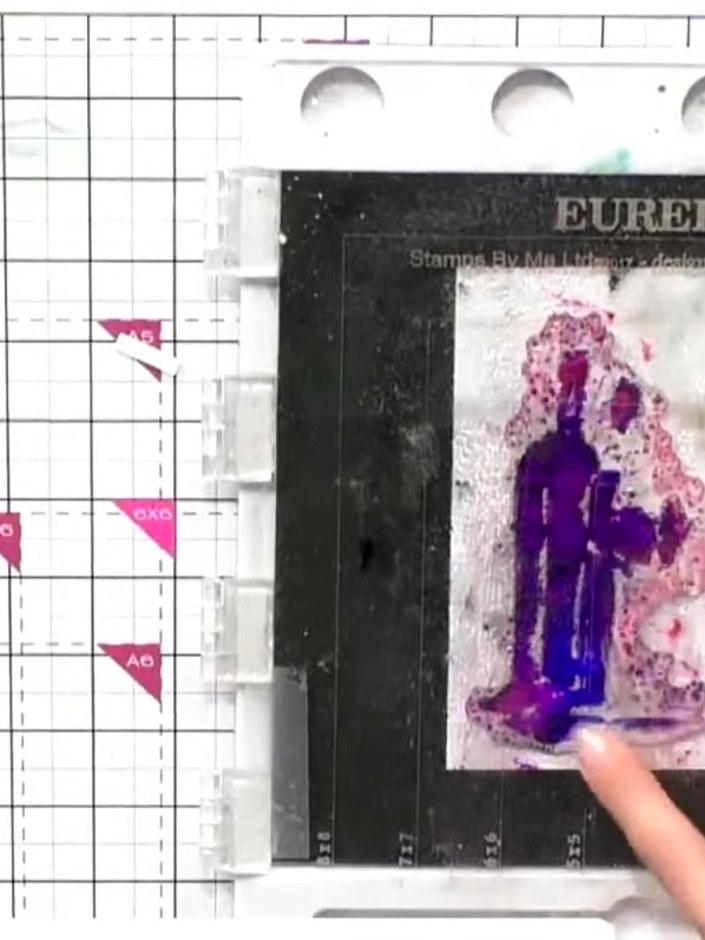
Add multiple ink pad colours sporadically across the stamped solid portion. Try purple, blue and pink for a watercolour effect, blending the colours together on the image.
▶ diesen Schritt ansehen (21:00)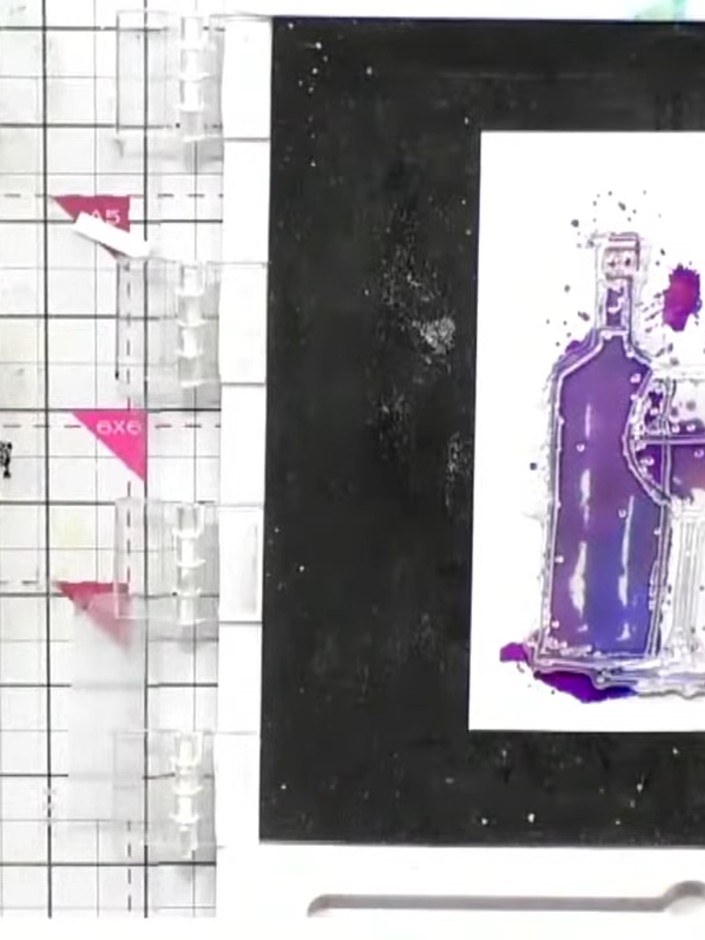
Spritz the inked stamp with water using a spray bottle to activate and blend the colours together on the stamp surface.
▶ diesen Schritt ansehen (21:15)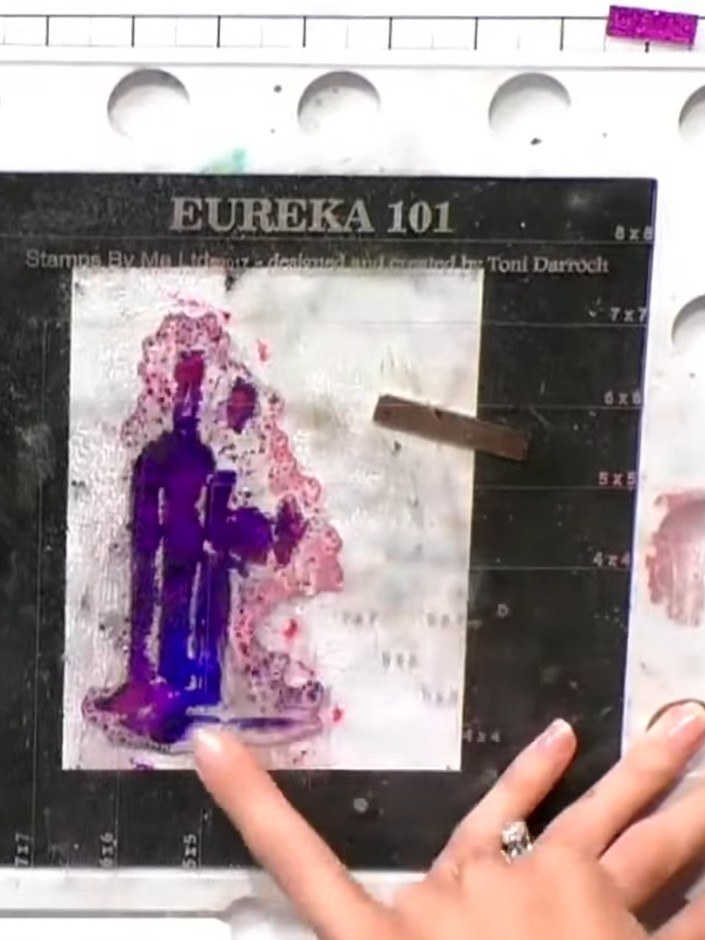
Press the stamp firmly onto the white cardstock and hold it down to transfer the blended watercolour effect. The purple and pink inks will create a beautiful watercolour floral impression.
▶ diesen Schritt ansehen (21:30)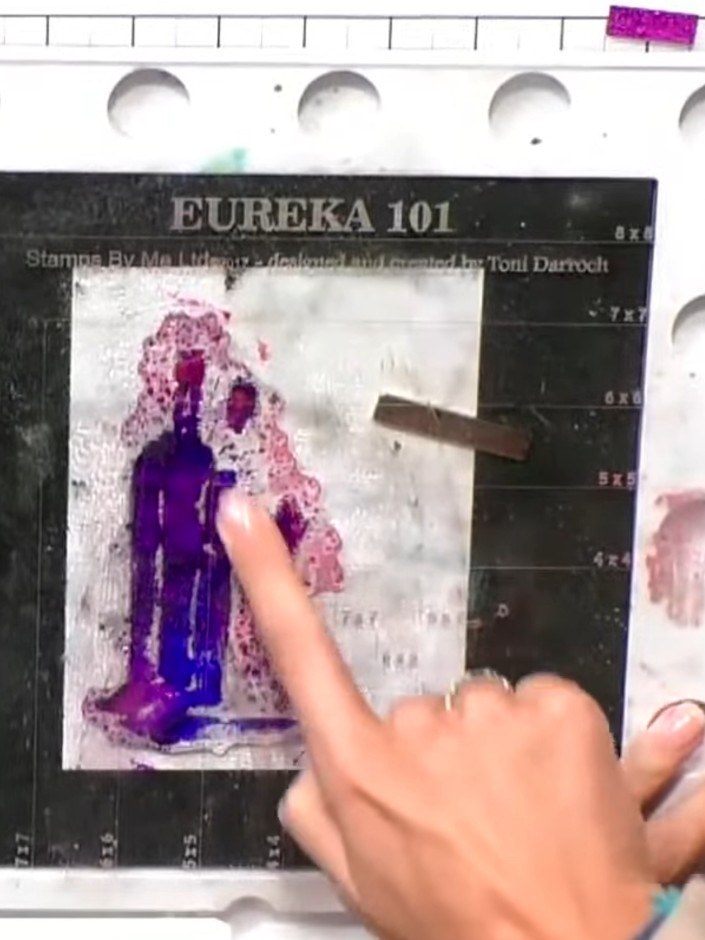
Once the watercolour is dry, line up the outline stamp from the Celebrate Bundle over the coloured image. Stamp the outline in black ink, allowing it to sit slightly loose over the design for an artistic, hand-painted effect.
▶ diesen Schritt ansehen (21:45)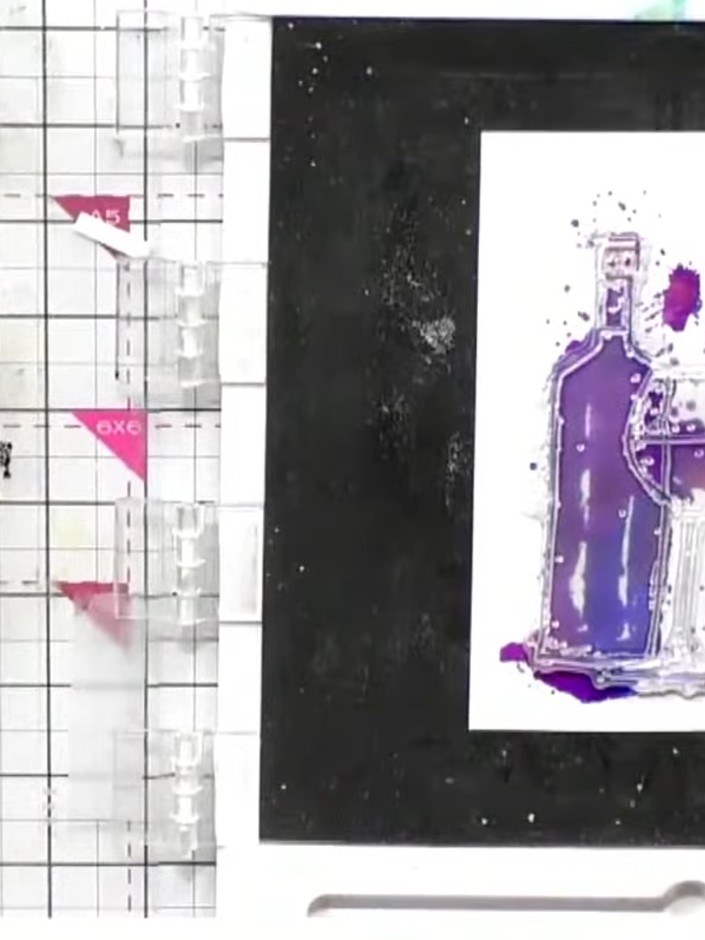
Stamp your chosen sentiment onto the white card panel to complete your design. Position the stamp carefully and press firmly for a clear impression.
▶ diesen Schritt ansehen (22:00)Direkt aus der Show aufgeschrieben. Alle Anleitungen aus unseren Shows ansehen · kostenlose Anleitungen · live auf My Telly ansehen