Schenke deinen Freundinnen und Freunden 10 € Rabatt auf ihre erste Bestellung!
Freunde WERBEN








Ein Projekt aus unserer Live-Show CREATE AND CRAFT - NEU UND EXKLUSIV - Sei dabei, wenn Toni ihre neuesten Produkte und jede Menge Inspiration zeigt - Ausgestrahlt am 12. Okt. 22 · 12.10.2022 · ab 5:00 ansehen
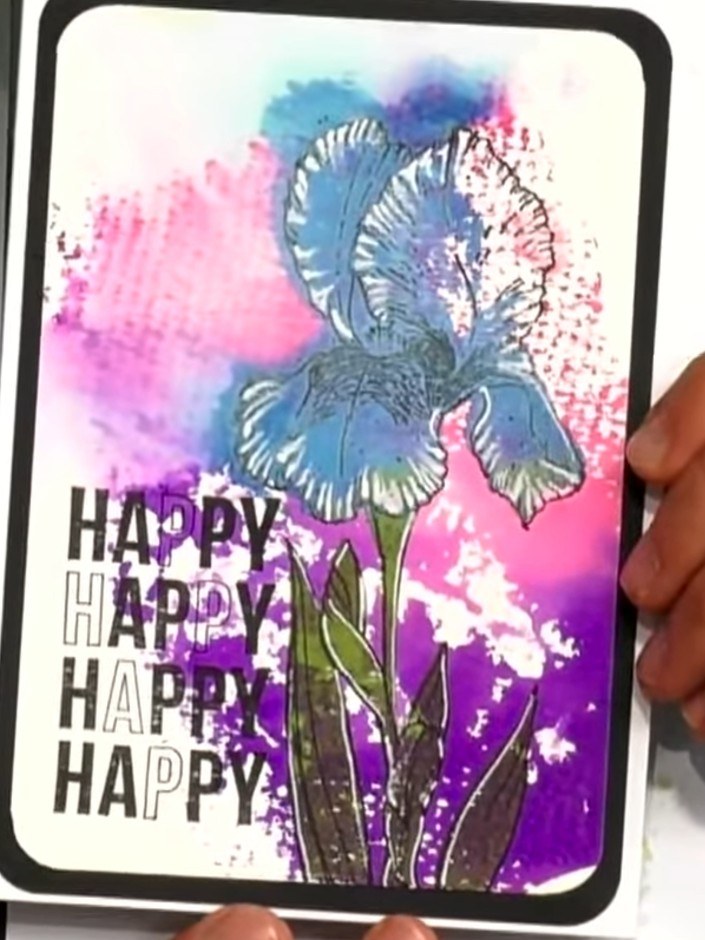
Create a quick and elegant slimline card using a single ink colour with lamination stamps. This project demonstrates how to achieve beautiful results with minimal colour variation, featuring delicate floral imagery with pink and purple tones, gold foil accents, and a 'Think Positive' sentiment. The technique showcases the versatility of stamping and how simple colour choices can create stunning, professional-looking cards.
DIESE ANLEITUNG HERUNTERLADEN (PDF)
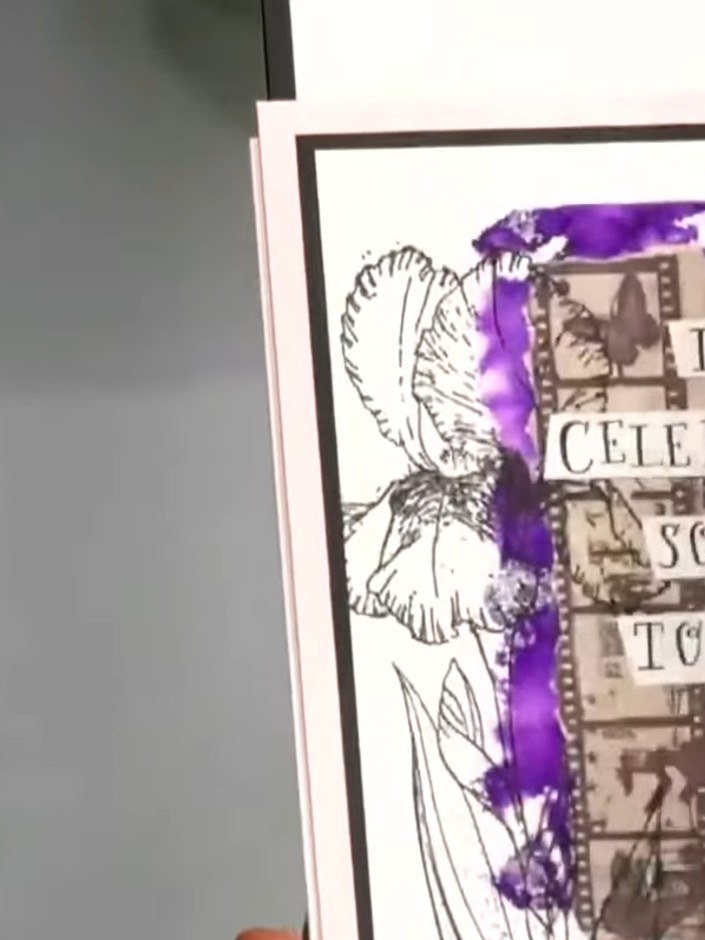
Stamp the solid portion of your chosen design onto slimline cardstock using a single purple ink pad. Position the stamp carefully to create the base image for your card.
▶ diesen Schritt ansehen (5:00)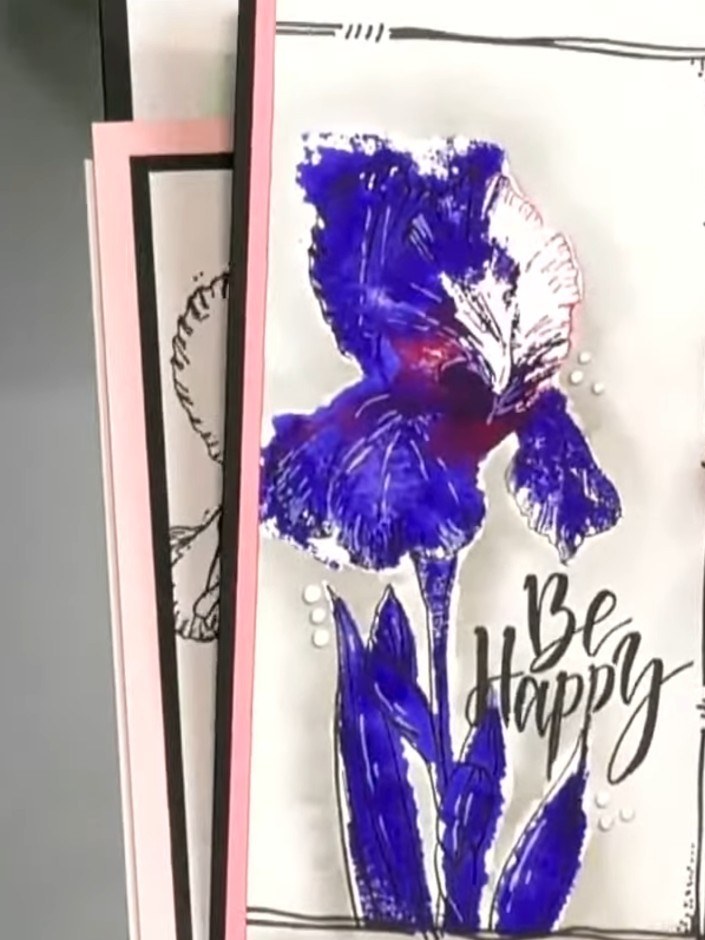
Line up and stamp the outline portion of the iris stamp over the previously stamped solid portion to complete the design. Ensure careful alignment to create the finished layered iris image.
▶ diesen Schritt ansehen (5:15)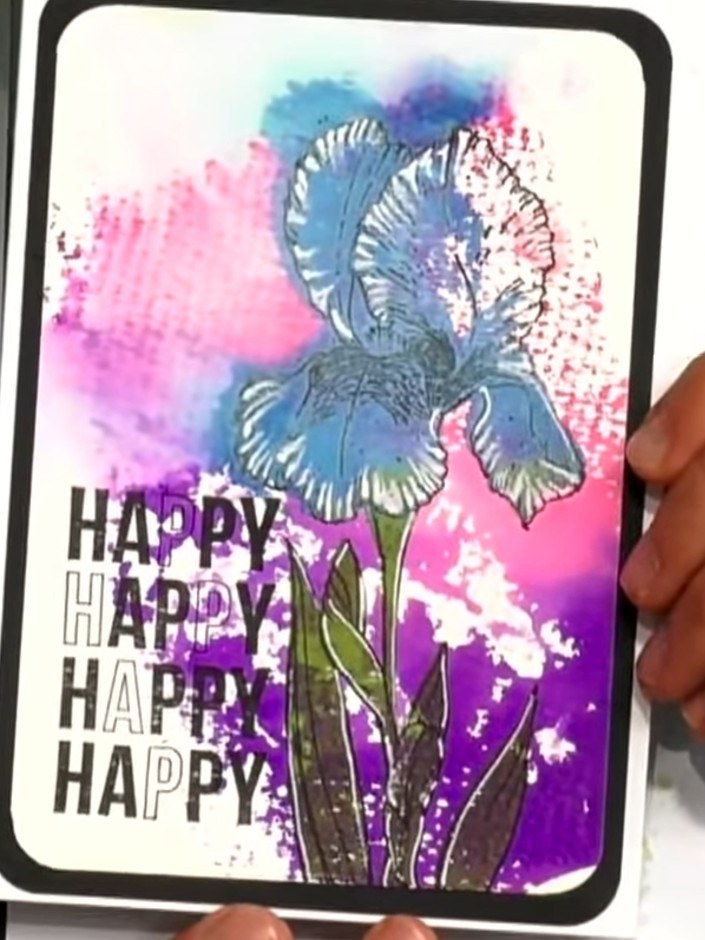
Stamp your chosen sentiment onto the card. Position the 'HAPPY' repeated text stamp to the right side of the iris flower. Use the same ink colour as the iris for a coordinated look.
▶ diesen Schritt ansehen (5:30)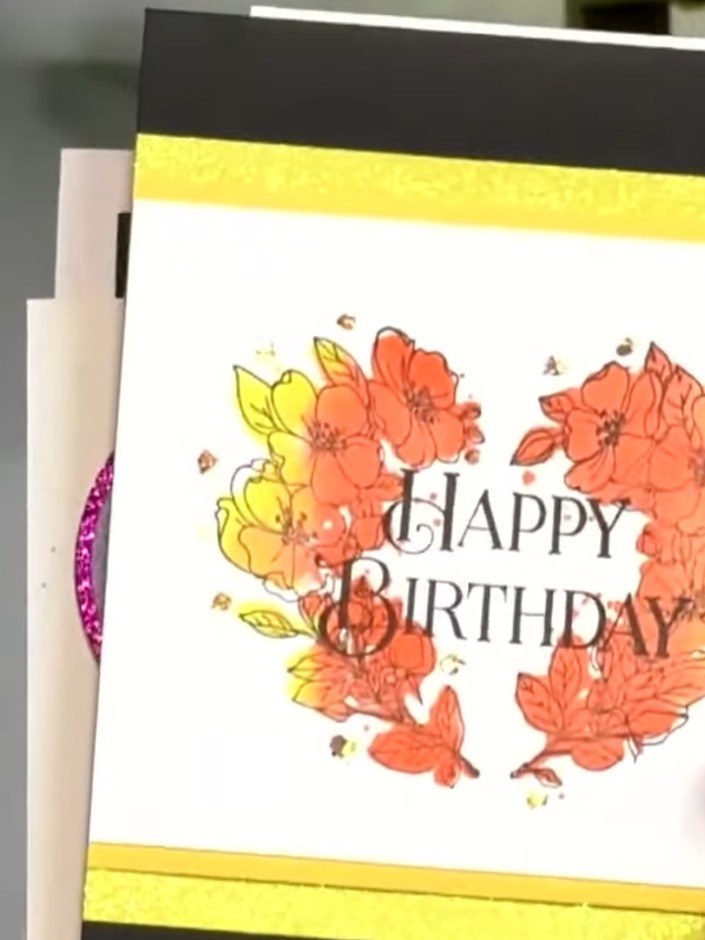
Mount the completed stamped panel onto your slimline card base using adhesive to finish the card.
▶ diesen Schritt ansehen (5:45)Direkt aus der Show aufgeschrieben. Alle Anleitungen aus unseren Shows ansehen · kostenlose Anleitungen · live auf My Telly ansehen