Schenke deinen Freundinnen und Freunden 10 € Rabatt auf ihre erste Bestellung!
Freunde WERBEN








Ein Projekt aus unserer Live-Show CREATE AND CRAFT - NEU UND EXKLUSIV - Sei dabei, wenn Toni ihre neuesten Produkte und jede Menge Inspiration zeigt - Ausgestrahlt am 12. Okt. 22 · 12.10.2022 · ab 50:00 ansehen
Create a stunning floral card featuring a delicate watercolour rose design with layered colouring in soft pinks, corals and greens. This elegant card is perfect for sympathy messages or special occasions, using stamping, watercolour blending and spray techniques to achieve a beautiful artistic finish. The sentiment 'Bee Happy' is framed within a circular aperture surrounded by the gorgeous blooms.
DIESE ANLEITUNG HERUNTERLADEN (PDF)
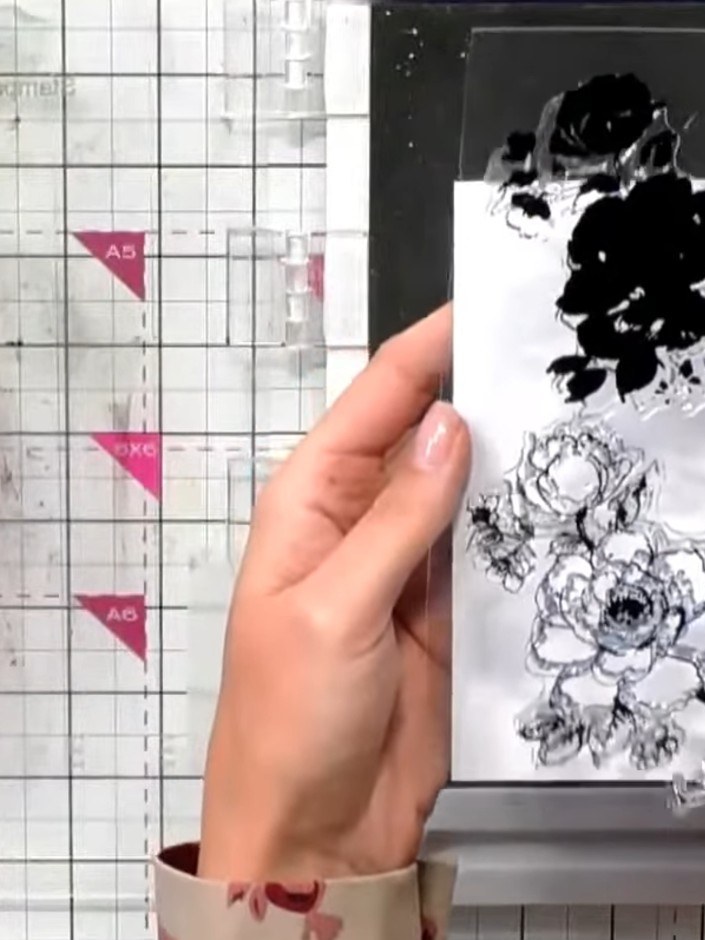
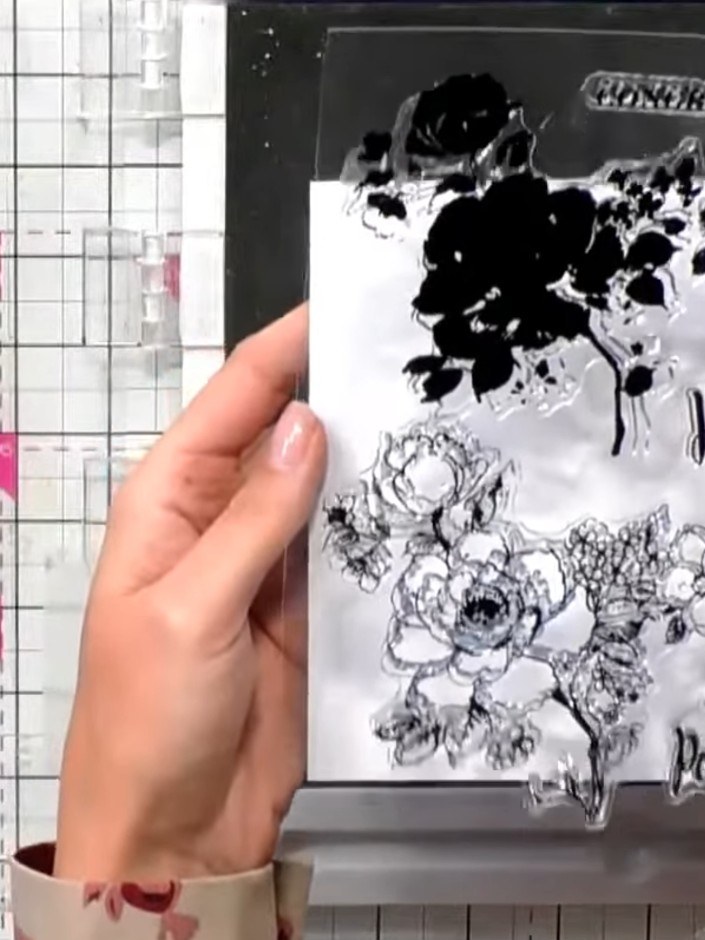
Stamp the solid portion of the rose design onto white cardstock using a black ink pad. Position the stamp carefully and press firmly to ensure a clear impression.
▶ diesen Schritt ansehen (50:00)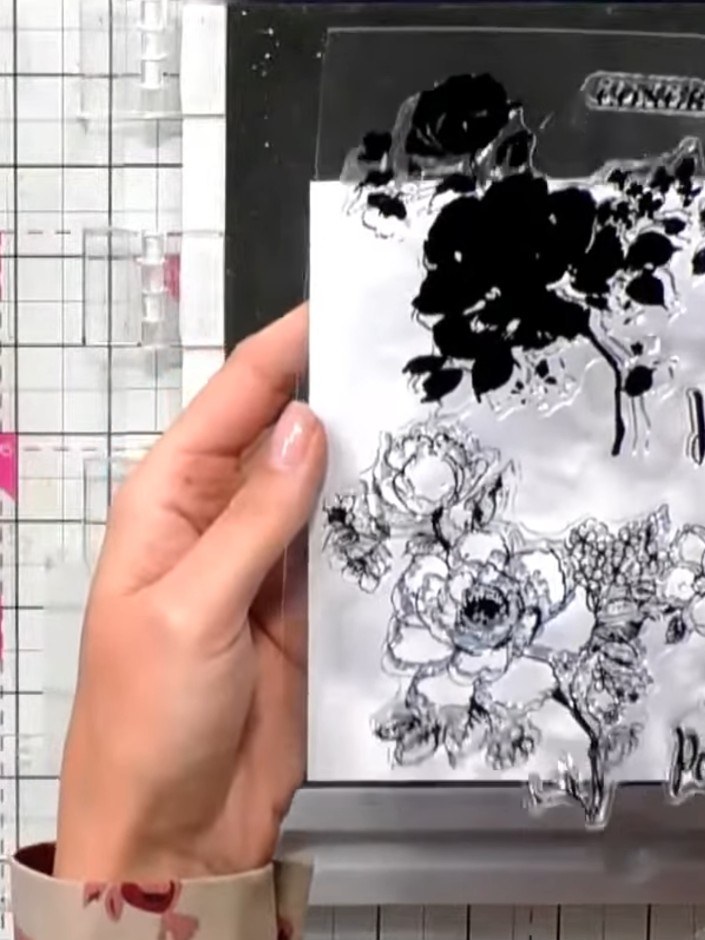
Apply multiple ink pad colours directly to the stamped floral design. Use pinks, oranges and greens to create a natural rose effect with layered colouring.
▶ diesen Schritt ansehen (50:15)
Apply the watercolour paints sporadically across different parts of the stamped flower image. Place pinks and oranges on the petals and green on the leaves, building up the colour gradually.
▶ diesen Schritt ansehen (50:30)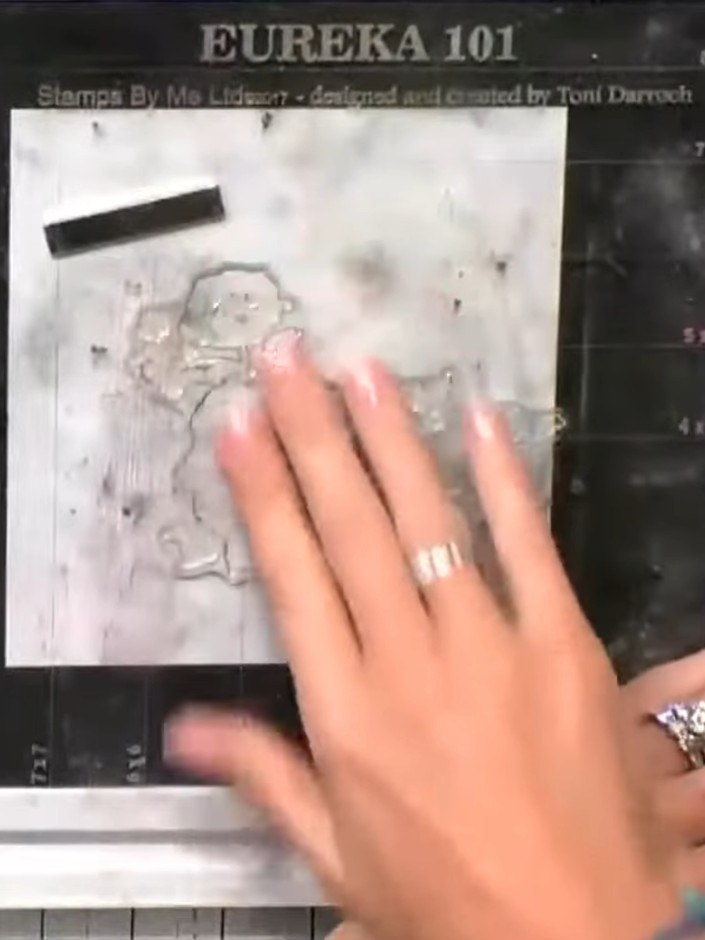
Spritz the inked stamp with water to activate the ink and blend all the colours together, creating a watercolour effect on the stamp surface.
▶ diesen Schritt ansehen (50:45)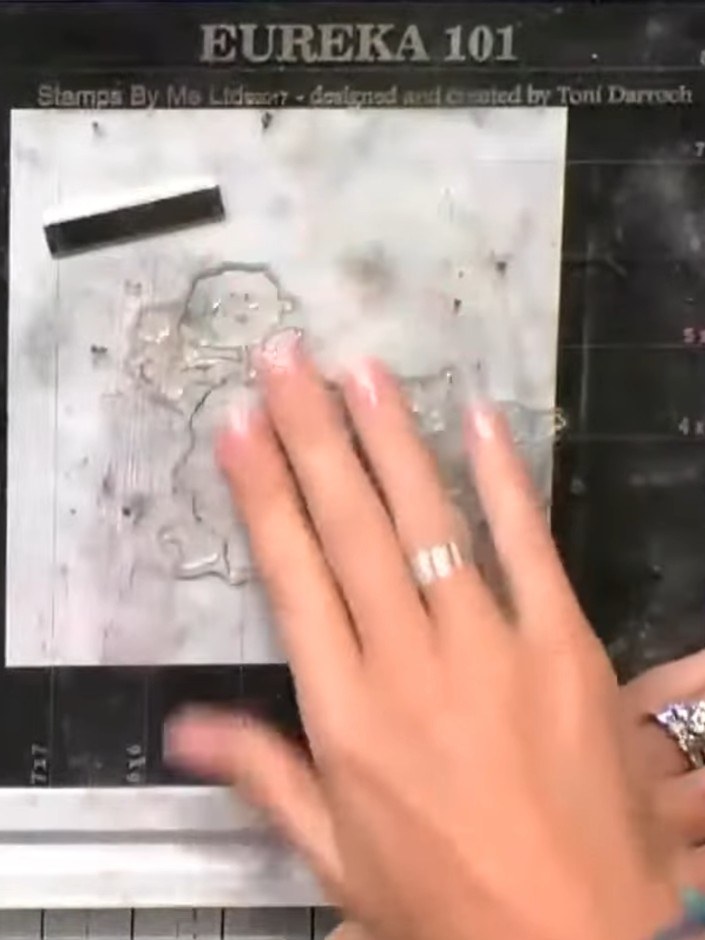
Press the stamp firmly onto the white cardstock to transfer the blended watercolour design. Apply even pressure across the entire stamp surface to ensure a complete impression.
▶ diesen Schritt ansehen (51:00)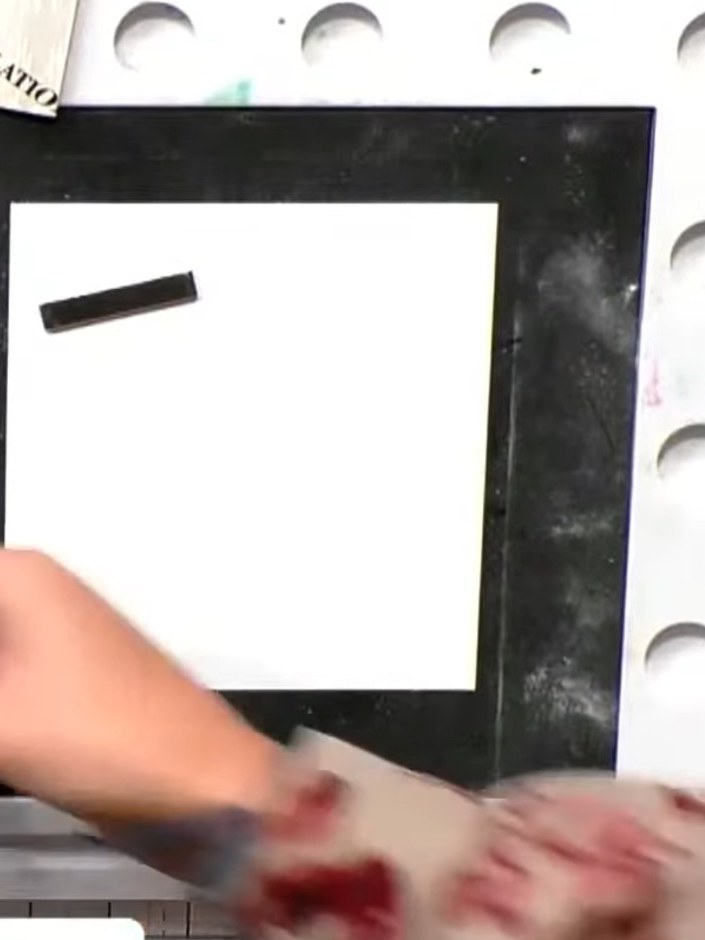
Once the watercoloured design is dry (use a heat tool if needed), carefully line up the black outline stamp over the coloured image and stamp to add definition to the rose design.
▶ diesen Schritt ansehen (51:15)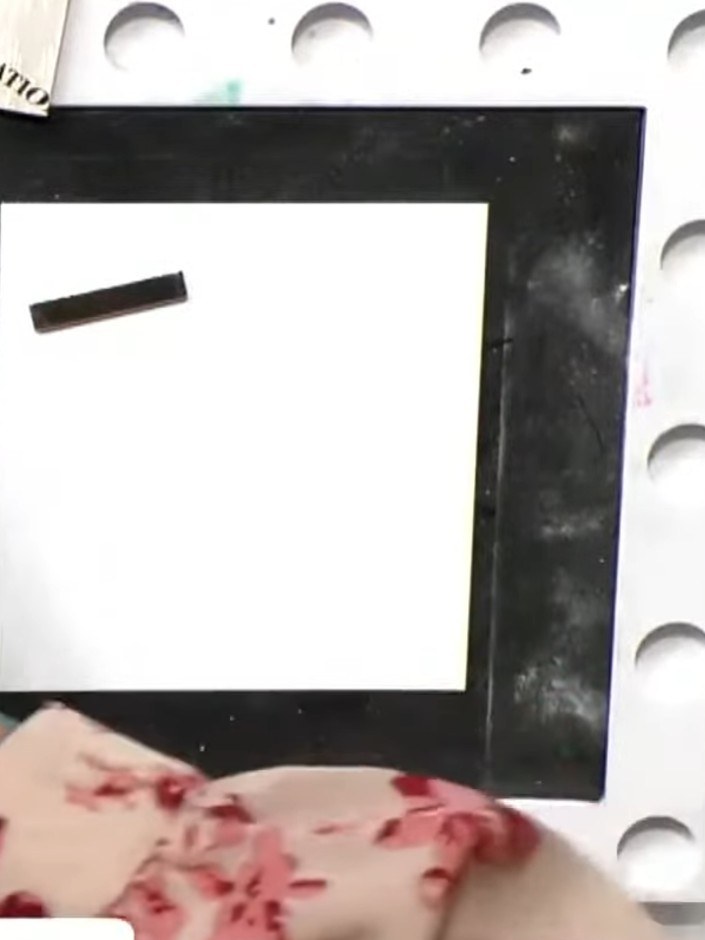
Mount your finished watercolour rose design onto the white cardstock base. Add your chosen sentiment to complete the card.
▶ diesen Schritt ansehen (51:45)Direkt aus der Show aufgeschrieben. Alle Anleitungen aus unseren Shows ansehen · kostenlose Anleitungen · live auf My Telly ansehen