Schenke deinen Freundinnen und Freunden 10 € Rabatt auf ihre erste Bestellung!
Freunde WERBEN








Ein Projekt aus unserer Live-Show MONDAY MADNESS - Sei dabei beim BRANDNEUEN LAUNCH von Simon von AVAGO-INK - Ausgestrahlt am 3. OKT. 22 · 03.10.2022 · ab 9:00 ansehen
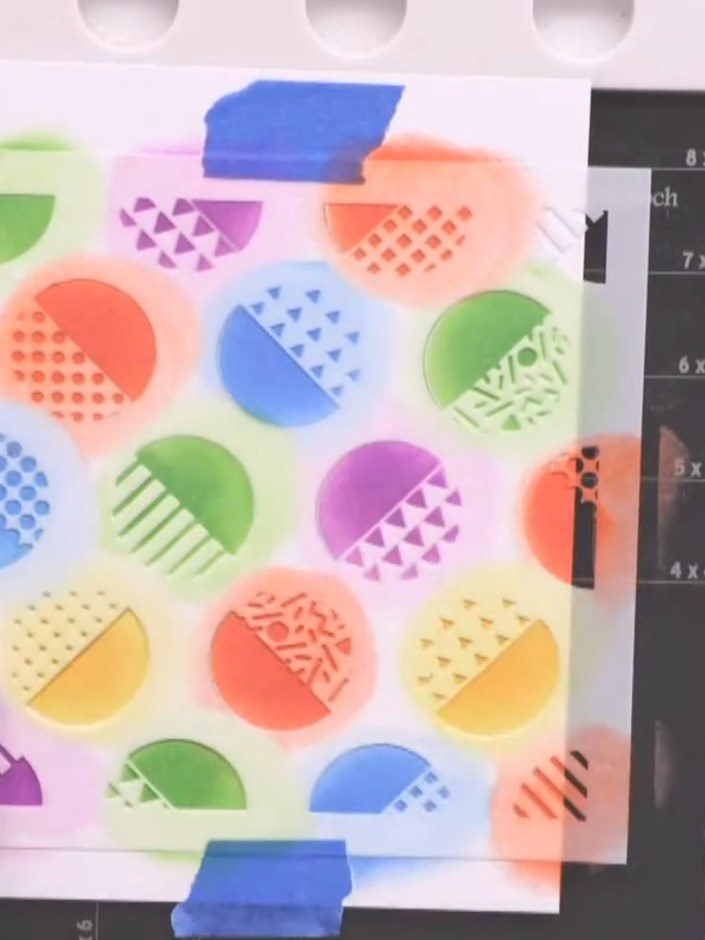
Create a vibrant retro-style card featuring colourful semicircles in primary colours. Using the Retro Dots stencil, you'll blend distress oxide inks to create soft watercolour circles, then define them with black pen outlines for a bold, graphic finish. The result is a fun, eye-catching design perfect for any occasion.
DIESE ANLEITUNG HERUNTERLADEN (PDF)
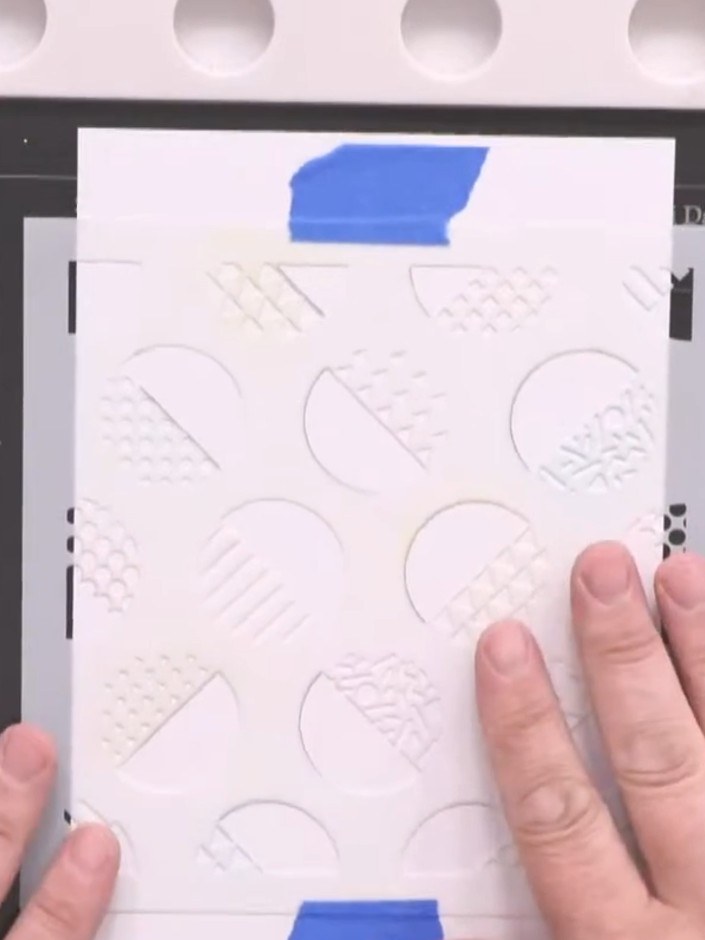
Position the Retro Dots stencil on your white card base. Secure the stencil in place with masking tape at the top and bottom to prevent it from moving whilst you work.
▶ diesen Schritt ansehen (9:30)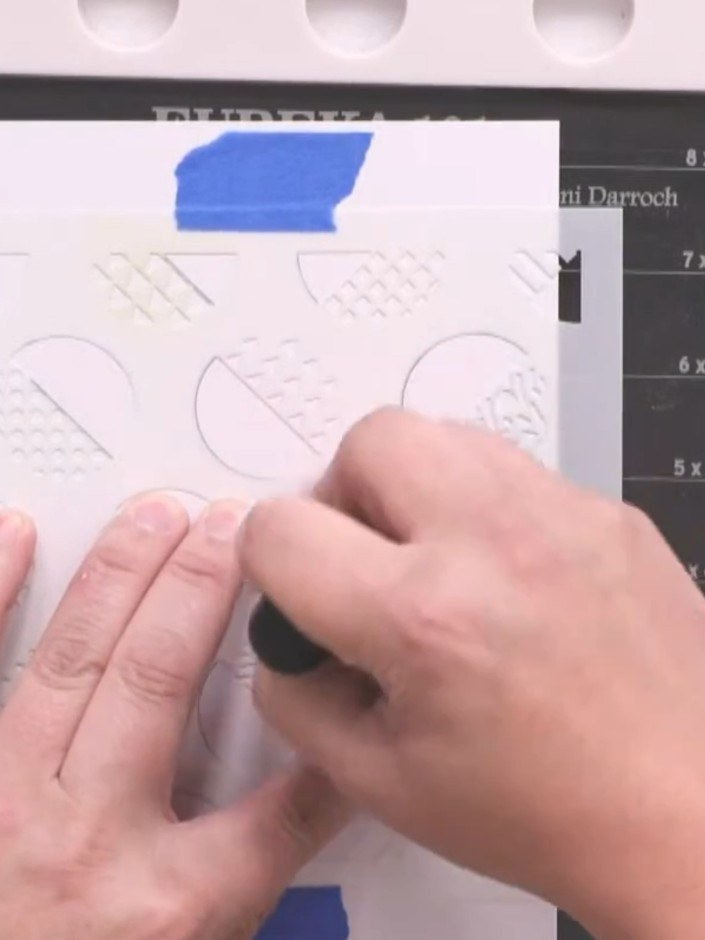
Select your distress oxide colours and use a brush to paint individual circles within the stencil. Choose one colour per circle, working through the design with purple, blue, green, red and orange.
▶ diesen Schritt ansehen (10:30)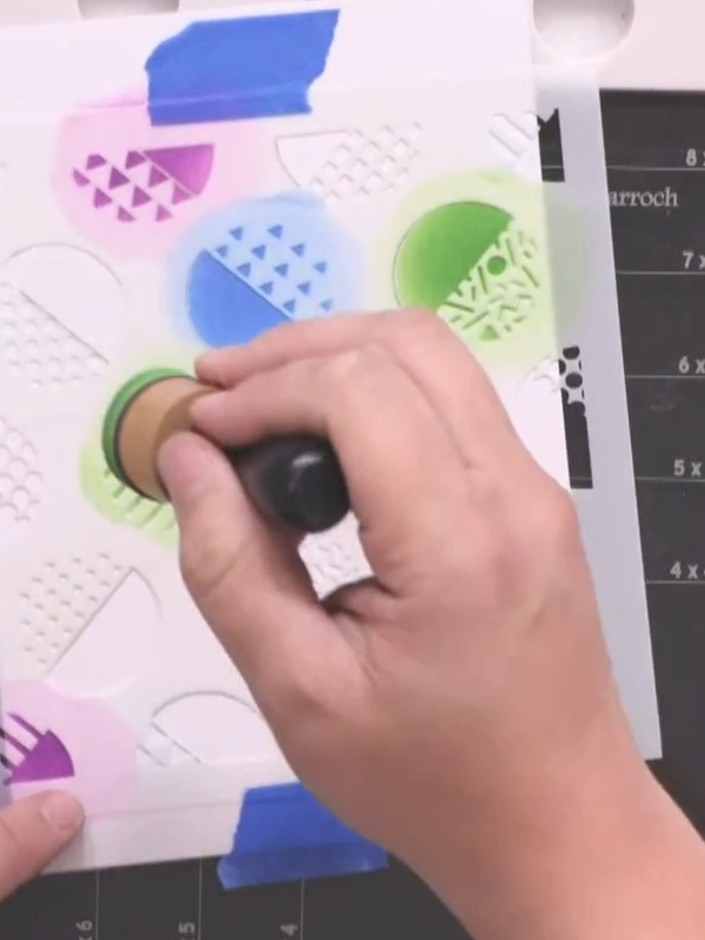
Use the stencil to fill in multiple circles across the card with different colours. Vary between green, blue, and purple inks to create a vibrant colour palette. Continue adding circles in different positions to build up the design.
▶ diesen Schritt ansehen (11:30)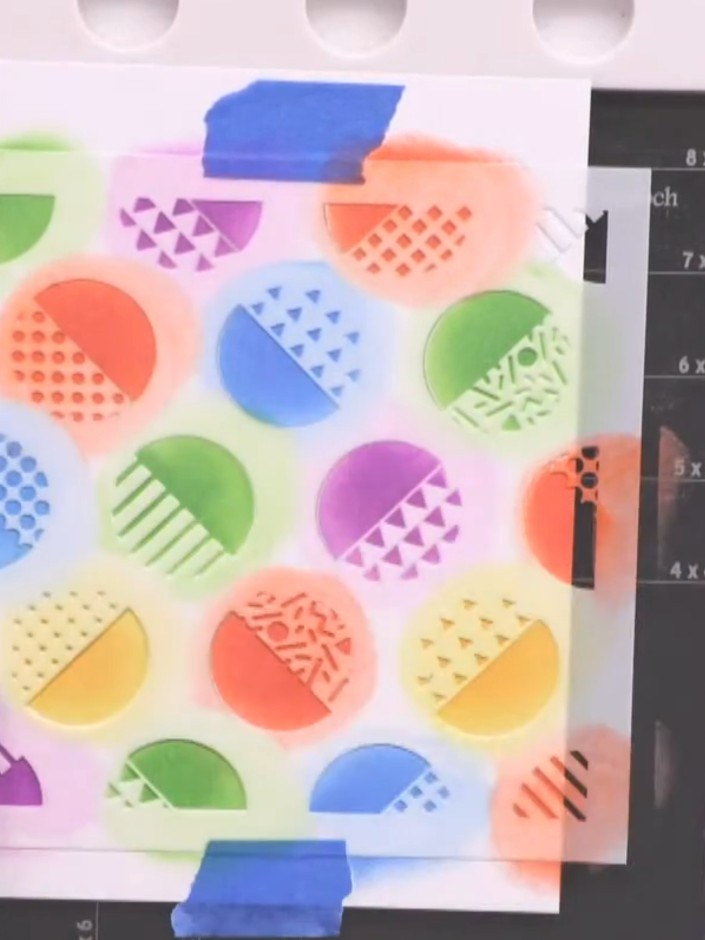
Replace the lids on your ink pads to prevent them from drying out. Set the completed stencilled card aside whilst you prepare the next elements.
▶ diesen Schritt ansehen (12:45)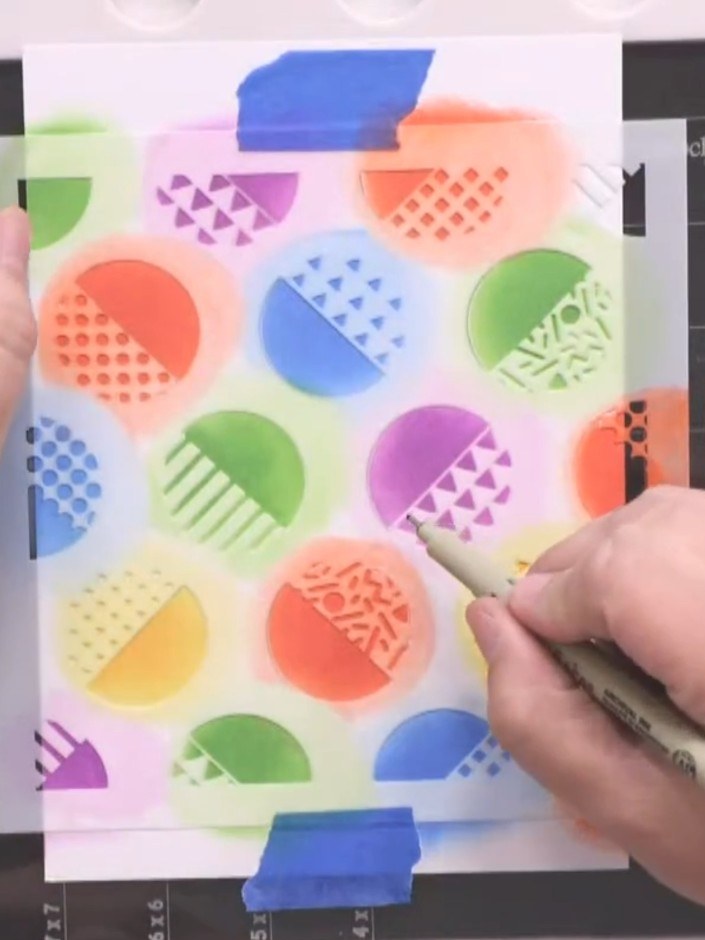
Use a black 0.8 liner pen to trace around the semicircle outlines on your stencilled design. Work carefully to define each shape and make the coloured circles pop against the background.
▶ diesen Schritt ansehen (13:00)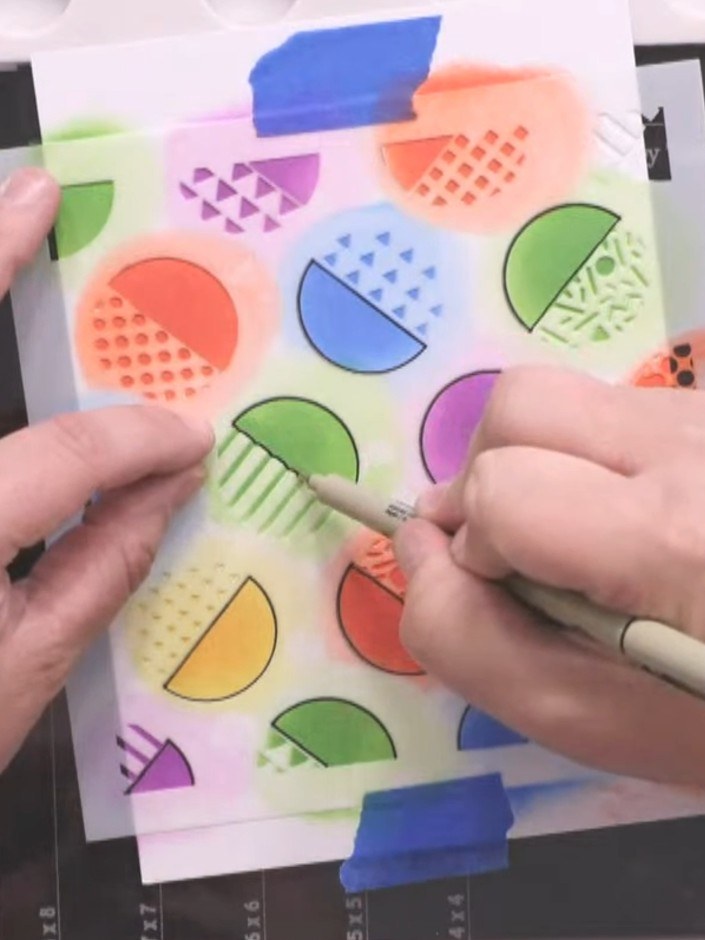
For semicircles without solid black outlines, use a black pen to draw a line across the diameter to break up the design and create visual interest.
▶ diesen Schritt ansehen (13:45)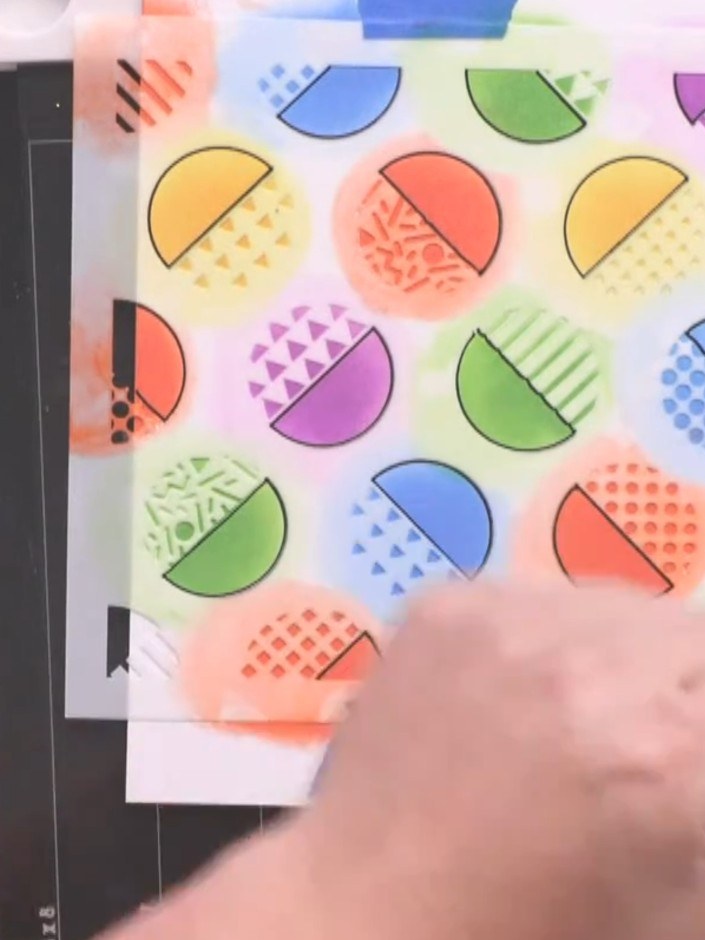
Carefully lift and remove the Retro Dots stencil from the card to reveal the finished coloured background with patterned circles.
▶ diesen Schritt ansehen (14:30)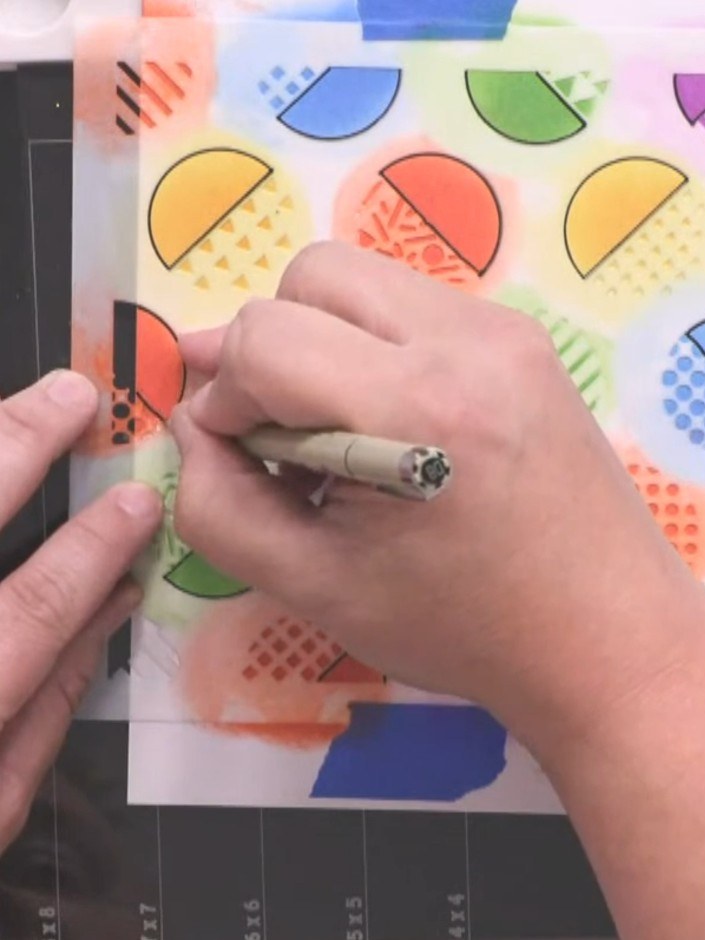
Trim your coloured panel to 4.5 by 6 inches using a paper trimmer.
▶ diesen Schritt ansehen (14:45)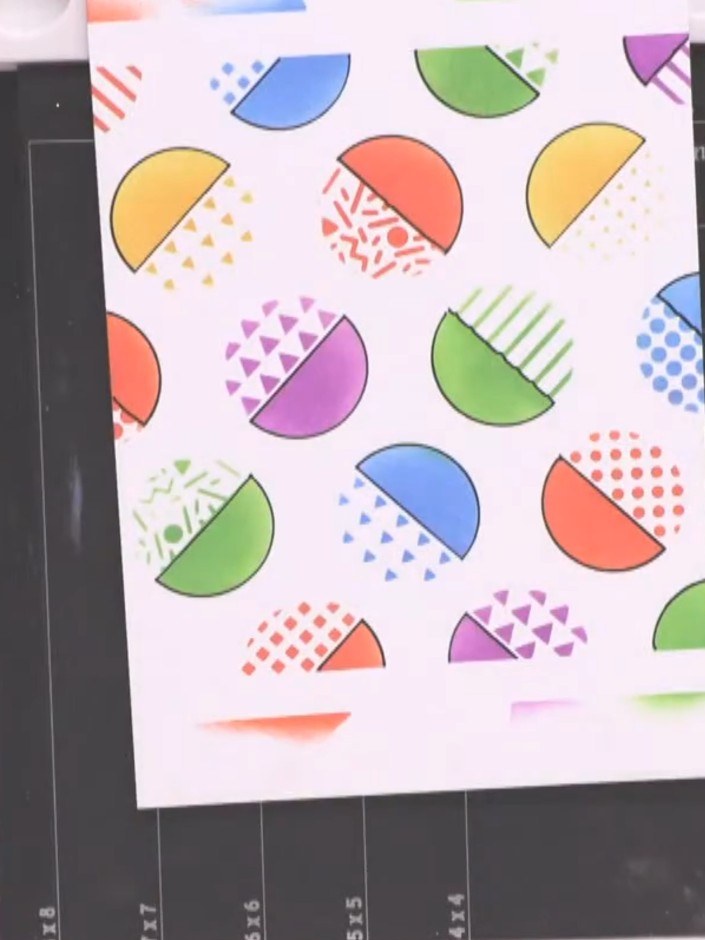
Mount the finished panel onto a slightly larger card base using wet glue to complete your card. The retro dots design will be displayed on a white background with a black border.
▶ diesen Schritt ansehen (15:00)Direkt aus der Show aufgeschrieben. Alle Anleitungen aus unseren Shows ansehen · kostenlose Anleitungen · live auf My Telly ansehen
