Schenke deinen Freundinnen und Freunden 10 € Rabatt auf ihre erste Bestellung!
Freunde WERBEN








Ein Projekt aus unserer Live-Show MONDAY MADNESS - Sei dabei beim BRANDNEUEN LAUNCH von Simon von AVAGO-INK - Ausgestrahlt am 3. OKT. 22 · 03.10.2022 · ab 15:00 ansehen
Create a striking greeting card featuring a cute dinosaur character stamped and coloured with alcohol markers, set against a purple ombre background with splattered details. The design includes the hashtag '#fierce' and dinosaur footprints, combining whimsical illustration with bold colouring techniques for a fun and contemporary finish.
 100572 - HTCN - AVAGO-INK DESIGNS - A5 STAMP - COOKIE - 100522cANSEHEN
 100575 - HTCN - AVAGO-INK DESIGNS - STENCIL - RETRO DOTS - 100522bANSEHEN
DIESE ANLEITUNG HERUNTERLADEN (PDF)
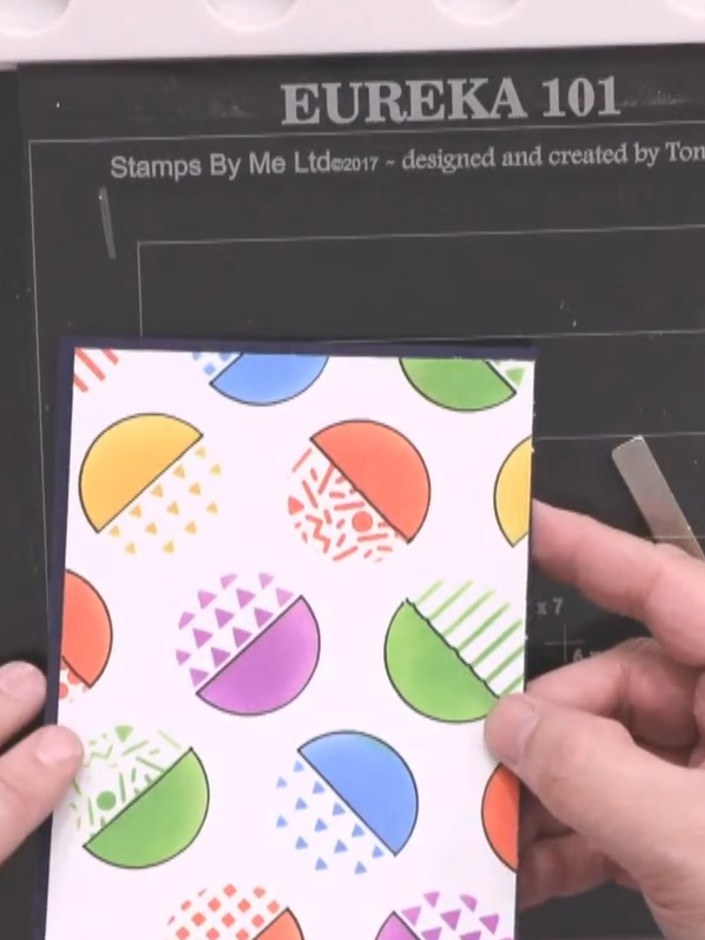
Prepare a white card base measuring slightly larger than 5 by 7 inches. Trim the card to size using a trimmer or craft knife.
▶ diesen Schritt ansehen (16:00)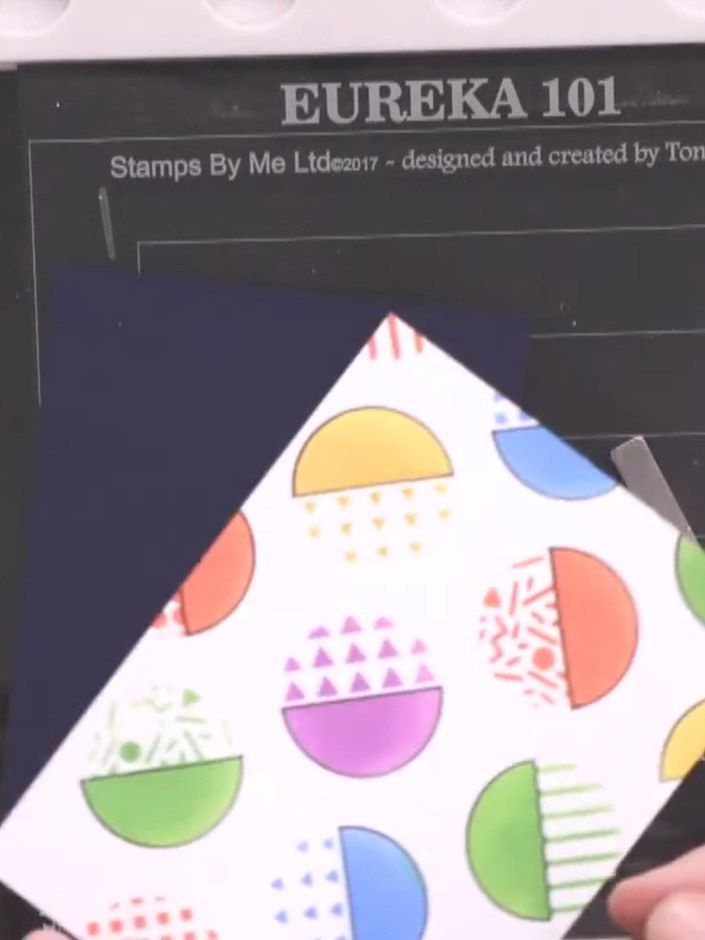
Stamp the retro handheld game image around the edges of your card base using black ink to create a decorative border. Don't worry if the coverage is incomplete as this adds to the design effect.
▶ diesen Schritt ansehen (17:00)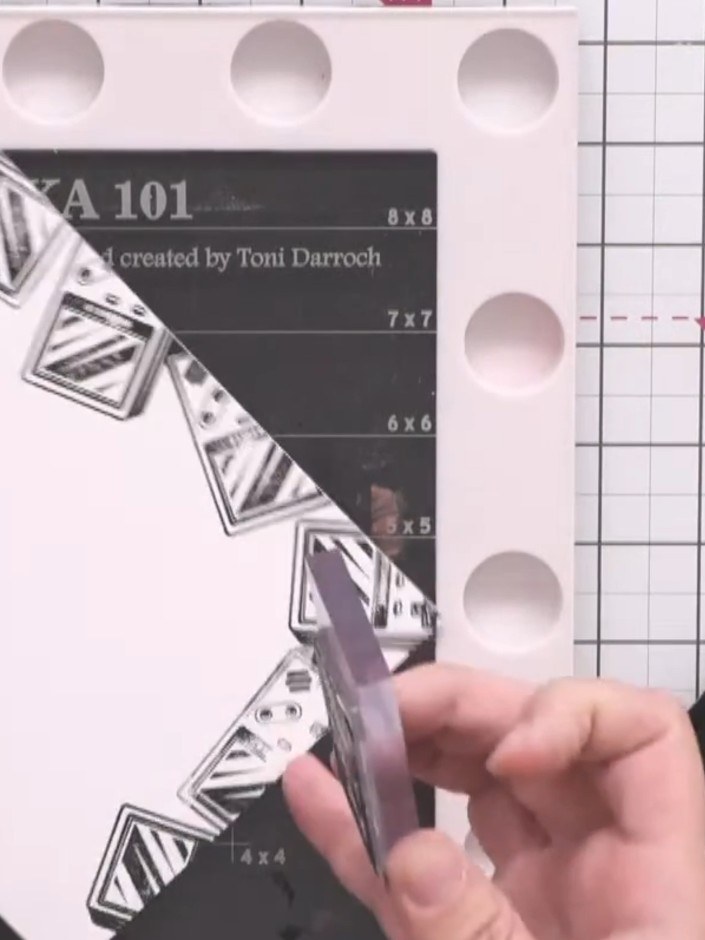
Mount your coloured stencil panel from the previous project onto the centre of the card base using foam pads.
▶ diesen Schritt ansehen (18:00)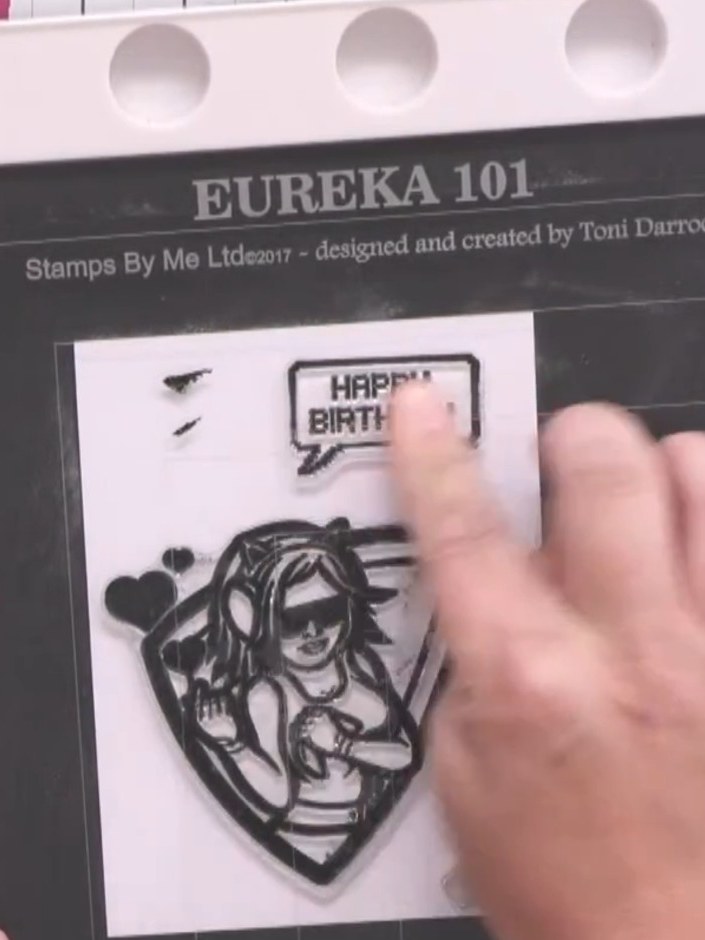
Stamp the Cookie character (the large female character) onto white card stock using black ink. Ensure good coverage of all the details in the stamp design.
▶ diesen Schritt ansehen (19:00)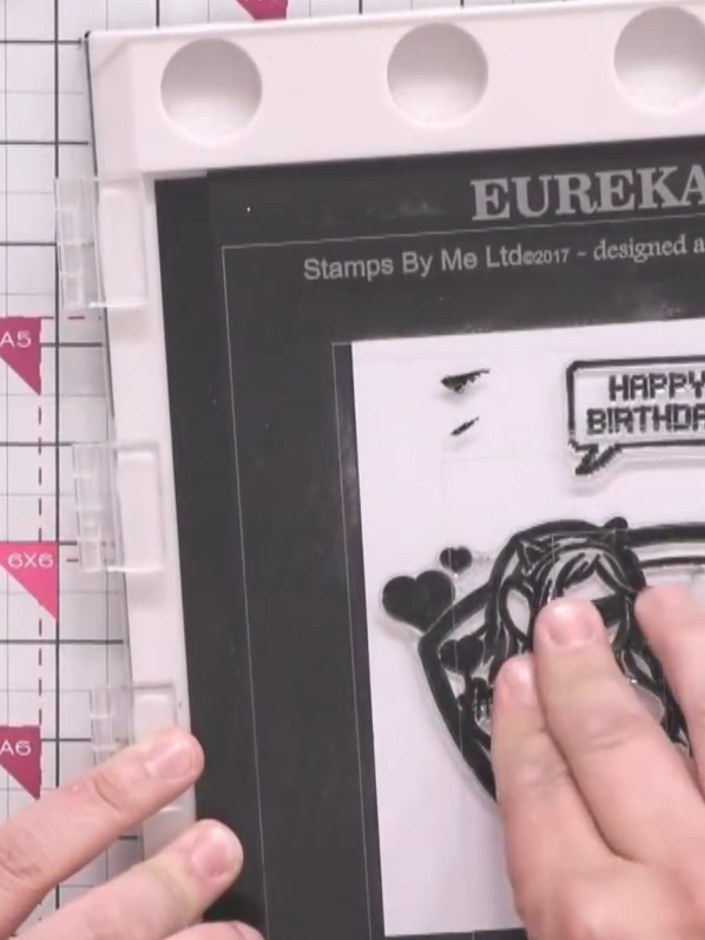
Heat the embossing powder with a heat gun, moving it around continuously until the powder melts and turns glossy and dark.
▶ diesen Schritt ansehen (20:30)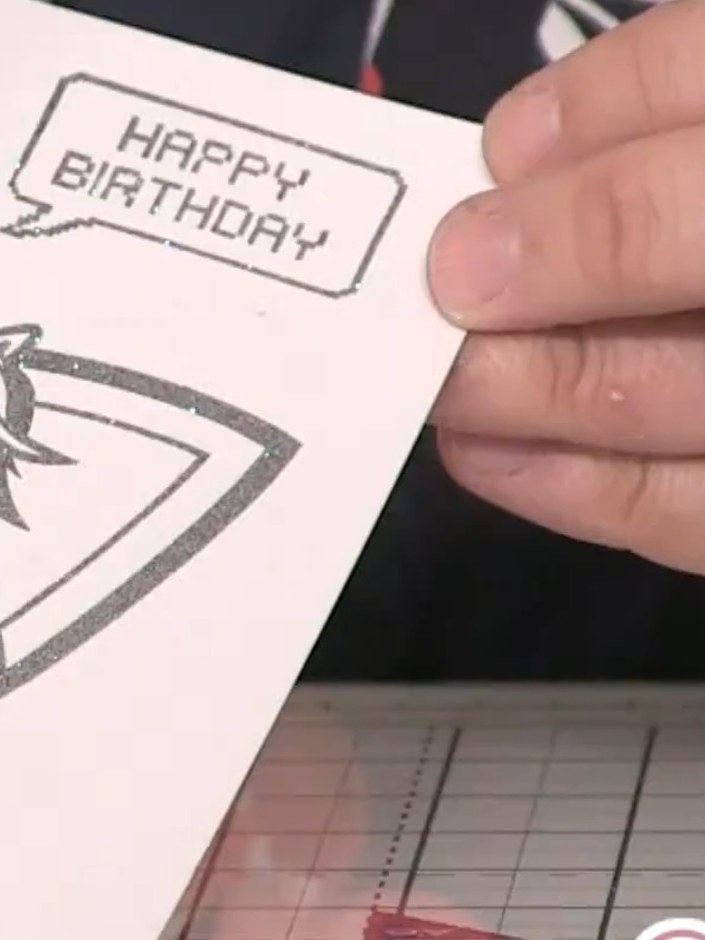
Colour the stamped character using alcohol markers. Use blue for the dress and headphones, red for the belt and gloves, yellow for the border, and purple for the hair and lipstick.
▶ diesen Schritt ansehen (21:00)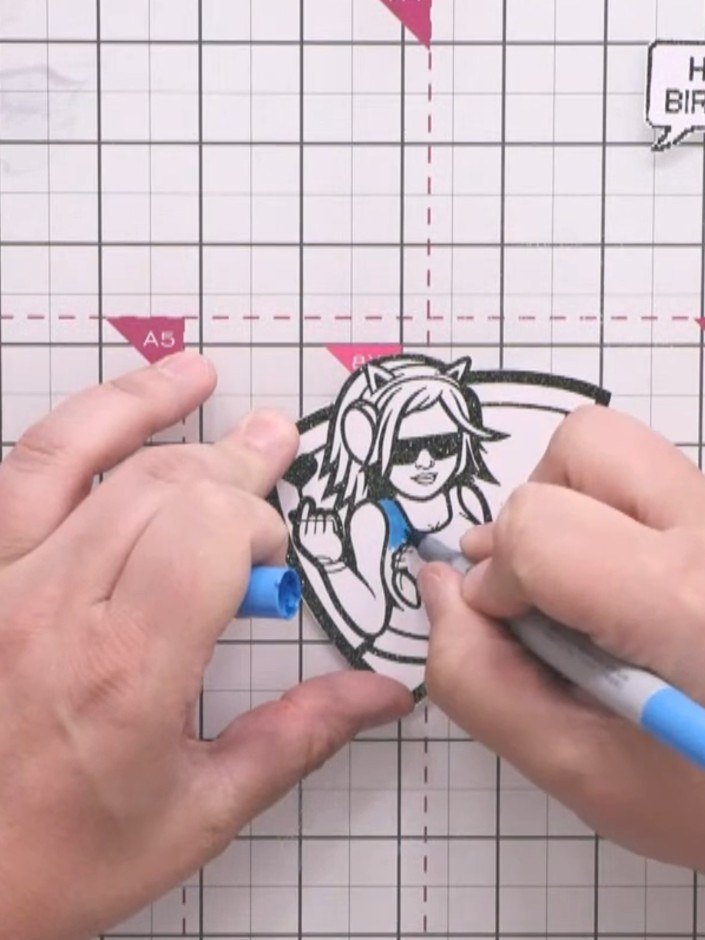
Use a pale peach marker to add skin tone warmth to the character's face and arms. Colour gently to avoid the ink bleeding into the stamped outlines.
▶ diesen Schritt ansehen (25:00)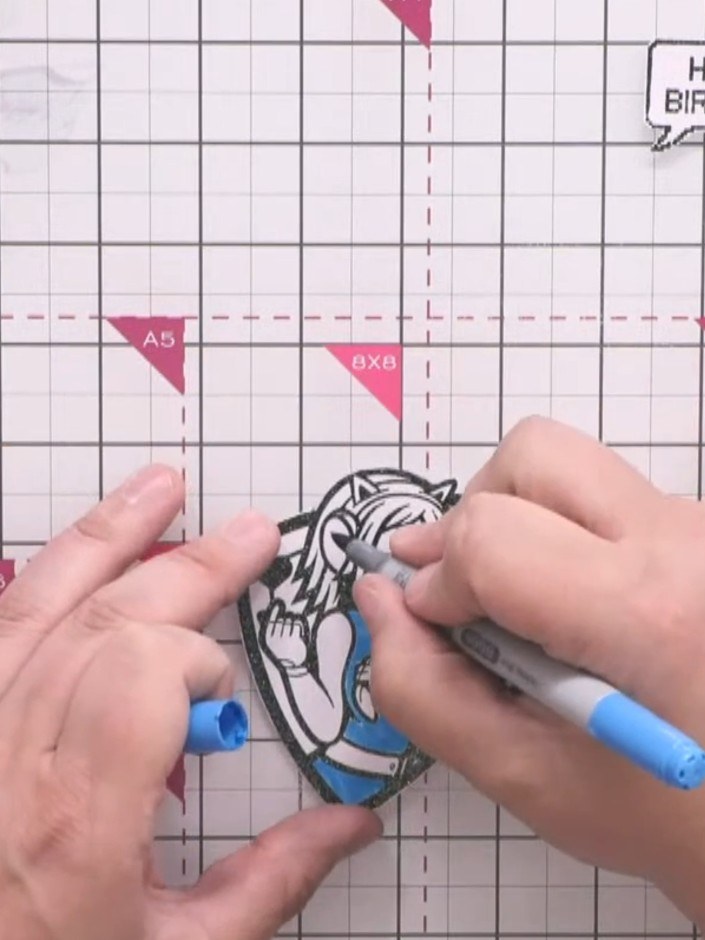
Carefully cut around the coloured character, following the embossed black outline closely to remove the excess white card.
▶ diesen Schritt ansehen (25:30)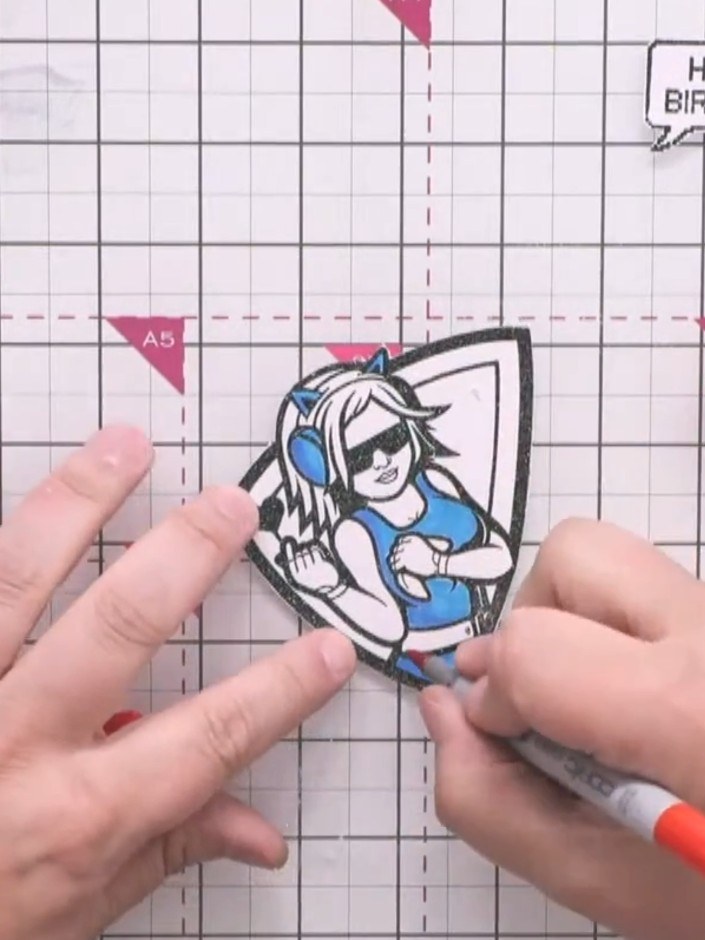
Apply foam pads to the back of the coloured character stamp and adhere it to the centre of the card base, positioning it as the focal point of your design.
▶ diesen Schritt ansehen (26:00)Direkt aus der Show aufgeschrieben. Alle Anleitungen aus unseren Shows ansehen · kostenlose Anleitungen · live auf My Telly ansehen