Schenke deinen Freundinnen und Freunden 10 € Rabatt auf ihre erste Bestellung!
Freunde WERBEN








Ein Projekt aus unserer Live-Show MONTAGS-PODCAST - Hol dir meine neuesten News und Updates - Sendung vom 11. SEPT. 2023 · 11.09.2023 · ab 18:00 ansehen
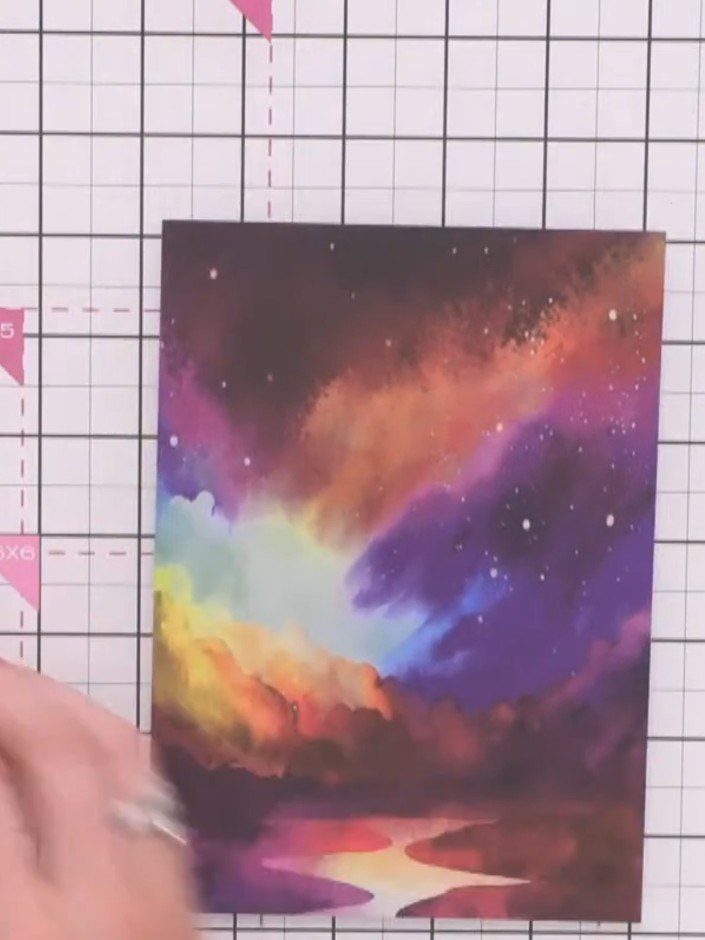
Create a stunning Halloween card featuring a magical twilight scene with vibrant pink, purple, and orange galaxy-effect skies. Using pre-printed pattern paper as your background, you'll layer stamped reflective trees, silhouetted children trick-or-treating, and a 'Trick or Treat' sentiment to build an enchanting autumnal scene. This project demonstrates how patterned papers can do the heavy lifting whilst you focus on creative stamping and layering techniques.
DIESE ANLEITUNG HERUNTERLADEN (PDF)
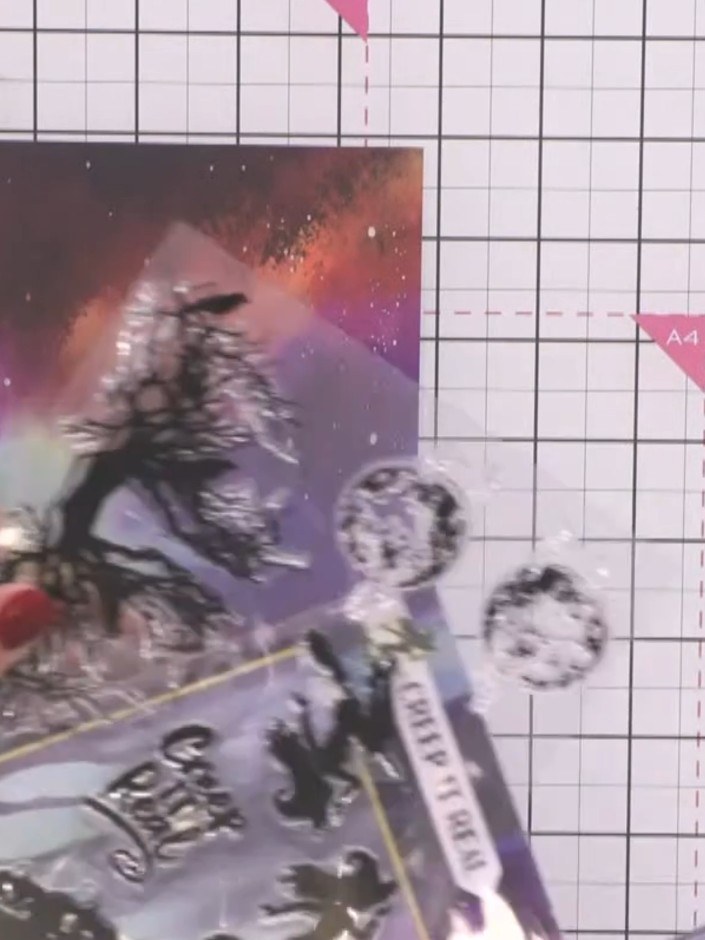
Select a pattern paper from the Happy Haunting collection that you like. Choose one without trees so you can add your own stamped elements later.
▶ diesen Schritt ansehen (19:15)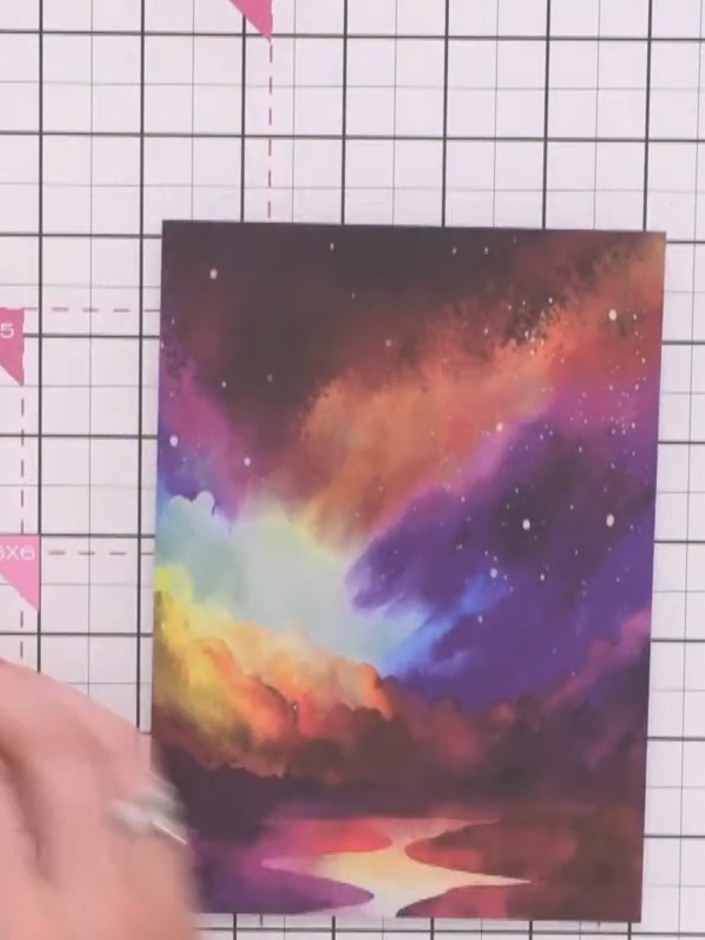
Position your chosen pattern paper on the cutting mat. The paper should be ready for stamping, with the colourful galaxy design facing up.
▶ diesen Schritt ansehen (19:30)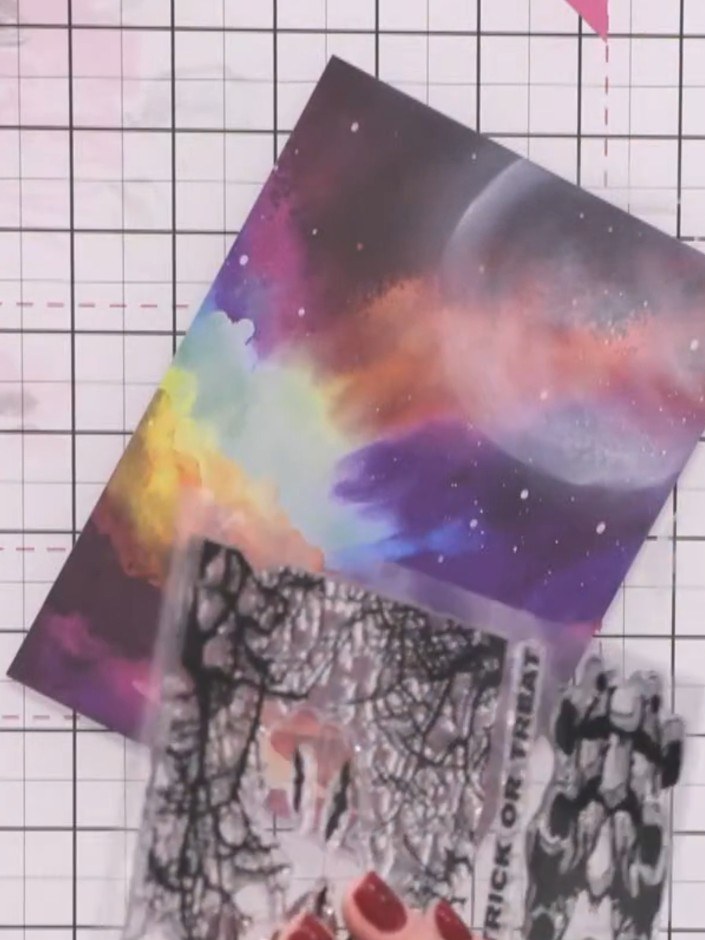
Stamp the silhouette children figures at the base of the card, positioning them to create a reflection effect that mirrors the tree placement above. Use black ink to stamp the figures clearly on the lower portion of the galaxy background.
▶ diesen Schritt ansehen (24:00)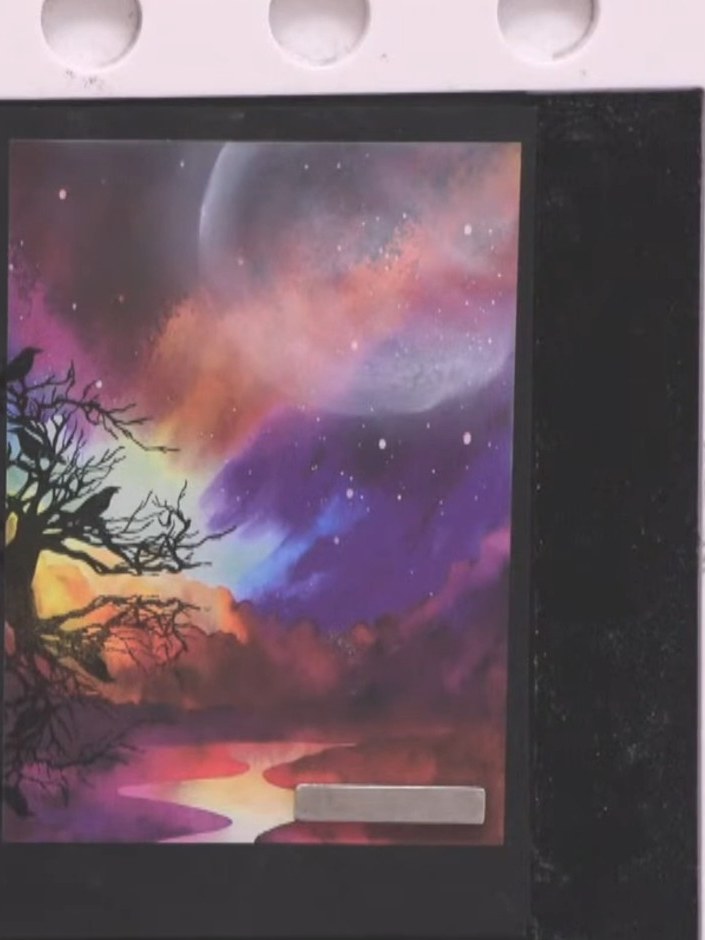
Darken the top portion of the tree reflection by re-stamping over the existing image to add depth and contrast. Layer additional ink to create a more dramatic effect in the upper areas of the tree.
▶ diesen Schritt ansehen (25:30)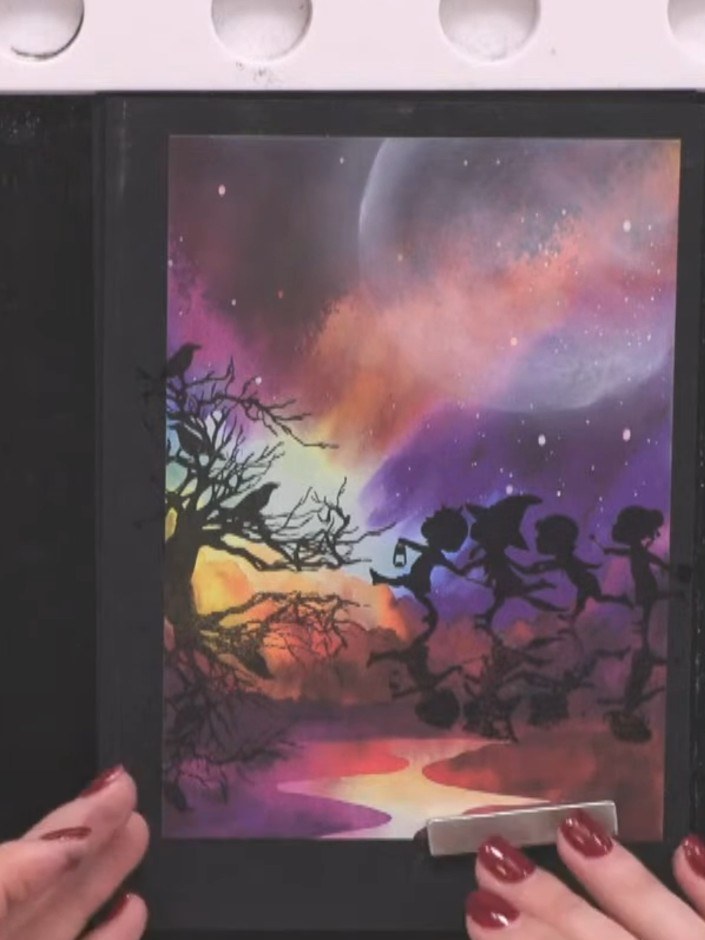
Position and stamp a sentiment such as 'Trick or Treat' below the reflection children silhouettes on your card front.
▶ diesen Schritt ansehen (27:00)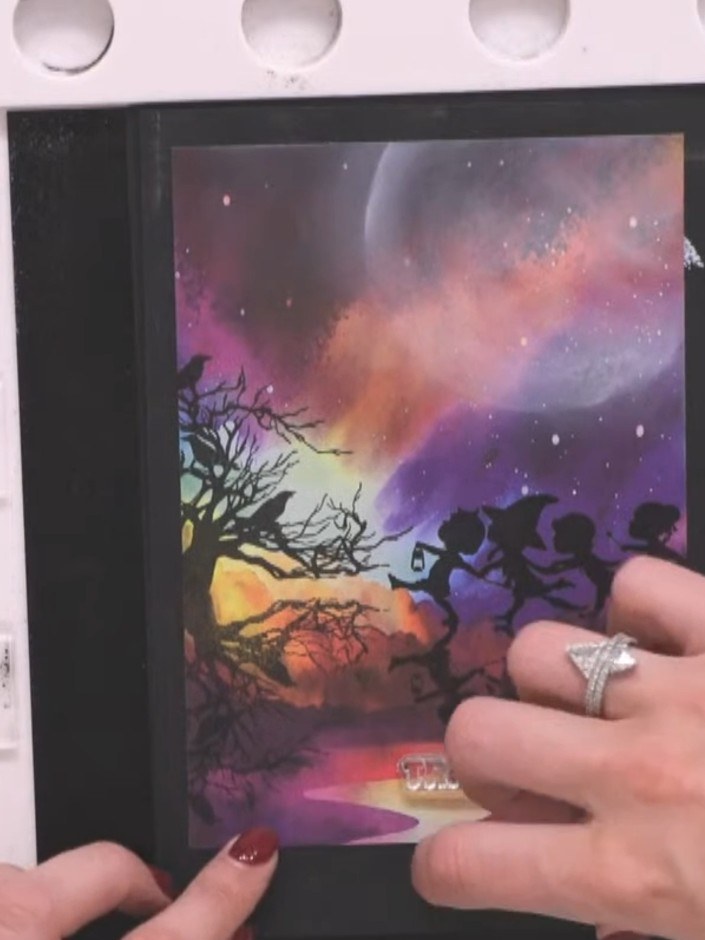
Use a white gel pen to add highlights to the tops of the children's heads and hats, creating a light reflection effect on the stamped silhouettes.
▶ diesen Schritt ansehen (27:30)Direkt aus der Show aufgeschrieben. Alle Anleitungen aus unseren Shows ansehen · kostenlose Anleitungen · live auf My Telly ansehen