Schenke deinen Freundinnen und Freunden 10 € Rabatt auf ihre erste Bestellung!
Freunde WERBEN








Ein Projekt aus unserer Live-Show MONTAGS-PODCAST - Hol dir meine neuesten News und Updates - Sendung vom 11. SEPT. 2023 · 11.09.2023 · ab 34:30 ansehen
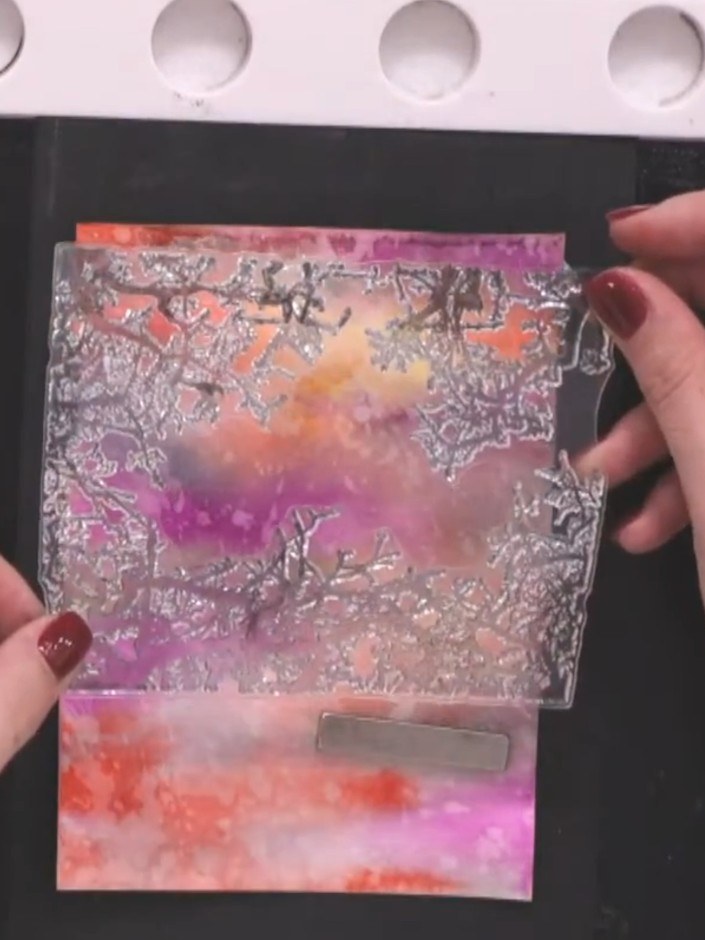
Create a magical Halloween card with a handmade watercolour background in vibrant pinks, purples, and oranges. Layer stamped silhouettes of running children, reflective trees, flying bats, and a glowing moon to build an atmospheric twilight scene. This project demonstrates watercolour blending techniques and how to compose layered stamped elements for dramatic effect.
DIESE ANLEITUNG HERUNTERLADEN (PDF)
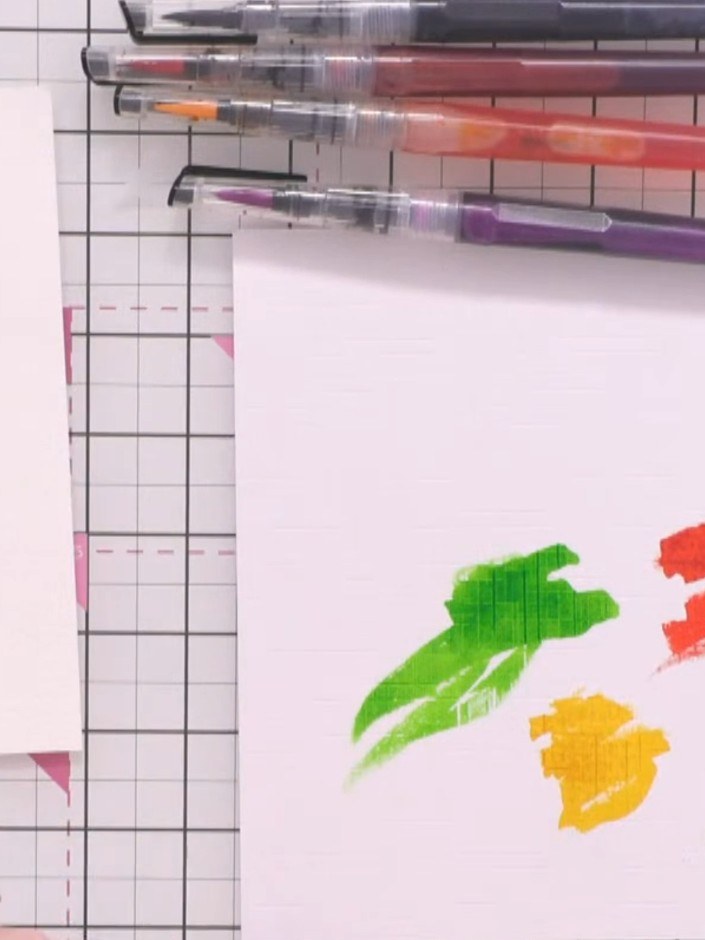
Wet your watercolour card evenly with clean water using a brush, ensuring complete coverage across the surface.
▶ diesen Schritt ansehen (35:45)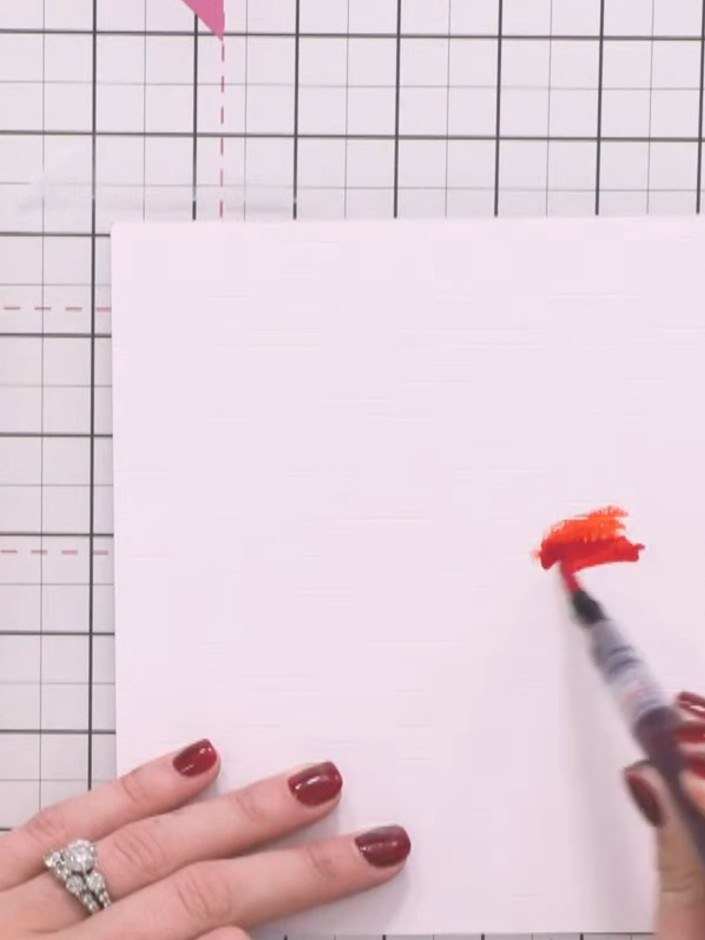
Apply your lightest watercolour pen colour directly onto the wet card, allowing the colour to flow and blend naturally. Start with a yellow-orange shade and work the colour across the surface.
▶ diesen Schritt ansehen (36:00)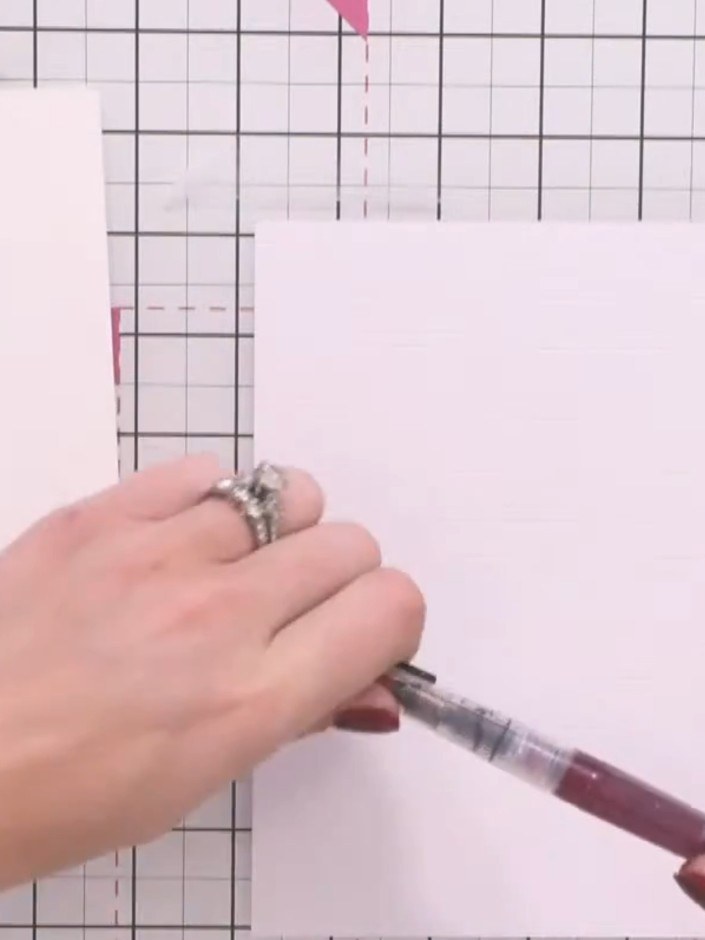
Spray the card with clean water using a water brush or spray bottle. This will help the ink colours blend and move across the surface smoothly.
▶ diesen Schritt ansehen (36:30)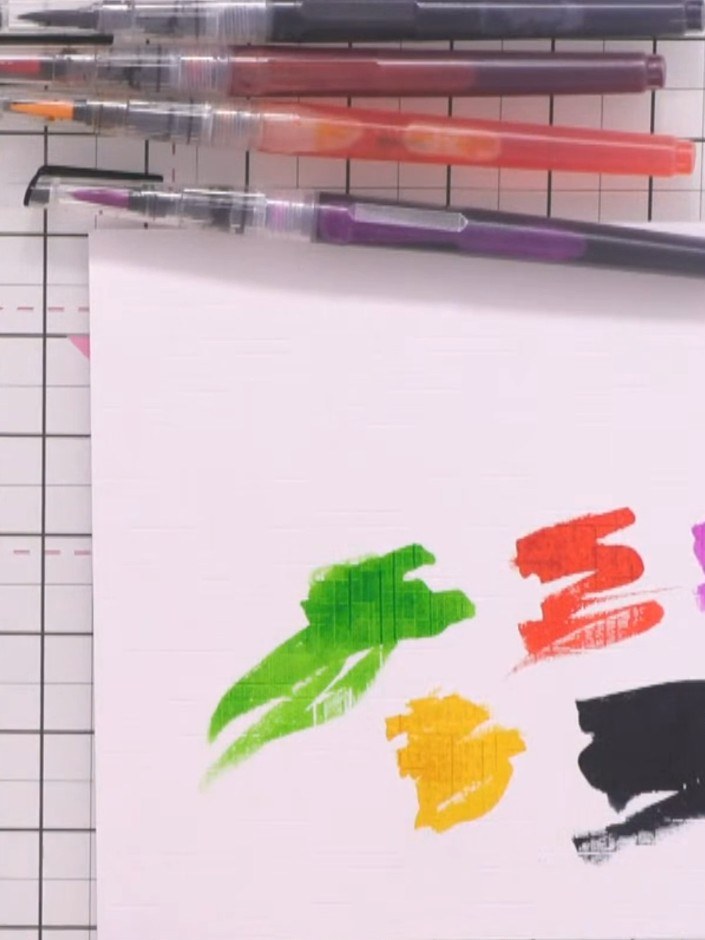
Use tissue paper to mop up any large puddles of water on your watercolour swatches to control the blending and prevent the colours from becoming too saturated.
▶ diesen Schritt ansehen (37:00)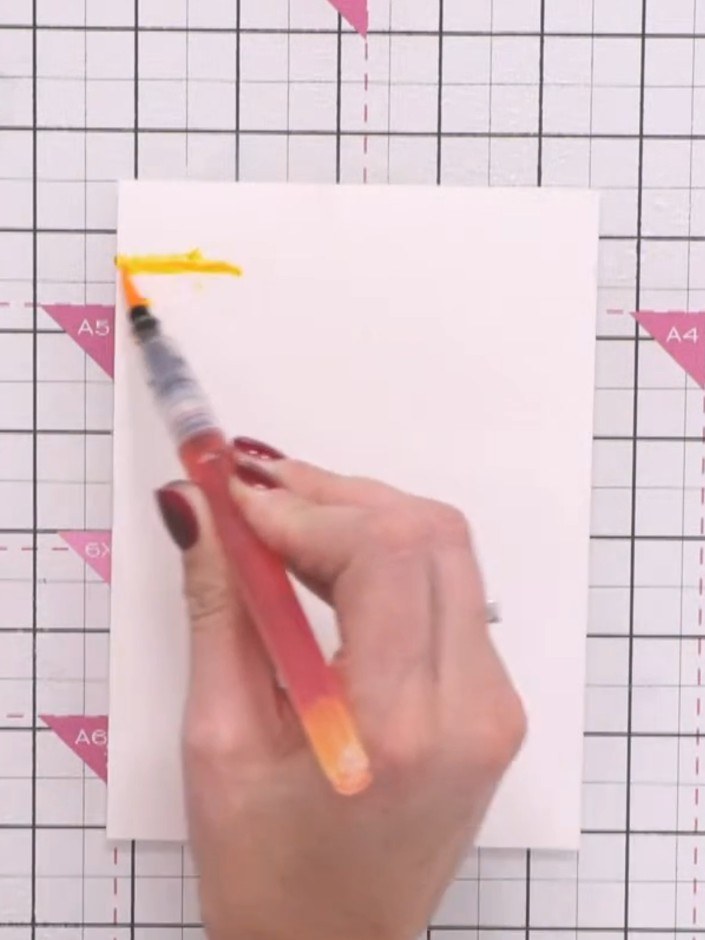
Allow the card to dry slightly, then add more colour layers using the water brush pens. Repeat the spray and blend process to build up additional depth and intensity in your watercolour background.
▶ diesen Schritt ansehen (37:30)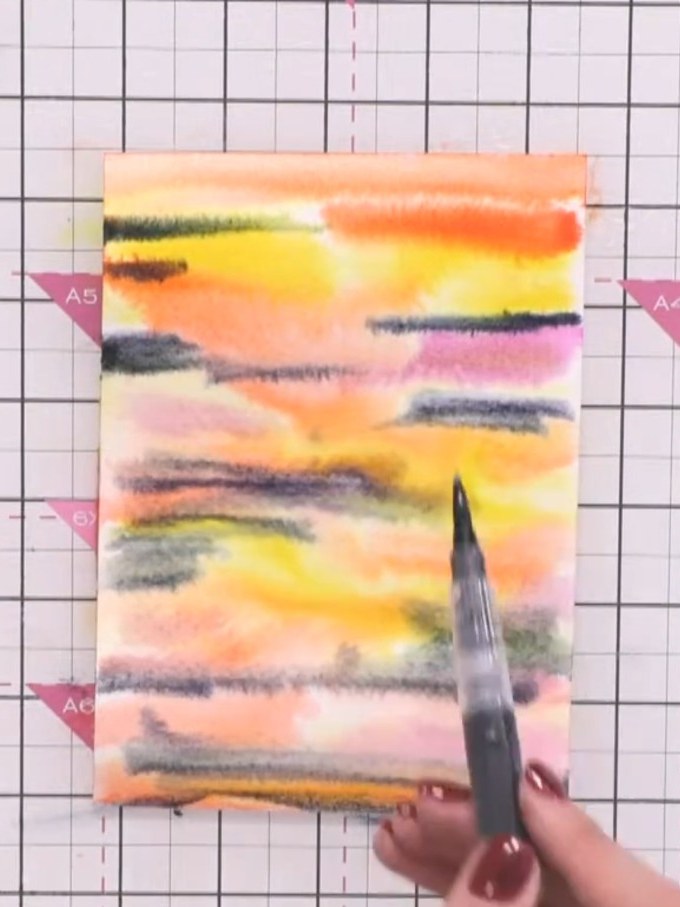
Flick clean water onto the watercolour background using a water brush to create texture and the appearance of stars or atmospheric effects in the sky.
▶ diesen Schritt ansehen (39:00)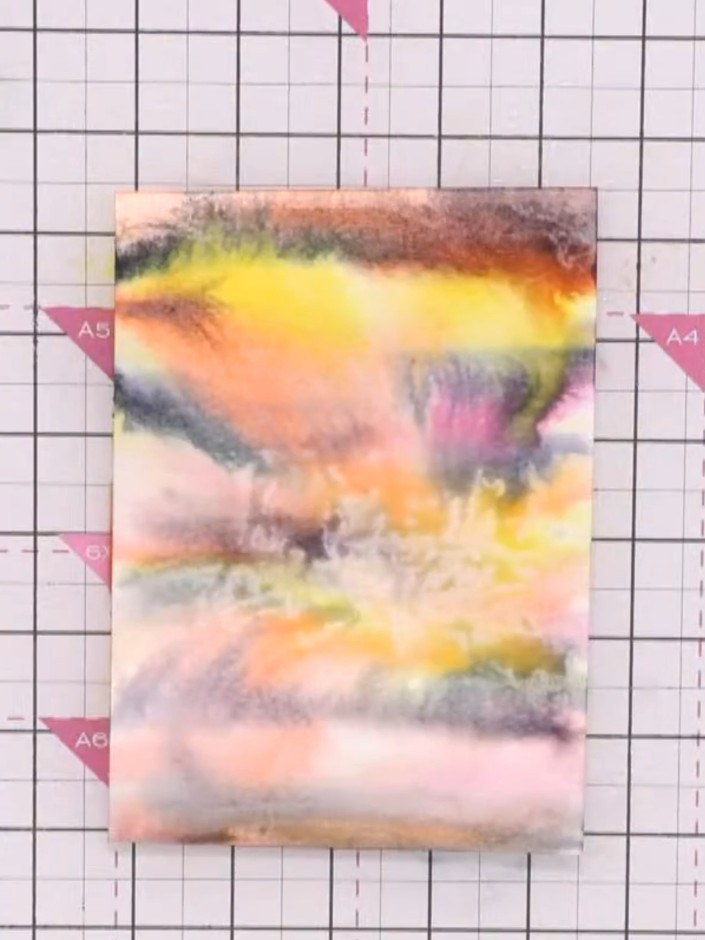
Use a piece of tissue paper to lift out colour from the areas where you flicked water, creating bleached spots and highlights in the watercolour background.
▶ diesen Schritt ansehen (39:30)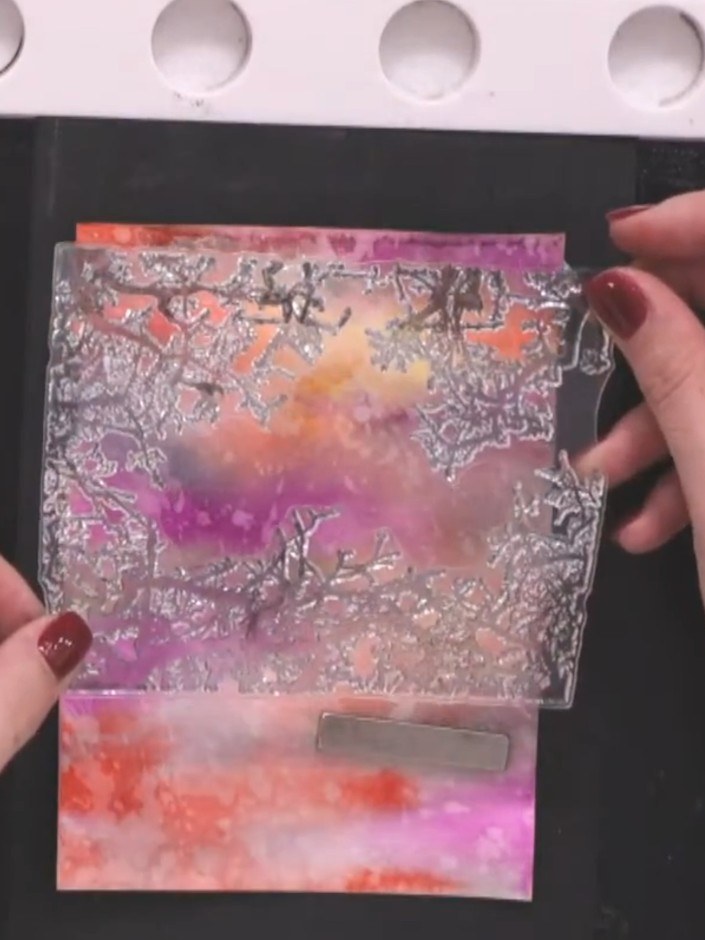
Stamp the reflective tree frame design around the edges of your watercolour panel using black ink, creating a border effect whilst leaving the centre section clear.
▶ diesen Schritt ansehen (47:00)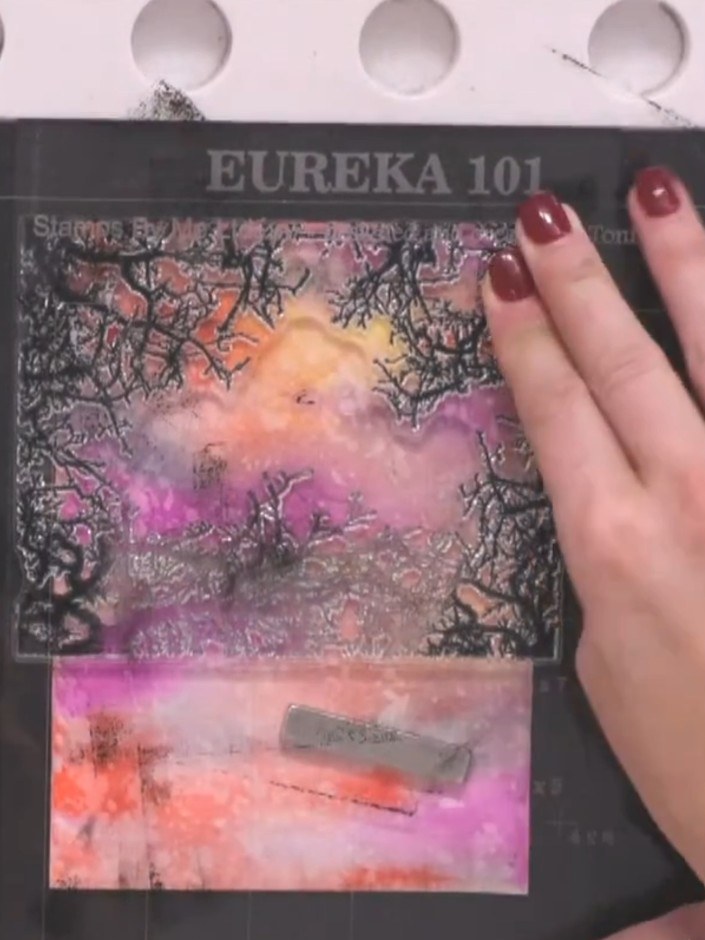
Rotate the tree frame stamp and re-stamp around the edges of the watercolour panel to fill in any gaps and create a continuous border effect around all sides of the card.
▶ diesen Schritt ansehen (48:30)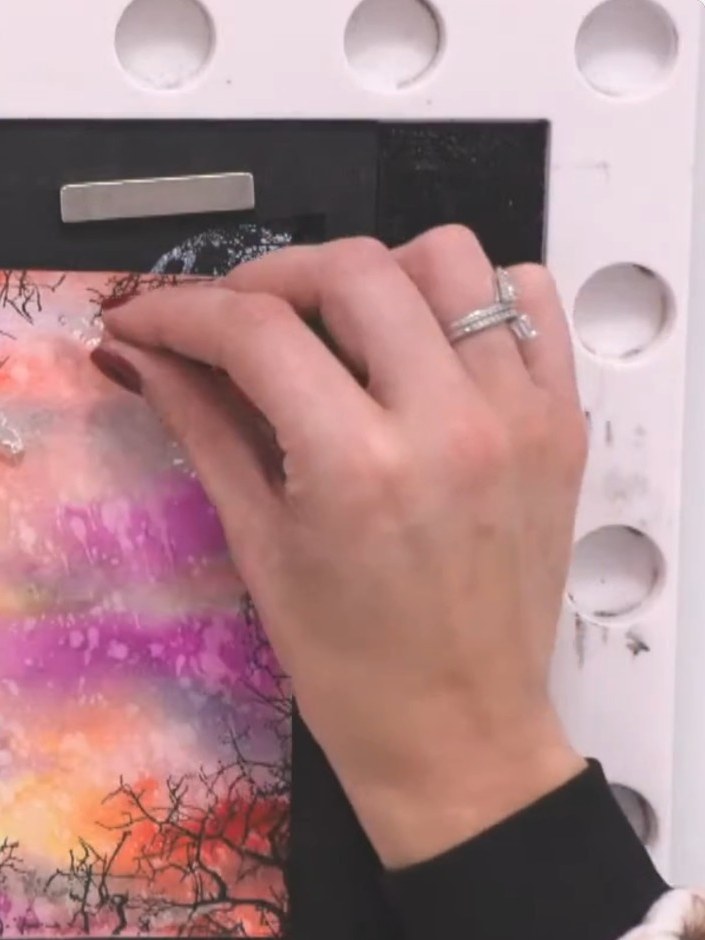
Stamp bat silhouettes scattered across the watercolour background using black ink. Position the bats randomly across the sky area of the card for a natural Halloween effect.
▶ diesen Schritt ansehen (50:00)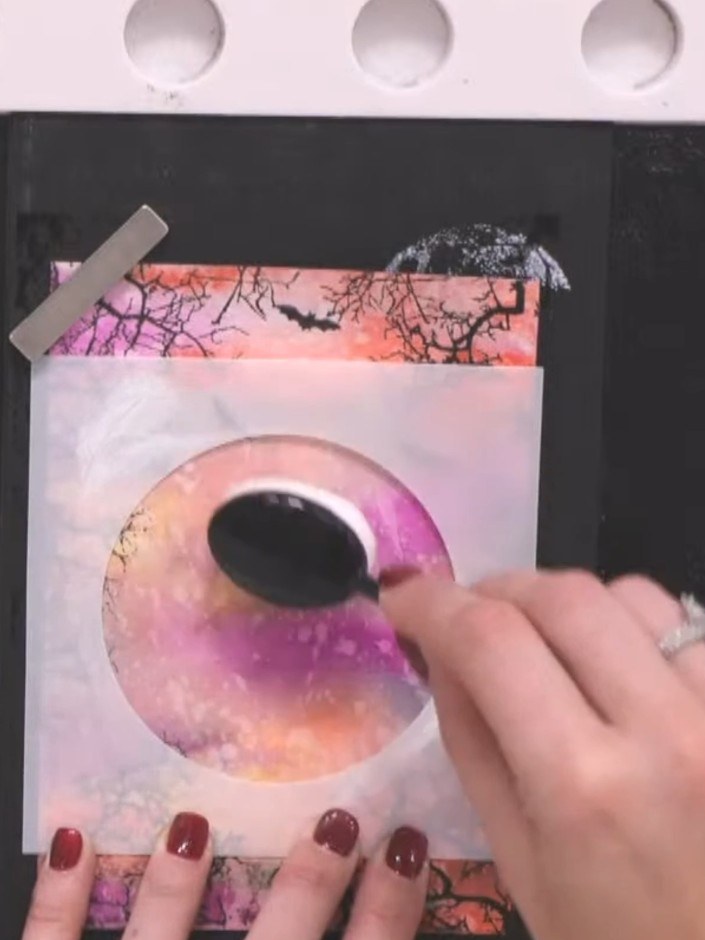
Stamp the reflection children figures in the centre of the card using black ink, positioning the reflection below the main image.
▶ diesen Schritt ansehen (51:00)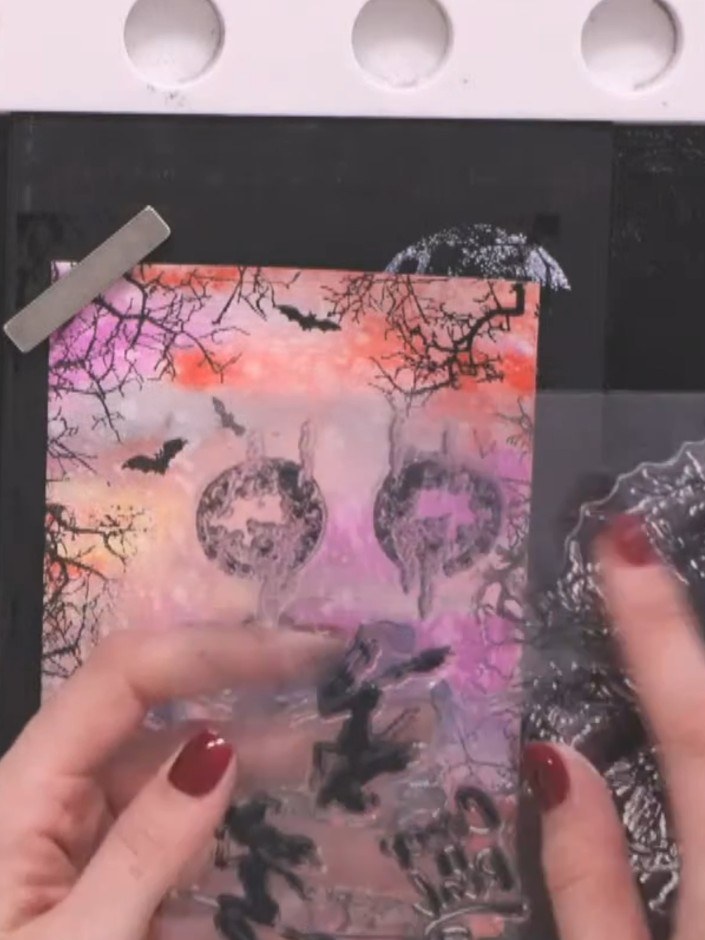
Use a circular stencil to add moon shapes in the centre of the card using light grey or black ink. Position the circles in the middle area of the background.
▶ diesen Schritt ansehen (52:00)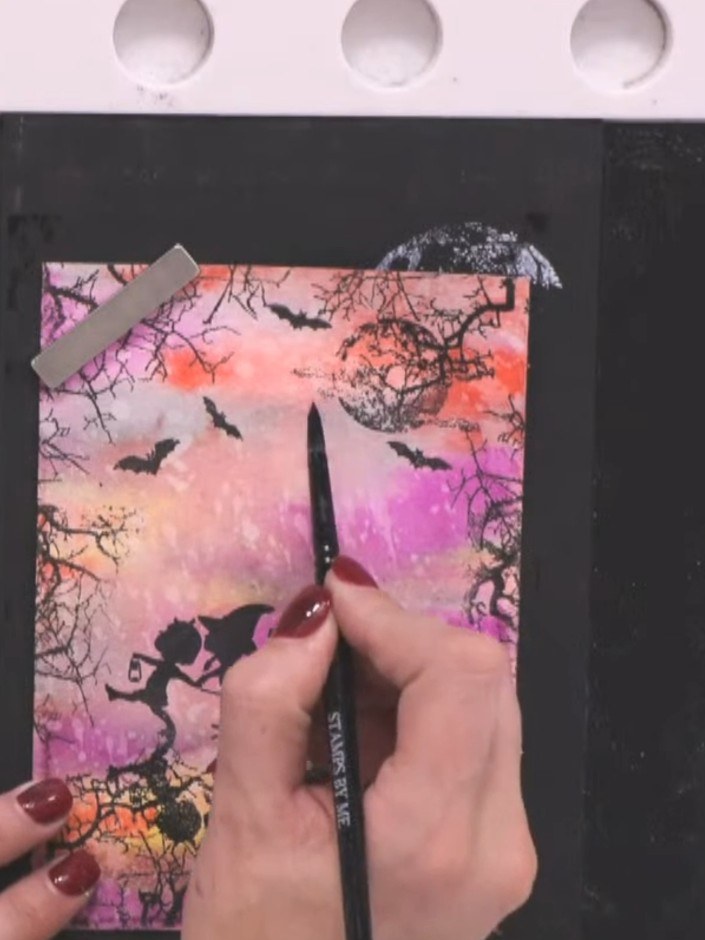
Using a wet brush, paint water onto the moon area and create radiating lines outward. Lift the wet areas with tissue to bleach out moody lines in the background.
▶ diesen Schritt ansehen (54:00)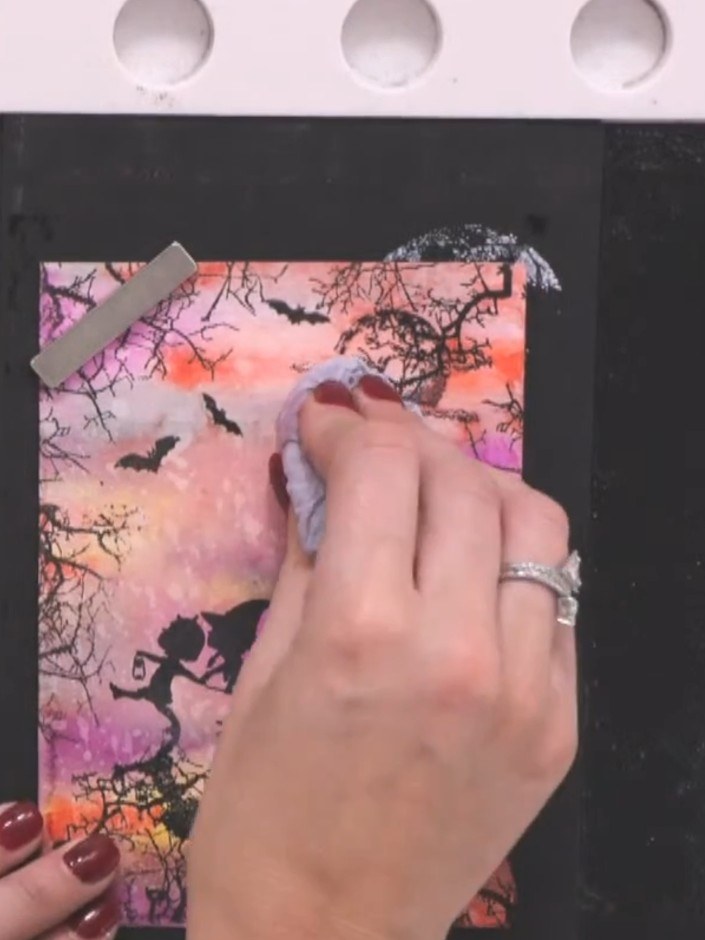
Use a white gel pen to add highlights to the tops of all elements. Add highlights to the tree tops, children's heads, bat wings and moon to create light reflection effects.
▶ diesen Schritt ansehen (55:00)Direkt aus der Show aufgeschrieben. Alle Anleitungen aus unseren Shows ansehen · kostenlose Anleitungen · live auf My Telly ansehen