Schenke deinen Freundinnen und Freunden 10 € Rabatt auf ihre erste Bestellung!
Freunde WERBEN








Ein Projekt aus unserer Live-Show MONTAGS-PODCAST - Hol dir meine neuesten News und Updates - Sendung vom 11. SEPT. 2023 · 11.09.2023 · ab 19:45 ansehen
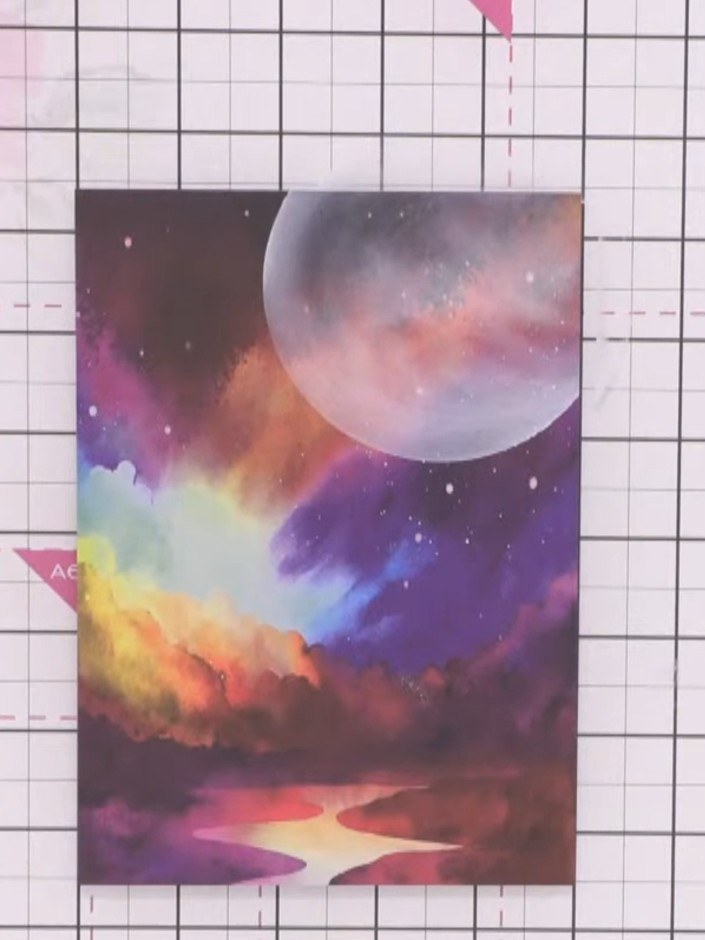
Create a stunning celestial card featuring a luminous moon with a soft glowing halo effect. This galaxy-inspired design showcases vibrant purples, oranges, yellows and blues in a dreamy cosmic sky with a reflective water scene below. Using stencilling and white ink layering techniques, you'll build depth and achieve a beautiful ethereal glow around your moon centrepiece.
DIESE ANLEITUNG HERUNTERLADEN (PDF)
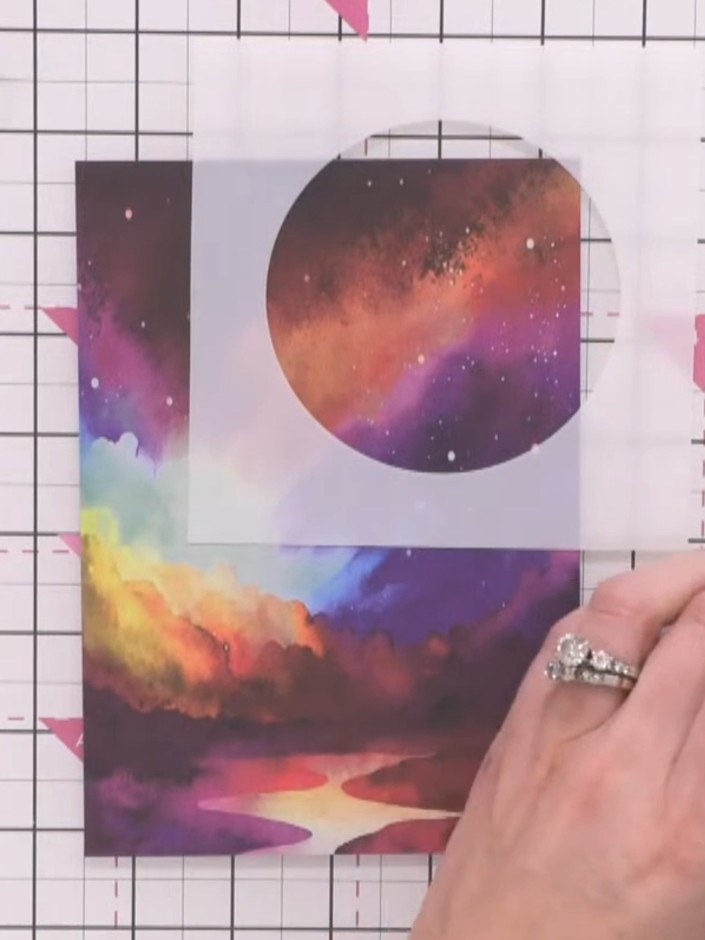
Position the moon stencil on your galaxy card background near the top of the card. The circular moon shape should be placed in the upper portion, above the landscape scene.
▶ diesen Schritt ansehen (20:00)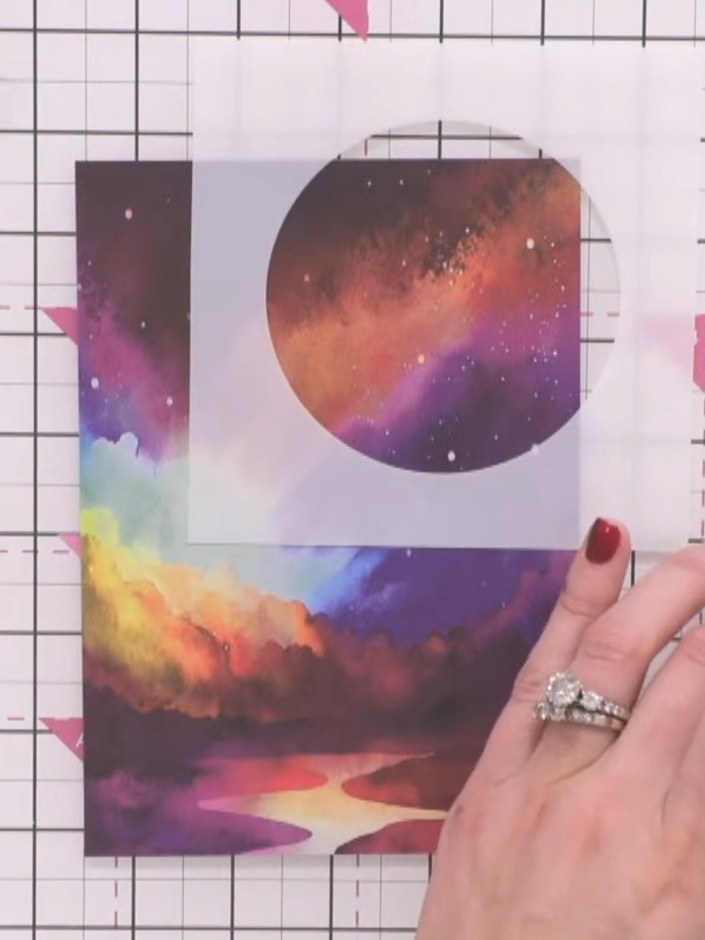
Tap white ink off your brush onto the stencil to avoid over-saturating. Apply the ink very lightly over the moon stencil using a flat-headed brush.
▶ diesen Schritt ansehen (20:15)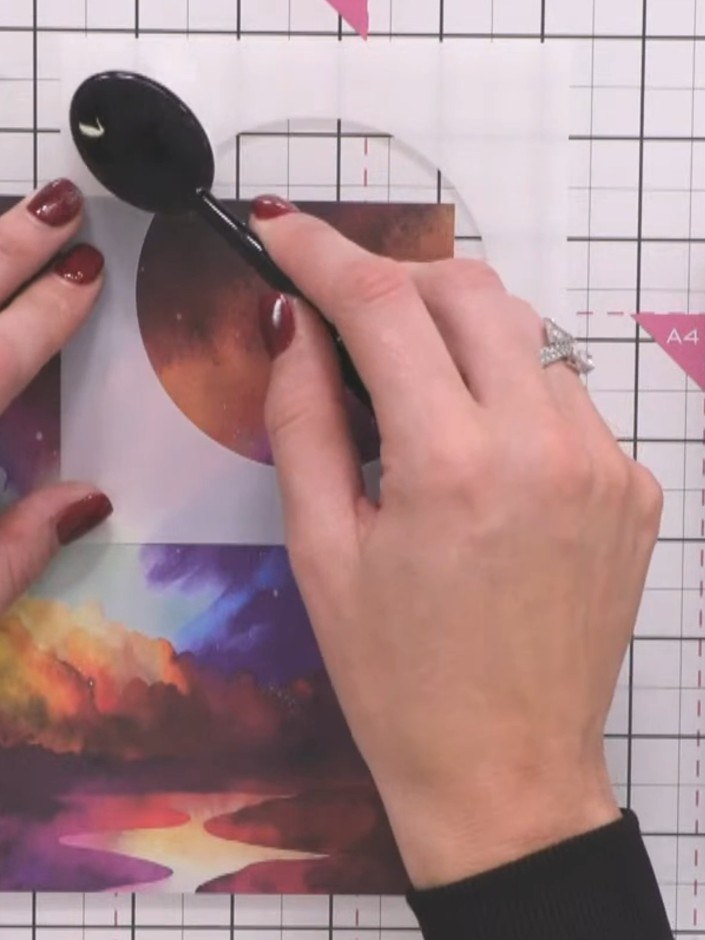
Use smooth, gentle brush strokes to blend the white ink evenly across the stencil opening. Work lightly to create a soft, even coverage over the moon shape.
▶ diesen Schritt ansehen (20:30)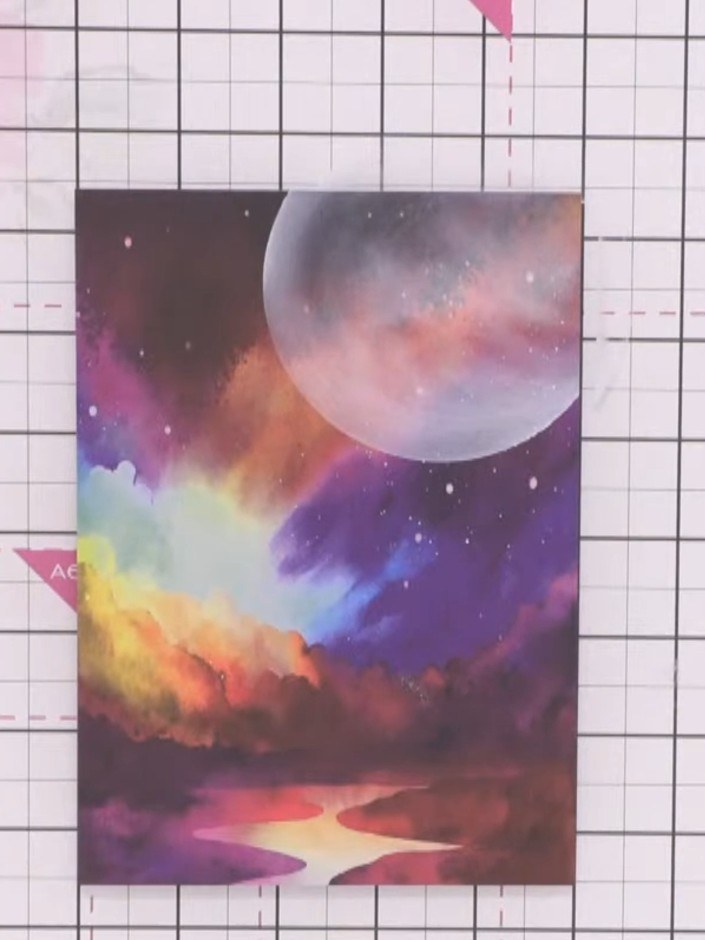
Carefully lift the stencil straight up to reveal your moon shape. The moon should have a soft, blended appearance with pink and orange tones against the colourful galactic background.
▶ diesen Schritt ansehen (21:00)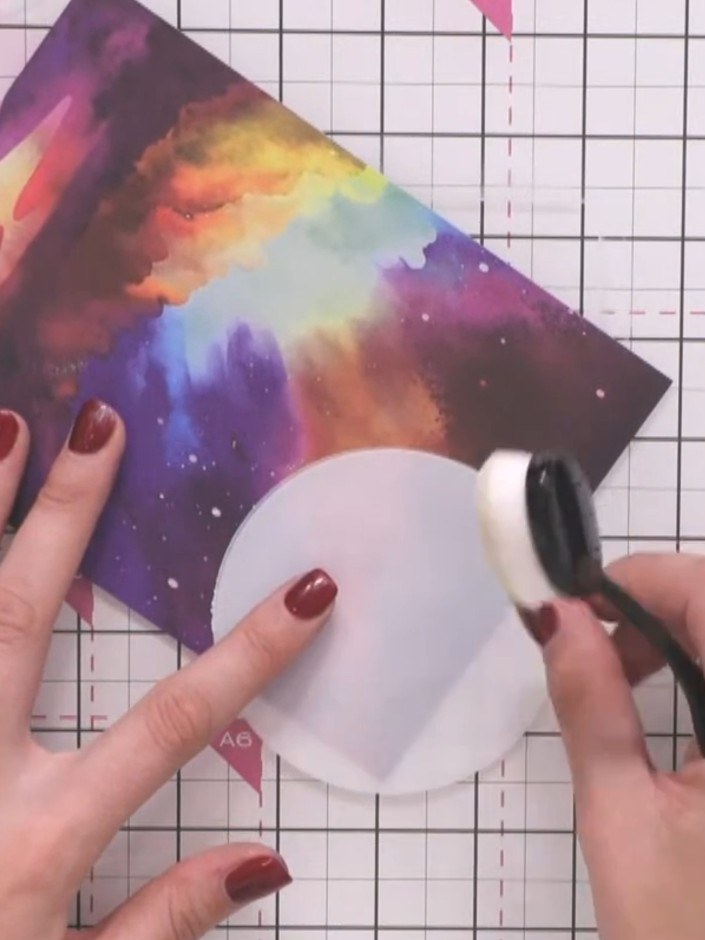
Position the circular stencil directly over your stamped moon image, aligning it carefully to match the moon's position on the galactic background.
▶ diesen Schritt ansehen (21:15)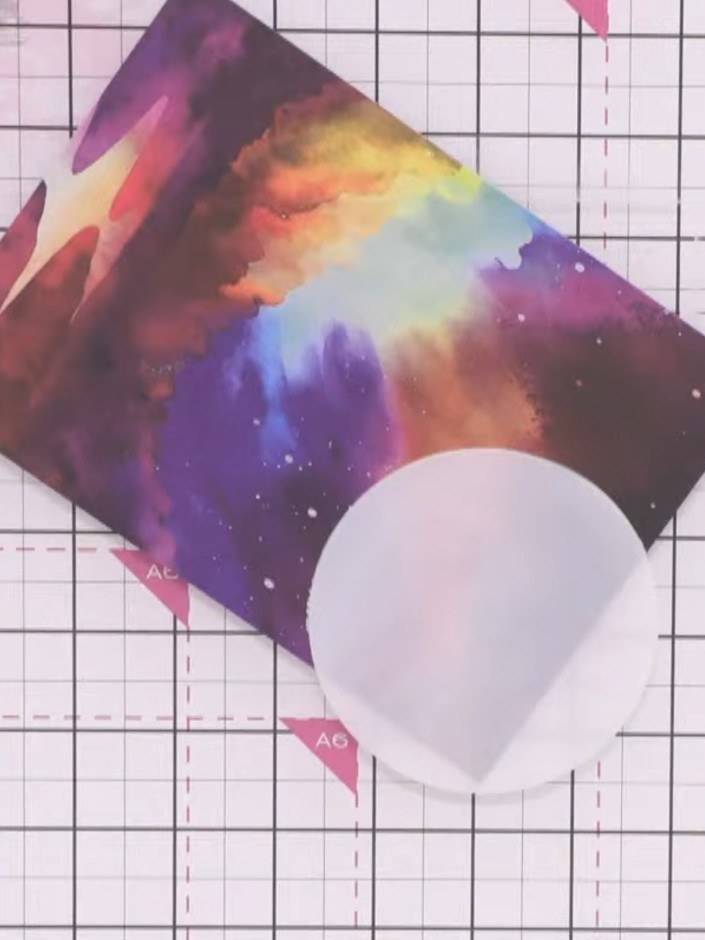
Remove most of the white ink from your brush by dabbing it on scrap paper. Lightly apply a soft layer of white ink around the edges of the moon to create a subtle glow effect.
▶ diesen Schritt ansehen (21:30)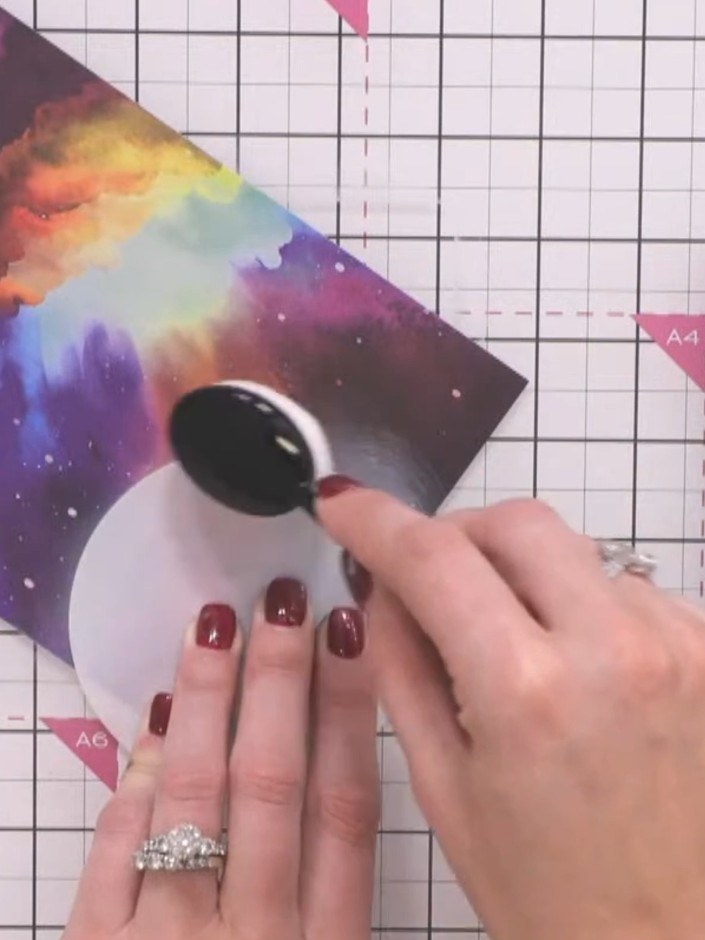
If the glow appears too harsh, blend it gently with a clean, dry brush to soften the transition and create a more subtle effect.
▶ diesen Schritt ansehen (22:00)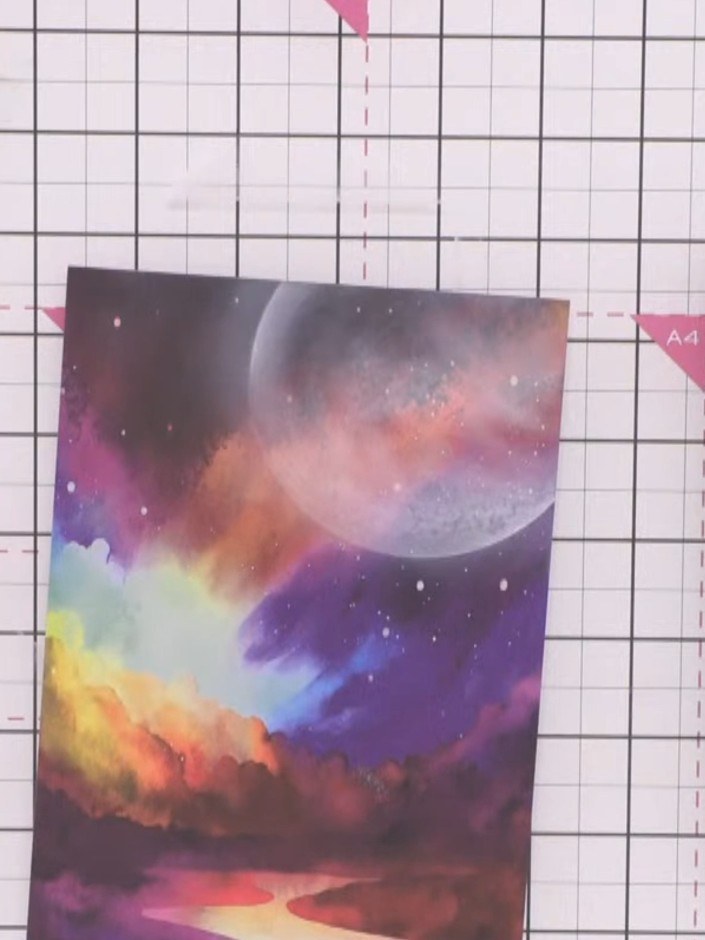
Carefully lift the moon stencil away from the card to reveal your moon design with a soft halo effect around it.
▶ diesen Schritt ansehen (22:30)Direkt aus der Show aufgeschrieben. Alle Anleitungen aus unseren Shows ansehen · kostenlose Anleitungen · live auf My Telly ansehen