Schenke deinen Freundinnen und Freunden 10 € Rabatt auf ihre erste Bestellung!
Freunde WERBEN








Ein Projekt aus unserer Live-Show THE ART OF CARDISTRY – Sei bei meiner kreativen Karten-Session mit all meinen wunderbaren Fans aus den USA dabei – Ausstrahlung: 11. SEPT. 23 · 11.09.2023 · ab 34:15 ansehen
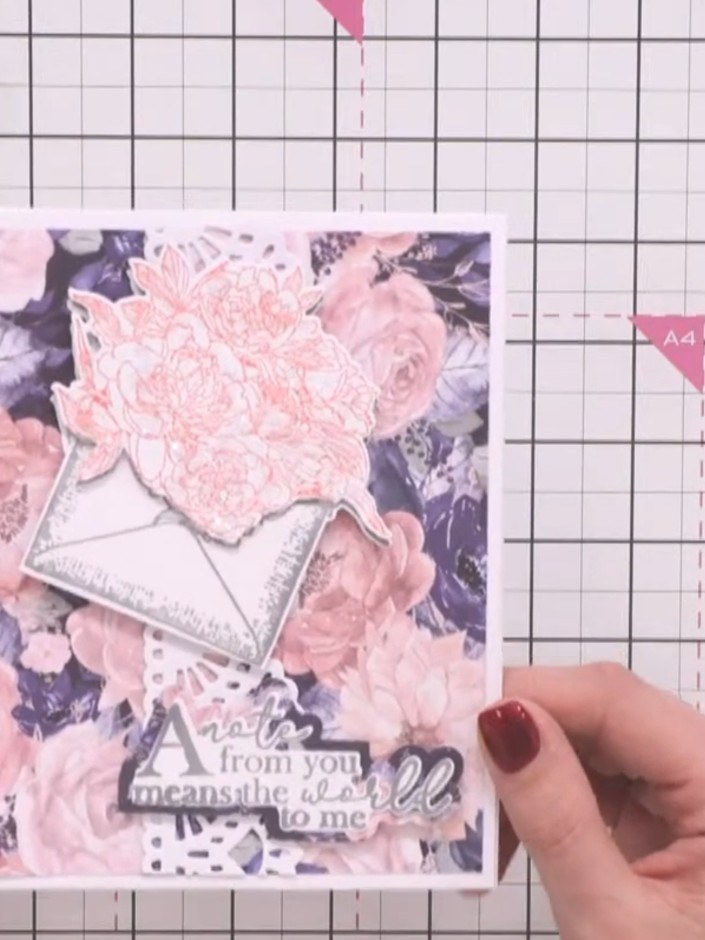
Create an elegant greeting card using the Midnight Blooms collection in navy and pink. This project features a beautiful floral patterned background, a decorative vellum envelope overlay with dimensional layered flowers, and a heartfelt sentiment. The design combines stamping, die-cutting, and layering techniques to achieve a sophisticated finish.
DIESE ANLEITUNG HERUNTERLADEN (PDF)
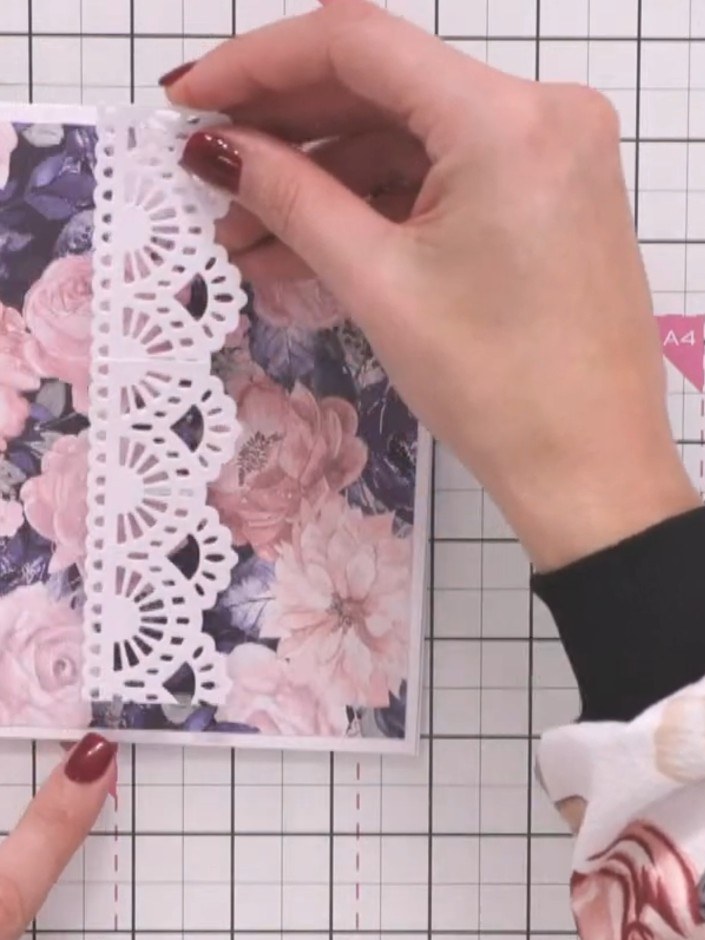
Cut two decorative lace border dies and overlap them on the floral patterned paper until the pattern repeats seamlessly. Secure the overlapped dies at the back with tape.
▶ diesen Schritt ansehen (34:15)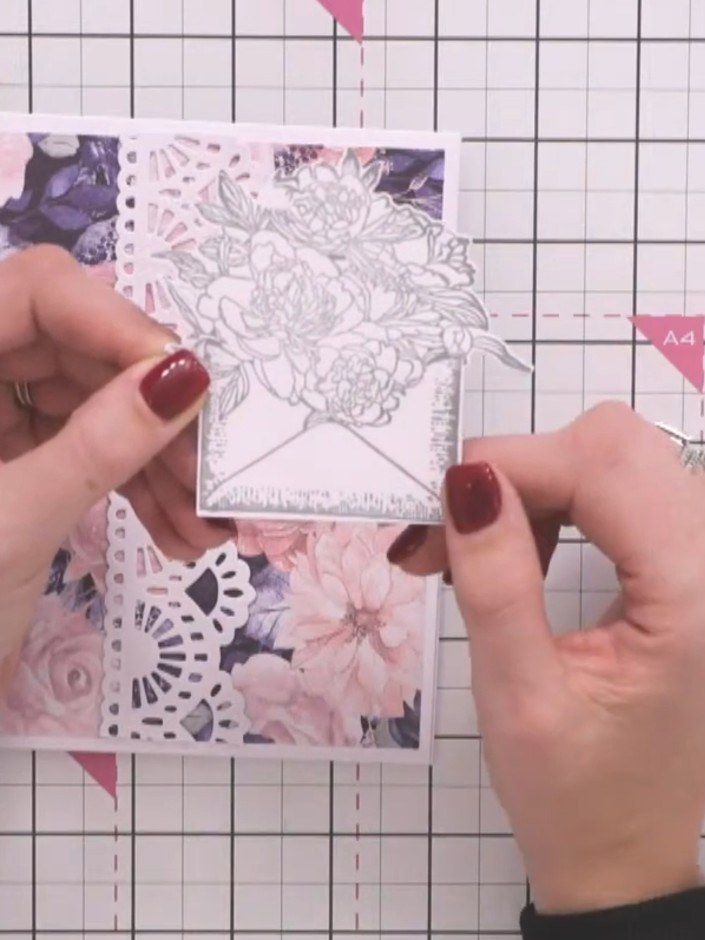
Position the decorative lace border down one side of your floral card base, placing it slightly off-centre. Adhere the border in place, choosing either grey or pink to complement your design.
▶ diesen Schritt ansehen (34:30)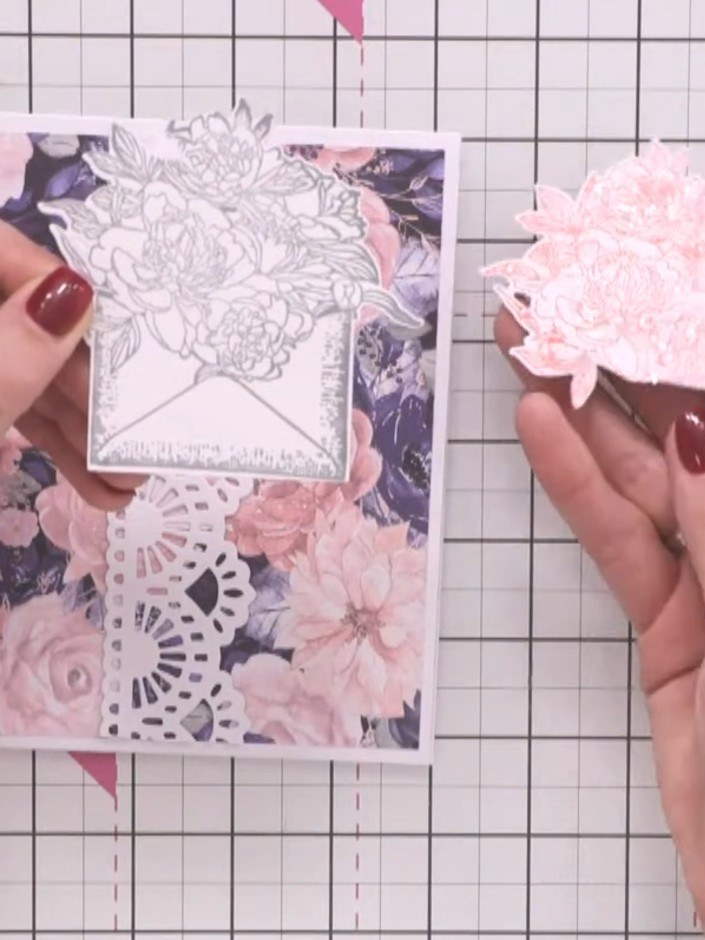
Stamp the envelope with the floral design twice—once using grey ink and once using pink ink. Position the stamped flowers decoratively on the envelope.
▶ diesen Schritt ansehen (34:45)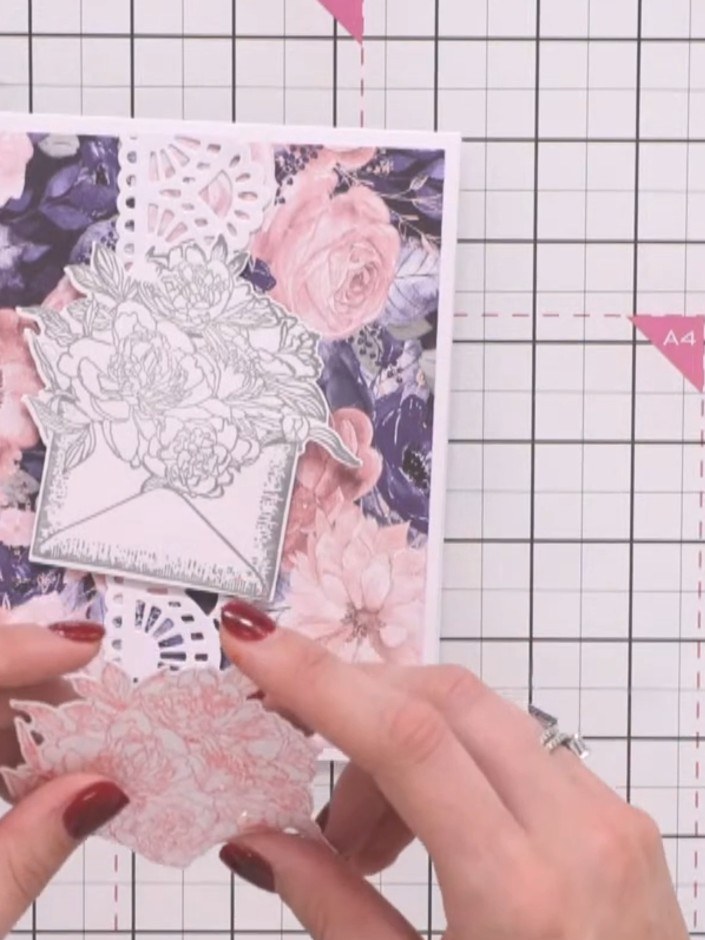
Fussy cut the flowers from the pink stamped version, carefully cutting around the floral details whilst leaving the envelope outline intact.
▶ diesen Schritt ansehen (35:00)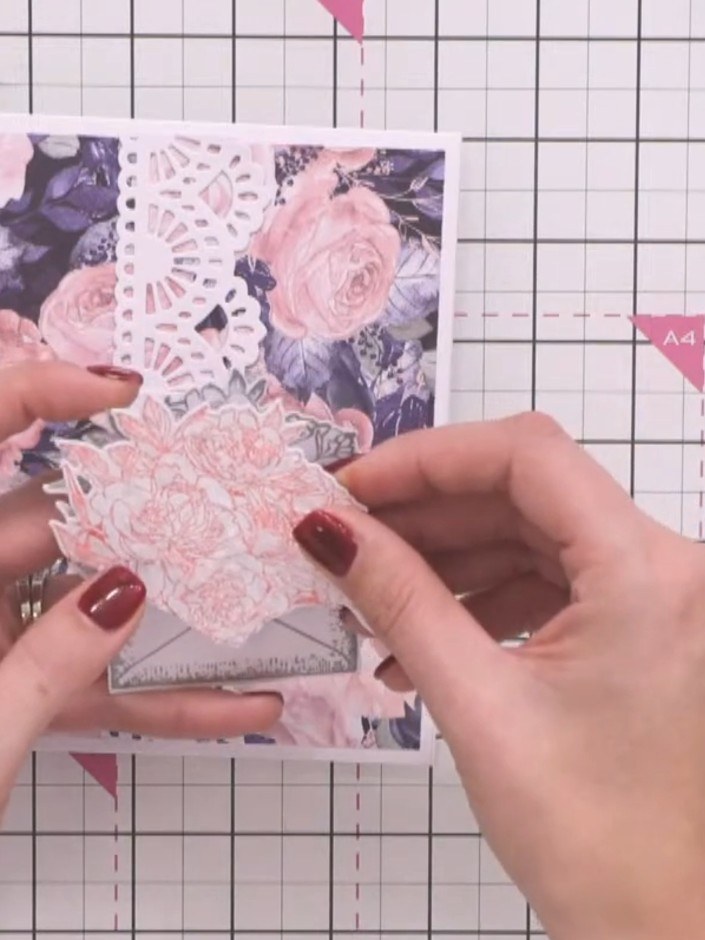
Layer the pink flower die-cut on top of the grey envelope stamp to create a 3D bouquet effect. Position the pink flowers over the stamped image on the card front.
▶ diesen Schritt ansehen (35:15)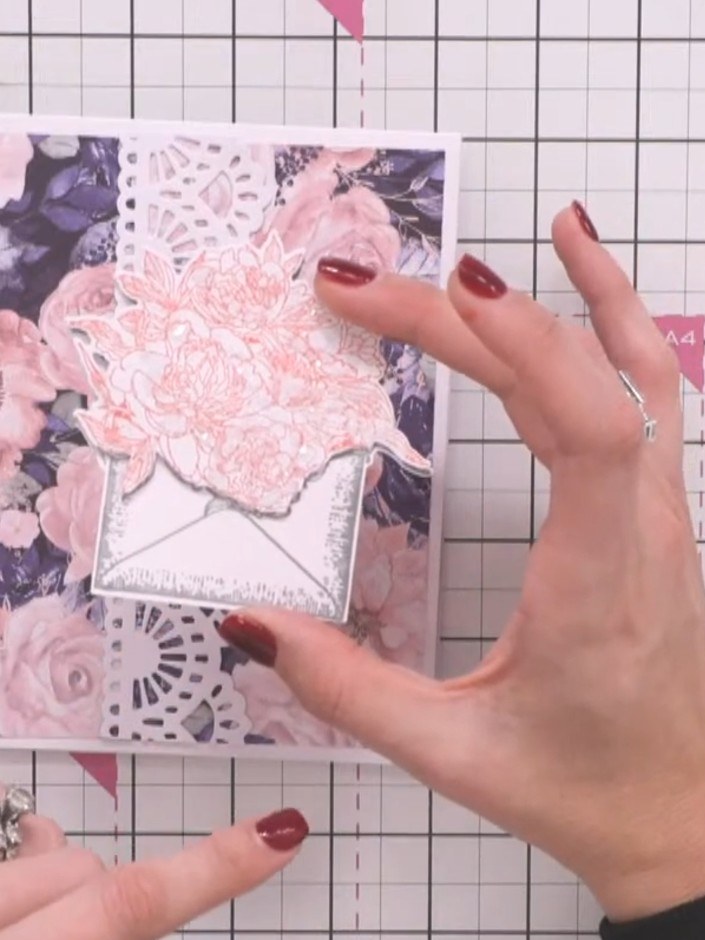
Add sparkle embellishments to the floral bouquet on your card. Position them amongst the flowers to add dimension and shine to the design.
▶ diesen Schritt ansehen (35:30)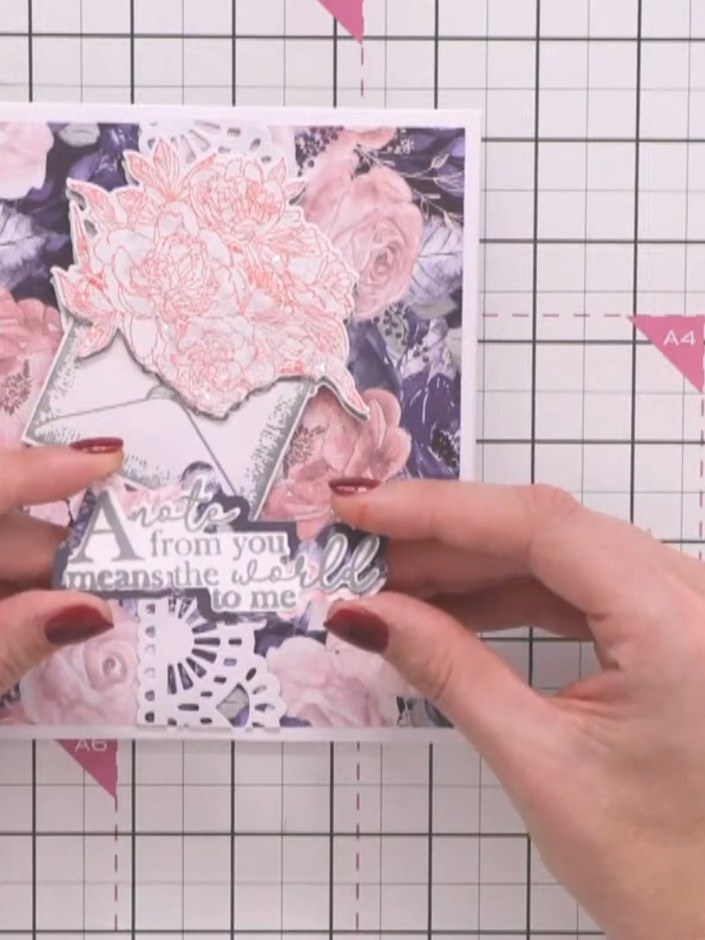
Adhere the 3D layered envelope embellishment onto the card front using foam pads or adhesive.
▶ diesen Schritt ansehen (35:45)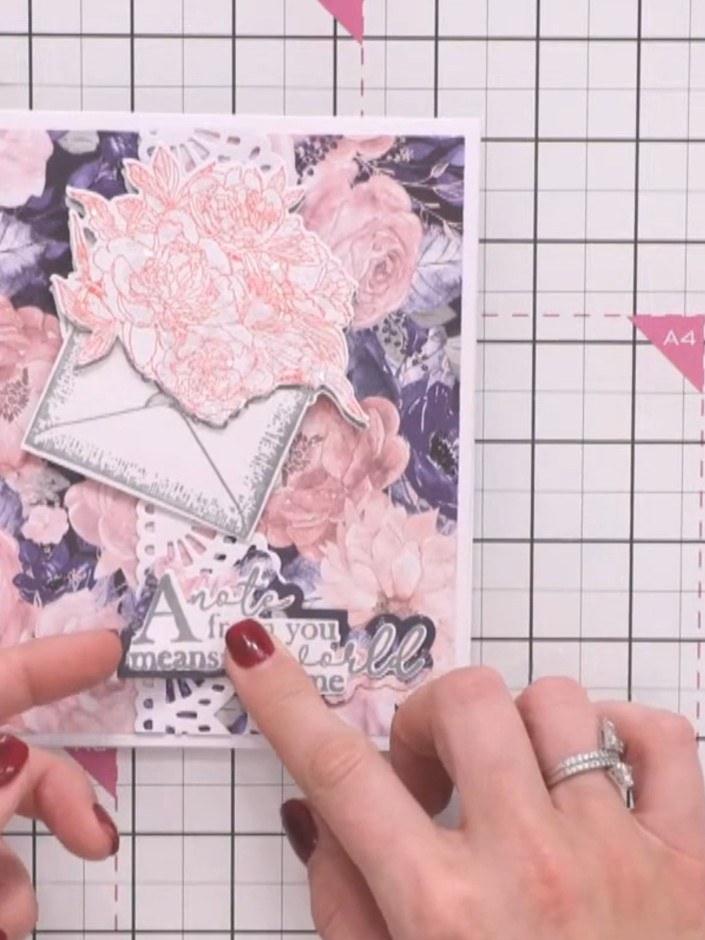
Stamp the sentiment 'A note from you means the world to me' onto coordinating paper. Add a matte layer beneath the sentiment to create depth and dimension.
▶ diesen Schritt ansehen (36:00)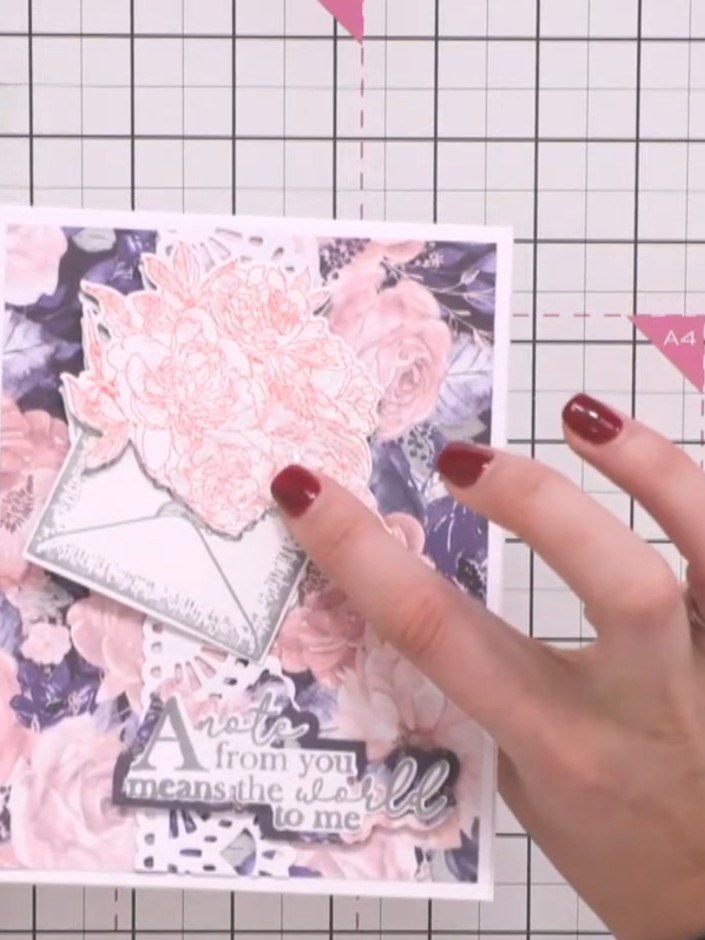
Adhere the sentiment matte layer to the card front using foam pads or adhesive.
▶ diesen Schritt ansehen (36:15)Direkt aus der Show aufgeschrieben. Alle Anleitungen aus unseren Shows ansehen · kostenlose Anleitungen · live auf My Telly ansehen
