Schenke deinen Freundinnen und Freunden 10 € Rabatt auf ihre erste Bestellung!
Freunde WERBEN








Ein Projekt aus unserer Live-Show THE ART OF CARDISTRY – Sei bei meiner kreativen Karten-Session mit all meinen wunderbaren Fans aus den USA dabei – Ausstrahlung: 11. SEPT. 23 · 11.09.2023 · ab 50:15 ansehen
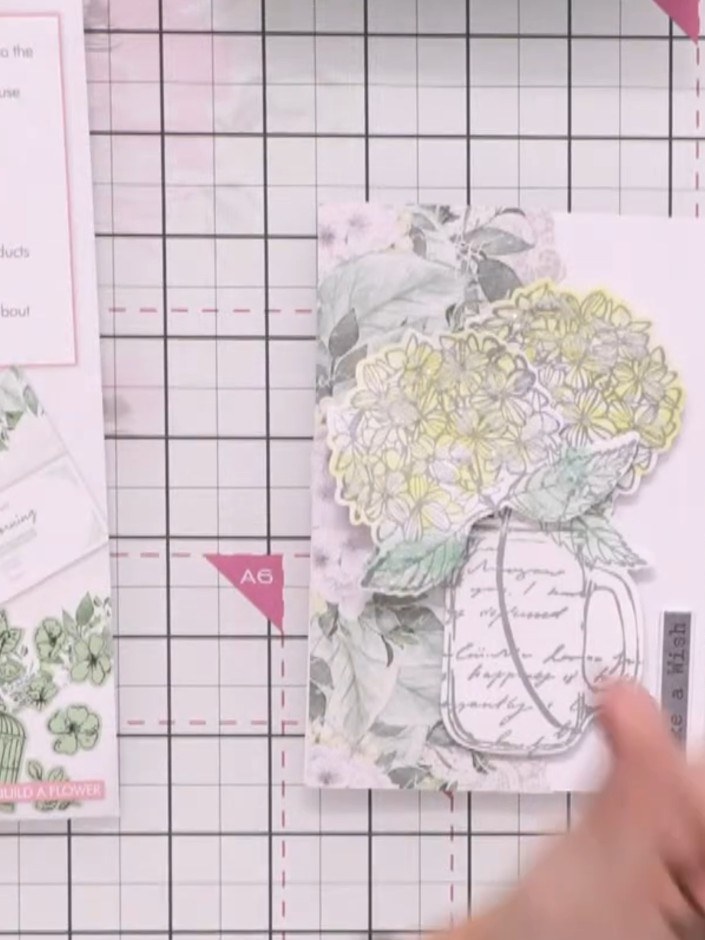
Create a beautiful spring-themed card featuring a mason jar filled with delicate hydrangea blooms in soft yellows and whites. This charming design uses layered die-cut flowers to create stunning 3D dimension, complemented by eucalyptus foliage and a vintage script background. The finished card showcases elegant stamping and decoupage techniques to bring the floral arrangement to life.
DIESE ANLEITUNG HERUNTERLADEN (PDF)
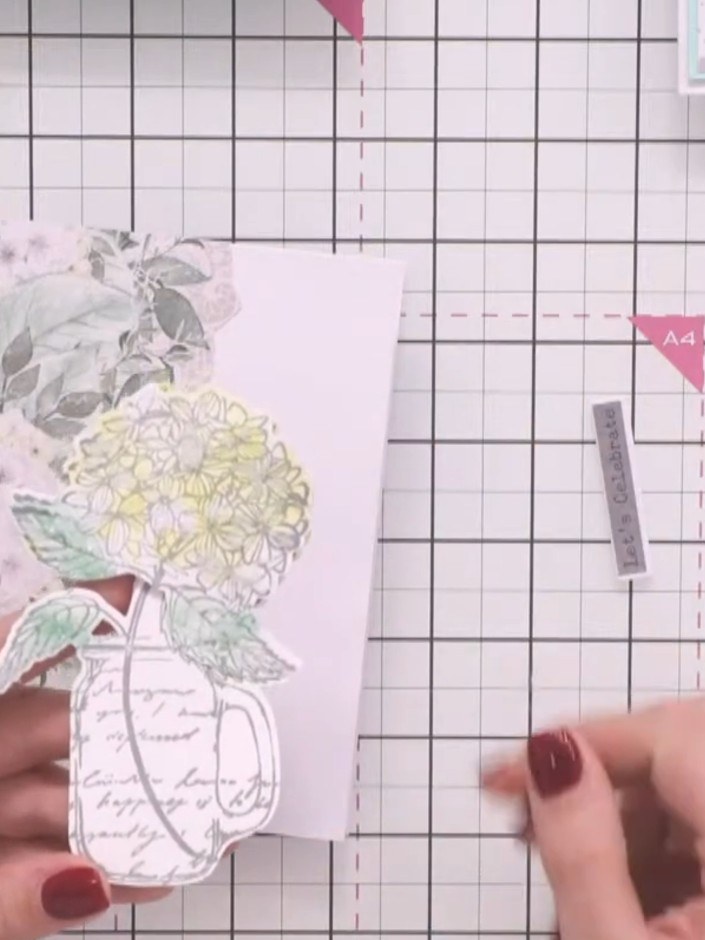
Cut a panel from the Spring Morning pattern paper collection. Adhere the panel to the front of your card base using adhesive.
▶ diesen Schritt ansehen (50:15)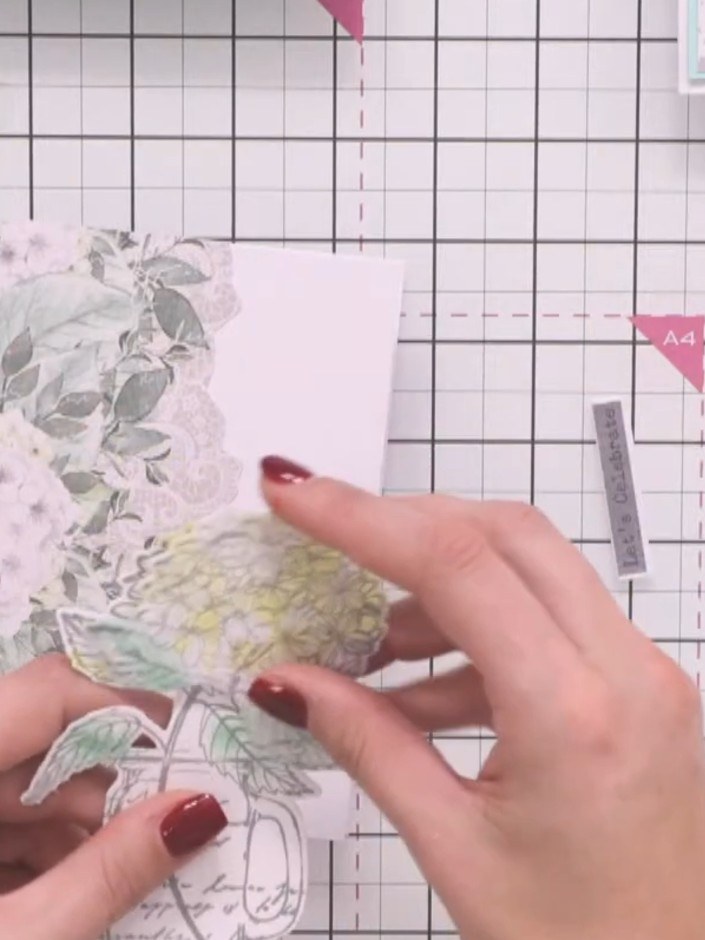
Layer decorative die-cut floral elements together to create dimensional embellishments for your card.
▶ diesen Schritt ansehen (50:30)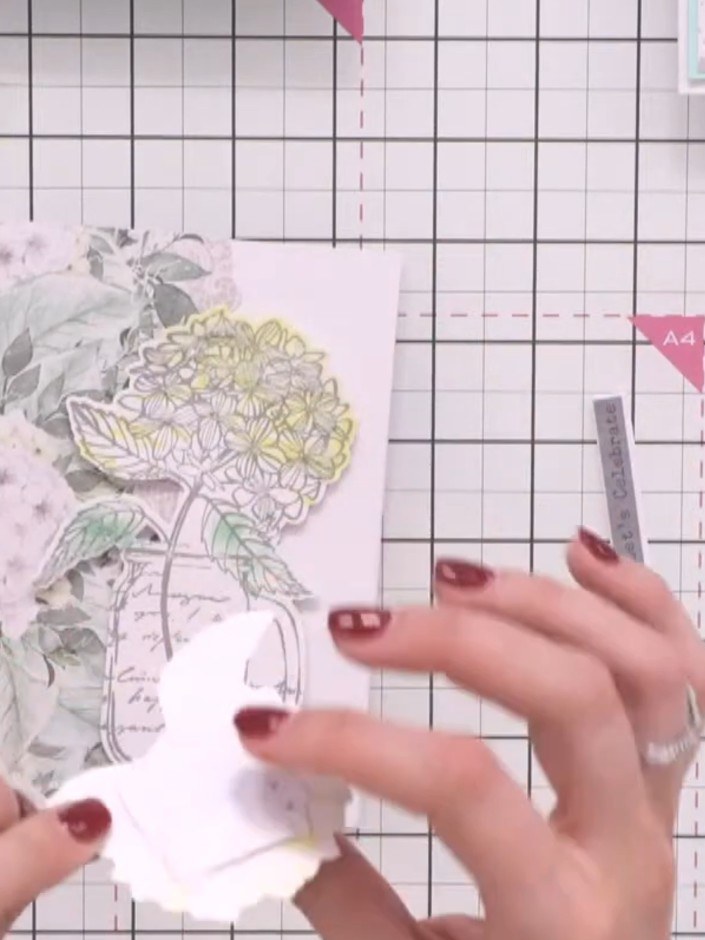
Use the coordinating die to cut out the mason jar image. Position the die slightly off the edge of the paper to create dimension for your 3D element.
▶ diesen Schritt ansehen (50:45)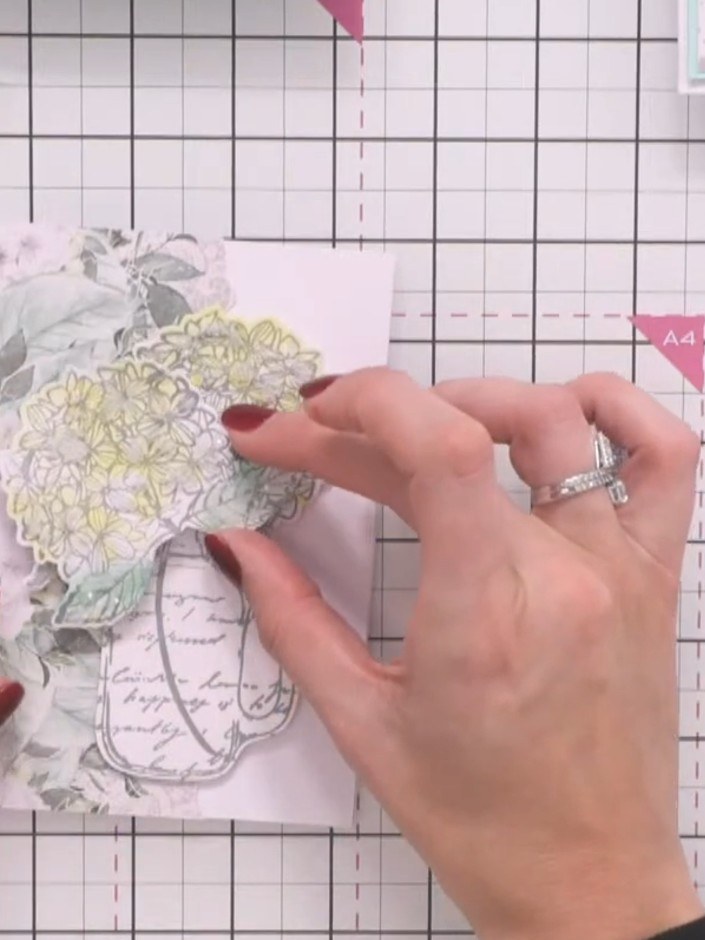
Stamp the mason jar image a second time and layer it on top of the first stamped image to create a 3D effect. Position it carefully to align with the base layer.
▶ diesen Schritt ansehen (51:00)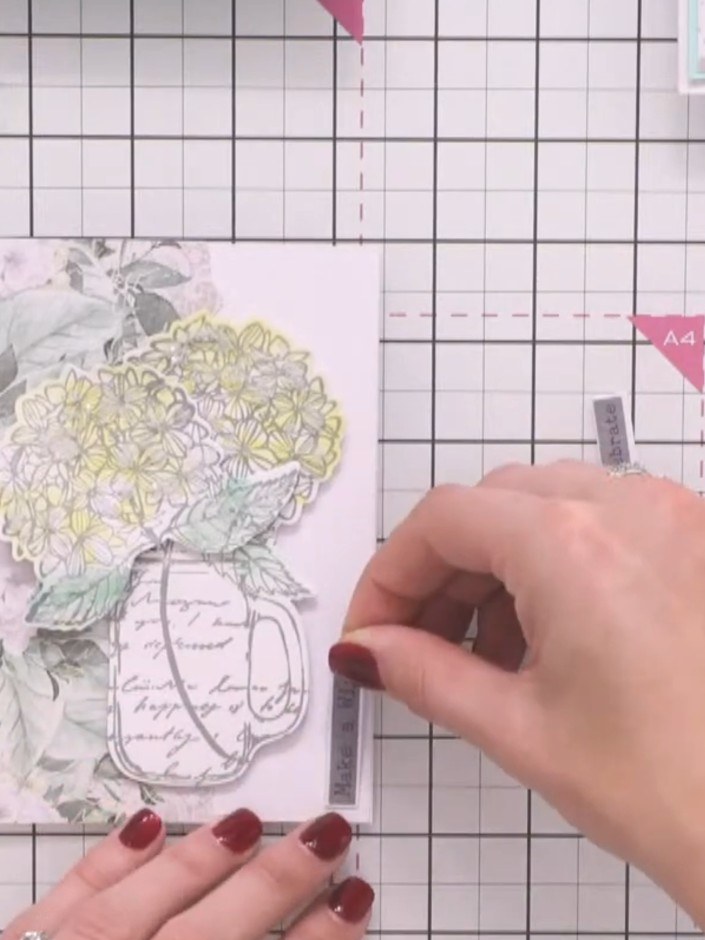
Add sparkle embellishments to the mason jar using adhesive. Apply glitter or glittery details to enhance the jar design.
▶ diesen Schritt ansehen (51:15)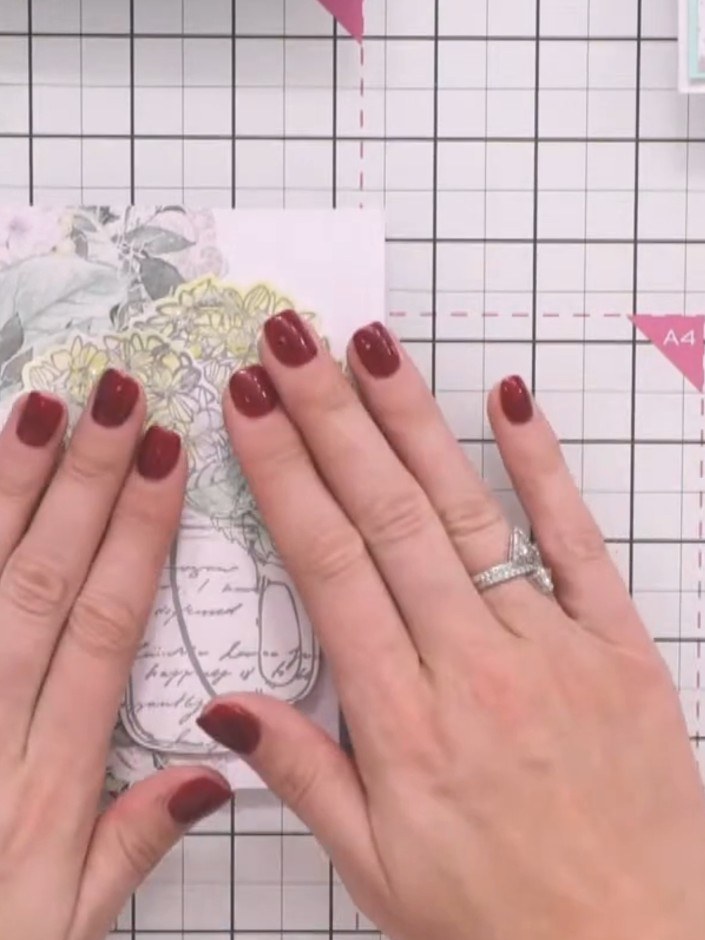
Adhere the completed 3D hydrangea mason jar topper to the front of your card base. Position it centrally and press firmly to secure.
▶ diesen Schritt ansehen (51:30)Direkt aus der Show aufgeschrieben. Alle Anleitungen aus unseren Shows ansehen · kostenlose Anleitungen · live auf My Telly ansehen
