Schenke deinen Freundinnen und Freunden 10 € Rabatt auf ihre erste Bestellung!
Freunde WERBEN








Ein Projekt aus unserer Live-Show THE ART OF CARDISTRY – Sei bei meiner kreativen Karten-Session mit all meinen wunderbaren Fans aus den USA dabei – Ausstrahlung: 11. SEPT. 23 · 11.09.2023 · ab 1:03:45 ansehen
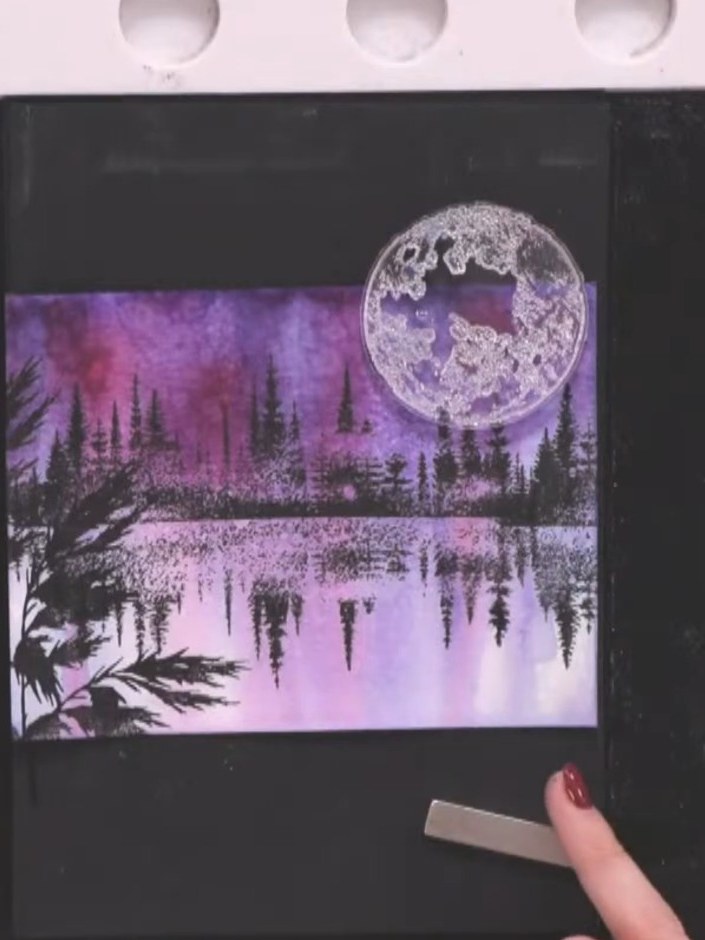
Create a stunning atmospheric forest scene card featuring a vibrant purple and pink sky with silhouette trees reflected in water below and a detailed moon above. Using the Reflection Collection stamps, you'll build up layers of trees and foliage in black against the coloured background, with the built-in reflection effect creating depth and realism. This striking card demonstrates how to achieve a professional-looking landscape scene with simple stamping techniques.
DIESE ANLEITUNG HERUNTERLADEN (PDF)
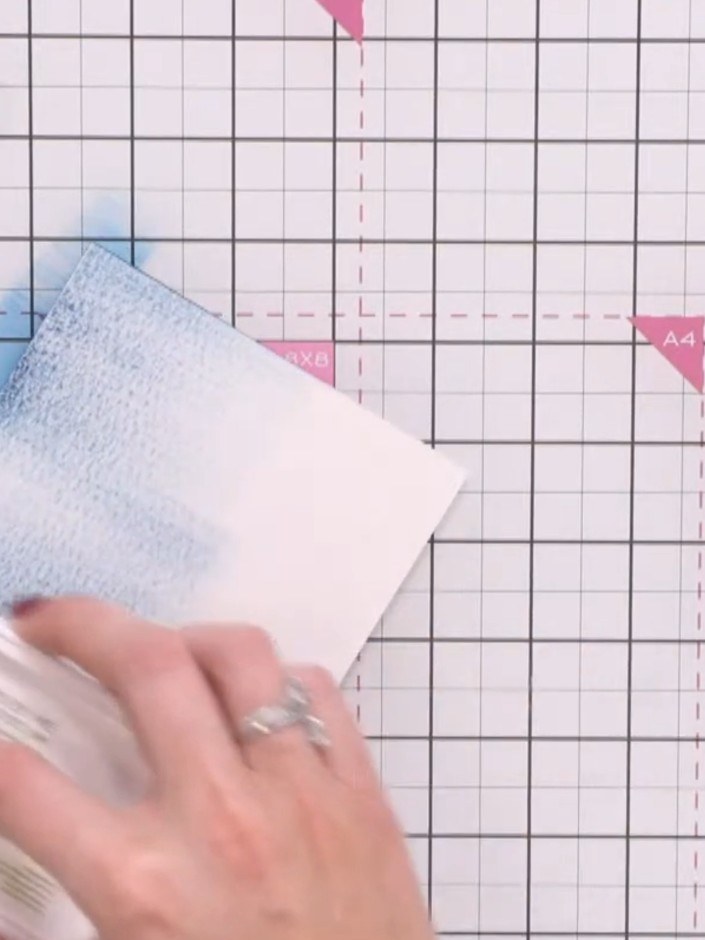
Swipe the Tiffany blue ink pad down the left side of your white card base. Continue building up colour layers by swiping the magenta and indigo ink pads alongside, creating a blended effect.
▶ diesen Schritt ansehen (1:03:45)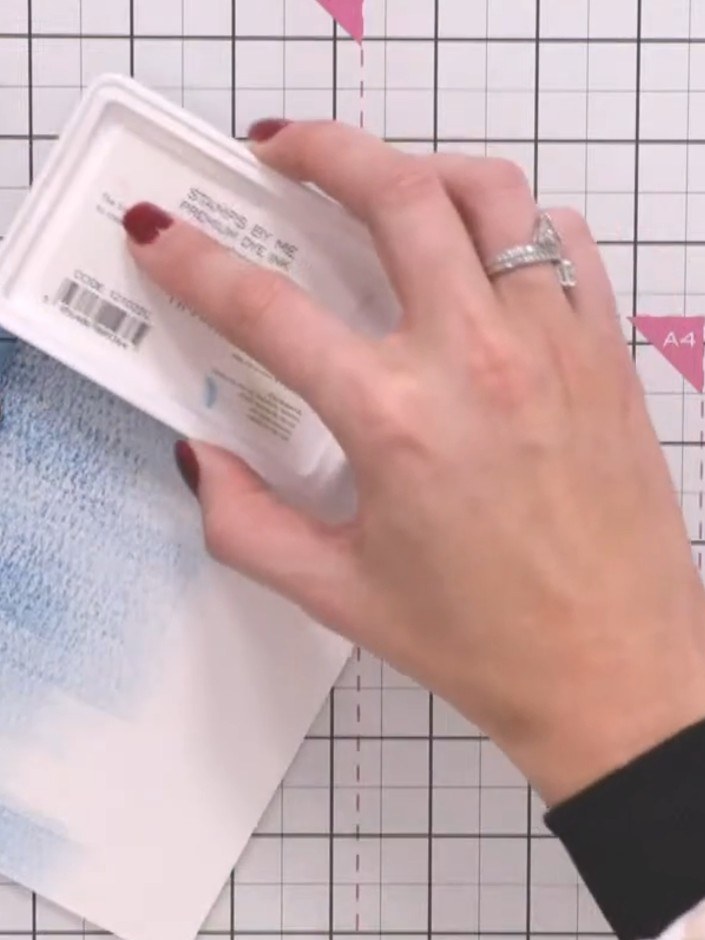
Lightly spray the inked card with water from a spray bottle to create a watercolour effect. Hold the bottle above the card and mist gently to allow the colours to blend.
▶ diesen Schritt ansehen (1:04:00)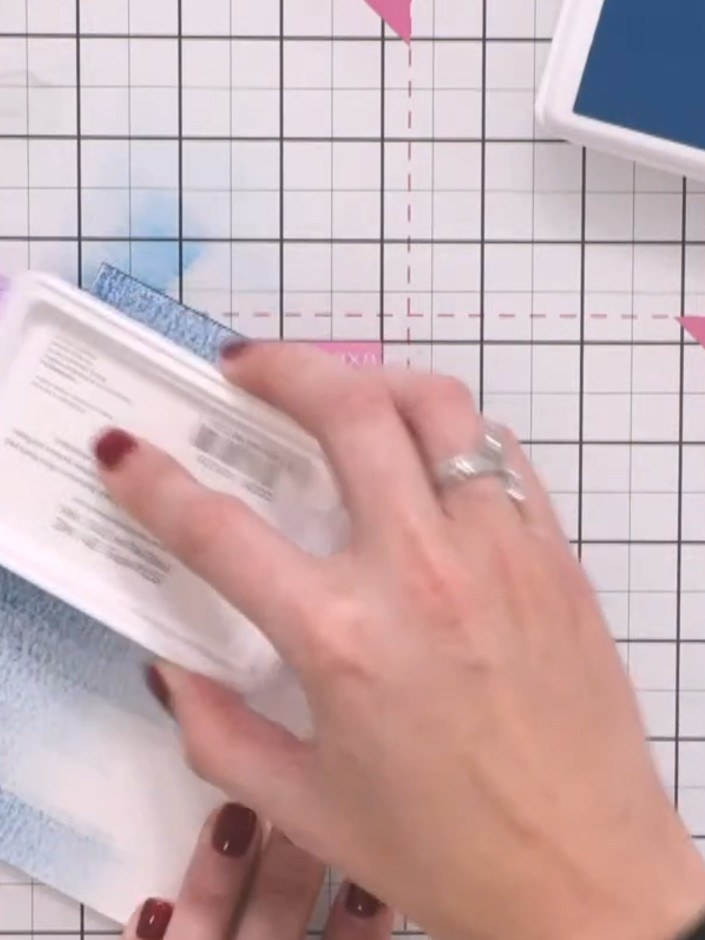
Gently tap the card to allow the water and ink to blend together, creating an atmospheric effect with the purple and blue colours merging.
▶ diesen Schritt ansehen (1:04:15)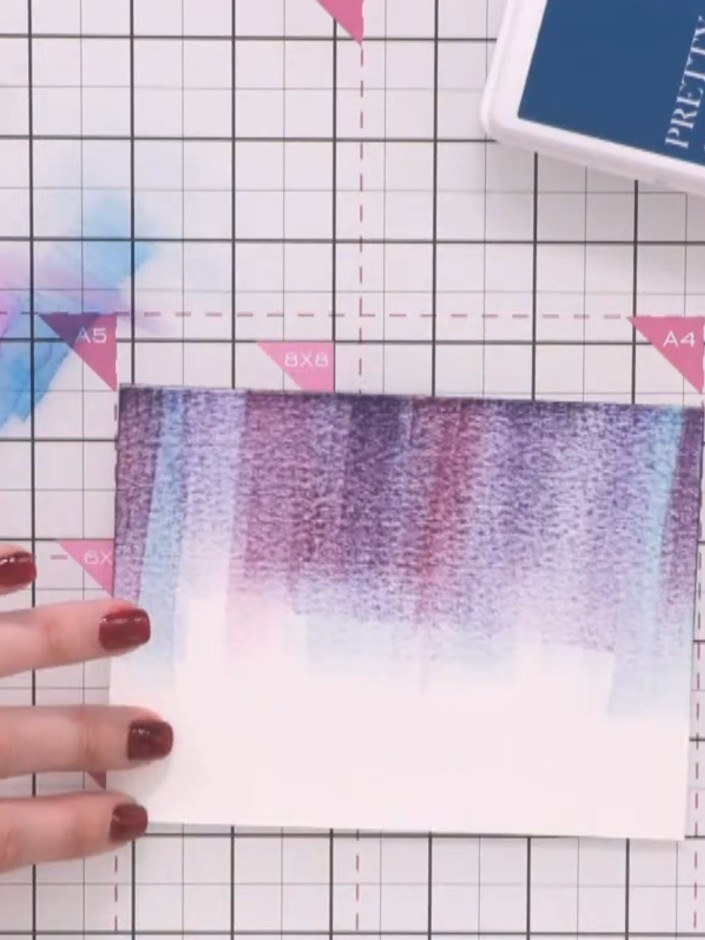
Continue spraying with Pacific ink and tapping the card until you achieve the desired colour saturation and blended effect, creating a gradient from deep purple-blue at the top to white at the bottom.
▶ diesen Schritt ansehen (1:04:30)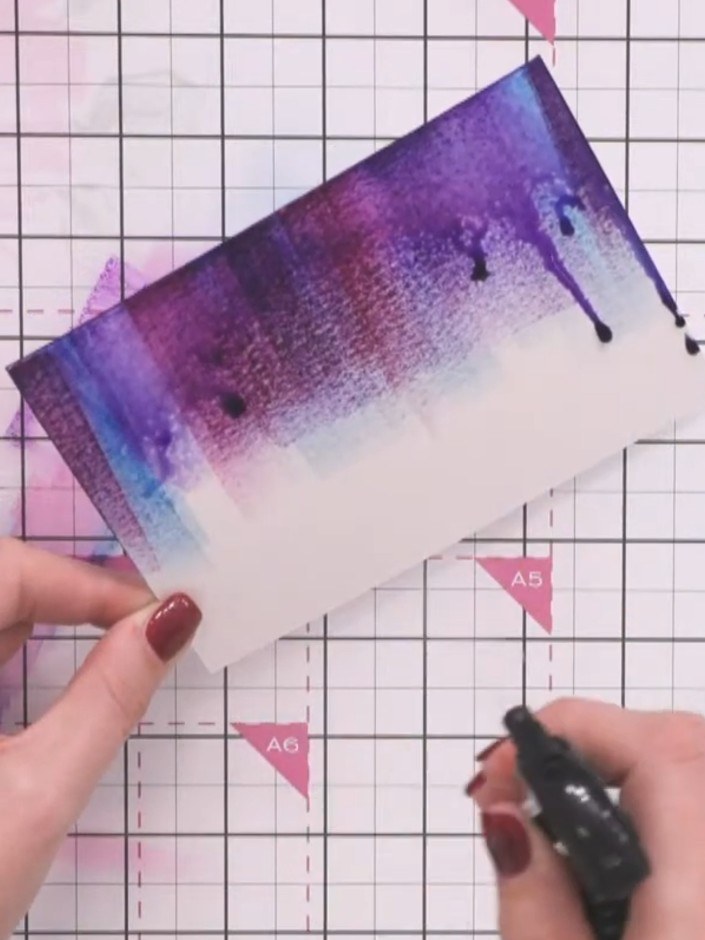
Use a heat gun to heat set the watercoloured background panel until completely dry. Move the heat gun continuously over the surface to avoid scorching the paper.
▶ diesen Schritt ansehen (1:05:00)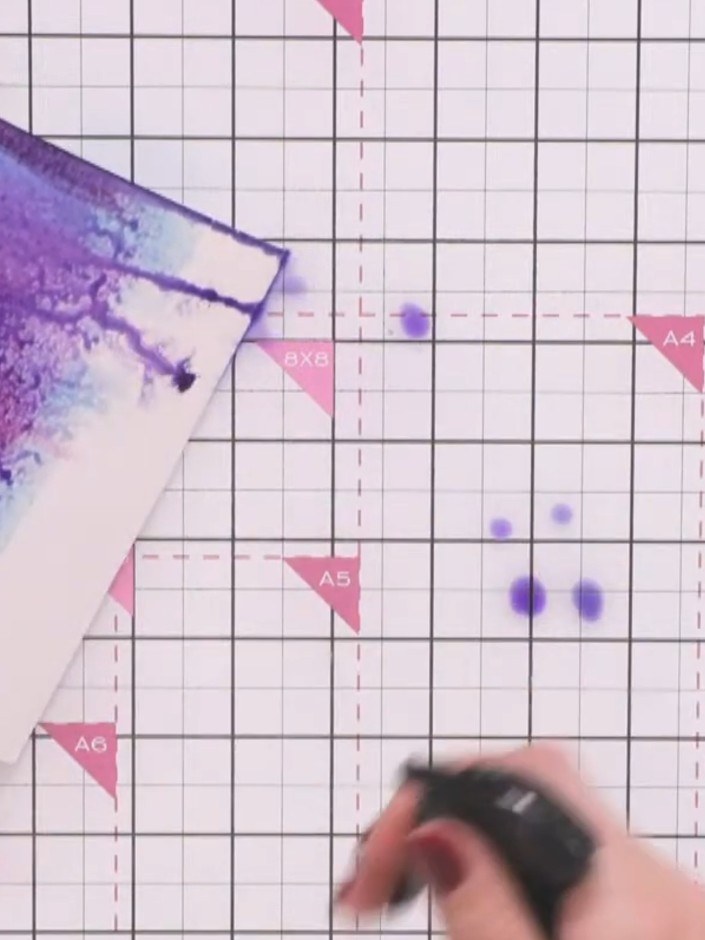
Flick water onto your fingers and sprinkle it onto the dried background panel to create a mottled, starry texture effect. Allow the water droplets to fall naturally across the purple and white watercolour surface.
▶ diesen Schritt ansehen (1:05:15)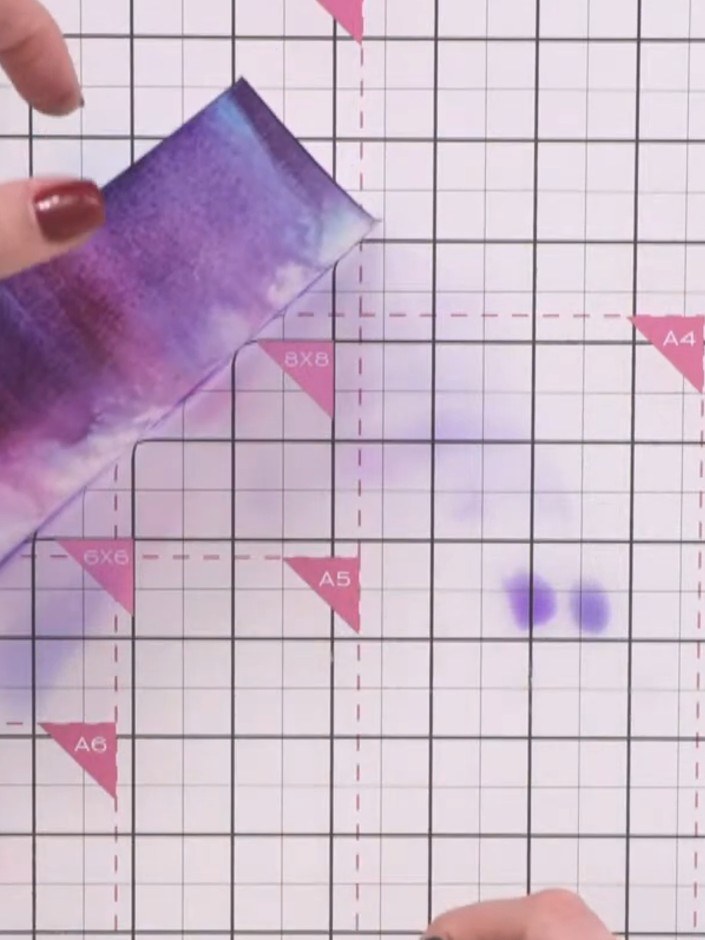
Heat set the water flicks with a heat tool to dry them completely. Move the heat tool over the sprayed areas until the water has evaporated.
▶ diesen Schritt ansehen (1:05:30)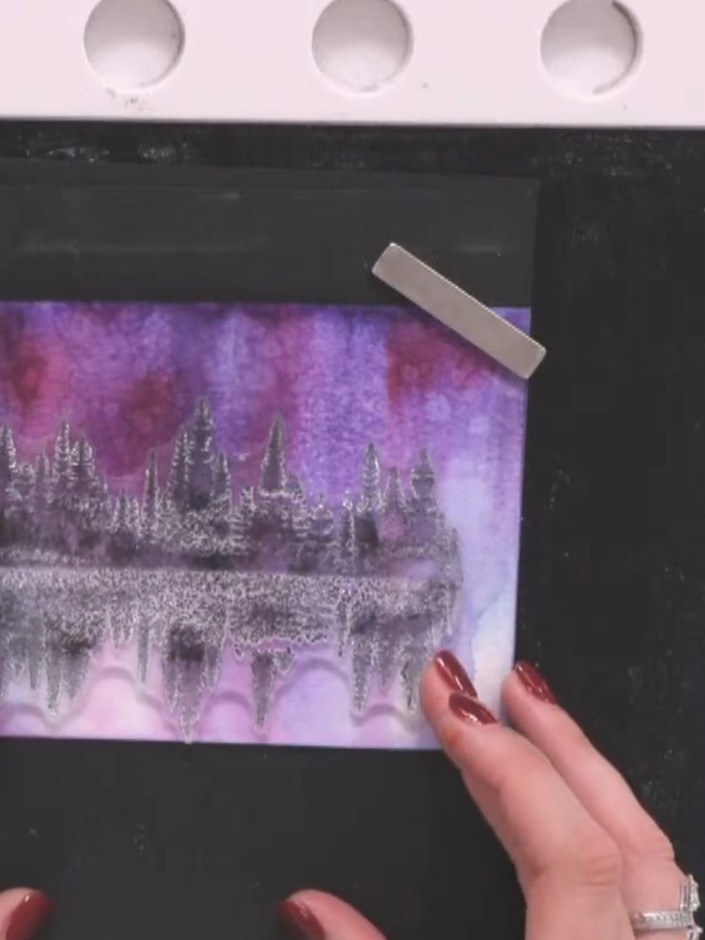
Stamp the silhouette tree images in black ink across the purple and pink background, overlapping them slightly to create depth and fill the space. Build up layers of trees to form a forest scene.
▶ diesen Schritt ansehen (1:09:45)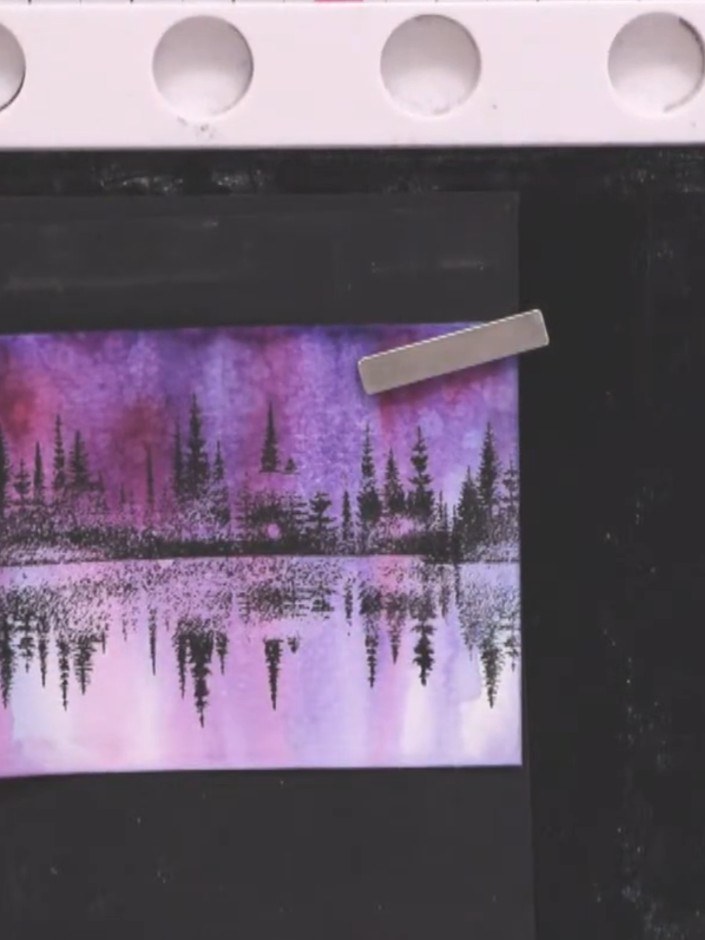
Stamp the foliage leaves in black ink at the base and sides of the stamped image to create foreground interest. Overlap the stamps slightly to build up natural-looking vegetation around the water's edge.
▶ diesen Schritt ansehen (1:11:00)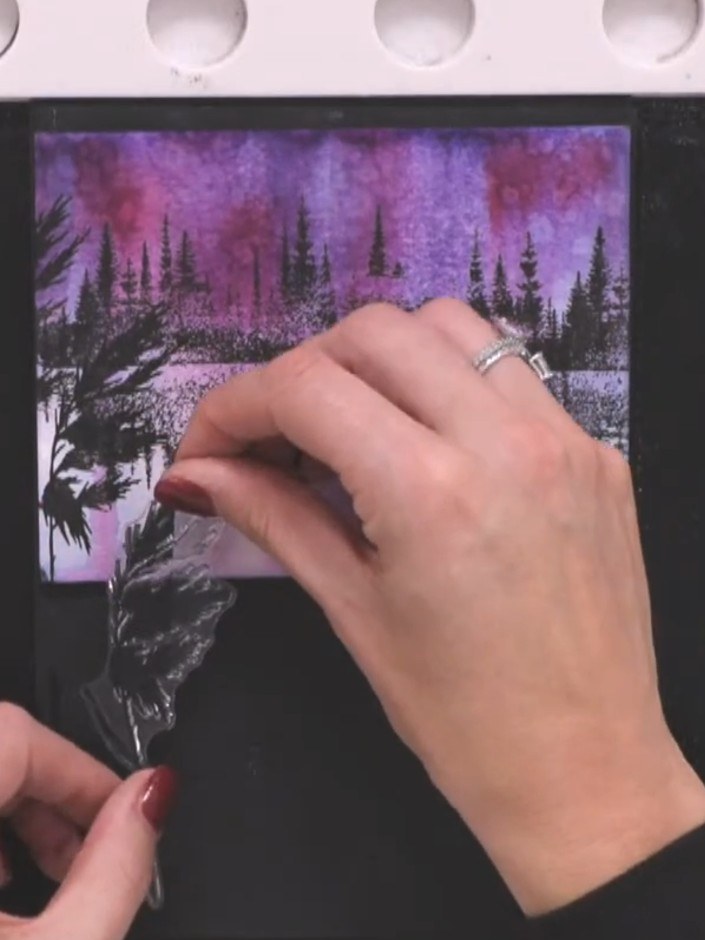
Stamp the moon onto the scene using a white ink pad, tapping lightly to create a textured effect. Position the moon stamp in the sky area of your card.
▶ diesen Schritt ansehen (1:12:30)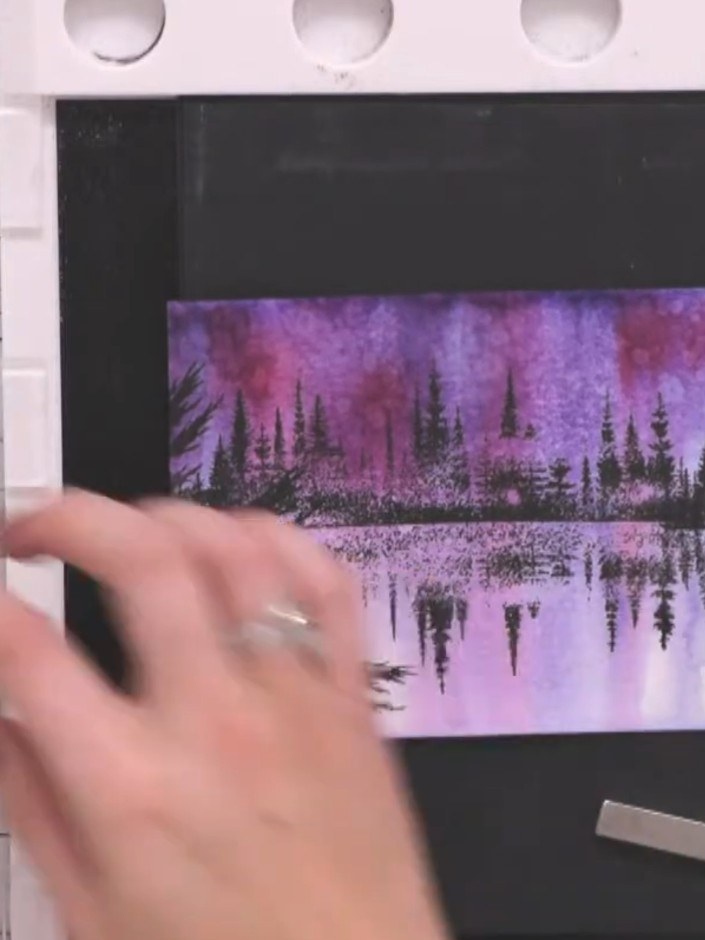
Add any additional details or reflections as desired to complete the atmospheric forest scene. Use black ink to stamp wreaths or other decorative elements onto the card to enhance the design.
▶ diesen Schritt ansehen (1:13:00)Direkt aus der Show aufgeschrieben. Alle Anleitungen aus unseren Shows ansehen · kostenlose Anleitungen · live auf My Telly ansehen
