Offrez à vos amis 10 € de réduction sur leur première commande !
Parrainez un AMI








Un projet de notre émission en direct QUATTRO-D Cocktails expliqué, tout juste sorti de l'emballage · 01/01/2023 · à voir dès 1:15
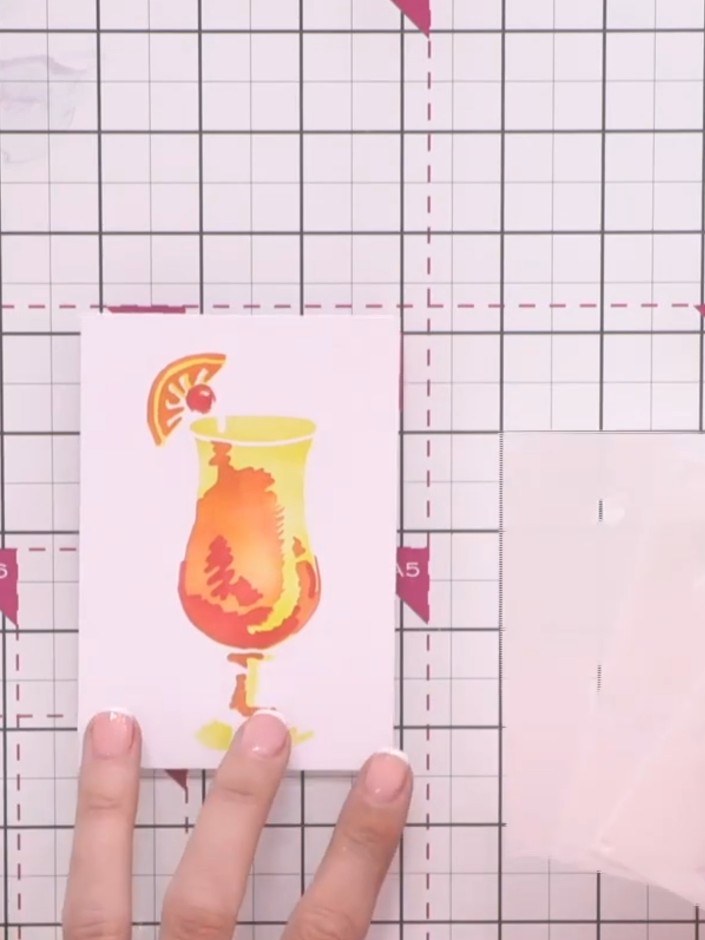
Create a stunning cocktail-themed card featuring a vibrant tropical drink in warm orange and yellow tones. Using the Quattro-D layering stencil system, you'll build up a dimensional design by applying three numbered stencils in sequence. This technique produces beautiful, professional results with minimal effort, perfect for creating eye-catching greeting cards.
 STAMPS BY ME QUATTRO D - MOJITO - 090922AVOIR
 STAMPS BY ME QUATTRO D - TEQUILA SUNRISE - 090922CVOIR
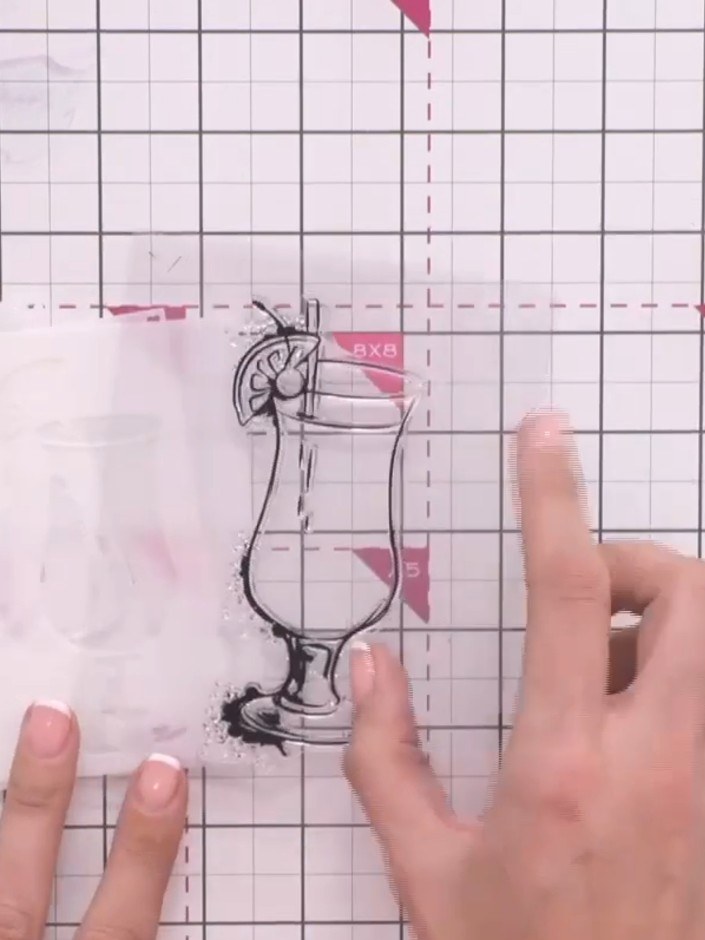
Remove the three numbered layering stencils from the packaging. Note that they are numbered one, two, and three for the layering sequence.
▶ voir cette étape (1:15)
Select your card base from the numbered options (one, two, or three). The coordinating die can be used to create the layered effect, and you can mix up the order of the steps as preferred.
▶ voir cette étape (1:30)
Position stencil 1 (marked A4 and 5) over your stamped cocktail image on the card. Using a blending tool or sponge, apply your chosen ink colour through the stencil openings to add the first layer of colour to the design.
▶ voir cette étape (2:00)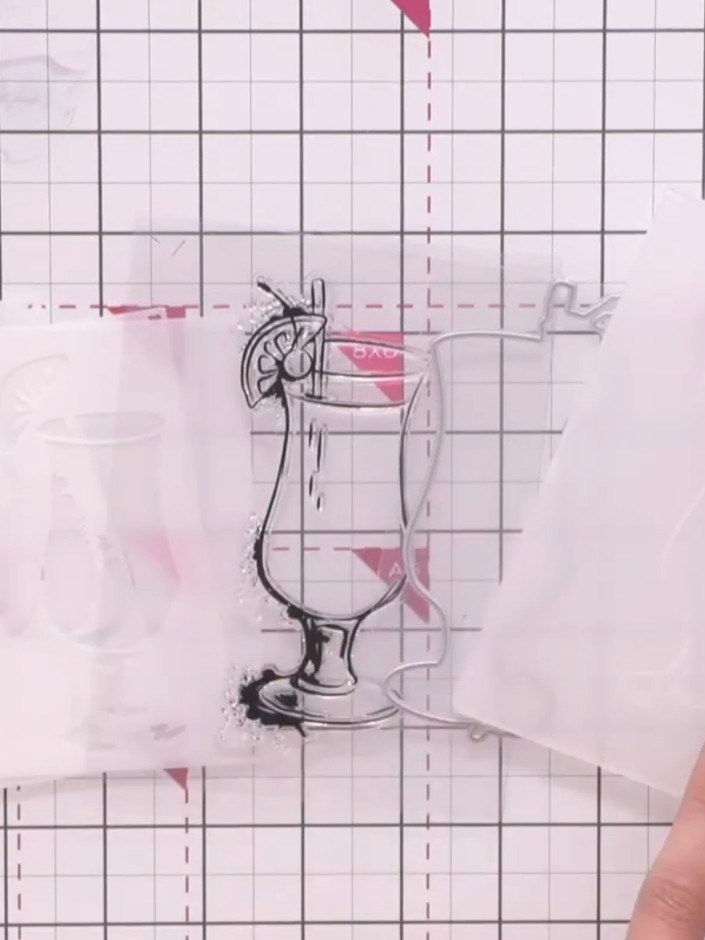
Place the second stencil layer over your stamped image, aligning it carefully. Use the embossing folder or die to add the next colour detail through the stencil openings.
▶ voir cette étape (2:00)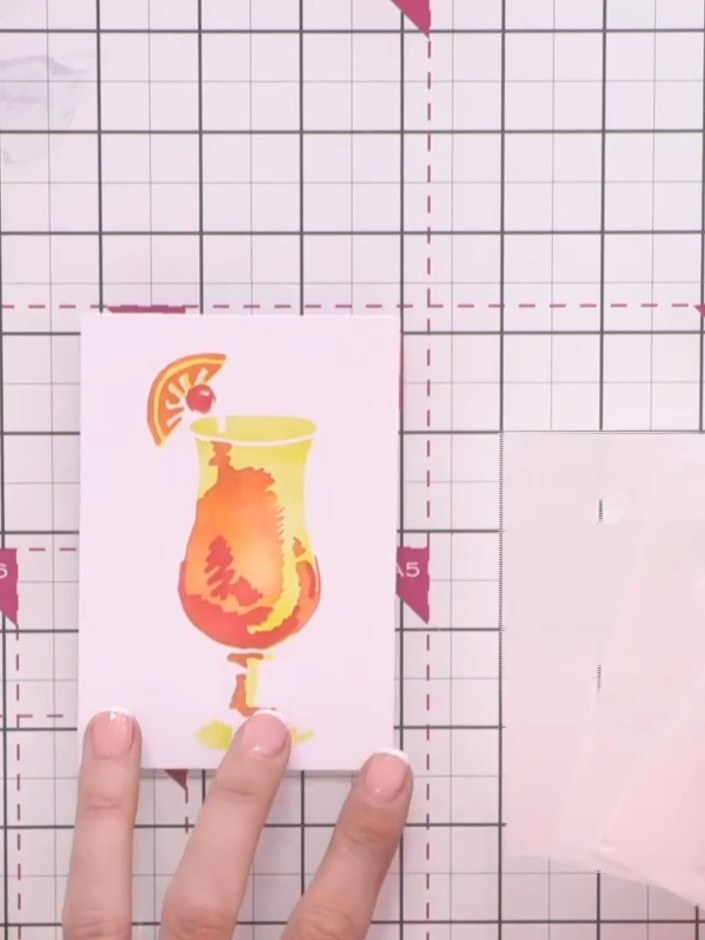
Position stencil layer three over your stamped cocktail image and apply the third colour using your blending tool. This completes the layered stencil design, building up the full dimensional cocktail illustration.
▶ voir cette étape (2:00)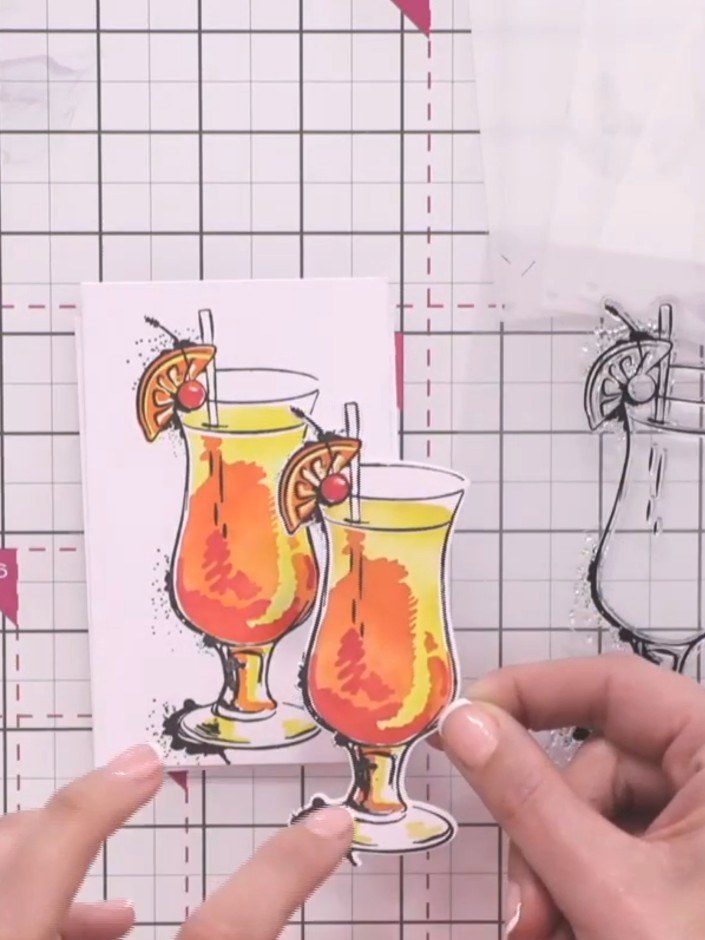
Add a sentiment to your card if desired. Use foam pads behind the sentiment to add dimension and complete your Quattro-D cocktail card design.
▶ voir cette étape (2:15)Rédigé à partir de l'émission elle-même. Découvrez tous les guides de nos émissions · tutoriels gratuits · regarder en direct sur My Telly