Offrez à vos amis 10 € de réduction sur leur première commande !
Parrainez un AMI








Un projet de notre émission en direct QUATTRO-D Cocktails expliqué, tout juste sorti de l'emballage · 01/01/2023 · à voir dès 2:45
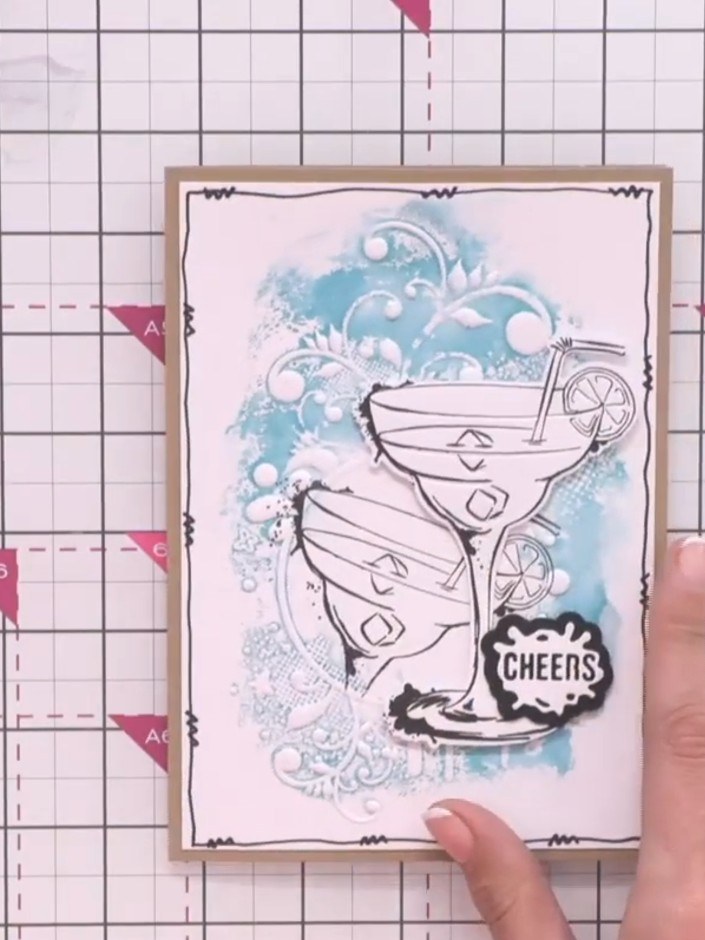
Create a stunning dimensional card featuring stacked cocktail glasses with a 'Cheers' sentiment. Using coordinating dies and stamps, you'll build layered die-cut embellishments in vibrant blues with splattered ink backgrounds for a fun, celebratory finish. This project combines stamping, stencilling, and dimensional layering techniques to create eye-catching handmade cards.
 STAMPS BY ME QUATTRO D - MOJITO - 090922AVOIR
 STAMPS BY ME QUATTRO D - TEQUILA SUNRISE - 090922CVOIR
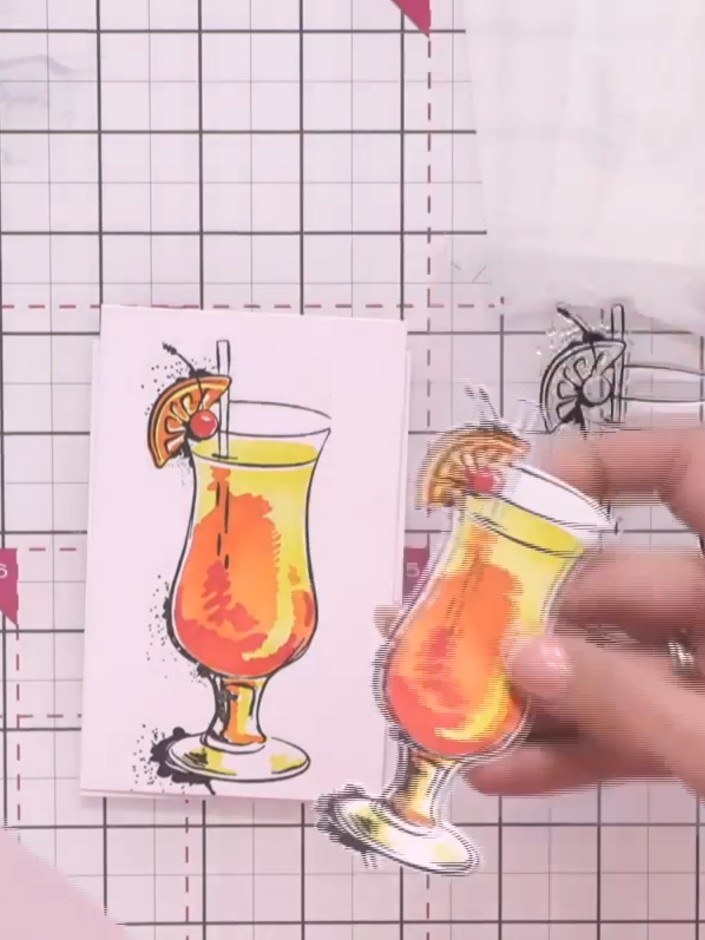
Complete the stencil and stamp work on your cardstock using the Quattro-D cocktail stamps. Colour and embellish the stamped images with your chosen mediums to create your desired effect, whether messy art or clean and simple.
▶ voir cette étape (2:45)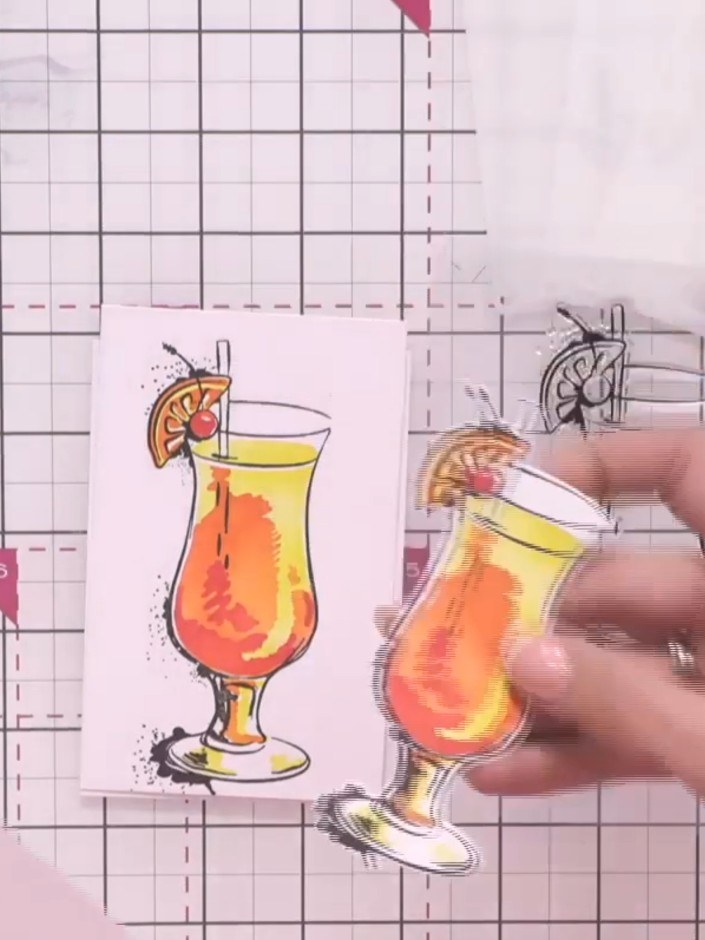
Take the coordinating die and position it over your stamped and stencilled cocktail design. Ensure the die aligns precisely with the stamped image to create a clean cut around the design.
▶ voir cette étape (2:45)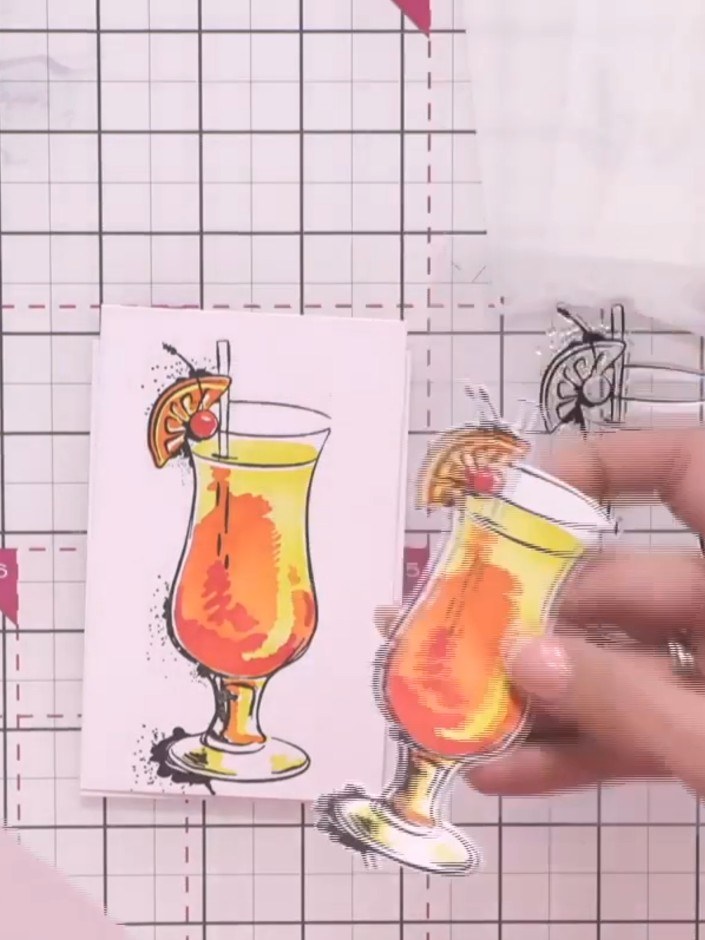
Run the die-cut images through your die-cutting machine according to your manufacturer's settings. This will cut out the cocktail glass designs including the Tequila Sunrise motif with orange slice garnish.
▶ voir cette étape (2:45)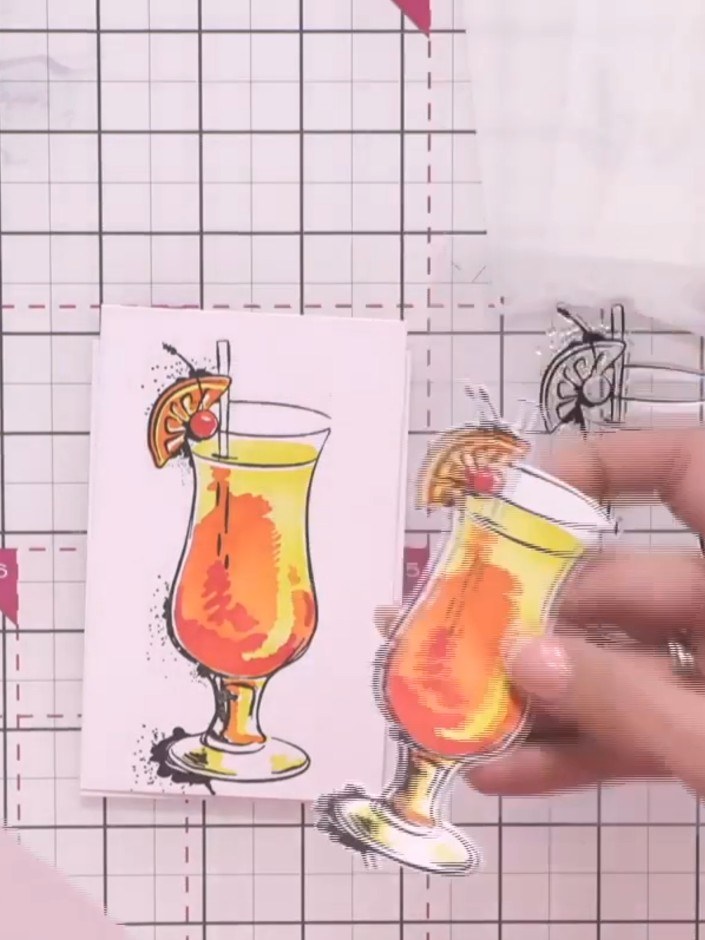
Carefully remove the die-cut cocktail embellishments from the cardstock. You can choose to create messy art with the splattered edges or trim them for a clean, simple look using an embossing folder.
▶ voir cette étape (2:45)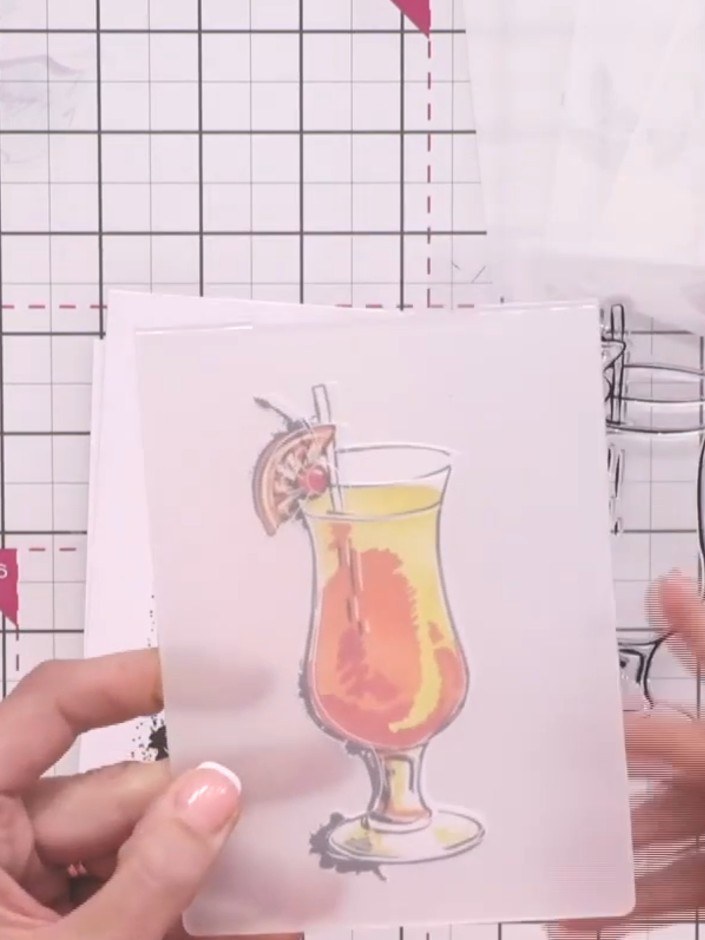
Place the embossed die-cut design in front of the embossing folder. Check your die-cutting machine manufacturer's instructions for the correct sandwich arrangement when using embossing folders.
▶ voir cette étape (3:00)Rédigé à partir de l'émission elle-même. Découvrez tous les guides de nos émissions · tutoriels gratuits · regarder en direct sur My Telly