LIENS RAPIDES

info@howtocraftnetwork.com
Encore plus malin : achetez et regardez avec l'application SBMTÉLÉCHARGEZ L'APPLIRegardez-nous en direct sur votre smart TVVOIR COMMENTDécouvrez notre chaîne IPTV dédiée : rendez-vous sur my-telly.comREGARDERCumulez des points de fidélité à chaque commandeEN SAVOIR PLUS
Bienvenue sur How to Craft Network
 
SBM SHOP
SUIVEZ-NOUS
OFFREZ 10 € DE RÉDUCTION À VOS AMIS PARRAINEZ UN AMI › DÉCOUVRIR MY-TELLY.COM › ENCORE PLUS MALIN TÉLÉCHARGEZ L'APPLI › CHAÎNE PRIMÉE SUR VOTRE TV › REJOIGNEZ LE CLUB POUR ÉCONOMISER ›
 

Tassel Embellishment Card

Un projet de notre émission en direct Create and Craft - Toni and Teresa Collaboration Product Launch Show 1 - Diffusée le 18 nov. 22 · 18/11/2022 · à voir dès 17:15
Tassel Embellishment Card - the finished project
Le projet terminé

Create an elegant card featuring handmade tassels and rolled flowers in soft pink and metallic silver tones. This sophisticated design uses die-cut tassel elements wrapped around a tool to form decorative 3D embellishments that add beautiful texture and dimension. The finished card combines stamped sentiments with these delicate handcrafted elements for a truly special greeting card.
TÉLÉCHARGER CE GUIDE (PDF)

Pas à pas

  1. Die-cut the tassel fringe pieces from cardstock using the tassel die set from the Remember This collection. Cut multiple pieces to create the layered tassel embellishment. ▶ watch 17:30
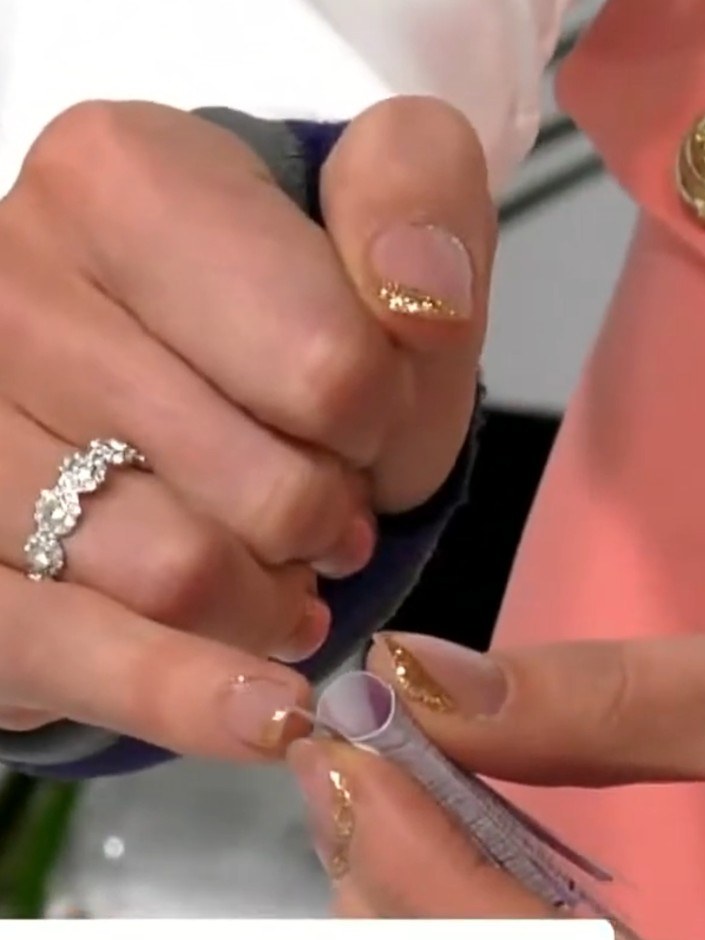
  2. Step 2: Wrap the die-cut tassel strip around a pokey tool or paintbrush handle to create the tassel shape.

    Wrap the die-cut tassel strip around a pokey tool or paintbrush handle to create the tassel shape.

    ▶ voir cette étape (17:45)
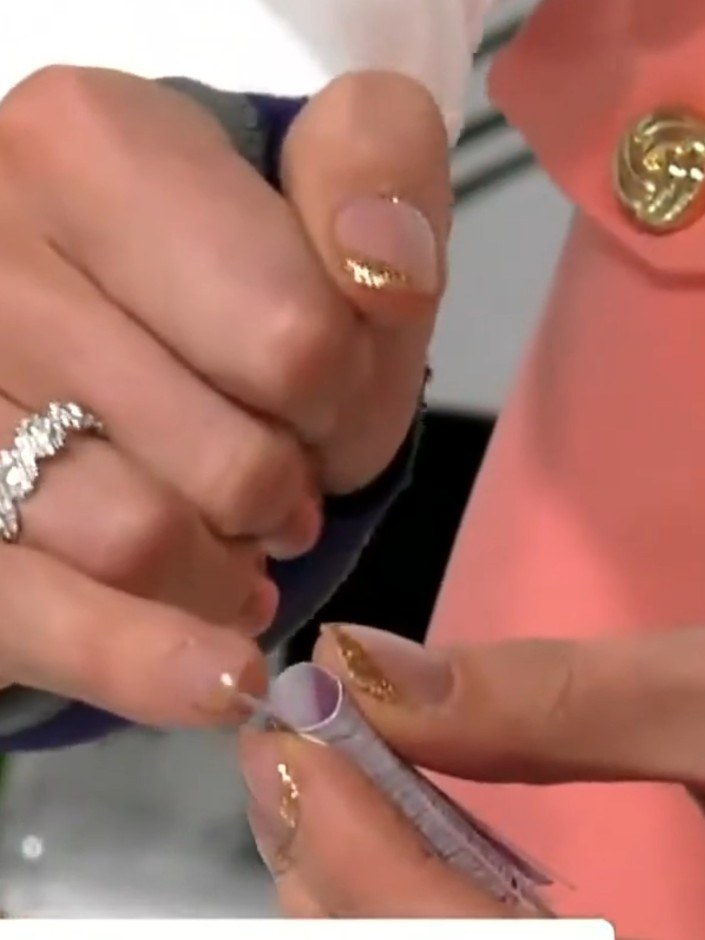
  3. Step 3: Apply a small spot of glue to secure the wrapped thread at the top of the tassel. Hold for a moment, then gent

    Apply a small spot of glue to secure the wrapped thread at the top of the tassel. Hold for a moment, then gently pull out the tassel tool to reveal the formed tassel.

    ▶ voir cette étape (18:00)
  4. Step 4: Cut a piece of coral patterned paper from the Remember This collection. Adhere it to your white card base usin

    Cut a piece of coral patterned paper from the Remember This collection. Adhere it to your white card base using adhesive.

    ▶ voir cette étape (18:15)
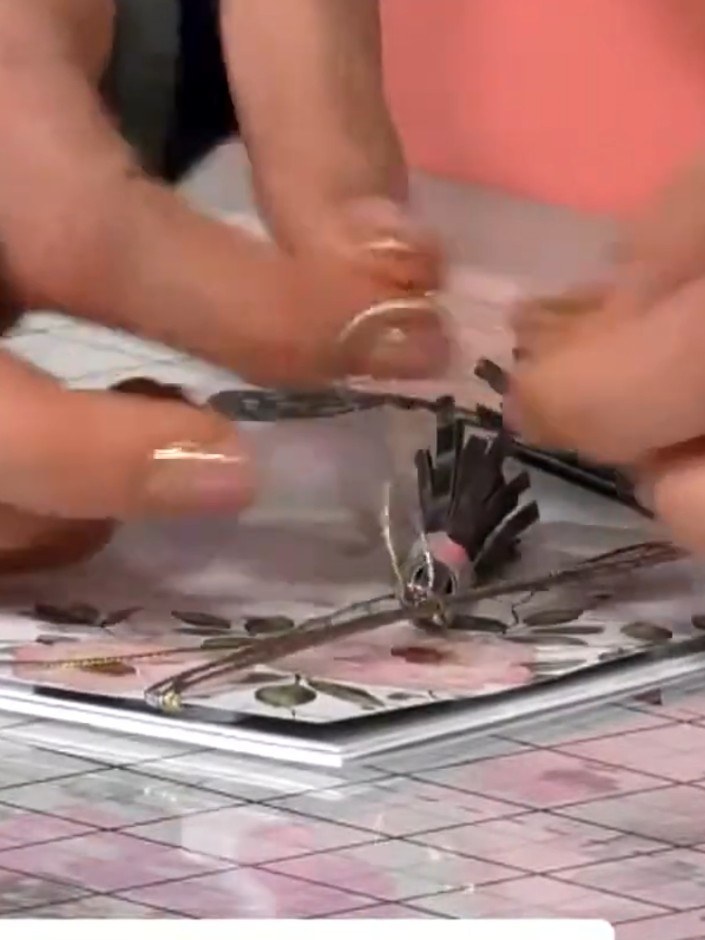
  5. Glue the formed tassels to the card, positioning them at varying heights to create texture and visual interest. ▶ watch 19:00
  6. Step 6: Add a sentiment tag or label to the card front. Position it centrally on the card and secure in place with adh

    Add a sentiment tag or label to the card front. Position it centrally on the card and secure in place with adhesive.

    ▶ voir cette étape (19:30)
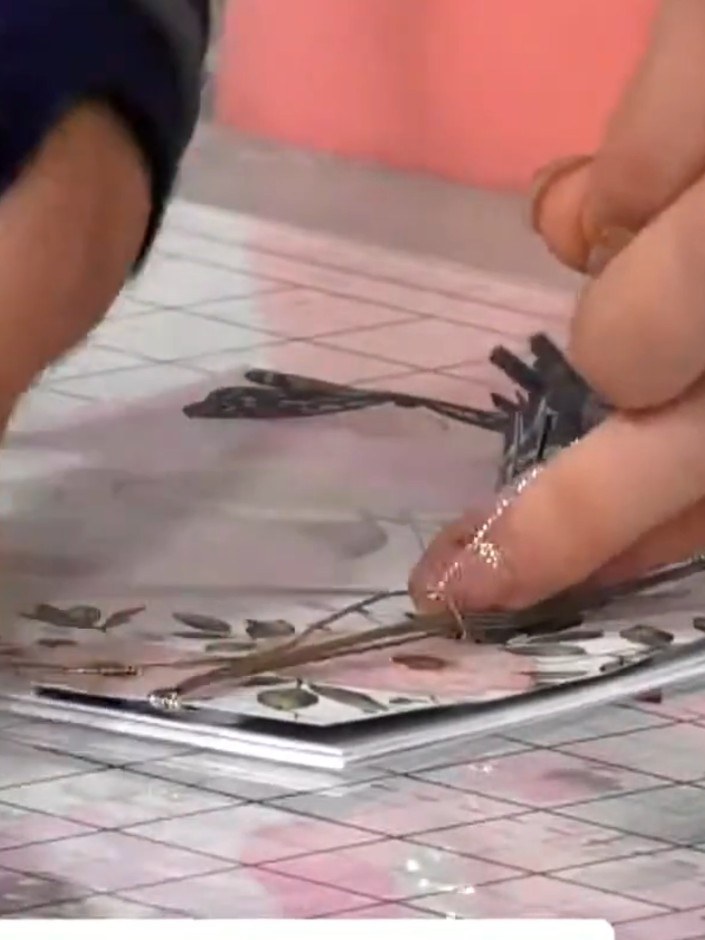
  7. Step 7: Trim any excess tassel legs with scissors for a neat finish.

    Trim any excess tassel legs with scissors for a neat finish.

    ▶ voir cette étape (20:00)
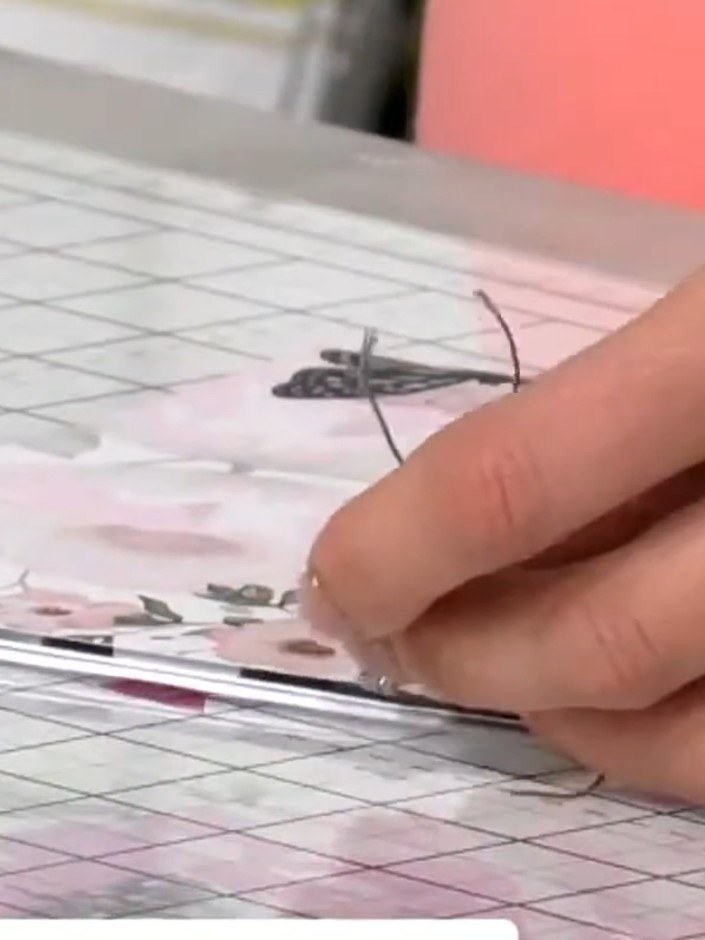
  8. Step 8: Thread additional embellishments such as twine or string through the tassel loops if desired to add extra deta

    Thread additional embellishments such as twine or string through the tassel loops if desired to add extra detail to your card.

    ▶ voir cette étape (20:30)

Astuces de l'émission

À voir aussi dans cette émission

Rédigé à partir de l'émission elle-même. Découvrez tous les guides de nos émissions · tutoriels gratuits · regarder en direct sur My Telly







