Offrez à vos amis 10 € de réduction sur leur première commande !
Parrainez un AMI








Un projet de notre émission en direct Create and Craft - Toni and Teresa Collaboration Product Launch Show 1 - Diffusée le 18 nov. 22 · 18/11/2022 · à voir dès 46:30
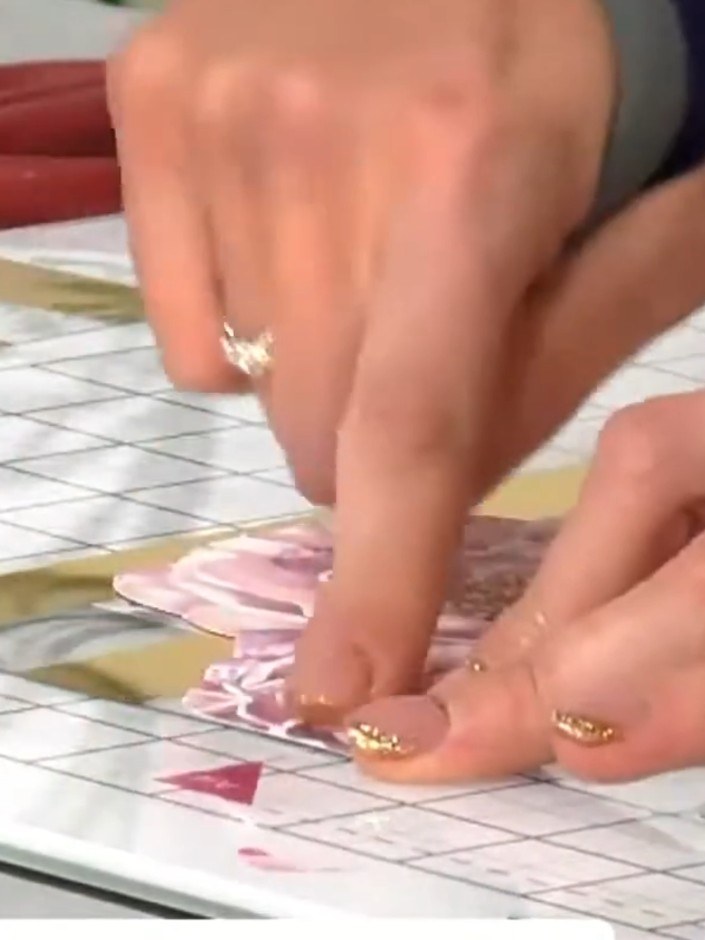
Create an elegant greeting card featuring a clear acetate front panel with a decorative window that reveals beautiful patterned paper beneath. The design showcases pink floral imagery with sentiment labels, finished with an olive green belly band and dimensional fussy-cut flower embellishments. This technique gives your handmade cards a professional, shop-bought quality whilst allowing you to personalise the design with your choice of papers and sentiments.
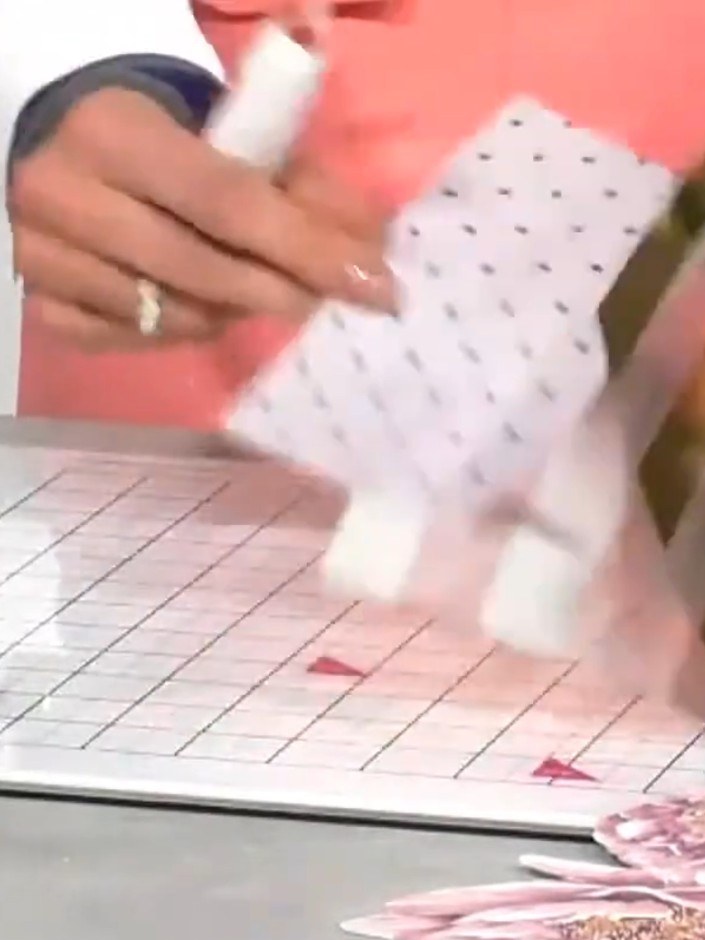
Remove the protective film from the acetate sheet by carefully peeling it away. The acetate is construction weight and suitable for card making projects.
▶ voir cette étape (46:45)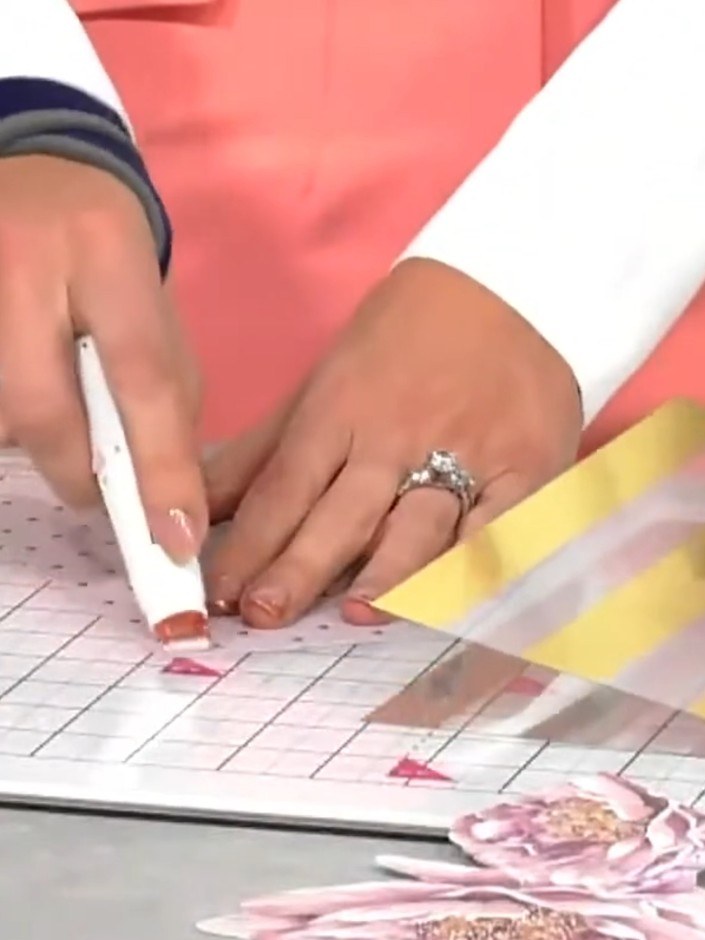
Using a scoring tool and ruler, score lines onto the acetate sheet. Apply gentle, even pressure to create clean fold lines without causing cloudiness on the acetate surface.
▶ voir cette étape (47:00)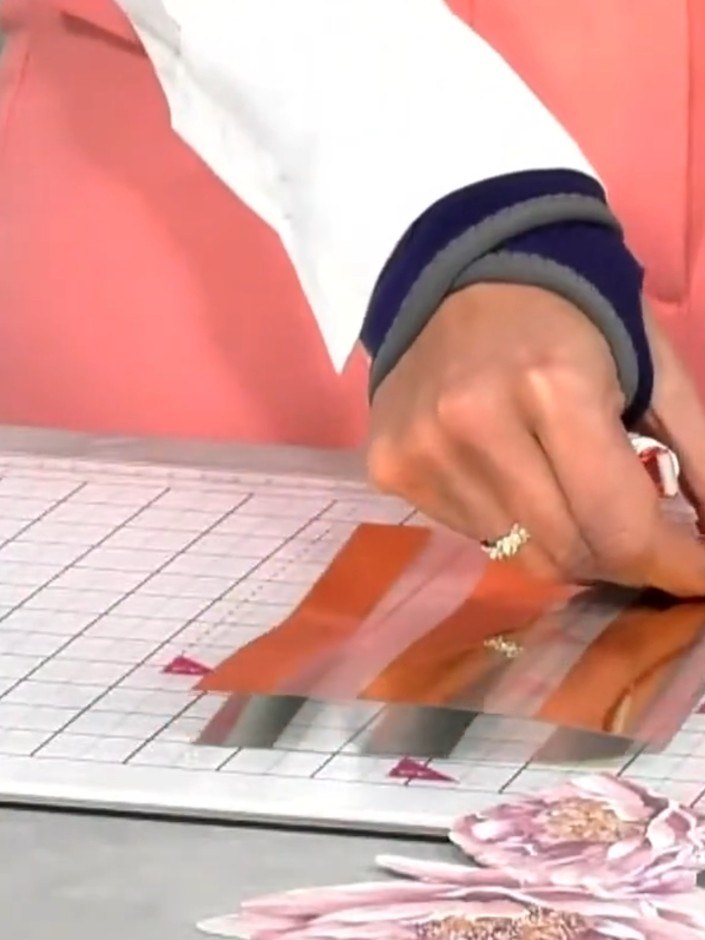
Fussy-cut a large decorative flower from the patterned paper collection. Cut carefully around the intricate petals and details to create a beautiful embellishment for your card.
▶ voir cette étape (47:15)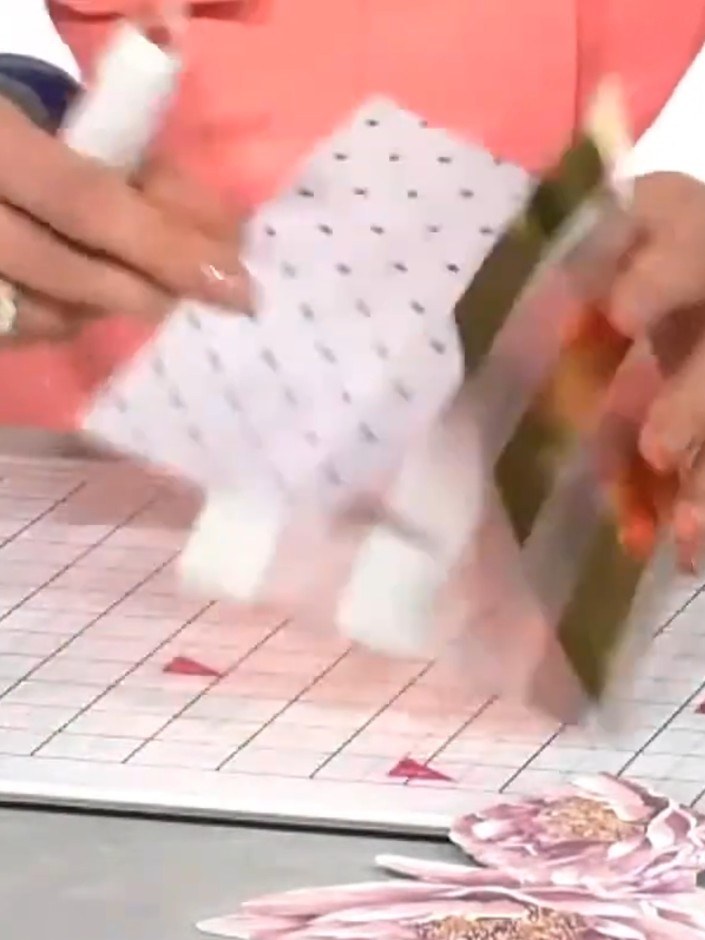
Adhere the fussy-cut flower to the front of the acetate card using clear tape or liquid adhesive. Position the flower on the card and press firmly to secure.
▶ voir cette étape (47:30)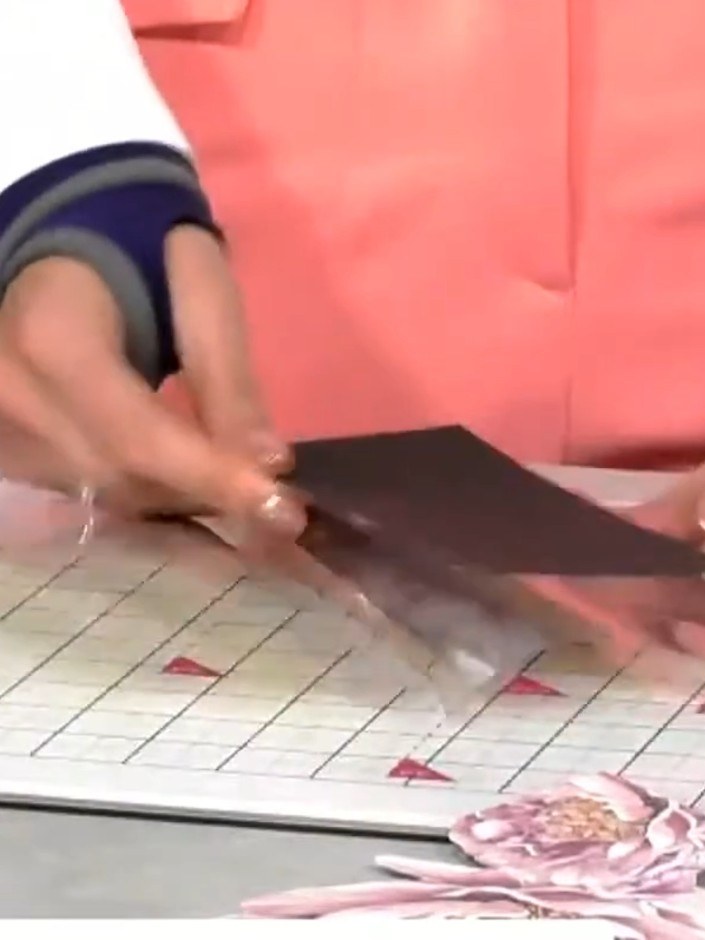
Position the patterned paper behind the acetate window panel so that the design is visible through the clear aperture. Ensure the pattern is centred and aligned as desired before securing.
▶ voir cette étape (48:00)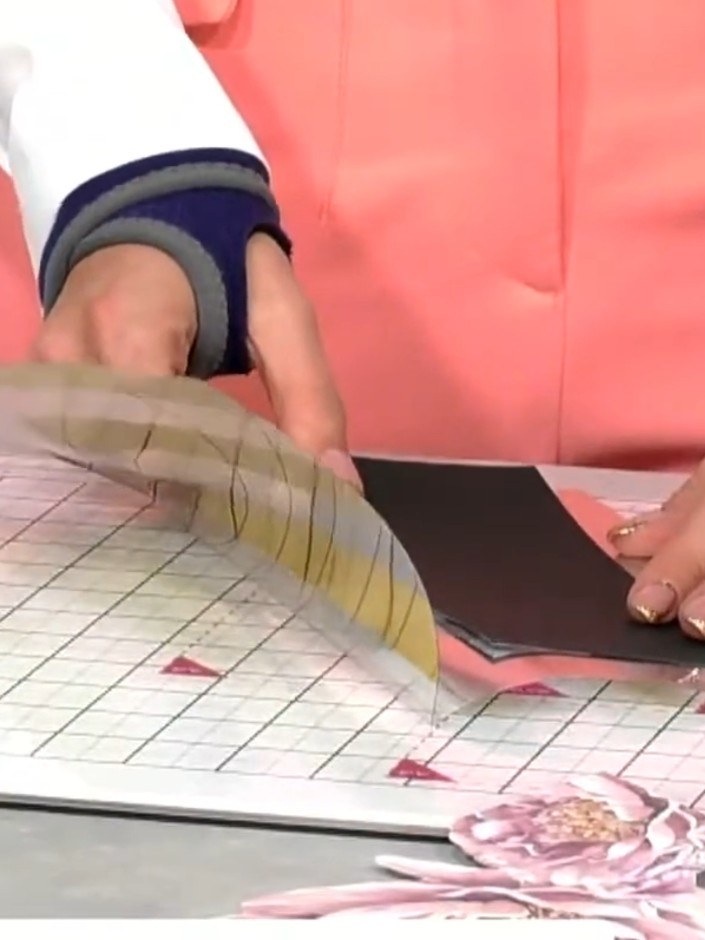
Create a belly band from leftover acetate offcuts by wrapping a strip around the card front. Position it centrally and secure in place.
▶ voir cette étape (48:30)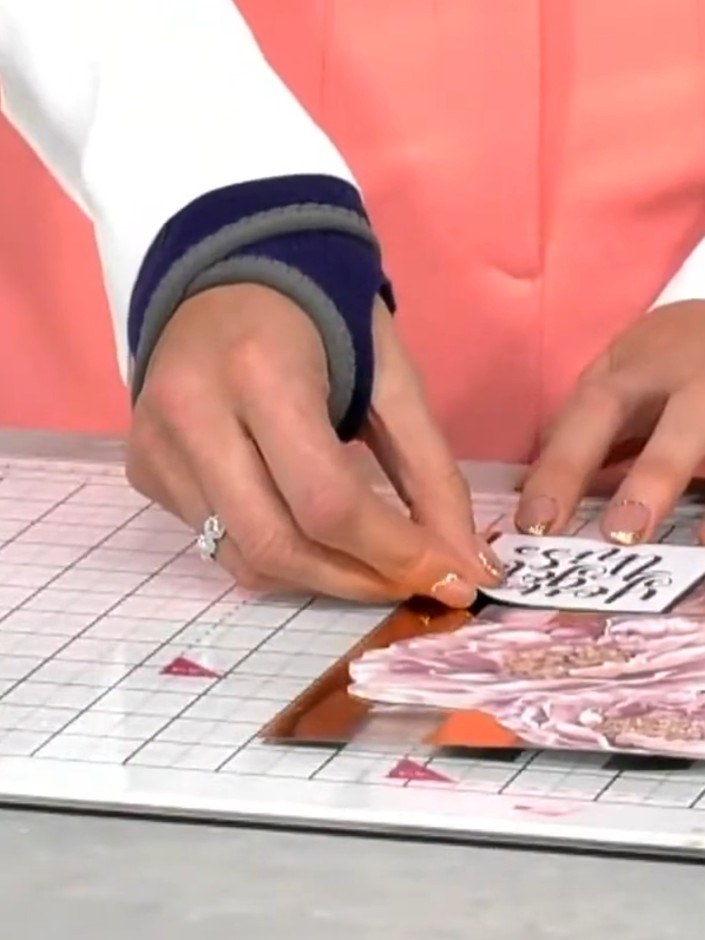
Secure the belly band at the back of the card with tape. Add a sentiment or decorative element to the front of the band to complete your card.
▶ voir cette étape (48:45)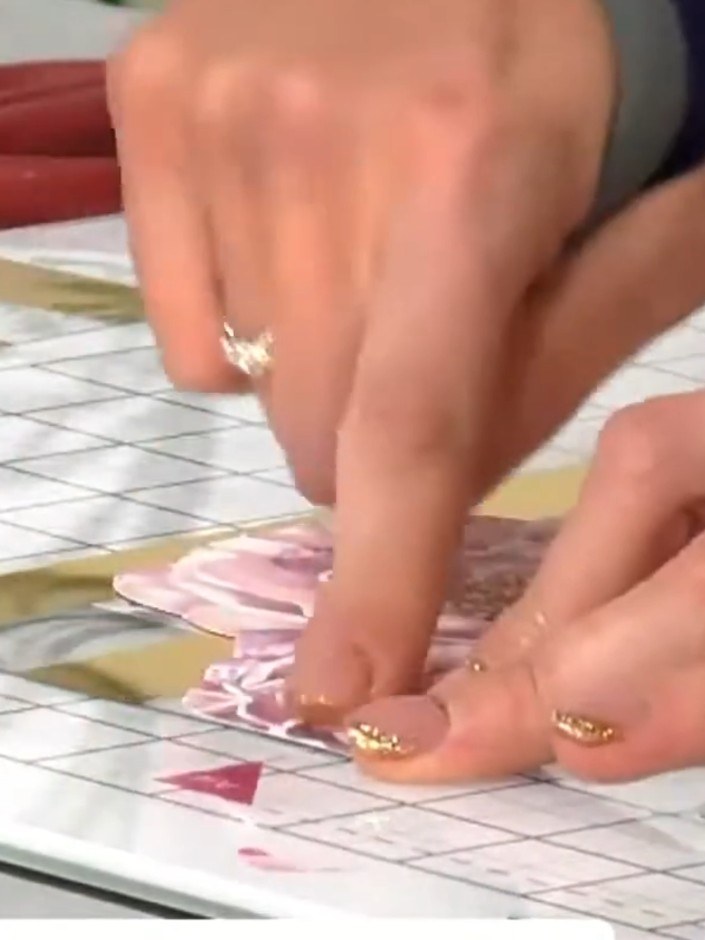
Add a butterfly or other embellishment to the belly band for extra detail. Position it centrally or to one side of the band and secure with adhesive.
▶ voir cette étape (49:00)Rédigé à partir de l'émission elle-même. Découvrez tous les guides de nos émissions · tutoriels gratuits · regarder en direct sur My Telly
