Offrez à vos amis 10 € de réduction sur leur première commande !
Parrainez un AMI








Un projet de notre émission en direct Create and Craft - Toni and Teresa Collaboration Product Launch Show 1 - Diffusée le 18 nov. 22 · 18/11/2022 · à voir dès 26:30
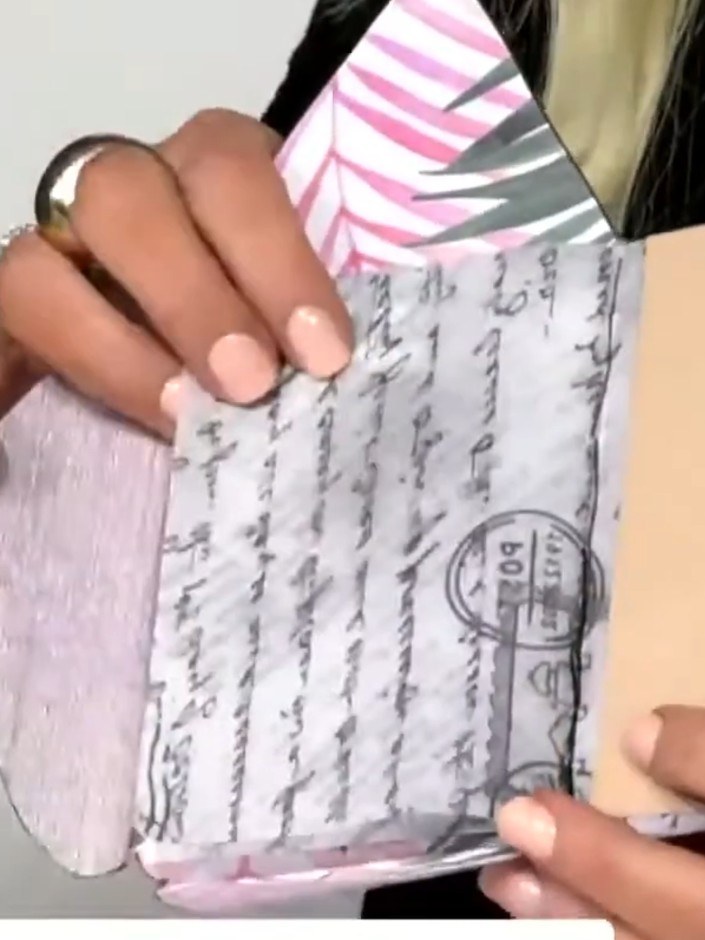
Create a charming mini memory book from a single sheet of cardstock featuring elegant pink and grey tropical leaf patterns. This dimensional keepsake combines scoring, folding and layering techniques with vellum pockets and elastic binding to hold photos, memories and embellishments. The finished piece showcases an embossed cream cover with a sophisticated accordion-style structure.
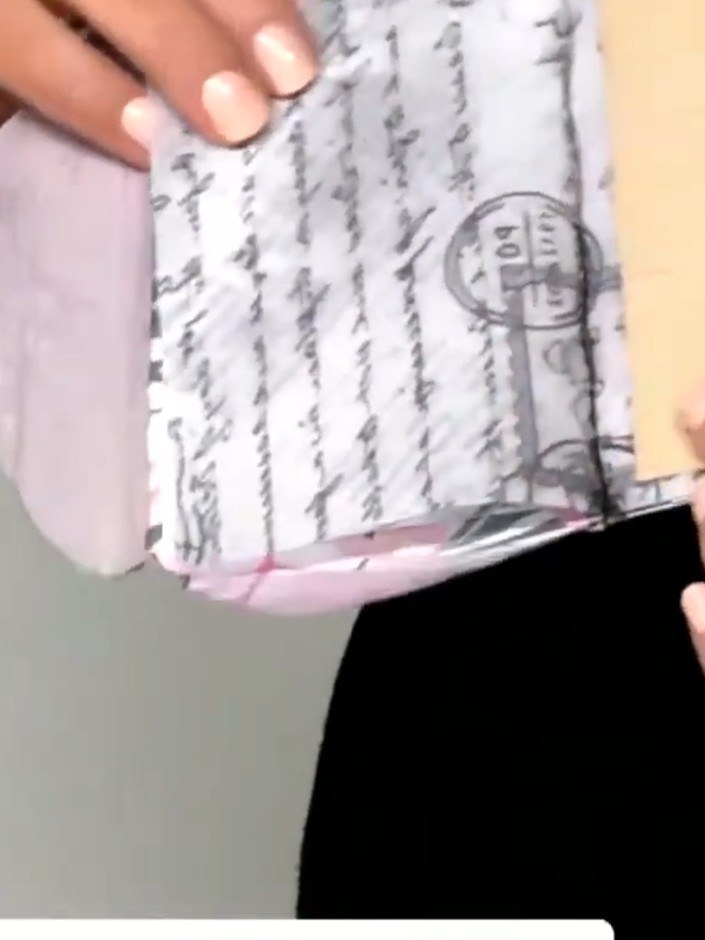
Score fold lines onto a single sheet of patterned paper from the Remember This collection to create the book structure. Use a scoring tool to create crisp, even folds that will form the pages of your memory book.
▶ voir cette étape (27:00)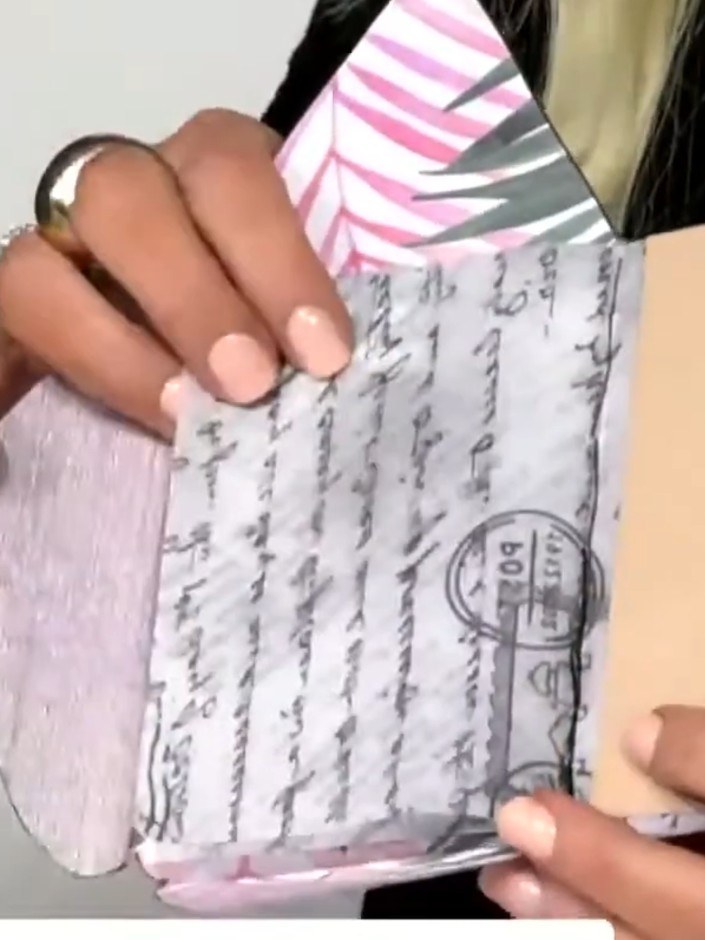
Fold the paper along the scored lines to create the flaps and pockets of your memory book structure.
▶ voir cette étape (27:30)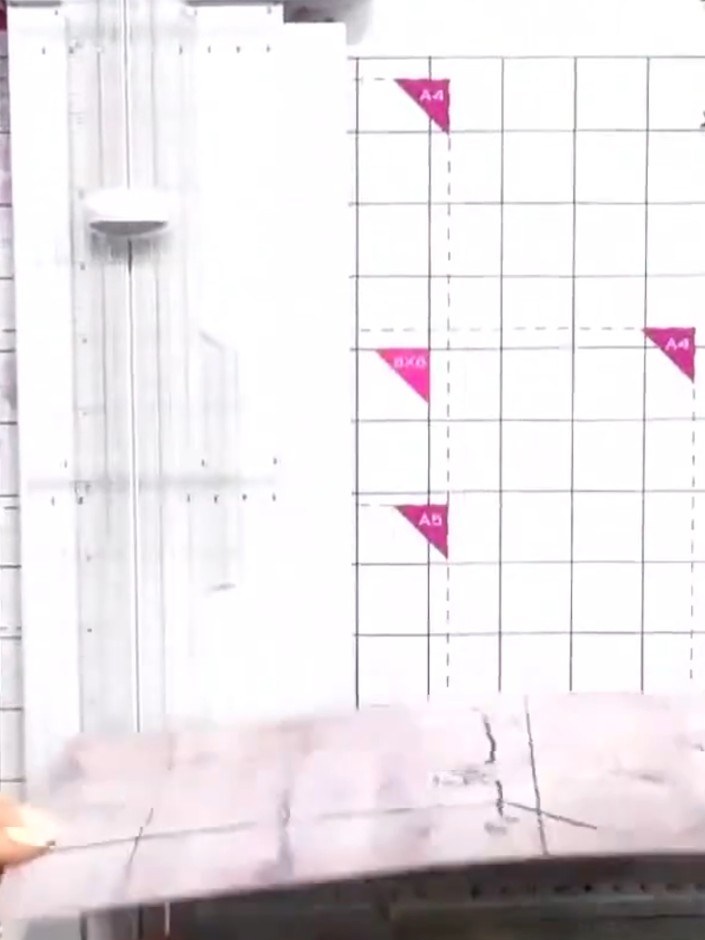
Cut pieces of vellum to size using a trimmer or cutting mat and ruler. These vellum pieces will be used to create transparent pockets within the memory book.
▶ voir cette étape (28:00)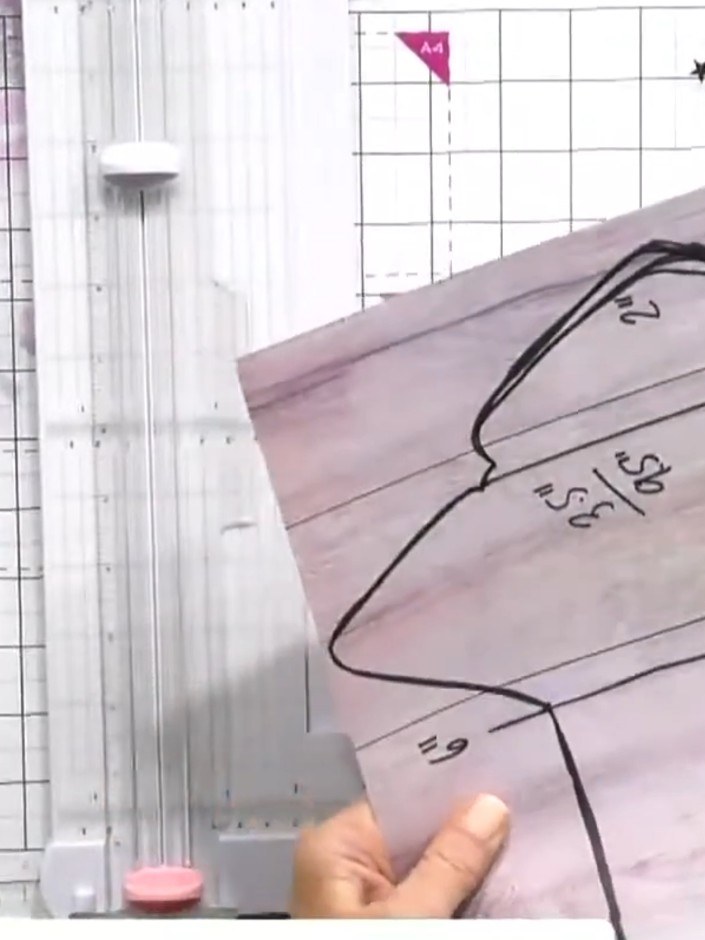
Stitch the vellum into place using a sewing machine or hand-stitching. Sew along the edges of the vellum pocket to secure it to the card base, creating a decorative detail.
▶ voir cette étape (28:30)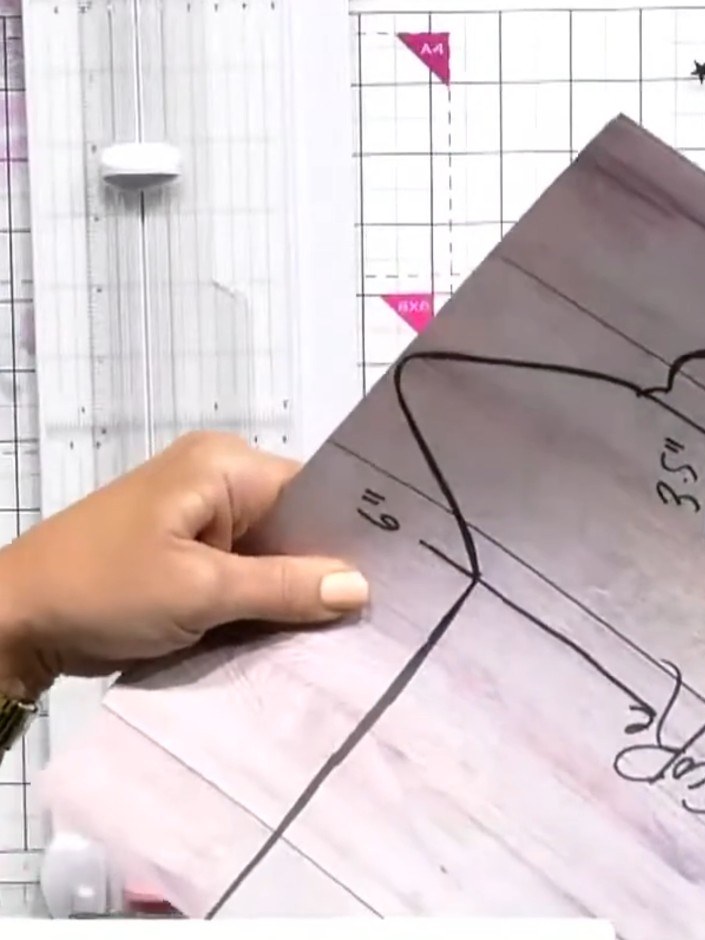
Fold a piece of vellum in half to create a signature. Secure the folded vellum with elastic cord threaded through the fold.
▶ voir cette étape (29:00)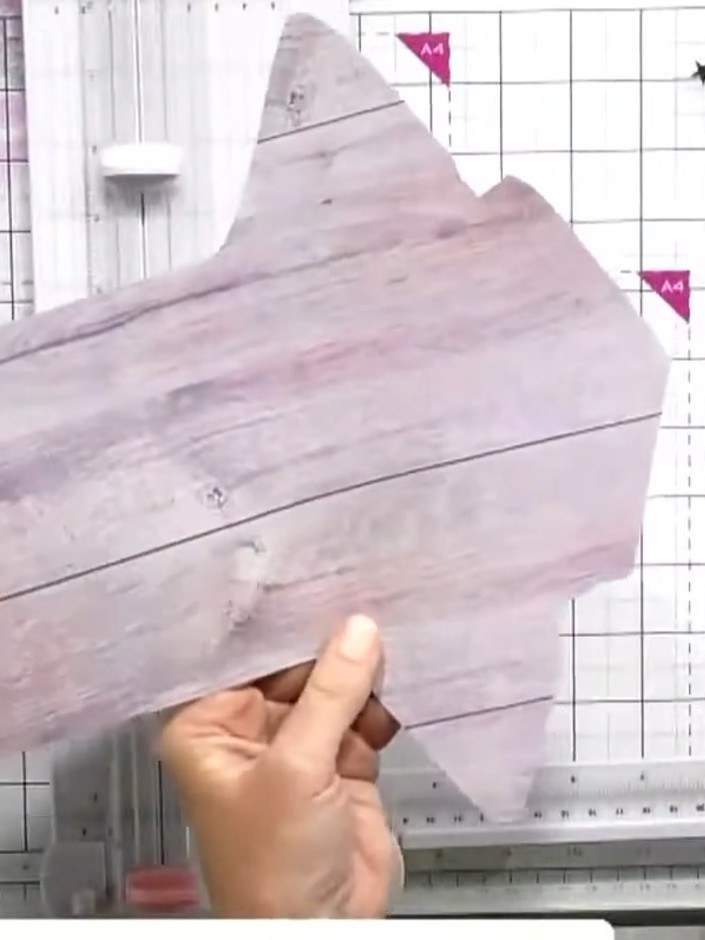
Thread elastic through the scored signature fold, creating a double loop that will serve as the binding mechanism for your memory book.
▶ voir cette étape (29:30)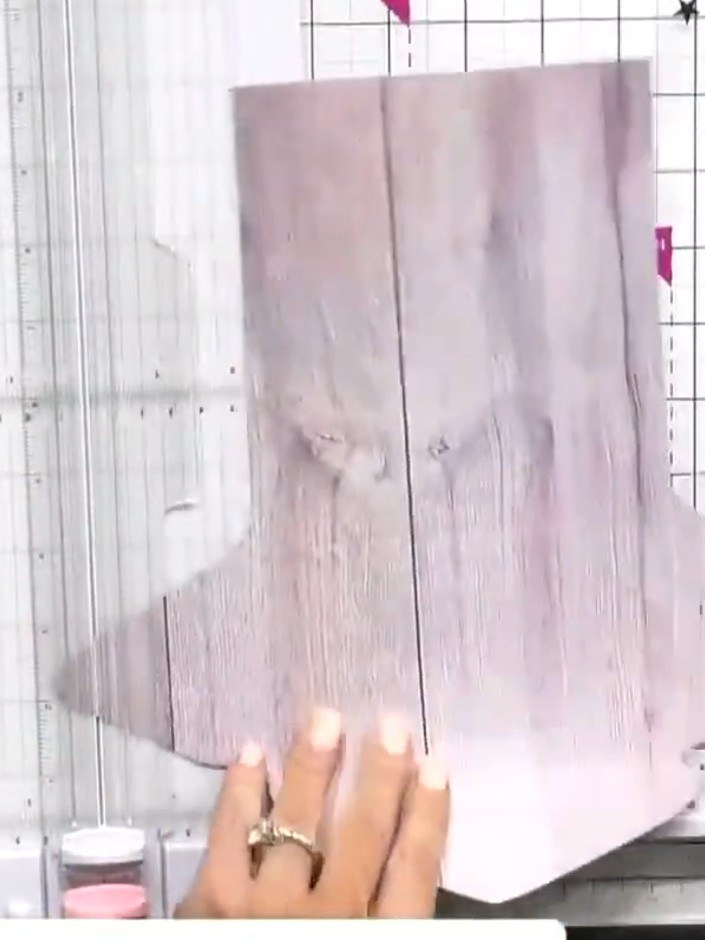
Insert the completed signature into the pocket of the main book cover, sliding it carefully into place.
▶ voir cette étape (30:00)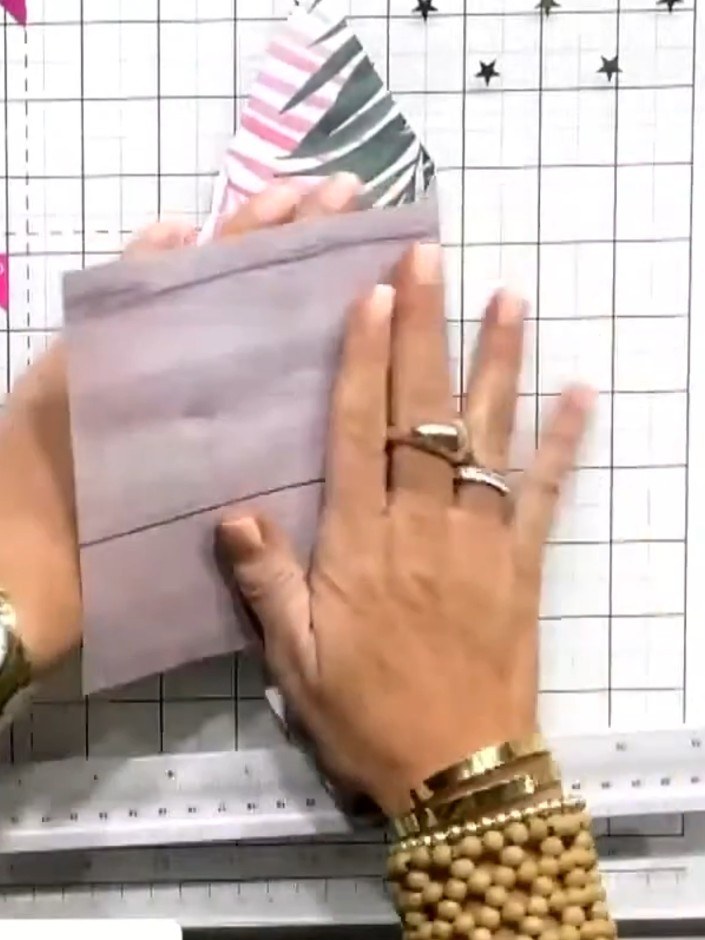
Use the 3D embossing folder to emboss the palm leaf patterned cardstock, creating dimensional texture on the decorative elements.
▶ voir cette étape (30:30)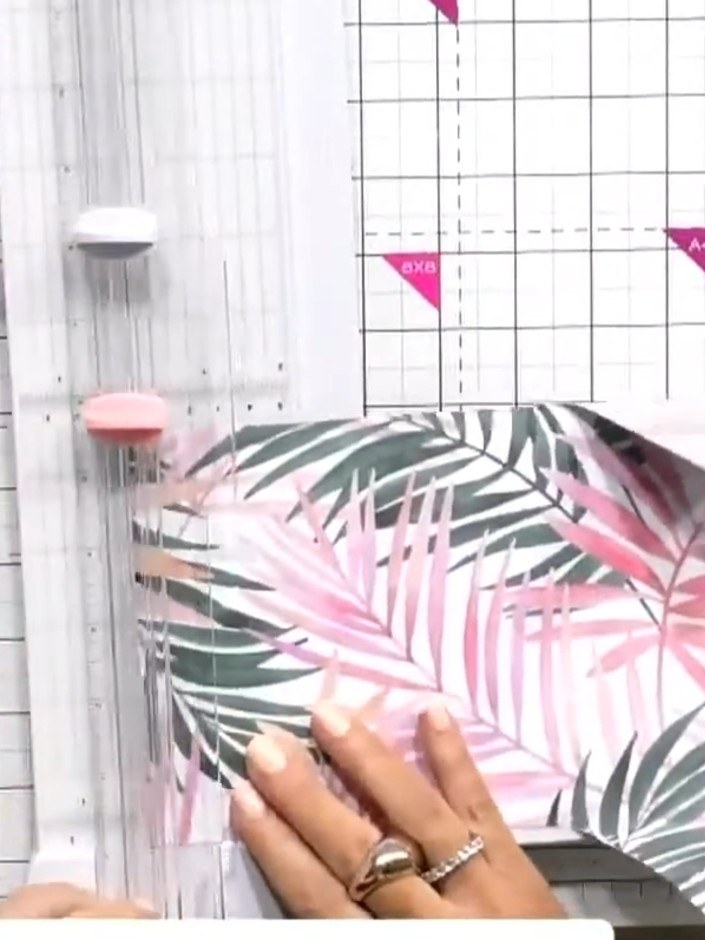
Layer the embossed pink and grey palm leaf pieces together with the die-cut flowers and tuck them into the pockets of your memory book pages for added visual interest and dimension.
▶ voir cette étape (31:00)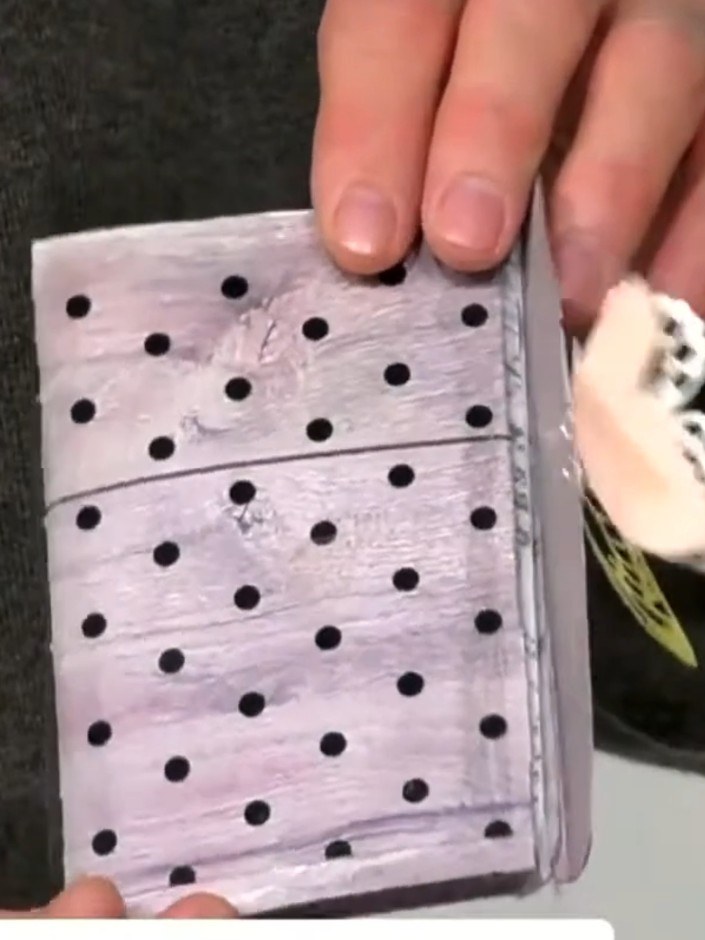
Add photos, journaling or mementos to the pockets and pages as desired. Tuck items into the vellum pockets created in the previous steps. Personalise your memory book with your chosen memories and decorative elements.
▶ voir cette étape (31:30)Rédigé à partir de l'émission elle-même. Découvrez tous les guides de nos émissions · tutoriels gratuits · regarder en direct sur My Telly
