Offrez à vos amis 10 € de réduction sur leur première commande !
Parrainez un AMI








Un projet de notre émission en direct CREATE AND CRAFT - KIT EN COFFRET - Retrouvez Toni pour sa dernière émission de lancement 2 - Diffusé le 16 nov. 22 · 16/11/2022 · à voir dès 23:45
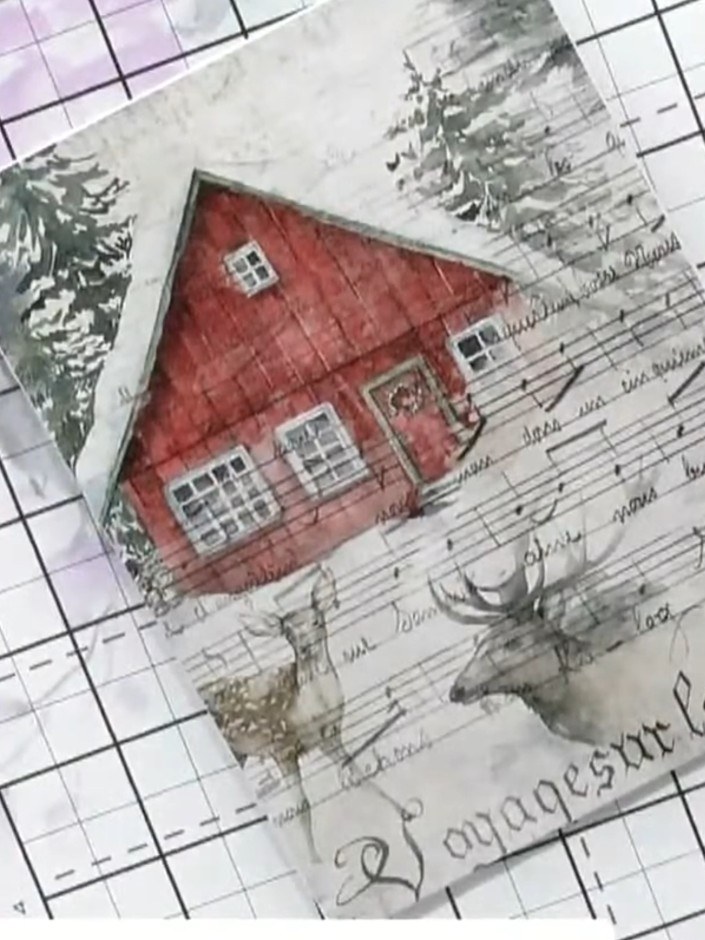
Create a charming Christmas card featuring elegant script lettering and delicate floral accents in soft pinks and greens. This simple project uses fussy-cut elements from a decorative paper pad, layered onto a green card base with a white panel. The design is finished with a pretty bow embellishment for a festive touch.
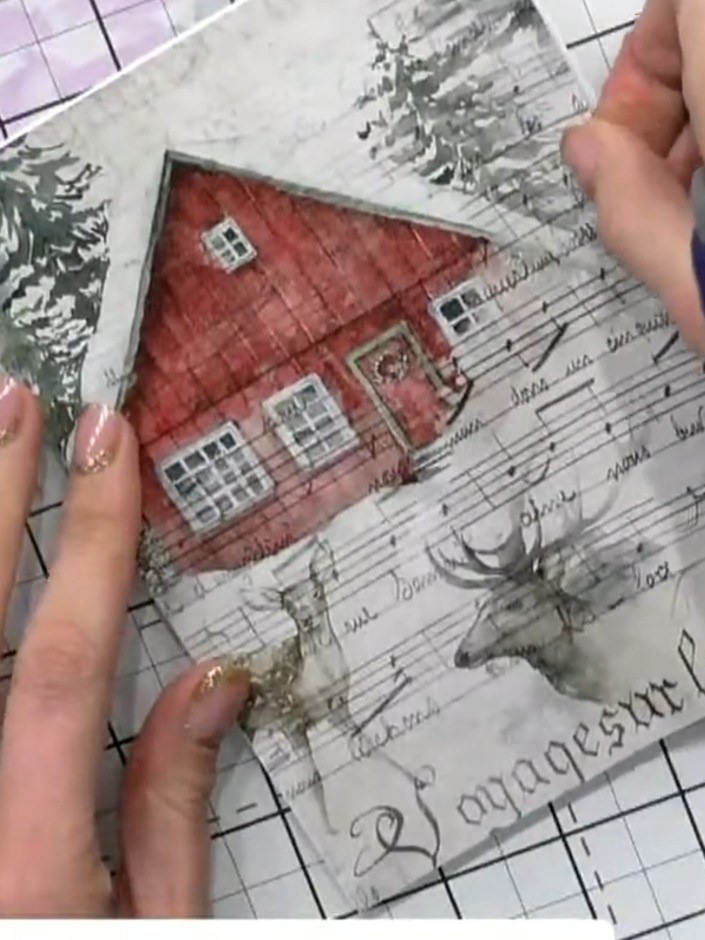
Choose a design element from the paper pad that you'd like to feature on your card. Carefully cut around the image using scissors to create a fussy-cut embellishment.
▶ voir cette étape (23:45)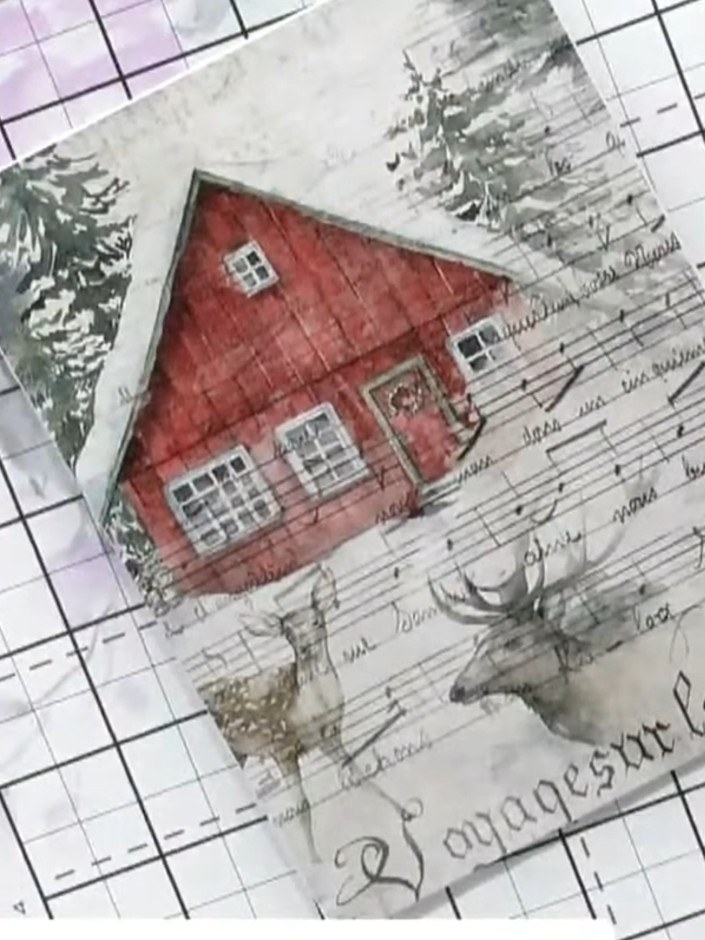
Glue the fussy-cut house element onto the front of a top-folding note card, positioning it centrally.
▶ voir cette étape (24:00)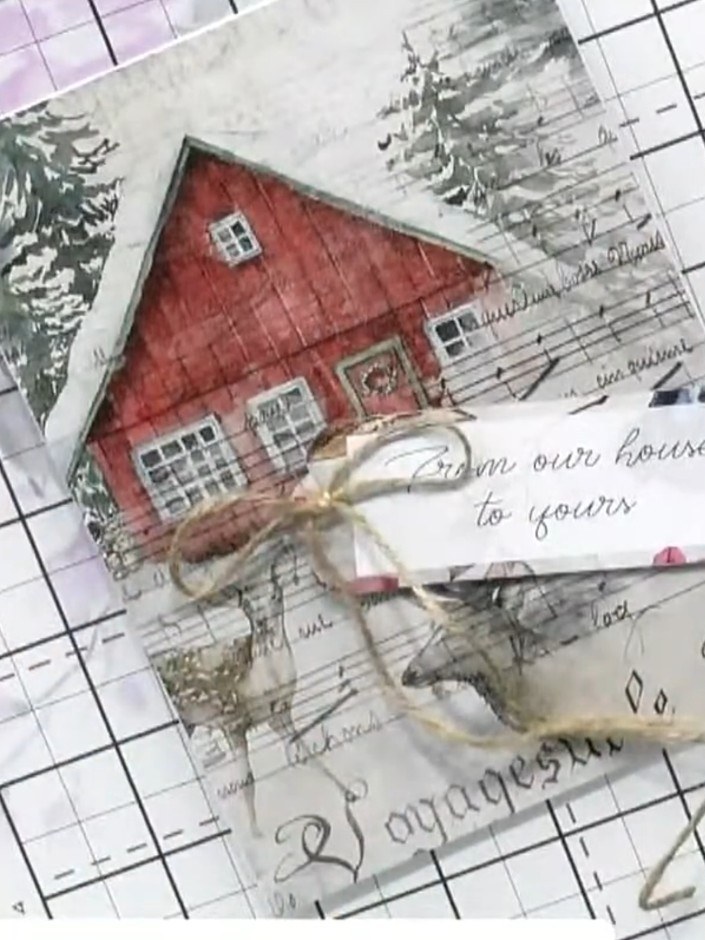
Tie a bow using natural twine or ribbon and attach it to the card front. Position the bow with long trailing legs over the sentiment panel to add a rustic finishing touch.
▶ voir cette étape (24:15)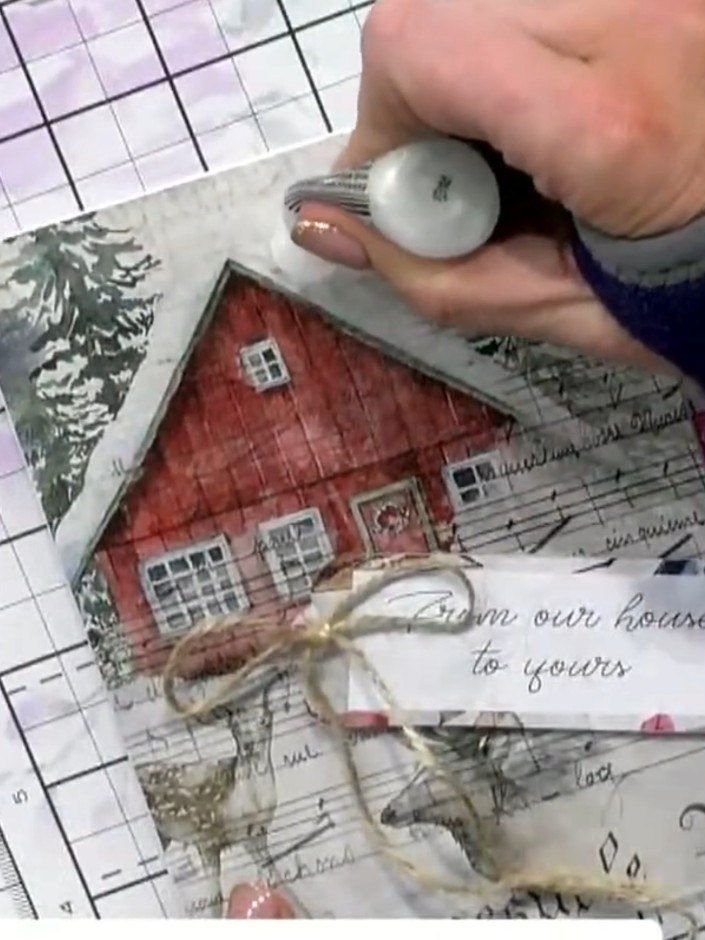
Apply sparkle or glitter to the roof area of the house using a glitter applicator tool. Gently dab the applicator over the grey roof section to add shimmer.
▶ voir cette étape (24:30)Rédigé à partir de l'émission elle-même. Découvrez tous les guides de nos émissions · tutoriels gratuits · regarder en direct sur My Telly