Offrez à vos amis 10 € de réduction sur leur première commande !
Parrainez un AMI








Un projet de notre émission en direct CREATE AND CRAFT - KIT EN COFFRET - Retrouvez Toni pour sa dernière émission de lancement 2 - Diffusé le 16 nov. 22 · 16/11/2022 · à voir dès 54:30
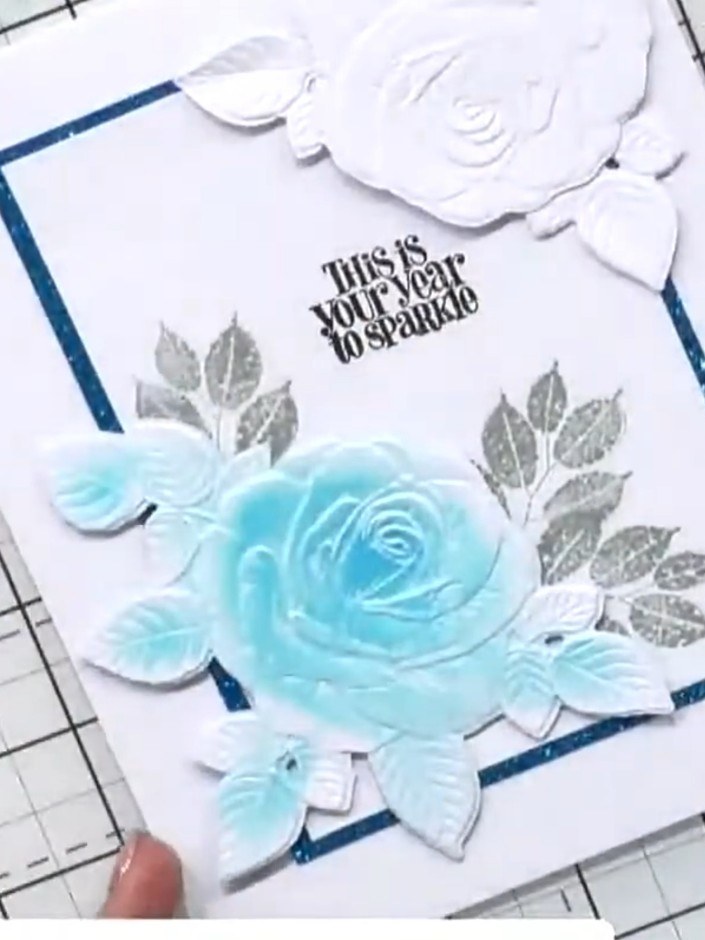
Create an elegant card featuring embossed turquoise roses with metallic silver leaves and a sentiment message. This design combines embossing techniques with stamped elements and layered embellishments to create a sophisticated floral card with a navy blue border. The finished piece showcases dimensional flowers with optional corner decorations for a polished, professional look.
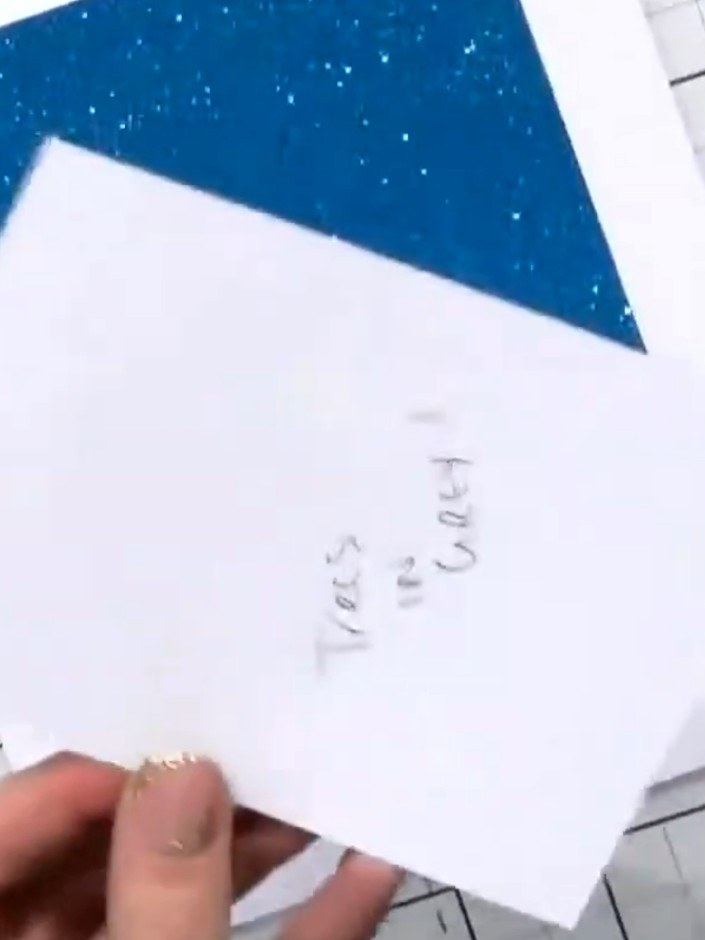
Start with a white top-folding note card base. The card features a blue glittery triangular design at the top.
▶ voir cette étape (54:30)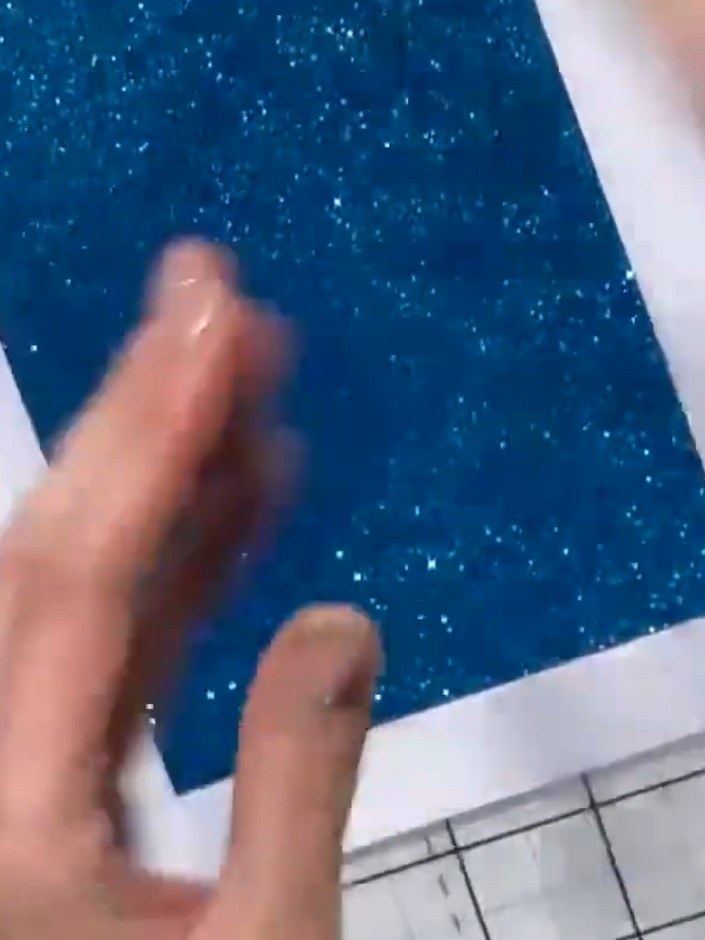
Apply adhesive to the back of the sparkly teal textured panel and attach it to the white card base, positioning it centrally to create a border.
▶ voir cette étape (54:45)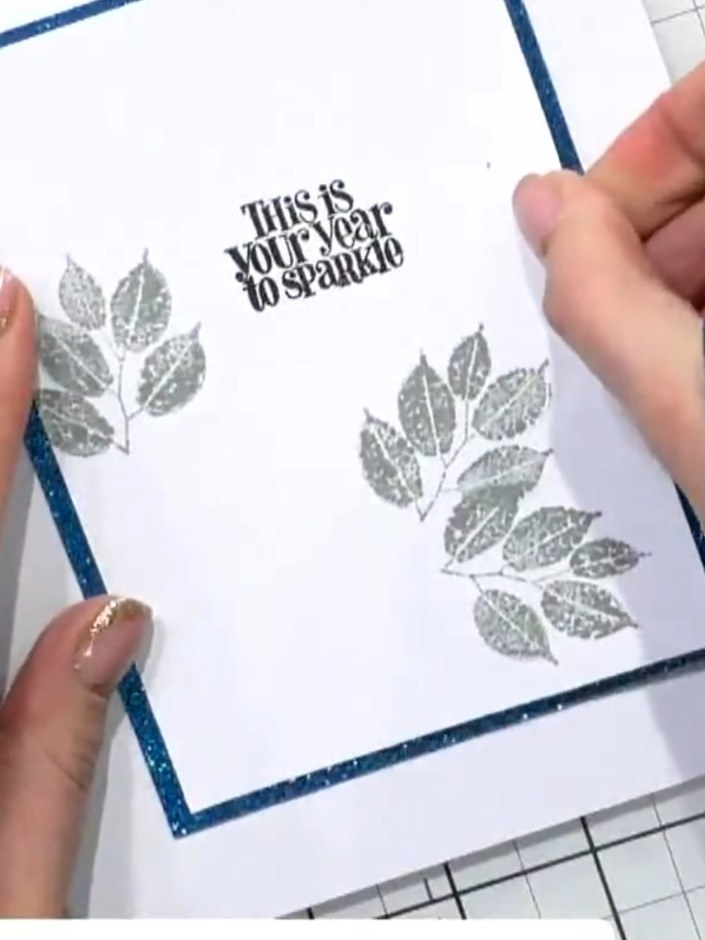
Layer the stamped leaf images on your card front. Position the black stamped leaves first, then add the grey stamped leaves to create depth and dimension as a background element.
▶ voir cette étape (55:00)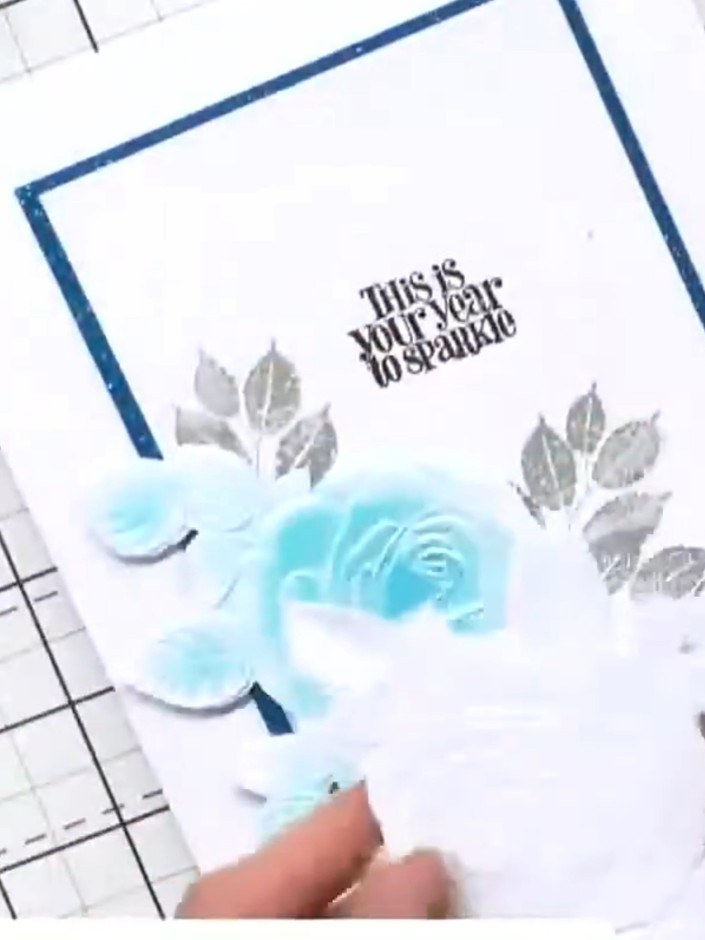
Position the embossed rose in the centre of the card front. Add the silver embossed leaves on either side of the rose. Place the sentiment stamp at the top right corner of the design.
▶ voir cette étape (55:15)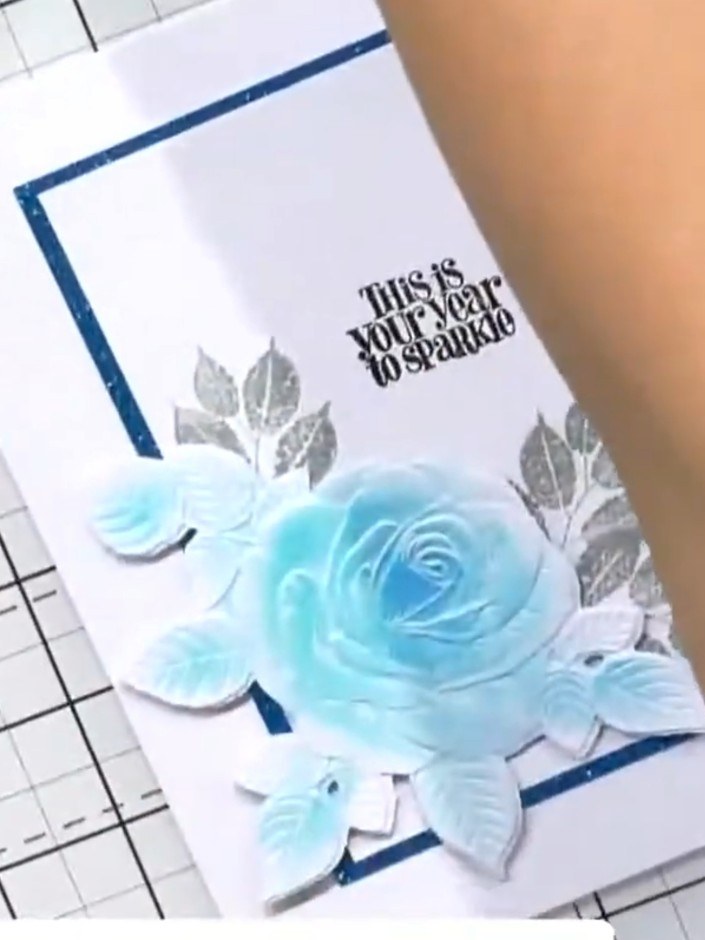
Position and adhere a white embossed flower element to the top corner of the card, overlapping the blue frame and the main floral arrangement.
▶ voir cette étape (55:30)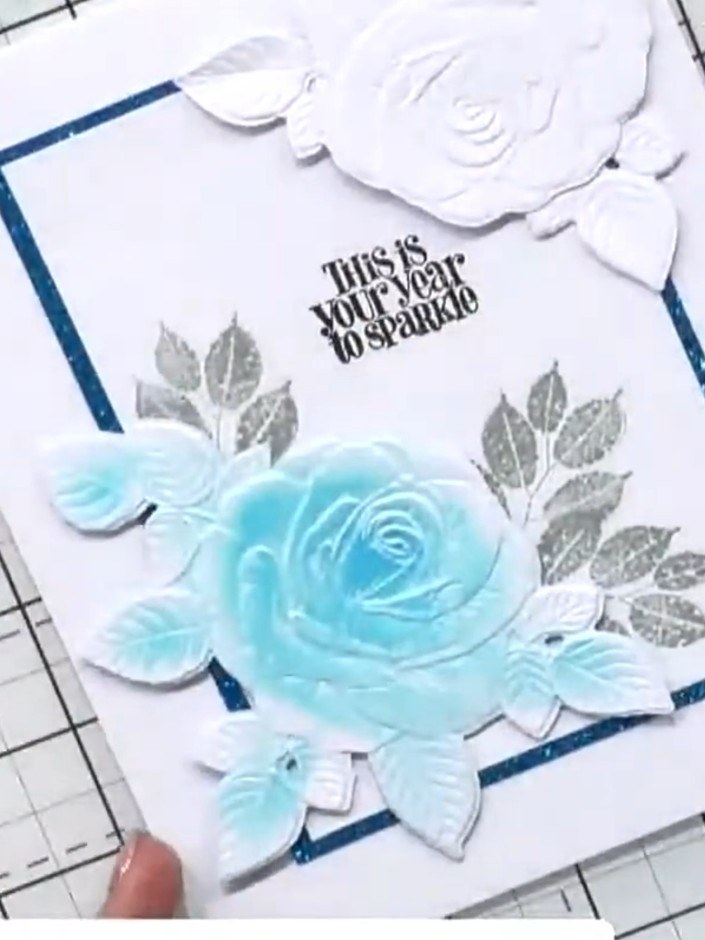
Optionally fussy cut one of the white embossed roses and position it in the top corner of the card to create a corner design element.
▶ voir cette étape (55:45)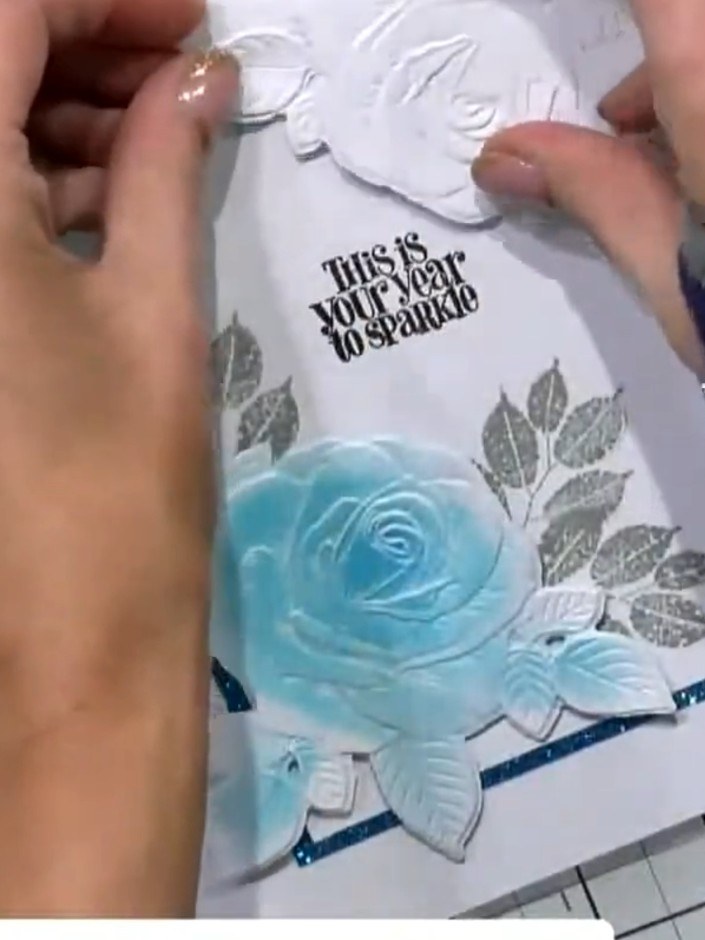
If desired, trim away sections of the white embossed corner rose with scissors to change its format and create a different arrangement on your card.
▶ voir cette étape (56:00)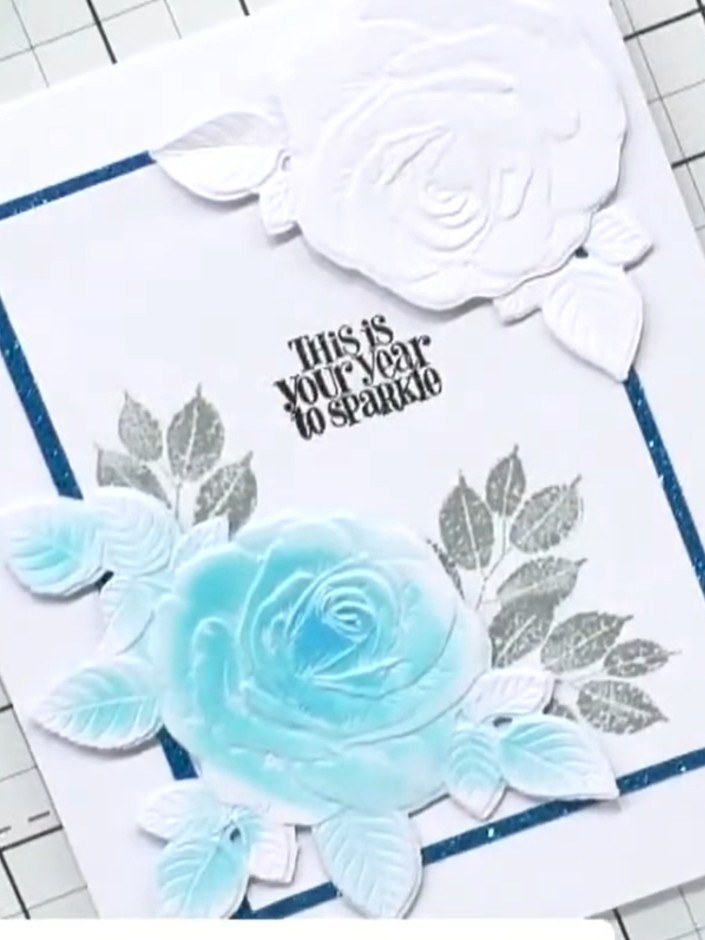
Add sparkle or additional embellishments to complete your card. The finished design features turquoise watercoloured roses with silver embossed leaves, a sentiment reading 'This is your year to sparkle', and a teal border frame.
▶ voir cette étape (56:15)Rédigé à partir de l'émission elle-même. Découvrez tous les guides de nos émissions · tutoriels gratuits · regarder en direct sur My Telly